If you want to change how your room looks, learning to paint it can seem like a big job. Many new painters worry about streaks, drips, and messy edges. You can avoid these problems. With the right guidance, you can achieve a smooth, professional finish. This guide walks you through the entire process of painting a room in a clear, easy-to-follow order. You will learn the key steps from start to end. Preparation is the most important part of success. How to paint a room step by step? The guide spends a lot of time on prep work because it prevents expensive mistakes. Start today. Make a plan before you buy any paint.
Pick your color, get your tools, and set a schedule. Plan out each wall. Plan out your weekend. This DIY project becomes a doable, fun task when you work through it step by step—just like any solid how-to guide for painting a room. This guide explains how to paint a room step by step, from preparation to the final coat. With the right approach and a little patience, even beginners can achieve a clean and professional-looking finish.
Table of Contents
Essential Tools and Paint Needed for a Room
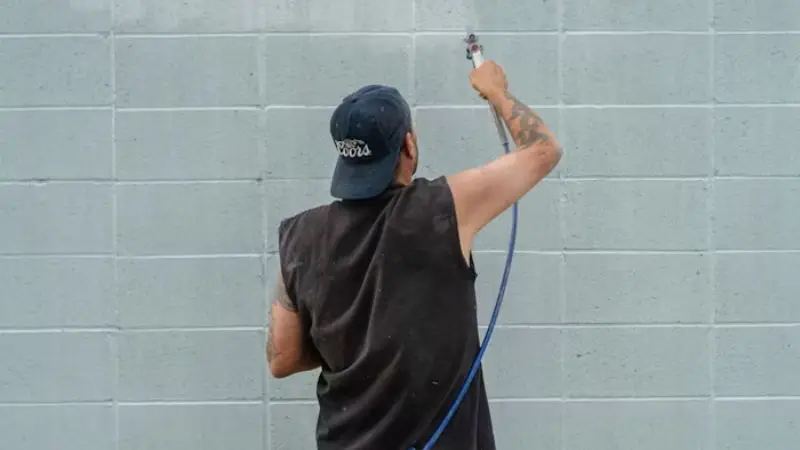
Before painting a room, gather all paint equipment and supplies. This preparation helps you avoid trips to the store during the project. You don’t want to have to run to the store when you start. Keeping a well-stocked workspace helps you stay on track and avoid frustration. Purchasing a bit more paint also helps avoid shortages and supports future touch-ups.
Recommended For Your Project
Essential Painting Tools and Materials
Basic tools are the first items on your paint tools list. You will need a roller frame and several roller covers. For large wall areas, choose a 9″ (23cm) roller. To paint a room with a paintbrush, use a 2” angled brush to cut in around edges. You’ll also need a paint tray with liners. These liners make cleanup easier and faster. Don’t overlook little things. Painter’s tape protects your trim and ceiling lines. Drop cloths protect your floors from drips. Using a nail hole filler requires a putty knife. Smooth these patched areas with sandpaper. Apply paint to a clean surface after wiping away dust with a damp rag. Use a stir stick to mix your paint thoroughly. Clean brushes between coats in a bucket of water. Painting supplies matter, and quality matters. Low-quality brushes shed bristles into your wet paint. Thin roll cover leaves lint. Buy medium-priced equipment. They last longer and work better. You will notice the difference in your finished walls.
How Much Paint Do You Need for a Room?
To avoid paint waste and shortages, calculate how much paint you need. Find the length and width of your room. Calculate the area of the floor by multiplying these numbers. Next, measure your walls. Calculate the perimeter, then multiply it by the wall height. This gives you the total wall area. Subtract the space for doors and windows. Most paint cans list coverage on the label. How to paint a room quickly? A typical gallon covers a certain number of square feet. Divide the wall area by the coverage number. The result tells you how many gallons you need. Round up to the nearest whole number. Purchase additional paint for touch-ups. Account for the number of coats you need to apply. Dark colors will usually require two coats. Other than that, dark walls require more coverage, as do light colors. Multiply the number of gallons by the number of coats. This basic math will help you know how much paint you have from start to finish. You don’t end up frustrated by running out halfway through your project.
How to Prepare a Room Before Painting

When things don’t go your way, proper preparation keeps the process smooth. This step cannot be bypassed. The hours you spend in this room can make a huge difference in your walls’ final look. When the room is well prepared, the painting process is faster and cleaner. The work you do now will pay off later. Surface prep creates a clean work area and delivers a more professional finish.
Move or Cover Furniture
First, clear the space of as many unnecessary objects as possible. Pack away small objects such as lamps, picture frames, and decor. How to paint a room quickly? Use the center of the room for large furniture items. Bundle and cover with plastic drop cloths. This simple step helps prevent dust and accidental drips from damaging your possessions. It’s also essential to safeguard your floors. Spread canvas drop cloths all over the floor area. Canvas is more effective than plastic drop cloths because it is absorbent and will not slip. Use painter’s tape to hold the cloths in place around the edges. Don’t forget to remove the outlet covers and outlet plates. Keep the screws in a small bag so you don’t lose them. This step in the prep-a-room-for-painting process can take approximately 30 minutes. It’s worth the time to get the payoff.
Clean the Walls Before Painting
Paint won’t stick if dust, grease, or grime is present. Clean all surfaces before you start. First, use a dry microfiber cloth to clean the walls and remove loose dust. Next, fill a bucket with warm water and a mild detergent. Wash walls with a sponge, working from top to bottom. Pay special attention to spots around light switches and doorways. These areas absorb oil and fingerprints from your hands—afterward, clean the walls with clean water. Allow surfaces to dry thoroughly. This typically requires a few hours. How to paint a room without making a mess?
Meanwhile, check the walls for cracks, holes, or other defects. If you find damage, repair it with a spackle. After the spackle is dry, sand the patched areas smooth. Use a damp cloth to remove sanding dust. This entire cleaning and repair operation is crucial for preparing the walls for painting. This ensures the paint applies smoothly and lasts longer. Don’t overlook the ceiling for any stains or peeling paint either. Fix any issues before painting. Good wall-prep habits prevent problems.
Importance of Proper Preparation
How to Choose the Right Paint for Your Room
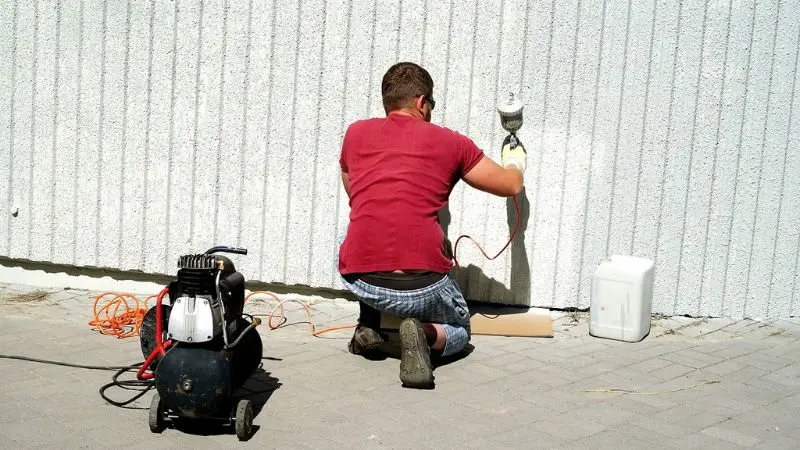
You’ve made the room ready. Next, you’ll have to select the right paint. Two major considerations come into play: color and finish. Slow down on this step. A well-thought-out selection will prevent you from having to repaint prematurely. When choosing paint for your room, consider two key factors: color and finish. The right color & finish combination will help produce an attractive, long-lasting, and durable finish.
Choose the Right Paint Color
Begin with the shade desired. The paint color will set the tone for the entire room. Consider the function of the space. Calm and soothing shades work well in bedrooms. Bolder selections work well in living rooms. Consider the current furniture and flooring. How to paint a room evenly? The room lighting is also important. The shade will look different throughout the day depending on how much natural light it gets. Test before you commit! Purchase small sample cans of the top 2-3 choices. Paint large patches of color on various walls. Keep these samples for a day or two. You will see the shade at various times. This simple color test can help you pick your color with confidence. You won’t regret it when you have to paint an entire room in a color you don’t like. The idea is to find a color you feel good about when you walk into that room.
Select the Best Paint Finish
Choose an appropriate finish. The finish affects how light reflects off the paint and how easily it cleans. Flat finishes are harder to clean but conceal imperfections well. They are used in low-traffic areas and cat ceilings. Eggshell types have a slight sheen. They suit living rooms and bedrooms. They are a good combination of hard and soft. Satin types are smooth and velvety. You see them in kitchens, bathrooms, and hallways. They will not absorb water and clean up easily. The semi-gloss varieties are shinier. You apply them to trim, doors, and cabinets. They stand up to frequent wiping. Gloss types have the top shine and durability. You have used them sparingly to accentuate a few items. How to get rid of brush strokes when painting a room? Think about what the room is used for. A family room that gets heavy use needs something more robust than a traditional dining room. The right choice keeps your walls attractive and durable. Keep in mind that the type also influences the shade’s appearance. A glossier finish makes the color look a bit darker and richer. Apply the type along with your sample. This step helps ensure you have the right paint and finish for your interior wall painting job.
Step-by-Step Guide to Painting a Room Like a Pro

You’ve set up the area and selected your materials. You’re now on to the real business. Do the following tasks sequentially. All are cumulative. This technique will help keep your lines crisp and finish smooth. Begin by carefully installing painter’s tape along the edges of ceilings, trim, doors, and windows to create clean lines. Let the paint dry, repeat as needed, and save the paint for touch-ups.
Apply Painter’s Tape for Clean Edges
Begin with the painter’s tape. This tape helps prevent brush marks on the ceiling and trim. Draw a line around the perimeter at the base of the ceiling. Press it down firmly with your finger. The paint needs a good seal, since it doesn’t want to get underneath. Repeat with baseboards, door frames, and window casings. How to paint a room evenly? This careful taping creates sharp, professional edges. Spend time on corners. Fold the tape at the corner and press it down. Tap the tape with a putty knife into any seams between the tape and the wall. This extra pressure helps prevent bleeding. Look for any bubbles or loose parts on each strip. Clean up those spots before painting. Good tape work will save you the trouble of touch-ups later. The neat lines will give you a sense of appreciation when you pull them off.
Cut In Around the Edges
Cutting in means painting the edges first before rolling. Fill your 2” angle brushes with a little paint. Begin from the top of the ceiling. Grasp the brush like a pencil and lead it along the tape edge. Apply gentle and slow strokes. Work 3 feet or less in sections. This keeps the paint moist and blendable. Then make movements toward the corners and the trim. Mark a 2″ strip around the room’s perimeter. Draw a 2″ line around the whole room. This band provides a safe area for your roller to operate in. How to paint a room without brush marks? You do not need to cover the whole wall with the brush. Simply make an edge that is wide enough for the roller to overlap. Work quickly and carefully. The objective is to create a continuous line without drips. After cutting in, you can roll the large open spaces. The brushwork you do now will provide the building blocks for the rest of the wall. Be patient with these two steps to get good results. If you rush, the lines will be crooked, and the coverage won’t be uniform.
Patience for a Professional Finish
You’ve finished the most detailed part. The tape helps to prevent damage to your ceiling and trim. The cut-in lines serve as a reference. How to paint a room using a paint roller? You can now move on to the roller work confidently. With each step, you move toward a professionally painted room. You’ve completed all the steps for painting a room. You have a plan, supplies, and have prepared the area. You took the time to tape the edges, prepare the walls carefully, and paint. Patience matters most. Don’t rush through the prep-a-room-for-painting. Also, don’t rush the painting job. Let it dry, then apply a second coat for a uniform finish. This patience gives a professional finish. Take a step back and enjoy your creation. A room can look so much better when painted. The walls appear clean and bright. Store some leftover paint for touch-ups in a small container. You’ll be thankful for this tip later. You were a novice at first. So now you know how to paint a room! Confidently tackle other DIY projects. You can repaint the walls.
Wrap Up
With the right approach, painting a room can be a simple, rewarding project you can do yourself. First, gather the necessary tools, choose the right amount of paint, and prepare the space. Cover furniture and floors, dust walls, and seal any cracks and holes before painting. How do you paint a room step by step? Select a paint color and texture that complements the space’s function, lighting, and furnishings. Use painter’s tape to achieve crisp edges around ceilings, trim, windows, and doors. Cut in the edges first, then cut in the larger wall areas. Apply paint evenly and gently with a steady hand, avoiding drips, streaks, and uneven coverage. Let each application dry, then add a second if necessary for additional coverage. Save leftover paint for touch-ups, and store it properly when the project is complete. Even beginners can get a clean, professional finish if they prepare, are patient,t and use the proper technique.
FAQs
What is the minimum interval between paint coats?
Generally, most latex paints dry to the touch in 1 to 2 hours. Apply a second coat after 2-4 hours. Confirm the timing on your paint can. Humidity and temperature affect drying speed. Cool rooms require longer intercoat periods.
If You Run Out of Paint Mid-Project?
Drained paint leaves noticeable paint marks on your walls. You can’t duplicate the exact color when a store remakes it. Buy more paint than you need at the start. Save the remaining for touch-ups later. Store it in a cool, dry place in a tightly closed container.
Do I need to cut in before rolling?
Yes,you can cut in to make the brushwork flow into the roller marks. If you don’t, you’ll notice uneven lines on your ceiling and trim. You can use the two-inch band you paint with your brush to create a safe area for the roller. It eliminates overlapping marks on the walls that show up when the walls are finished.
Should you paint the ceiling first or the walls first?
Yes, it’s best to paint the ceiling before the walls. This order will help you avoid getting blisters on your new wall paint. If your ceiling has stains, start with primer. For better reach, use a roller with an extension pole. Do this step before taping the wall work.
What to do if mistakes are made after painting is done?
Even the best painters make mistakes. All painters make small drips or missed spots. Wait until the paint is dry. Very gently sand the imperfection with fine-grit sandpaper. Use a damp cloth to remove dust. Use a small brush to apply a thin “touch-up”. Edge the edges with feathers to repair and make it look good.