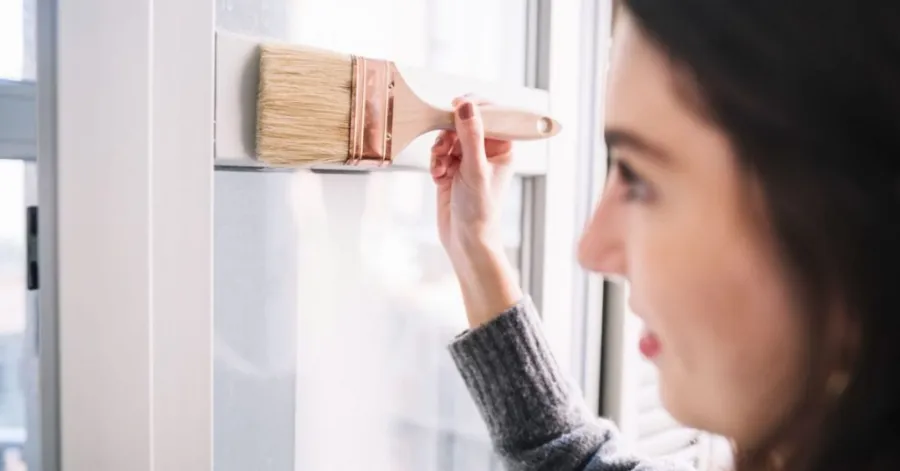
When you walk by your interior doors, you see scuffed paint and brush marks from years of daily use. That dull finish makes the whole room feel tired and uncared for. You can change those doors to a smooth finish that looks factory-made. You can paint interior doors easily. It can feel intimidating because large, flat surfaces show every flaw. Walls hide flaws easily, but doors do not.
This guide gives you everything you need to paint an interior door well. You will learn prep and priming to avoid drips and streaks. This easy DIY project pays off if you are patient. A fresh coat of paint changes your room. Follow these tips to paint doors with confidence. Paint the door slowly and carefully. Painting interior doors becomes easy when you know the process.
Table of Contents
What You Need for Painting Interior Doors
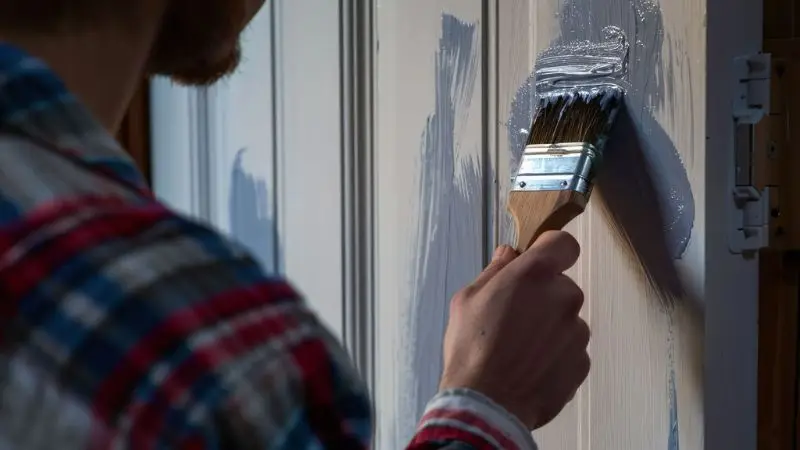
Before you start, gather all your supplies. Having everything ready saves time and keeps your workflow smooth. You do not want to stop mid-project to run to the store. This section covers the essential painting tools and the right paint choices for a lasting finish.
Recommended For Your Project
Essential Tools and Materials
How to paint interior doors without brush marks? You need a few basic painting tools for this project. Start with a high-quality angled brush. A 2-inch brush works well for edges and corners. You also need a small foam roller for the flat panels. A roller leaves a smoother finish than a brush alone. Pick up a paint tray and liner for easy cleanup. Keep a bucket of warm, soapy water nearby for rinsing tools.
You will also need fine-grit sandpaper, around 220-grit, for smoothing between coats. A tack cloth removes dust after sanding. Painter’s tape protects the frame and hinges. Finally, have a screwdriver ready to remove the door hardware. These materials make the job easier and produce better results. Do not forget drop cloths to protect your floors. Wear old clothes or an apron. Latex gloves keep paint off your hands.
Choosing the Best Paint for Interior Doors
However, choosing the best paint for interior doors is important because it should be both tough and easy to clean. There must be paint that can withstand the wear and tear of everyday activities. It must be an acrylic or latex enamel paint because it dries quickly. Oil-based paint is extremely tough, but it has a long drying time and requires mineral spirits for cleanup. However, water-based enamel is the best option for most people.
The next important factor to consider when choosing the best paint for interior doors is the sheen to be applied. Satin or Semi-Gloss paints and sheens are the best for doors since they reflect light and can be wiped easily. Flat paint will show every finger mark; hence, it should not be used in high-traffic areas. Choosing the best paint for interior doors requires considering the room’s lighting conditions. Paint stores provide sample cards.
How to Prepare Interior Doors for Painting
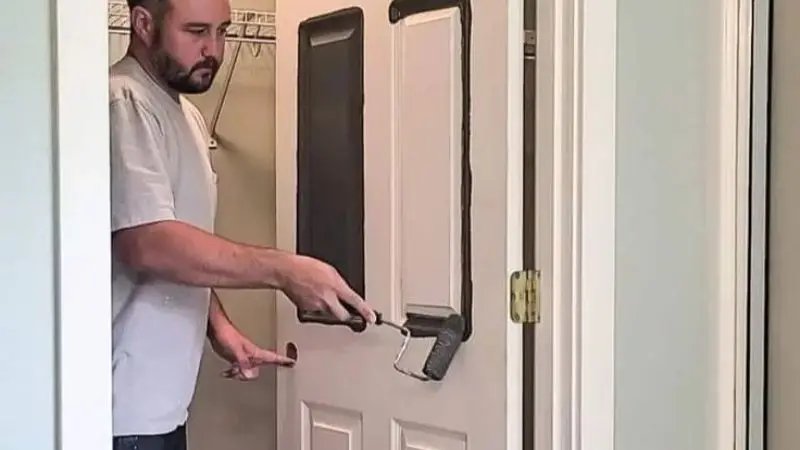
How to paint interior doors without removing them? Preparation matters more than any other step. If you skip it, you may see chipped paint, drips, or an uneven finish. Spend time on prep before you start painting. This part covers taking off hardware and cleaning the door. Both steps protect your work and help the new paint stick well.
Remove or Protect Door Hardware
How to paint interior doors with a brush? First, look at the door’s hardware. Knobs, hinges, and strike plates all need care. You can take them off or cover them with tape. Removing them gives the best result. Use a screwdriver to take off the knobs and hinges. Put each screw in a labeled bag. This habit stops you from searching for the right screws later.
If removing them seems hard, you can protect the hardware instead. Carefully place painter’s tape around each piece. Cover the whole metal surface with tape. Press the edges down firmly so paint cannot get underneath. This works well for decorative hinges that are tough to put back. No matter what you choose, do not paint over the hardware. Paint on metal chips off fast and looks bad. Taking time here makes the rest of the job easier.
Clean the Door Surface
Dirt, grease, and grime build up on interior doors over time. Handprints along the edges and dust in the panels are hiding your new paint. Paint does not adhere well to a dirty surface. You must clean the door fully before painting the surface.
How to paint interior doors white? Mix warm water with a little mild dish soap. Dip a soft cloth in the mix and wring it out. Wipe the whole door from top to bottom. Focus on the areas near the knob and the bottom edge. These spots collect the most oils from hands. Rinse the cloth in clean water and wipe the door again. This second pass removes any soap left behind. Let the door dry fully before you move on.
After cleaning, check the surface for flaws. Fill small holes or dents with wood filler. Sand the filled spots smooth once dry. Wipe away dust with a tack cloth. These prep steps create a smooth surface for your paint. Remember that prepping your door right prevents bad results later. A good prep routine takes about thirty minutes but saves you hours of fixing mistakes.
How to Paint Interior Doors Step by Step
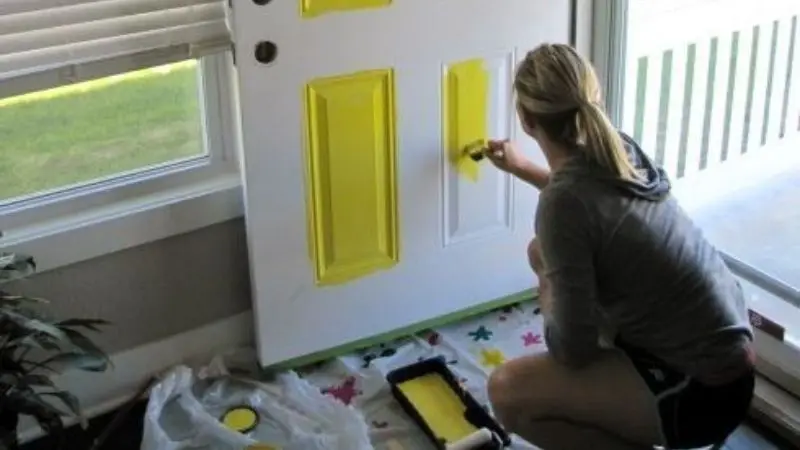
Now you have a clean, prepped surface ready for color. This section walks you through the actual painting process. You can choose between paint rollers or sprayers. Follow these steps for the best results. Each step builds on the last one. Rushing through any phase will show in the final finish.
Step 1: Apply Primer
How to paint interior doors with a roller? Primer creates a uniform base for your paint before using any painting tool. It seals the wood and covers old stains. Without a primer, your topcoat may soak into the door unevenly. This problem creates dull patches that ruin a clean finish. Always start with a quality bonding primer.
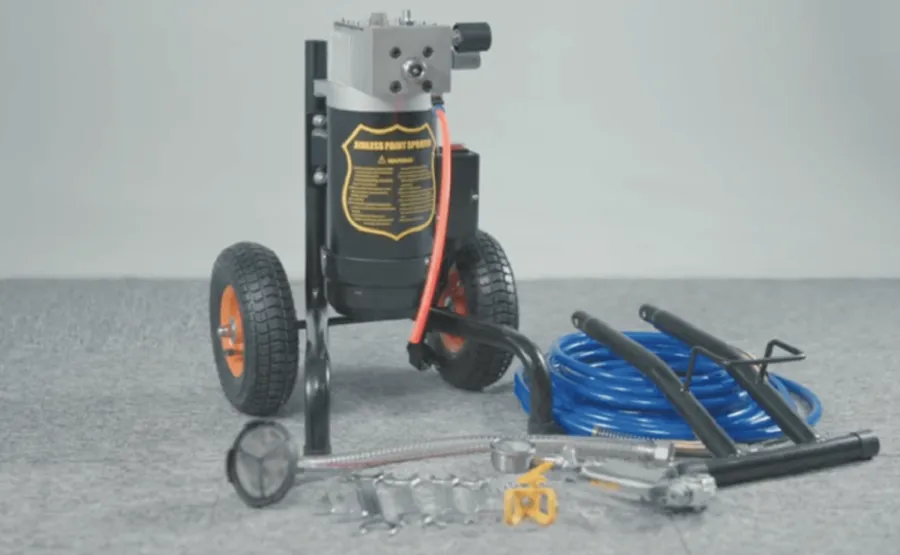
Pour primer into your paint tray. Use your foam roller for the large flat areas. You can also use paint sprayers. Work is smooth, even passing from top to bottom. Use your angled brush on the panels and in the recessed areas. The brush reaches spots the roller cannot touch. Apply one even coat of primer across the entire surface. Do not overload the roller with primer. Thin layers dry faster and level out better than thick ones.
Step 2: Paint the Edges of the Door
Edge painting should come first before faces. Edges are the top, bottom, and two sides of the door. These areas are exposed to heavy wear due to repeated opening and closing of the door. Applying an adequate edge coating will ensure that bare wood does not show up later on. Put a small amount of paint on your angled brush and start painting from the top of the door. Paint the hinge side and the latch side of the door. Use long strokes.
No puddles of paint should be allowed in these areas, as they will end up on the faces. Excess paint can be removed using a clean brush. Drying of the edges will happen faster since the surface area is smaller. After the edges are completely dry, the main panels can be painted. You may want to know how many coats are needed for the edges. One good coat is normally enough for the edges.
Common Mistakes to Avoid When Painting Interior Doors
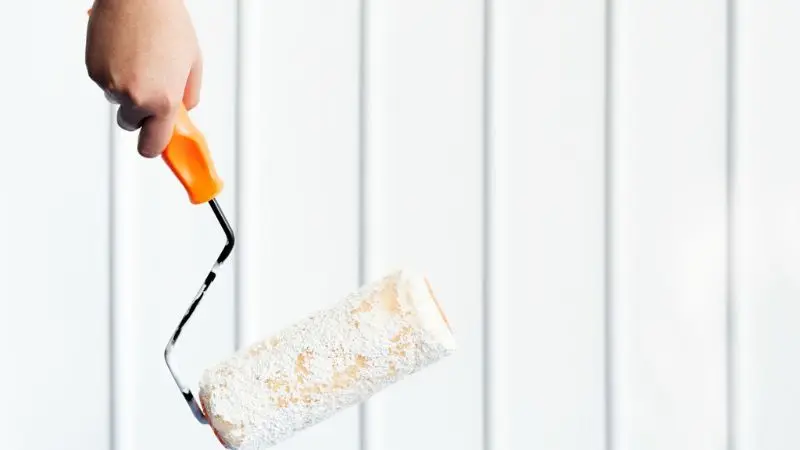
Even experienced painters make errors on doors. Large flat surfaces reveal every flaw. Knowing what to avoid saves you time and frustration. This section covers the two biggest mistakes people make. Learn these lessons before you start your painting project.
Skipping Surface Preparation
Many people want to skip prep and start painting right away. This choice leads to poor results. Paint cannot stick to dirty or damaged surfaces. You will see peeling paint and uneven color within months. The prep work you do determines how long your finish lasts. You must clean every part of the door first. Hand oils near the knob create a barrier. Dust in the panels prevents proper adhesion.
How to paint interior doors with a sprayer? Grease from daily use hides in the edges. A quick wipe with a damp cloth does not remove these problems. Use warm, soapy water and rinse thoroughly. Let the surface dry completely before you continue. Filling holes and sanding also matter. Small dents from furniture or doorknobs show through fresh paint. Wood filler solves this issue. Apply it to each imperfection and let it dry.
Using Too Much Paint
Loading your brush or roller with excess paint creates drips and runs. These flaws dry into ugly ridges on the door surface. You cannot fix them easily once the paint sets. Even paint coats produce the best results every time. Dip your brush only one-third of the way into the paint. Tap off the excess against the rim of the can. Rollers need the same care.
Roll off the excess paint on the ridges on the tray. Paint in even strokes. Always paint from top to bottom to avoid dripping. Several thin layers are better than a single thick layer of paint. Layers dry faster and are leveled. You may need up to three layers for a complete paint job. Let each layer dry before applying another layer.
Conclusion
How to paint dark interior doors? You know all the steps involved in this task: preparation, priming, painting, and finishing. Each step adds up. You will not achieve the desired results if you skip some steps—the efforts you have made help transform your interior doors into smooth, durable surfaces. Fresh paint not only changes the color but also creates a different atmosphere in the room.
You have enough information to perform this task successfully. Don’t rush or use affordable painting supplies. Enjoy the process and carefully paint each layer. Be patient to get a factory finish. Post your before and after photos in the comments. Feel free to ask questions. We will help you every step of the way.
FAQ
Should I remove the door from its hinges before painting?
Yes, this is the way to achieve the best effect, since you will be able to paint the sides and bottom without any problems. The door should be put down on sawhorses; this position will protect you from drips and level out the paint.
How long should I wait between the coats of paint?
The recommended waiting period is listed on the paint can. On average, most water-based enamels take one to two hours to dry enough to add another coat.
How many liters of paint would be enough for painting just one door?
For a single door, one quart of paint would be enough for two to three coats. You will still have some paint left for future touch-ups. Purchasing a full gallon would mean a waste of money.
What should I do if I notice the brush marks after drying?
Once the paint has completely dried, lightly sand the surface with 220-grit sandpaper. Remove all the dust with a tack cloth, then apply one more thin coat with a foam roller.