
Getting your sublimation heat press settings right is crucial. Perfect the time, temperature, and pressure settings, and you’re on track for sharp prints that last. Mess the settings a little? You could end up with faded colors or designs that don’t stay after a couple of washes.
In this article, you’ll learn how to dodge common pitfalls like ghosting or banding. You will also get a handy temp chart for everything from tees to tumblers, as well as solid fixes for typical printing problems. Plus, we will also tackle questions about just how hot your press should be. So, let’s get started.
Table of contents
Major Heat Press Settings
Nailing the perfect sublimation print can be tricky. You have to set the time and temperature and apply a certain amount of pressure to get those sharp and vivid prints. Thus, sublimation heat press settings like time, temperature, and pressure must be in harmony to avoid a dull or smudgy design.
The balance between time and temperature can make or break your product. Too little heat won’t transfer ink completely, while too much can cause colors to appear burnt. Pressure acts as another important factor; uneven pressure means patchy and low-quality designs. Consistent pressure across your substrate ensures every inch gets equal heat.
Time: Your Secret Weapon
Time is another important factor when you are sublimating a design. Time dictates how long your item sits under the heat—a second too short might mean faint images, while overdoing it could turn vibrant reds into burnt oranges.
Precision is key; setting timers eliminates guesswork, so you don’t have to keep guessing the result of sublimating your products. Sublimation studies show that even slight deviations can turn a good-quality design into a complete disaster.
Temperature: Distributing the Heat Wisely
Just like time, adjusting the temperature is equally important when it comes to accurate sublimation heat press settings. For instance, cotton may prefer cooler temperatures, but polyester needs a higher temperature to give you those stunning prints. Knowing these nuances will save you time and energy. It also saves materials from becoming costly coasters instead of prized possessions.
Pressure: The Key to Even Prints
Last but certainly not least comes pressure in heat press settings for sublimation. Not enough squish leaves designs looking drab and colorless, and going too hard can result in unwanted blurring of your design.
Sublimation Heat Press Time and Temp Chart
As already discussed, getting your sublimation heat press settings right is the deciding factor between a good-quality print and a characterless one. The key to perfect prints lies in mastering time, temperature, and pressure. Nail these variables, and you’re good to go:
| Items | Temperature (F) | Time (Seconds) |
| Cotton & Polyester T-shirts | 385-400 | 45-55 |
| Ceramic Mugs | 360-400 | 180-240 |
| Stainless Steel Tumblers | 350-365 | 60-90 |
| Neoprene | 330-350 | 30-40 |
| Glass | 320-375 | 300-450 |
The above chart clearly shows how different materials need different intensities of heat and duration of time. Just as one size doesn’t fit all, similarly, not every material can be sublimated by using the same settings.
For example, for cotton and polyester t-shirts, you need 385 – 400 F temperature for around 45 – 55 seconds. This higher temperature for a short time would ensure you get your t-shirt sublimated just perfectly.
But for materials like ceramic mugs, the temperature should be set somewhere around 360 – 400 F for a longer period of 180 – 240 seconds. Similarly, stainless steel tumblers need 350 – 365 F heat to get you sharp and bright sublimated prints.

When it comes to materials like neoprene, they require the heat to be set somewhere around 330 – 350 F, but the time shouldn’t exceed 40 seconds.
Lastly, glass is going to need a high heat setting for a longer time. To get those glowing and bright-colored prints on a glass, you need to set the temperature between 320 – 375 F while setting the time at 300 – 450 seconds.
The sublimation time and temperature chart above can always come in handy when you are trying your luck with sublimating different materials for the first time. Although getting the hang of sublimation comes with practice, you can refer back to this chart and try a variety of setting combinations to get the prints of your liking.
How to Find the Best Sublimation Heat Press Settings
There are a few other things that you need to learn about sublimation before you start the process. Apart from understanding what you should do to get those perfect settings for sublimation, you also need to know what you should NOT do. For example, don’t rely solely on manufacturer guidelines because real-world applications often tell another story.
Secondly, trial-and-error isn’t just okay; it’s necessary. You cannot master the art of sublimation without practice. The more you try playing around different settings, the better the results will be.
The Sublimation Times and Temperatures
To start with, let’s talk about why these settings matter so much. Imagine baking cookies at random temperatures for an arbitrary amount of time—disaster awaits. The same goes for sublimating products; too hot or too long could burn them, while too cool or brief time might leave you with faded designs.
But fear not. Once you get these elements right by using reliable guidelines from manufacturers and some trial-and-error on spare pieces, consistency becomes second nature.
Setting Up Your Machine
Your machine may have come with instructions and guidelines, but think of those as starting points rather than fixed rules. Different materials react uniquely under heat—cotton isn’t polyester, and mugs certainly aren’t tumblers. So, take notes every time you press something new because this data will become invaluable over time.
VEVOR Heat Press Machines—Reliable Sublimating Partner
If you’ve ever felt the disappointment of finding a less-than-stellar print, you know how crucial the right equipment is. That’s where VEVOR heat press machines step in, offering not just reliability but also ease of use that beginners love and the precision that professionals demand.
Digging into their collection, it becomes clear why these machines are favorites. They hit the right spot between robust functionality and user-friendly design. These machines help you up your sublimation game without getting tangled in complex settings or inconsistent results—that’s what VEVOR brings to you.
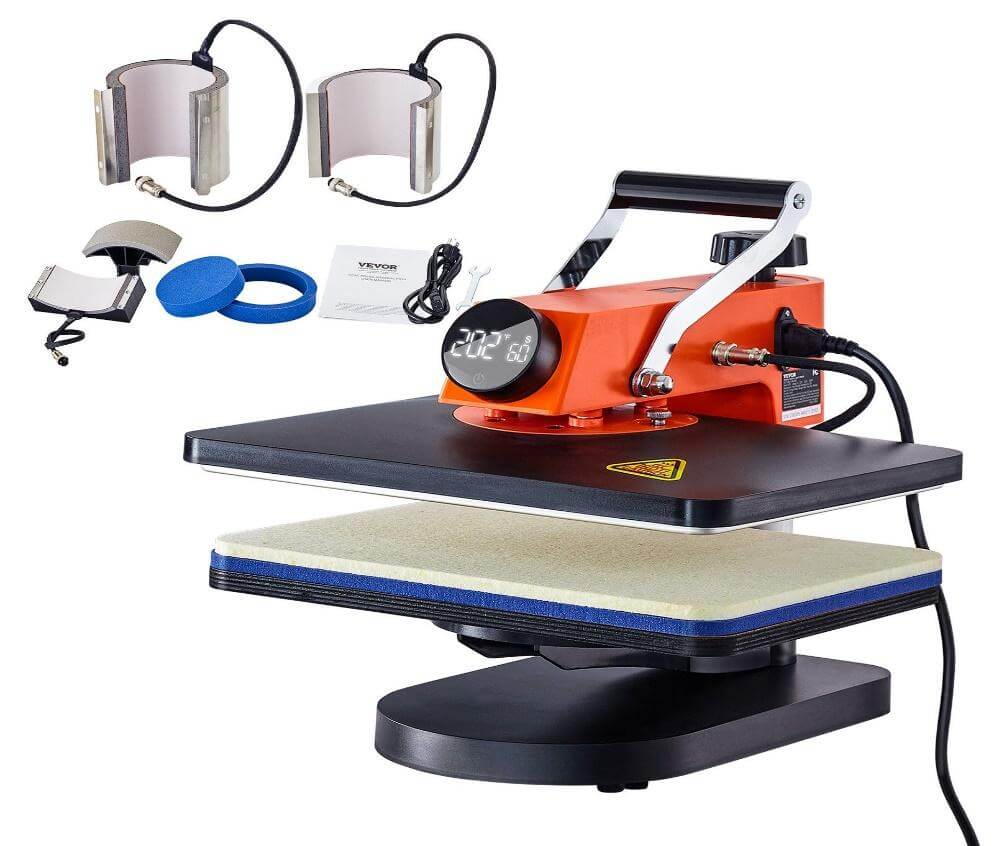
With features like smart LCD controls, inbuilt alarm settings, and large printing plates, VEVOR’s heat press machines are the best choice for preventing issues like ghosting or uneven pressing.
Plus, VEVOR machines are versatile enough to handle everything from T-shirts to mugs with equal finesse. So, why settle for less when you can get everything you need in one heat press machine?
Go ahead and explore the range of VEVOR heat press options. Your creativity will thank you.
Common Sublimation Printing Problems with Fixes
If you’ve ever tried your luck with sublimation printing, you know it can sometimes feel like wrestling a beast. One minute, everything’s going smoothly, and the next, your project looks like abstract art gone wrong. But don’t worry; we are going to touch upon several printing issues as well as provide fixes.
Ghosting
You print a stunning design but end up seeing double because of ghosting? It’s as frustrating as socks disappearing in the laundry. The culprit is usually movement during transfer—think of it like trying to take a photo while jumping on a trampoline. To fix this problem, make sure everything stays put by using heat-resistant tape to secure your transfer paper firmly onto the substrate.
Banding
Ever seen those annoying lines across what should be smooth color gradients? That’s banding—which can ruin your perfect design print. More often than not, this issue stems from low ink levels or clogged printer nozzles. Give them some TLC by topping off your ink supply and running a cleaning cycle on your printer heads before trying again.
Incorrect Output Colors
Sometimes colors just have minds of their own—the bright red that looked perfect on-screen comes out looking sunburnt orange instead. This chameleon act could be due to incorrect color profiles or settings mismatched between the software and printer. Double-check that all settings are consistent throughout your workflow for true-to-life hues.
So, there we have it—a trio of common sublimation setbacks matched with easy solutions. Avoid such basic mistakes by keeping these tips handy; they’ll help ensure each piece comes out looking sharp and bright.
FAQs About Heat Press Settings
1. How hot should your heat press be?
The ideal heat setting for sublimation is typically between 380°F and 400°F. This range helps ink transform into a gas without burning your material, which could lead to a case of the dreaded browns rather than the vibrant colors you aim for.
Sublimation studies have shown these temps work best across most materials, but remember: specifics matter. Check out manufacturer guidelines because they know their stuff—after all, they made it.
2. What happens if the heat press is too hot?
If your heat press feels too hot, take a step back. Overheating it can char materials beyond recognition. Excessive temperatures are notorious for color shifts; reds may turn brown, and yellows might morph into oranges—it’s a whole art piece gone wrong scenario. Remember, the dyeing and sublimation process relies on controlled temperatures to ensure dyes vaporize correctly.
3. Do you let sublimation tumblers cool before peeling?
Yes, sublimated tumblers need some chill time first to set those designs flawlessly before peeling away any transfer paper or wraps involved in the process. It is as if by letting them cool down, you are giving them a well-deserved rest after working hard under pressure.
Conclusion
So, you’ve got an understanding of sublimation heat press settings. Time, temperature, and pressure are important factors for vibrant prints that stick around. You’ve seen how crucial it is to get this right; a slip here can mean botched prints nobody’s happy with.
Use this guide and keep on practicing to find the perfect sublimation heat press settings that will produce the perfect design each time.
Happy Printing!


Hello Eric,
I’ve read your article and I’m confident now that I can do this! Thank you for your information and for sharing your knowledge. But I have a question for you. I want to sublimate a dinnerware set. How is this done, where it is food safe, microwave and dishwasher safe? I’ve looked at everything that I can think of, to find the answer to this dilemma, and I can’t find anything that covers this idea. The dinnerware will be either stoneware or ceramic. I do hope that you can help me with this idea.
Thank you again,
Cathy