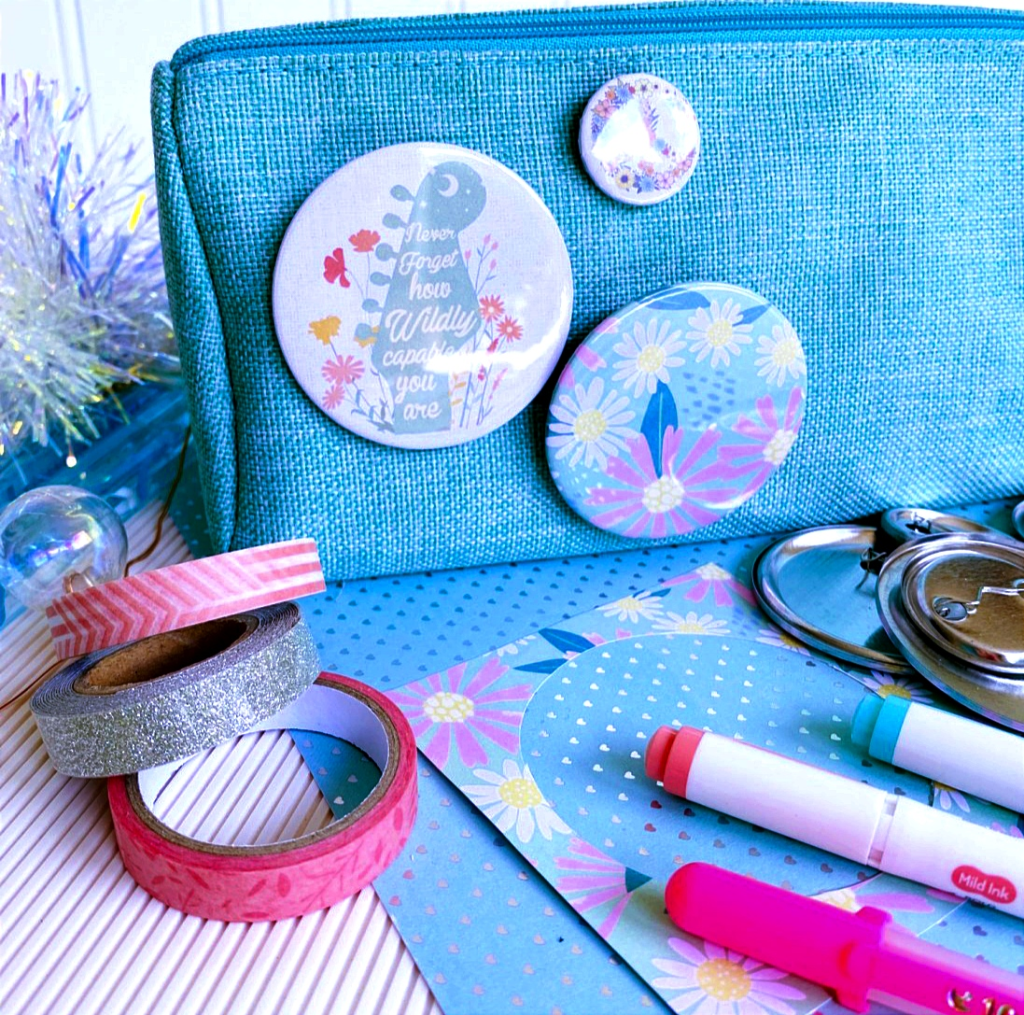
Button making is one of the most fabulous ideas you’ll ever interact with. It is not difficult to do when you have creative ideas regarding and implement the efforts for the perfect design. Even the DIY button pins look fantastic and give aesthetics wherever fastened.
But you might think, how to make DIY badge pins? This guide is a perfect shelter to teach you step by step about the DIY badge pins. Guess what? We have added the YouTube video to ensure efficient working. Follow all the steps exactly as given, and do the button-making job with the top tools!
Table of contents
Part 1: Materials and Tools to Make a DIY Button Pin
Before you land your first DIY button pin, bag all the necessary tools. Button makers, scissors, and cutters all try to be on the list. Here is the final list.
- Button making machine. The button maker helps handle the crimping and pressing of the design on the metal piece.
- Button parts. Parts include all the necessary components of a button where you can print your ultimate design. It includes plastic front sheets, pin backs, and magnet backs.
- Button templates. You can understand how your design will look on DIY button pins.
- Fabric scraps. Print your design on the cloth piece.
- Pair of scissors. After printing the design, cut it with a pair of scissors. Make the dimensions and cut them accordingly.
- Circle cutter. Instead of scissors, you can select the area with a circle cutter and cut the place.
- Glues. Adhere your cut design to the metal piece with the help of glue.
Part 2: How to Make a DIY Button Pin?
Ready to go on your first adventure with the DIY button pin design? Follow the seven steps and launch your first design.
Step 1: Create your button design
First of all, you must have the design. Here are two options you should consider.
- Button template. Do you already have some templates? If so, that is amazing, as you don’t have to input hassles in designing the printed contour.
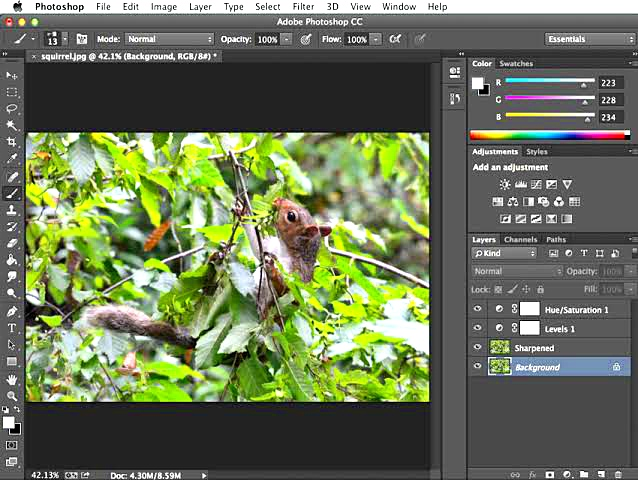
- Design manually. If you have some experience using graphic designing tools such as Photoshop or CorelDraw, go on and make your first template.
Ensure the vibrant colors and bold designs that are possible to print your fabric as well. Keep contrast colors in mind for good results.
Step 2: Print out the design
Get the fabric from a nearby shop. Get your printer ready to print the silhouettes you prepared in the graphic design tools.
- Use high-quality printing paper.
- Print the design by using suitable inks and a top-notch printer.
- Check out the pixel distortion and design feasibility on the paper.
If you have the best design with bold colors, print it out.

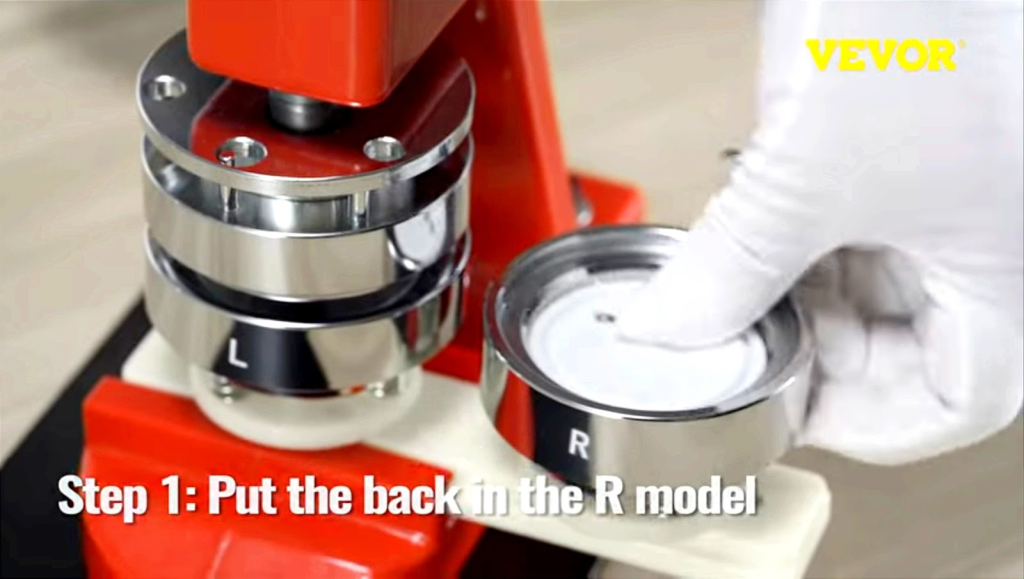
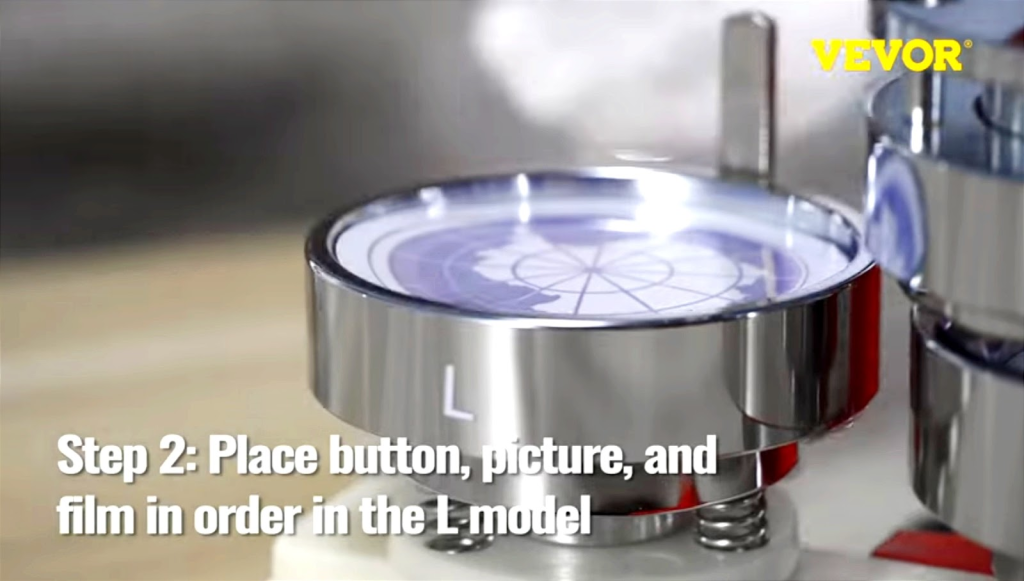
Step 3: Place your metal case and print in the machine
Get a metal case on which you attach the fabric. It can be in different sizes ranging from 1 inch to 2.5 inches or more, depending on your usage cases. Always consider the standard size of the metal case. You can modify its shape according to the button design you want to try. For example, if you need a circle-shaped button, choose the circle shape of the metal case.
Square-shaped metal cases look appealing to the eyes. Choose them if you are willing to. Now, place your metal case in the button maker. Add the piece of printed fabric to the metal case in the machine.
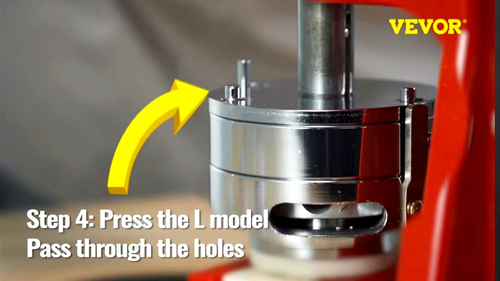
Step 4: Place the plastic film on top of it.
Let’s start the crimping task and fasten the prompted fabric to the material.
Place the plastic material on the top of the button fabric and case. It gives good stability to the workpiece and allows for a high-quality printing facility.
Stabilize the workpiece in the slot to optimize the adherence.
Step 5: Press the machine
If the metal case, printed fabric, and plastic materials are in the right slot, you can apply the pressure. Use the button maker machine to create high-pressing pressure and bring the pressing part down to this slot. Now, you can apply enough pressure to attach the fabric to the metal case and allow a good connection.
Step 6: Get your DIY button out
Have you followed all the above steps? One last is left for you to complete. Get your button out of the machine and check if it looks fantastic! There is no need for revised printing and hassles in case of good crimping.
Part 3: Tips on Unique Design of DIY Button Pin
Undoubtedly, designing extraordinary printouts is a good idea. But what if your design is large enough or your image size is not good? Handle all such problems with the following tips.
Use professional design tools
Don’t jump onto the waste designing tools. Adobe Photoshop and Illustrator are on the top. If you need the free designing tool, follow the gimp for your quick job. CoralDraw can be a center of attraction for graphic designers.
Consider vibrant colors
Fading can be a big issue. So, be the pro with the vibrant and bold colors. Choose the contrast colors. For example, if you have a white background, design a dark-colored structure. Print the light color pattern on a dark background.
Print the trendy or favorite design
Do you have some favorite designs popping out from your cerebrum? Attempt such designs. If you do not print your favorite designs, following the trends is also a good idea.
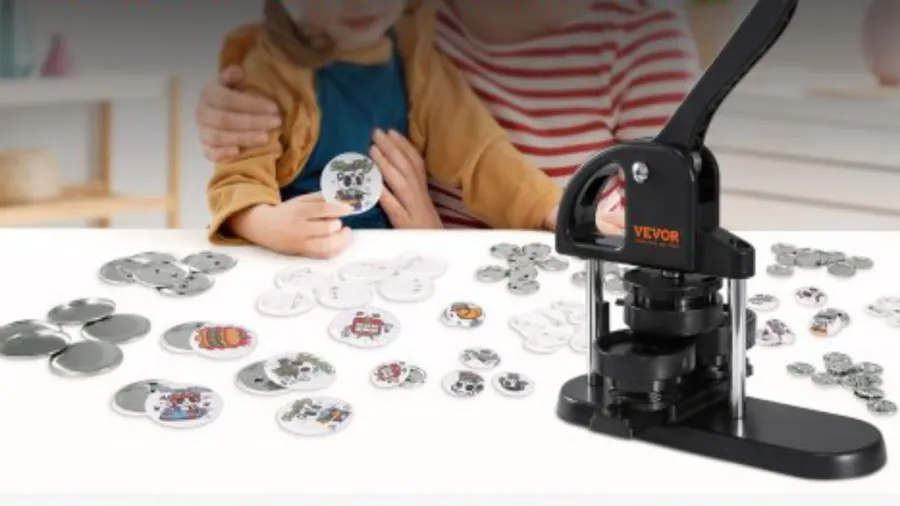
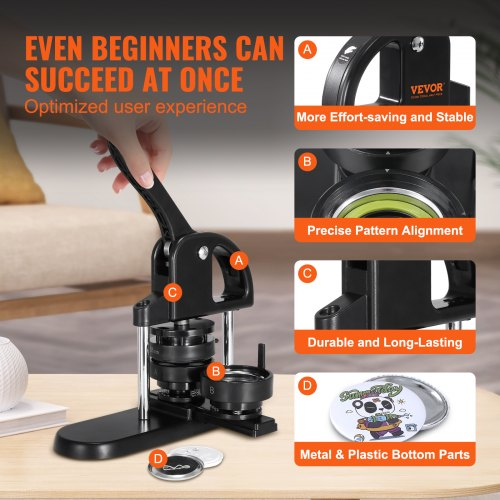
Part 4: VEVOR Button Maker: Create Unique Badges Effortlessly
VEVOR offers flawless button makers that hone the skills of experts and beginners. Handle the button-making tasks effortlessly and try different designs and colors. All VEVOR button makers come with ultimate quality and affordable costs to show you a path to success!
Features
VEVOR button maker comes with built-in features as follows.
- Complete button maker set. The button maker comes with a complete set of parts. It contains 999 PCS button parts and a circle cutter, allowing quick functioning. Handle 300 pieces within 3 hours.
- High-hardness materials. Cast iron body has a robust structure, allowing a longer life. Plus, it has a sturdy base, allowing work stability and efficiency.
- Labor-saving handle. VEVOR has kept the ergonomics in the brain when designing the button maker. The user-friendly design doesn’t let you get bored.
- Suitable for multiple applications. Be the master of pin buttons, rope ties, key chains, and bottle openers. Design your button pins at home without extra hassles.
Pros of VEVOR button makers
VEVOR button makers provide an excellent environment for your button-making activity. They offer the following benefits
Easy to use
VEVOR cares about you! How? It has designed a user-friendly button maker that is super easy to use and has advanced functioning mechanisms. Master the art of button design and show off your natural creativity.
Versatile
Don’t restrict your design to only one or two patterns. Instead, try almost every pattern that hits your vibes and suits you. Moreover, you can crimp key chains and rope ties with the VEVOR button maker.
High-quality construction
Robust material and powerful structure guarantee a long life. Cast iron offers premium support, while the strong base allows stability. Moreover, it is not going anywhere for the next decade. Get peace of mind and go easy on your pocket.
Affordable costs
Do you know why VEVOR is so famous? Lower cost yet the quality button makers! It is not a bad deal if you purchase a long-lasting button maker that never stops producing the buttons.
Part 5: Frequently Asked Questions about DIY Button Pins
1. How do I design a custom button?
Creating a 3D prototype can be a good idea. Follow the below steps for the custom button design.
- Open up your Photoshop or Adobe Illustrator.
- Create your dream design with the pen tools.
- Use the printer to get a print.
Use only the promising designs.
2. How do you make buttons with pictures?
First, you must think about your design and craft it with your design tools, such as Photoshop. Print it out on reasonable-quality photo printing paper.
Use the VEVOR button makers to crimp the picture on the button. Apply high pressure, and you’ll get the goods.
3. What kind of paper should I print on?
A high-quality printer paper is the best deal. If you don’t have that, use the photo printer paper. Using low-quality paper can distort your images. The final output will cause more issues for your design and look like the damaged printing on the paper. Therefore, use premium quality papers for DIY button pins.
4. What are the different sizes of DIY button pins?
You can find the use of many different sizes of DIY buttons. The most common sizes include 1 inch, 1.25 inch, 1.5 inch, and 2.25 inch. Based on your needs, you can choose the one that suits you the most.
Conclusion
DIY button pins need hand skills from you and perfect button makers. Mingle your creative inputs with the button makers and get the next level of satisfaction with aesthetically pleasing buttons. Get a grip on using DIY button makers by reading the manuals. Handle the troubleshooting such as crimping issues and do button making to design painting like a pro.
VEVOR button makers are a flawless addition to your button-making activity. Keep an eye on the quality, get the easy-to-use machines, and hone your DIY skills. Why wait when you have access to VEVOR button makers? Shop the top-tier button makers now!


