| Difficulty Level | Estimated Cost | Duration |
|---|---|---|
| 7 out of 10 | $700 – $800 | 6 hours |
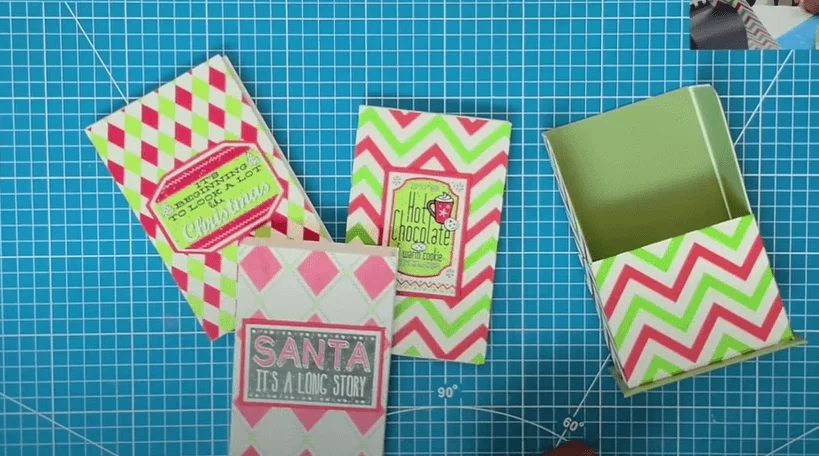
Wouldn’t having cute, colorful, functional notebooks close at hand be amazing? Today’s article is about letting you learn how to make a mini bookcase from paper that can hold three perfectly sized notebooks. You can give these notebooks as gifts to your family and friends or turn your crafting hobby into a business! That is also possible if you want to make them in bulk and sell them or display them at craft fairs.
This article aims to make your crafting fun so that you do not have to worry about cutting paper at the perfect size every time. You can easily save time and enjoy the crafting process without any hassle of measuring and painstakingly cutting the pieces of paper every time for more seamless bulk production. Paper crafting has never been this easy and fun!
What You Need for this Project
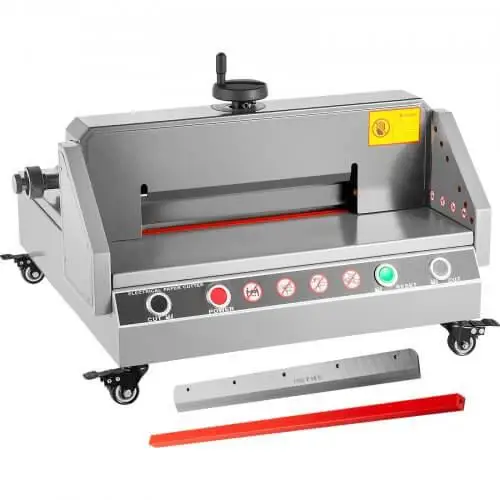
- VEVOR Electric Paper Cutter: It can perfectly cut all these required pieces of paper at your needed measurements. The cutting is smooth and easy. This machine can cut thick stacks of paper in no time.
- Sturdy art paper of different colors of your choice: The sturdy paper pieces will give the whole thing a more structured finish.
- White printing paper: These white papers will work as the actual inserts of the notebooks.
- A small chipboard: This is the base of the bookcase and will be used as a pedestal for the case to stand on.
- Sticker paper: You can collect various types of sticker papers to add design elements to the project.
- Craft adhesive: This is one of the most important parts of any type of DIY paper craft project.
Steps for DIY Bookcase for Three Notebooks
Step 1: Cutting the Body and Cover Papers
There are two separate parts of this project: 1) the notebooks and 2) the bookcase
For the notebooks, you need to cut the colorful art papers to make the notebook covers and the body of the bookcase. For that, you need to cut some specific measurements of the papers:
For the books:
- 8 x 6 inches of one piece
- Repeat for three notebooks
For the bookcase:
- Chipboard: 2 ¼ x 4 ¼ inches, as the base of the bookcase
- Side inserts:
- 1 ¾ x 3 ¾ inches of one piece
- 2 ⅞ x 3 ¾ inches of one piece
- 3 ¾ x 7 ¼ inches of one piece
- 1 ¾ x 5 ⅞ inches of two pieces
- Body portion:
- 7 ⅝ x 12 inches of one piece
Final bookcase measurements:
- Width: 3 ¾ inches
- Height: 6 inches
- Depth: 1 ⅞ inches
If you are looking to start a business by creating mass production of this project, you can use an electric paper cutter to cut all the same-sized pieces together for your convenience.
Step 2: Cutting Multiple Layers of Paper at Once
To make the inside pages of the notebooks, you will need an electric cutter that will cut through all the layers of the paper at once. This will help you save time by smoothly and absolutely perfectly cutting all the papers. For this task, VEVOR Electric Paper Cutter is the best choice. The cut pieces of paper will be all perfectly equal in size, with a great finish on all the cut edges of the papers.
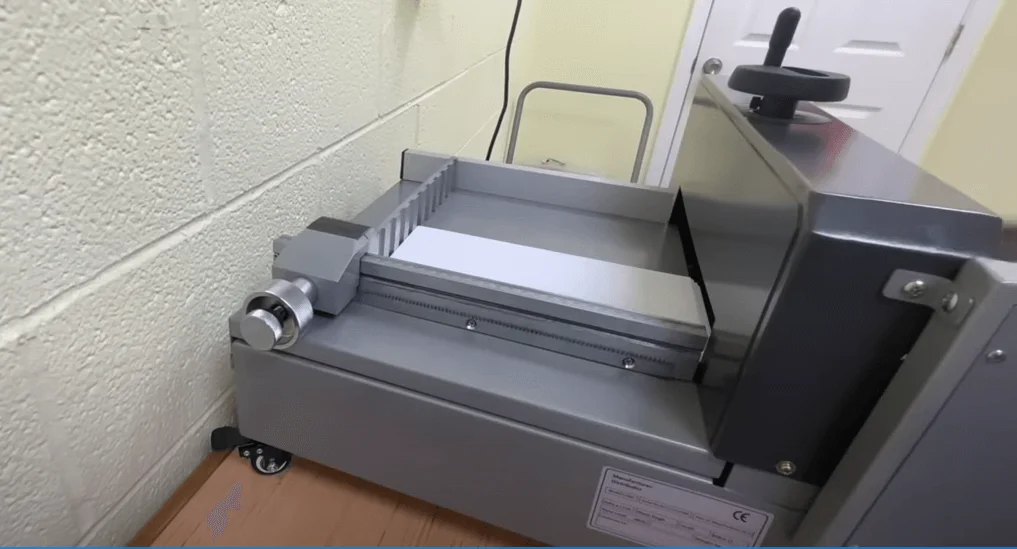
- You will need to follow the safety measures and switch on the machine only when the papers are correctly inserted in the tray behind the machine.
- The crank on the back is there to help you set the measurement at which you want to cut the stack of paper. You need to cut the stack at 3 ¾ x 6 inches in dimension.
- After setting the measurement, rotate the crank at the top of the machine to bring the blade down.
- After that, switch on the VEVOR electric cutter and press both the cut button on both sides of the machine. Make sure to keep your hands away from the laser.
- After the paper is cut, turn off the machine for safety and crank the blade upward so that you can get the perfectly cut paper out.
This electric cutter is a great choice if you need to use a paper cutter regularly enough. It is a must if you want to make crafting a career. Creating perfect-quality bulk orders and items is only possible with a good-quality electric paper cutter.
Step 3: Assemble the Notebooks
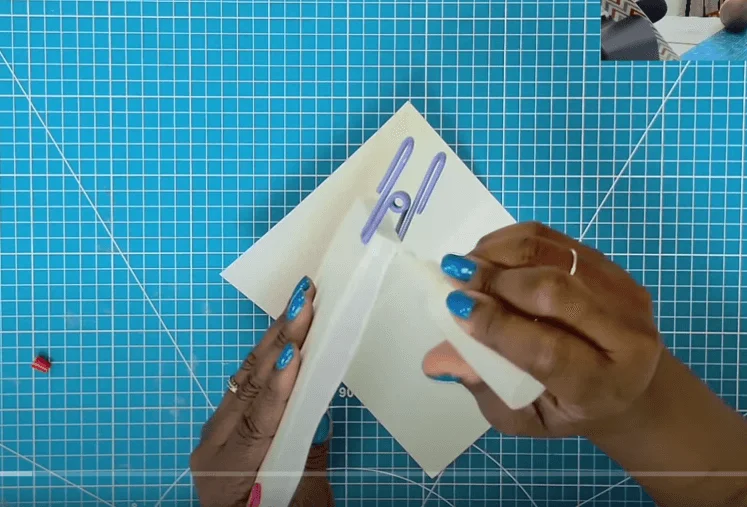
Take the paper meant for the cover of the notebook and scour and fold the paper to create front and back covers with a narrow spine that will hold the stack of white paper that you have cut with the VEVOR paper cutter.
1. Scour and fold the book cover as per the measurements 3 ¾ x 6 inches from both sides.
2. Clamp the white papers together with clips to hold them together. There should be around 70 pieces of paper in each stack.
3. Add crafting adhesive to the narrow middle part of the cover as well as the side of the stack of white printing papers.
4. Stick the stack inside the notebook cover and press the joining point flat to avoid any irregular part.
5. Remove any page that has glue in it.
The notebook is complete. Use sticker paper to make a name for the notebook and attach it to the front of the book. Repeat the same process to make two more notebooks.
Step 4: Make the Bookcase
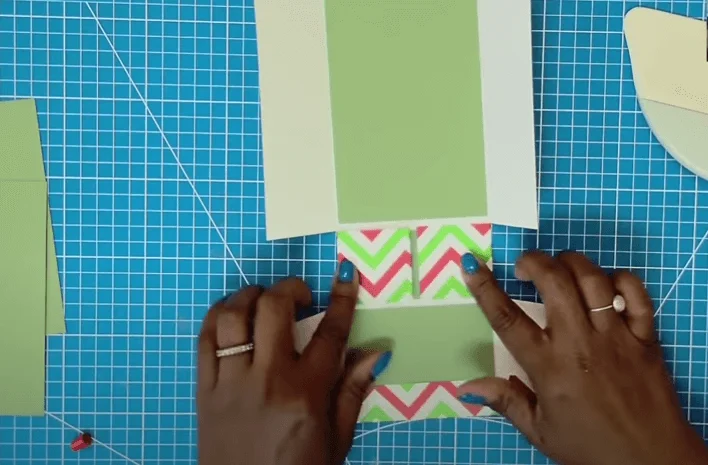
1. Take the largest piece of art paper and scour it lengthwise at 1 ⅞ inches from both sides. Now, taking the same piece widthwise, scour from one side at 1-inch, 4-inch, and 5 ⅞ inch marks.
2. Fold the scoured parts of the paper perfectly.
3. Now, separate the flaps at the small rectangles created by the scoured parts to help fold the piece over.
4. Use the smallest piece of 1 ¾ x 3 ¾ inches that you have cut to place it at the bottom of the case,and use the 2 ⅞ x 3 ¾ inch-piece at the shorter part of the base layer. Attach these pieces with craft adhesive.
5. Cover the inside of the rest of the portion with the remaining paper piece.
6. Construct the bookcase by gluing together the side flaps and bottom flaps. Insert the narrow strips of cut paper of 1 ¾ x 5 ⅞ inches on the inside of either side of the box.
7. For the pedestal, take the chipboard, cover it with colorful paper using glue, and place the bottom of the bookcase on the pedestal. Make sure to keep the box centered.
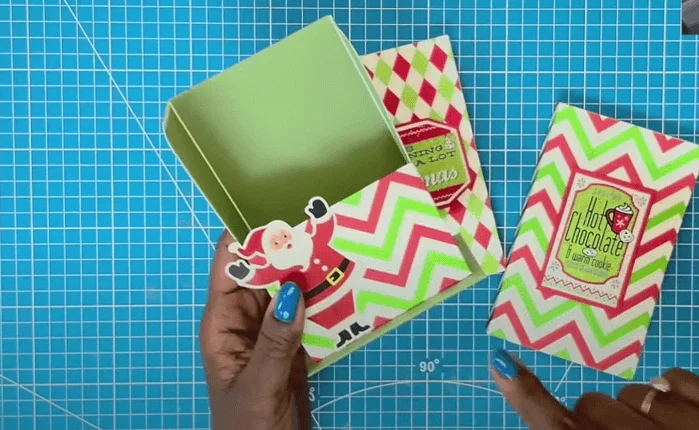
There you have it. The bookcase is ready, as well as the notebooks. You can now place the notebooks inside the bookcase and make them ready for display!
Additional Tips and Ideas
For your own personalized bookcase with notebooks, you can use different types of decorations to increase the attractiveness of the case. As you are using an electric cutter to cut all the parts of the craft project perfectly, you can use this time to come up with various ideas to improve the design.
● You can apply stickers and strips of paper to create unique designs on the outer part of the bookcase.
● Use other electrical and manual paper cutters that can add artistic value to your work through the use of patterns and designs.
● Use personalized lettering to make the item more endearing to your customers at craft fairs.
● You can include a space so your customers can buy the item and write their little messages to give as gifts to loved ones.
● You can make this in different sizes to appeal to different types of people.
● Make the bookcases in themes to increase the chances of popularity as a gift item.
● Use bright colors to attract the attention of customers, especially if you are taking your crafts to a craft fair.
Conclusion
If you can take the thing you love as a hobby and use it to earn money, what can be better than that? If you love arts and crafts and want to use creativity to produce items that can be sold, you need a battle plan. As paper crafters, it is not easy to cut all the necessary pieces of paper with manual cutters. If you are serious about starting your own paper-cutting business, investing in an electric paper cutter is a good choice.
The bookcase with the three notebooks can be a perfect gift to someone who likes to write down their to-do lists, insert diary tidbits, and simply love cute and colorful crafty things. If you are a little patient and organized, you can make this item in your own style. And if you want to apply mass production of this bookcase, you have to start investing in some good instruments to work with.


