
Is your table saw blade carbide tipped? Chipped? Or plagued with burn marks? Does it feel tougher to cut items with your table saw blade? Maybe you know your table saw blade needs sharpening but are tired of sending it out. Whatever your table saw blade sharpening needs are, there’s no need to worry. This complete DIY guide will give you all the necessary details to maximize your blade’s efficiency and durability.
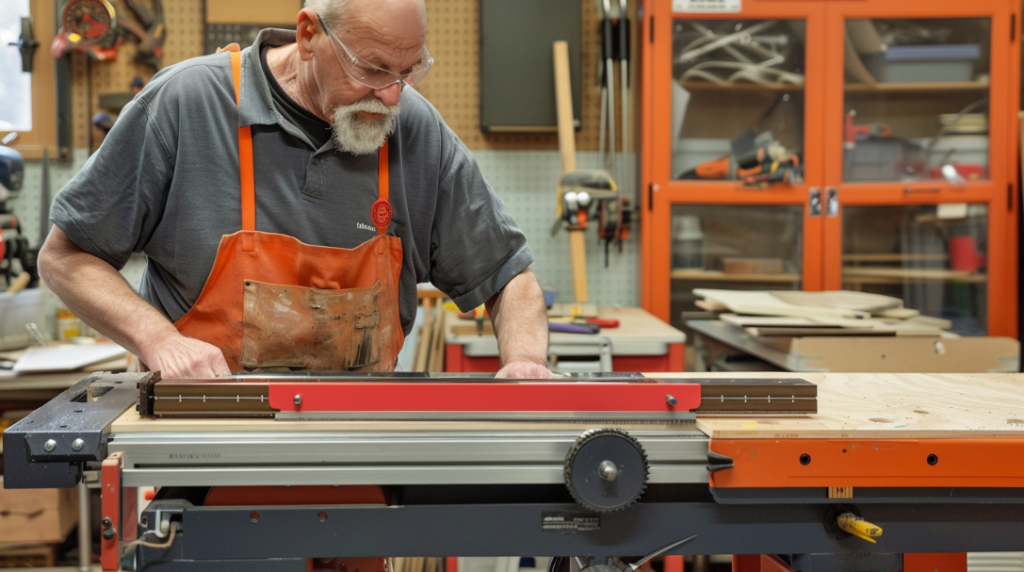
As a woodworker, table saws are among the most powerful tools for your workshop, home, or job site. However, to ensure efficient and effective cutting, you want to invest in a reliable table saw. To ensure you are getting the perfect product, consider investing in any of VEVOR’s table saws. VEVOR is a brand renowned for producing top-notch quality consumer products. Moreover, the brand’s slew of high-quality and durable table saws is versatile for your woodworking needs.
Table of contents
Recognizing the Need for Sharpening
Want to know if your table saw needs sharpening? Here are the telltale signs of a dull blade, plus when to opt for sharpening over replacing your table saw blade.
Telltale Signs of a Dull Blade
Knowing when to sharpen a saw blade can save you money and time. Doing so too soon could damage a perfectly functioning saw blade while delaying too long could take the blade beyond the re-sharpening phase.
Your table saw blade is likely ready for sharpening if:
- Cuts move frequently off the line
- There are burn marks
- Cutting takes longer
- There are increased motor strains, or
- Increased chippings or tear-out
One of the earliest signs your blade needs sharpening occurs when cuts move frequently off the line. A dull saw blade will likely produce more chips and tear out along the cutline, making it tougher to produce smooth cuts to taste.
Burn marks on the edges of the woodwork after sawing are another sign your blade needs sharpening. Similarly, if it takes longer for a saw blade to cut, it might be the perfect time to plan a DIY re-sharpening weekend.
Assessing Your Blade’s Condition
Once you’ve figured that the saw blade is performing below par, the next question you want answered is, ‘Do I sharpen my blade or replace it?’ The answer generally depends on the extent of damage, your interests, and how much resources (in time or money) you have in your hands.
If the blade has broken or missing teeth, or if the carbide tips are damaged beyond repair, it might be the right time to replace it. Also, if you’ve sharpened your blade severally and it still cuts efficiently, it’s likely worn out and requires replacement.
However, if the blade is only blunt but still in good physical shape – with no missing teeth or deep corrosion, sharpening is an excellent way to revamp the saw blade. Meanwhile, if you use your saws often, sharpening a saw blade is more cost-effective than purchasing a new one.
Also, it’s easier to replace cheaper saw blades than more expensive options. Consider how frequently you’ll use the blade, the money you’ll spend on getting a new blade over sharpening it, or how much time you have for a task, and you can readily tell whether to go for a DIY re-sharpening or replace the blade.
Sharpening Methods
Sharpening a table saw blade successfully isn’t as complex as it might sound if you’ve never sharpened one yourself. Some of the most straightforward sharpening methods include:
- File sharpening
- Diamond blade sharpening, and
- Other DIY methods.
Check out any of these table saw sharpening techniques and see which might best fit your situation.
File Sharpening Technique
Items you’ll need to sharpen a saw blade using a file successfully include:
- One file
- Tape or marker
- Safety gloves and glasses
- Table clamp
While sharpening with a file is a significantly slower procedure; it offers a higher chance for individual sharpening accuracy. It’s also cheaper than using a diamond blade since it involves more affordable tools.
To begin file-sharpening a blade, label the beginning tooth so you know when you’re done and avoid over-sharpening a tooth. Note the first saw-tooth’s angle against your file’s angle while placing them against each other. Then, you’re ready to file the tooth in long, smooth strokes. Complete four backward and forward strokes, each fitting the saw-tooth’s initial angle.
Regularly monitor the tooth’s sharpness after each cycle of strokes to see if it matches your taste. Note the number of stroke cycles that satisfactorily sharpen the first tooth and replicate the same all around the teeth. That way, you can ensure smooth cuts when your sharpened table saw hits the woodwork again.
Diamond Blade Sharpening
Diamond blade sharpening offers a quicker route to revitalizing a saw blade’s efficiency, although it requires more expensive equipment. Also, you can use a single diamond blade several times and save a lot of money, if you use your blades frequently. Fortunately, VEVOR saw blades are highly compatible with diamond blade sharpening that gets a saw blade feeling new in a matter of minutes.
To use this method for sharpening a saw blade, you’ll need:
- One continuous-ring diamond blade
- Safety gloves and glasses
- One jig
- A pair of earplugs or safety earmuffs
- A dust mask respirator
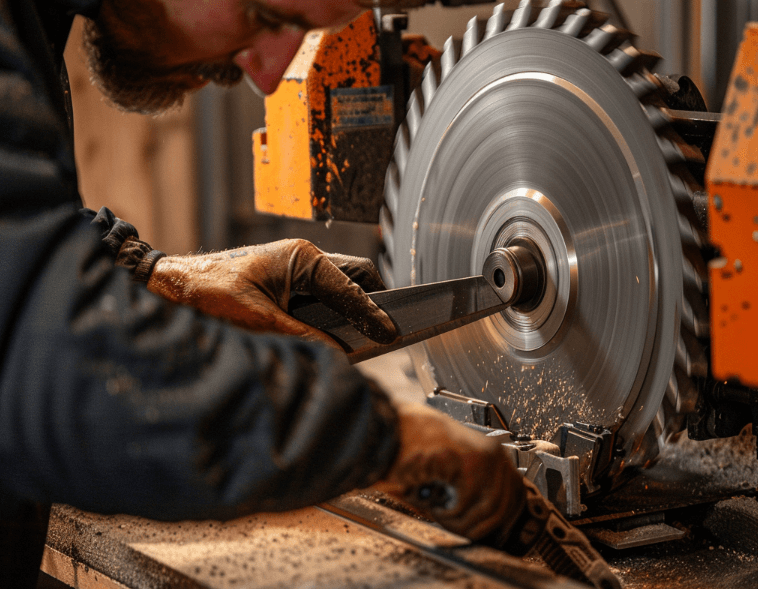
First, remove the blade from the saw to secure it or restrict its movement during sharpening. Remember, a blunt blade is still a blade and could hurt or cause serious injuries. You can do this via a blade release switch or by loosening the arbor nut using a wrench.
Once you’ve moved the blade, replace it with a diamond blade and hold the diamond blade using a switch or wrenched nut. Ensure the blade isn’t too tight or too loose to avoid bending the blade or a shaky blade during sharpening.
Mark the tooth you start working on so you have even sharpening all ’round the teeth. Next, switch on the saw and bring the rotating diamond blade close to the marked saw blade teeth. While doing this, ensure the blade’s inner edge is in contact so all potential carbide layering responsible for bluntness is sharpened effectively. Move on to the next tooth and repeat the process until you’re done sharpening them all.
DIY Sharpening Methods
An excellent DIY method of sharpening a table saw blade leverages high-quality sandpaper. Tools you’ll need for this technique include:
- Wood lubricants (e.g. oil or other lapping fluid, etc.)
- Scrap wood
- Table clamps
- Tape or marker
- Safety gloves and glasses
- High-quality sandpaper

Begin by locating or cutting a small piece of scrap wood. The wood should have a sharp edge that fits between the saw teeth, yet big enough to fit comfortably in your palm. Glue the sandpaper around the board, creating a sanding stick that perfectly fits between your blade’s saw teeth.
While applying a lubricant to your sandpaper is optional, it can extend the sandpaper’s lifespan so that you don’t have to replace it often as it travels around the blade. Next, mark the first tooth you want to file and begin sanding. Depending on the sanding grit and intensity, it could take between 5 and 10 sandpaper strokes to fully sharpen the tooth. Once you note how many strokes sharpen a tooth to shape, you can replicate the process on the remaining teeth.
Avoid sharpening using worn-out sandpaper since the metal saw blade will soon wear it out. You also want to regularly monitor its lubrication and re-oil it as necessary. Once you’re done honing the teeth, use the blade to cut a piece of wood to test the sharpness. You also want to regularly inspect the lubrication and re-oil as necessary.
Testing and Re-installing the Blade
The next step is to test and reinstall the blade. To achieve these goals, follow the steps provided below.
Verifying Sharpness
After honing the teeth, it’s time to test the blade’s sharpness on a VEVOR table saw. One way to do this is to cut a piece of wood and run the saw over it. Telling the difference between its previous and current sharpness should be pretty straightforward. If there’s no difference, review your sharpening technique and attempt sharpening the blade again. But if you’re satisfied with the new sharpness level, it’s time to re-install the blade.
Blade Reinstallation
Re-install your table saw blade by securely fastening it or aligning it correctly. If there are clamps (such as in handsaws), release the clamps and store the saw in a safe place. When re-installing the blade, ensure the teeth face the right direction. But if you’re purchasing a saw blade from VEVOR or other reliable manufacturers, you’ll find the information on installing the saw blade in the instructional manual or on the blade itself.
Maintenance Tips for Longevity
Regardless of the blade type you choose, failure to maintain it or store it safely can shorten its lifespan, having you replace it sooner than you expected. Here are some leading maintenance tips to ensure blade longevity.
Regular Cleaning
Ensure the table saw is cleaned and sharpened properly. You also want to keep an eye on the blade edges so there’s no sign of rusting or carbide layering within the edges and crevices. Even the minutest rust or layering can build up to significantly impact the blade’s usability and quality.
Proper Storage
The best way to ensure your blades last a long time is to always store them in a safe place away from their usage area. Keep dust and moisture away to avoid dulling or damaging your equipment. The ideal storage conditions keeps blades safe for extended periods and longer in-between sharpenings. You can also purchase storage racks (wooden frames) to safely keep your saw blades when not in use.
FAQs on Sharpening Table Saw Blades as a DIY-er
You probably still have unanswered questions about table saw blade sharpening solutions. Here’s a handy FAQ section you want to check out.
What Are the Signs that Indicate a Table Saw Blade Needs Sharpening?
A table saw blade needs sharpening if it frequently produces rough cuts and frequently moves off the line, has burn marks, or takes longer to cut. Other signs a table saw blade requires sharpening include increased tear-out or chippings and increased motor strains.
Can I Sharpen My Saw Blade Myself, and What Equipment Do I Need?
Yes. Anyone could sharpen a saw blade themselves using the right set of equipment and basic sharpening knowledge. Depending on your preferred DIY technique, you’d need equipment like sandpaper, a file, or a diamond blade. You’d also need tape or markers, safety accessories, table clamps, and wood lubricants.
How Many Times Can a Table Saw Blade Be Sharpened Before It Needs Replacement?
A high-quality table saw blade can last six months to a couple of months, depending on its quality, usage, and tooth count. While a high-quality blade may go for three or more cleanings before needing sharpening, it can go three or more sharpening before it needs replacement.
Is It Possible to Sharpen a Damaged or Chipped Table Saw Blade?
Yes, you can always sharpen a damaged or chipped table saw blade – as long as it’s not severely warped.
Summing Up
If you’ve ever asked, ‘Can table saw blades be sharpened?’ This review has cleared your doubts. A sharpened saw blade might be the difference between quickly finishing a task with high-quality work and having to leave messy edges while working slowly. Sharpening also saves you from searching too far for a suitable replacement, not to forget the cost of replacing the saw blades.
Thankfully, you can readily learn to sharpen a table saw blade without requiring the services of a professional. Besides saving you money and time, it can beautifully complement your pastime or profession should you sharpen for others as a service.
Note that it’s pretty straightforward to sharpen steel blades using a file. However, carbide blades are tougher than steel blades and would require commercial diamonds for effectively sharpening. Regardless of your unique blade sharpening needs, having quality table saws from manufacturers like VEVOR is vital for a successful woodworking experience. Visit VEVOR today to purchase top-quality table saws and rest assured of more efficient and durable sawblades you can easily use to complete your woodworking tasks.


