| Difficulty Level | Estimated Cost | Duration |
|---|---|---|
| 8 out of 10 | $65-$75 | 25 Minutes |
Discount codes : “ContentV5” to save 5% off!
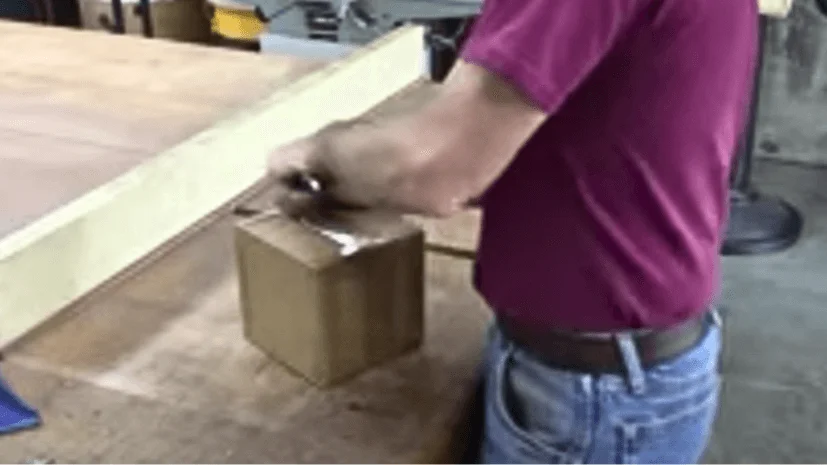
Hats off to a jaw chuck tool for any woodturner to keep wood in one place while crafting your piece. A clamping device delivers a stable force for a safe and accurate turning and cutting on multiple complex components that were difficult for a machine to handle.
Any woodturner who wants to live up to his customer expectations needs an excellent jaw chuck. The problem arises when you’re a beginner, and you’ve many types of chucks, but their uses vary based on their types, and they end up using the subpar chucks that make their work harder. VEVOR introduces three jaw chucks for the hexagon and round workpieces that best handle irregular pieces and accurate centring.
Choosing the suitable chuck to mount your rotatory table or whether you’re planning to turn intricate bowls, ornaments, or spindles is imperative. Here you only need a VEVOR three-jaw chuck proven to be cutting-edge. This article is for those who love to mount their rotatory table differently.
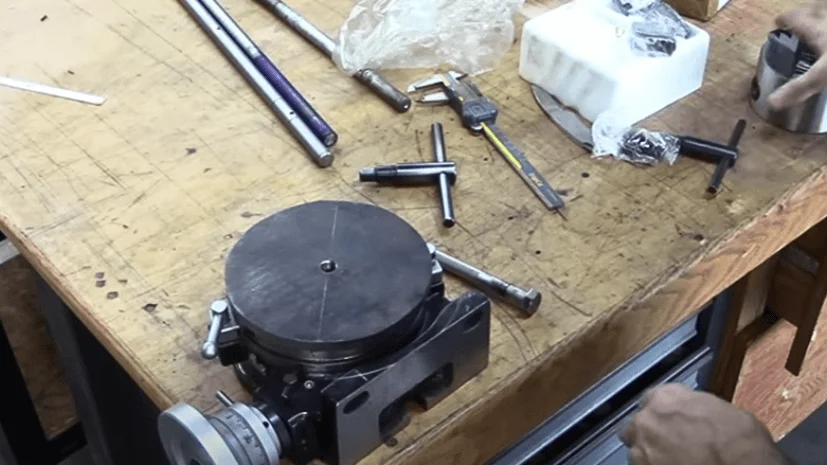
Unboxing and Review of the VEVOR 3-Jaw Chuck
First, open the VEVOR 3 Jaw Chuck package and spare a minute to see which exciting things are inside for you.
Upon buying a VEVOR 3-Jaw Chuck, the package contents you’ll get are the following:
● 2 Jaws ( for inside and outside)
● 1 Plate
● Three Mounting Screws
This VEVOR Jaw chuck allows welders to construct high-quality welds while slowly increasing speed and productivity and reducing fatigue.
The outstanding feature of this device is that you don’t need to keep it centred all the time while crafting a masterpiece because whenever you want to offset the chuck on your rotating table, remove the stud, and upon again installing the stud, it’ll index to your rotatory table.
You’ll get round and hexagonal work with accuracy. Furthermore, if adjusted by the chuck, you can move this three-jaws chuck simultaneously. Is it, not a great deal to make the plate and chuck fit on your welding positioning table?
How to Mount the VEVOR 3-Jaw Chuck to My Rotary Table?
After gathering the components, it’s time to mount the VEVOR 3-Jaw Chuck to your rotatory table. We need to prepare the plate first, without wasting further, let’s get down to work and follow some steps:
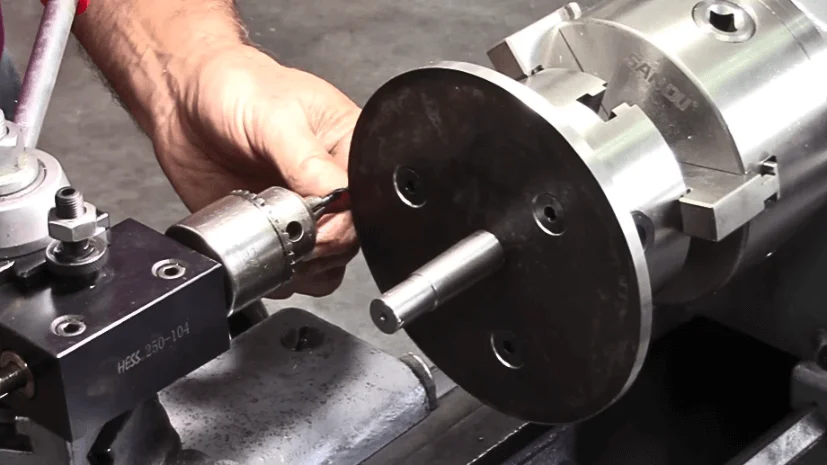
1-Preparing A Plate
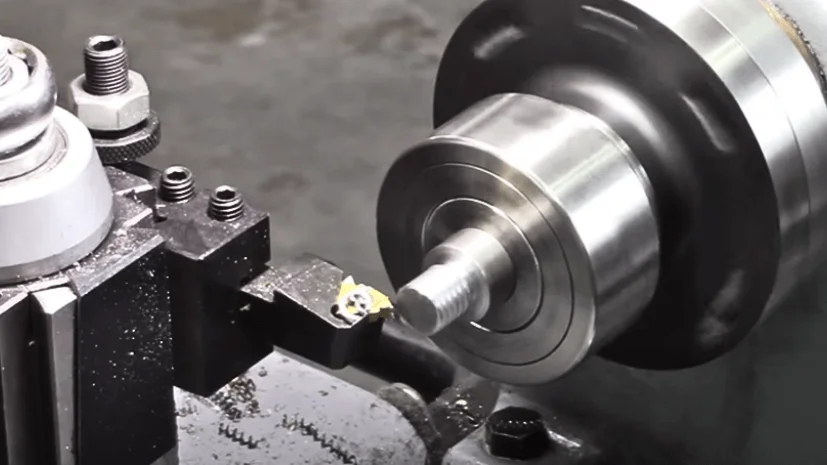
Take the rough round from the centre after putting the stud into the plate to screw it before adjusting it to your rotatory table. Use a lathe to perform different cuts on the turning stud on your rotatory table. To fit parts correctly, you must make it half an inch and cut 13 threads.
Now adjust the plate to your chuck, and from the edge, make a few heavy cuts until you get the same diameter of the plate as your rotatory table. Maybe you’ll get the same measurement as your rotatory table but mind it; it’ll not be enough.
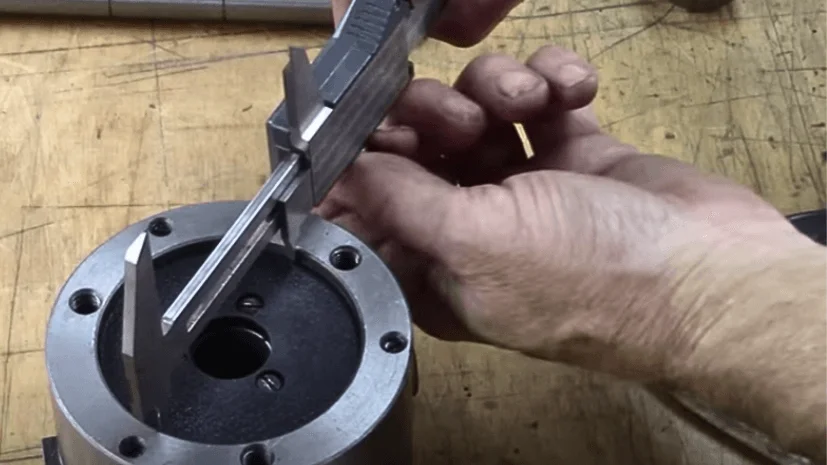
Now measure your outside chuck, for example, if the outer side of the chuck is 2.834 inches then you have to cut your plate to eight an inch to make the outer edge a quarter inch thick.
Upon raising the middle section, the section will be accommodated inside the chuck. Don’t forget to measure the plate diameter while cutting. Likely if you get a diameter of 2.869, you need to count 17 000 more cuts to fit your chuck. But it’s not the end here.
Afterwards, you need to do something differently to insert your chuck. Put the ledger on the centre of the threaded rod, but before doing anything further, make sure to know about the diameter of the bolt circle, whatever takes half of it. If the bolt circle is 3.31 in, half of it’ll be 1.655; now, take the 16 turns out of 55 thousand from the rod and start cutting. So, it’ll be the diameter of the bulk circle.
2- Drilling Holes
Now, you need to drill the holes in the plate and, with the help of a drill post and an indexing gear, make three holes at the points where you determined the circle’s diameter. To accurately drill the holes, use an indexer with 48th teeth, red and black dots.
Throw the spindle out and put on one red to start drilling the first hole, count two for the second hole and three reds for the third hole. Doing this, it’ll give precise measurements.
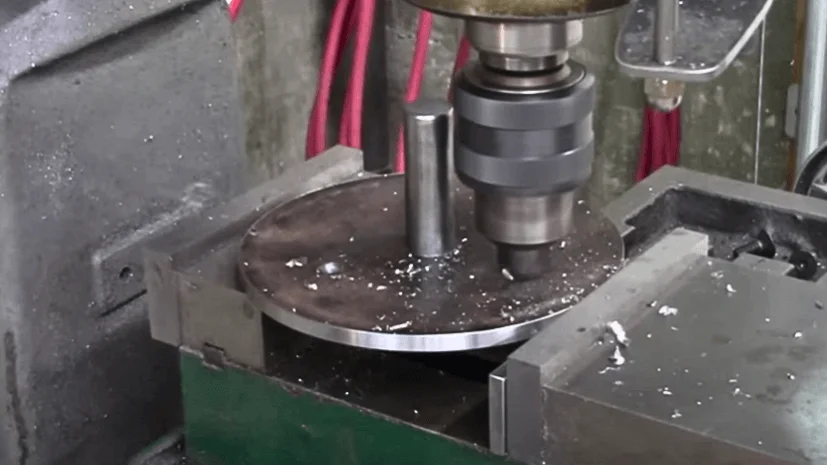
Take out the plate and make a perfect drill with the drilling machine.

After making refined holes, let’s tighten the plate with screws.
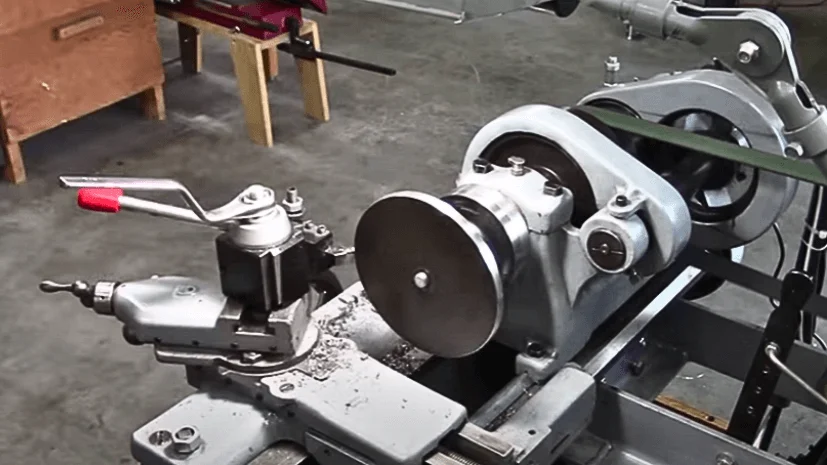
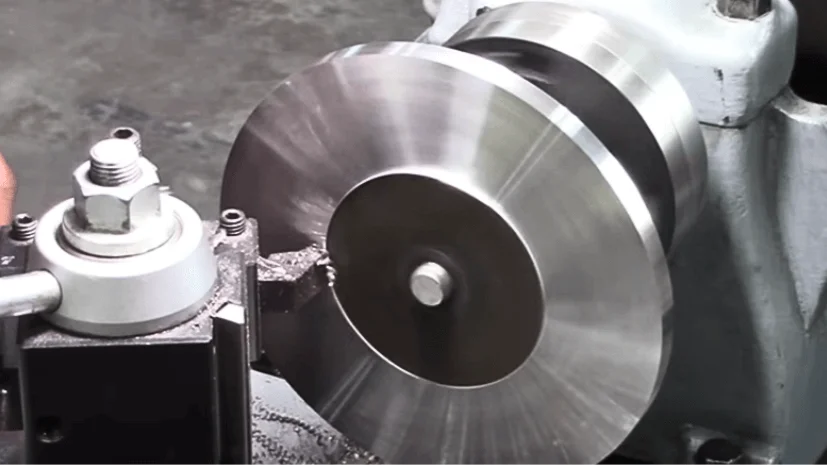
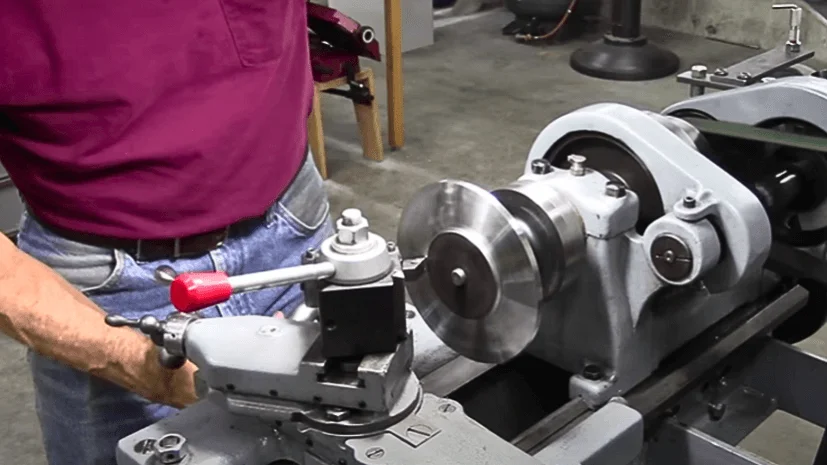
3-Taper Cutting
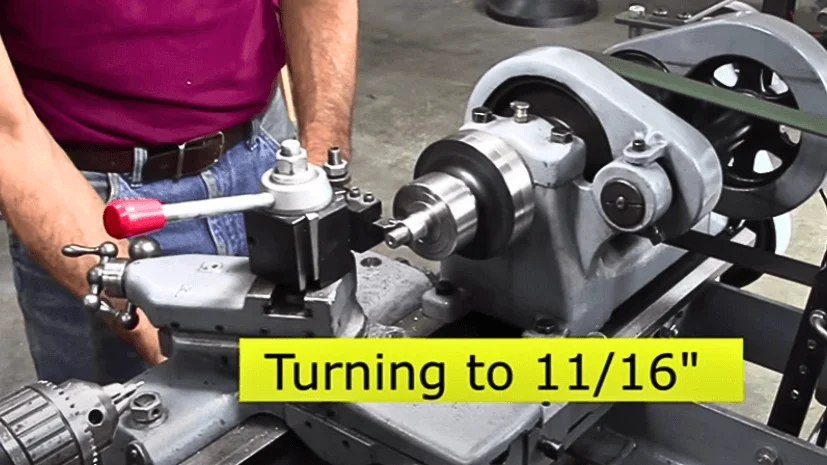
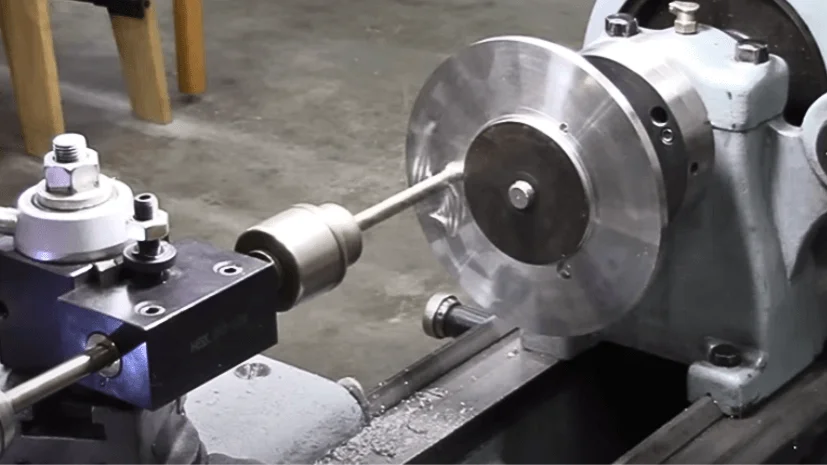
So, now the next step is taper cutting on the rotatory table. Take out the taper, and turn it down to 11 sixteens so the rotatory table will easily grab it while cutting, for the taper cutting process, drill a centre. After drilling, flipping the pin and replacing the collet with an 11/16 collet.
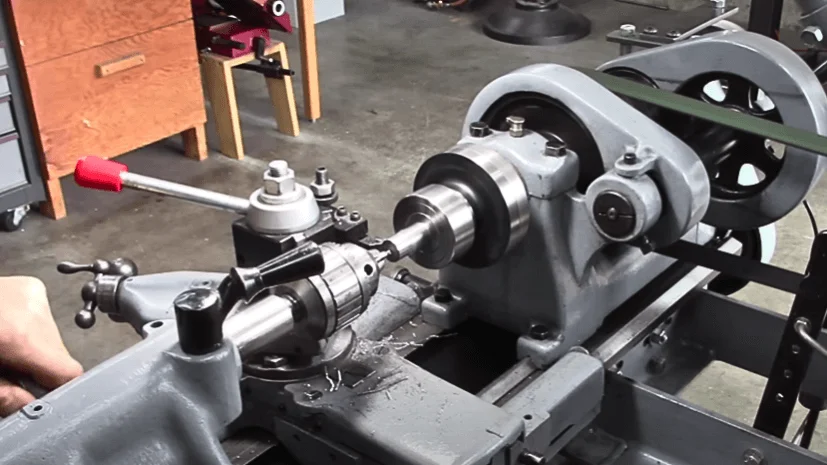
Again start drilling from the edges and the centre.
Upon getting the deep centre now, it’s time to define a taper, so it’s better to mark the angle on your ledger and continue the work on the rotatory table to achieve the desired taper.
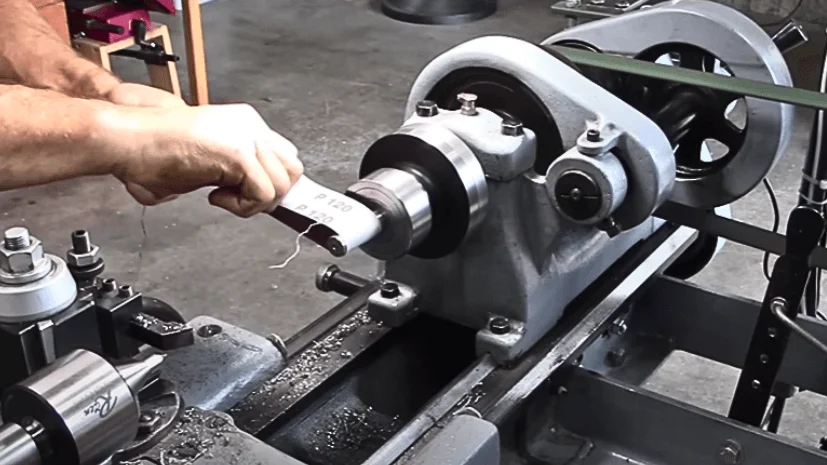
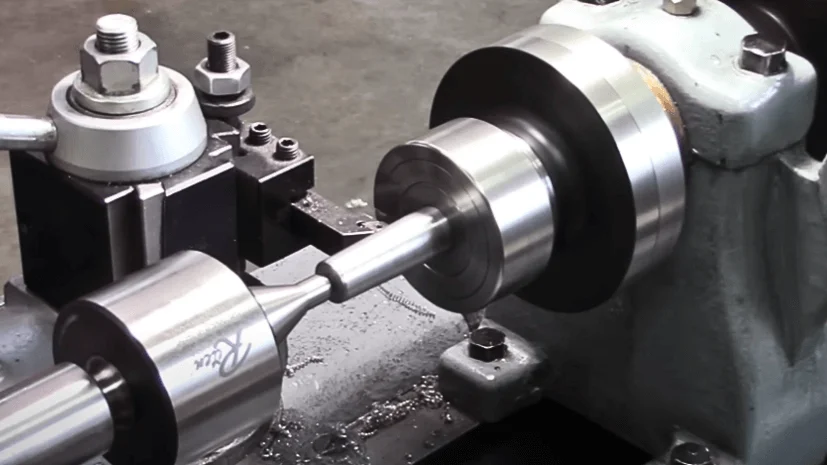
And before achieving the final taper-cutting result… Install the taper into the rotatory table, rub off the emery cloth, and unscrew it from the face plate while grabbing it with a pair of pliers.

4- Adding T-Nuts
The last and final step is to add nuts into the holes. Offset the chuck, place it on the rotatory table, fix the nuts, and make holes for T-nuts. If you have a lathe, it’s recommended to do it on it using the index gear.
For chuck offering and accessibility, take a limited range of half an inch to drill the holes from the edge. Follow the black mark on the indexing gear for precision, place the drill tip on the plate’s edge, and use the dial to measure back 5/8 inches.
What you need for this project/Items required for this project
The tools which you’ll need for this process are:
● Index Gear
● Lathe
● Post Grill Tool
● Rotatory Table
FAQ About Rotary Table with Chuck
1-How does a rotary table work?
Rotary tables are precision devices that are ideal for positioning work. Metal workers use such tables to simplify the drilling process. Metal workers can also use rotating tables to cut pieces on fixed axes at specific intervals.
2-How do chuck jaws work?
The jaws of a chuck are inserts that fit into the chuck and hold the workpiece in place.
3-How does a three-jaw chuck differ from a two-jaw chuck?
Due to the longer collet chuck, 3-jaw chucks are more suitable for machining longer workpieces. Due to the lighter weight of collet chucks, the spindle spins faster and is less stressed.
4-On a wood lathe, should I use a three-jaw chuck?
When working with round stock, it is easier to centre your work automatically with a three-jaw chuck. A four-jaw chuck, however, is more convenient to use when turning off-centre pieces of stock, such as square stock or other irregular shapes.
Conclusion
This VEVOR jaw chuck comes with manning screws and external centre jaws. It is impossible to beat VEVOR jaw chuck at this price point. This product is easy to install and gives high-quality welding. Construction. A great discount is on your way upon buying VEVOR products by applying the code VVSHARE.


