| Difficulty | Estimated Cost | Duration |
|---|---|---|
| 6 out of 10 | $500 – $600 (Depends on the area and project size) | 2 to 3 Days |
Installing a hand pump is a practical and cost-effective solution to access groundwater in areas where electricity or other modern water supply systems are not available or reliable. You can manually operate this device which is a true lifesaver when your area has extreme issues regarding electricity or power outages. In this modern world, the use of handpumps has increased to a notable degree due to their resilience and self-sufficiency. Therefore, learning how to install hand pumps using simple tips and techniques is essential.
This article will guide you about the do-it-yourself (DIY) installation of hand pumps. By learning proper DIY projects of hand pump installation, you must improve your valuable knowledge and skills so that you can easily save money on installation costs. So, without any further delay, let’s get into the discussion about the installation process of this tool, the importance of using it, the things you will need for the installation, and a total step-by-step installation guide.
Required Tools and Materials for DIY Hand Pump Installation
You must get some materials before you begin the DIY hand pump installation project. Collecting the right tools and materials will help you to save time and make the installation process safe and smooth. Besides, you must remember the quality of the materials you choose for the project. Good quality materials greatly influence the longevity and performance of the hand pump.
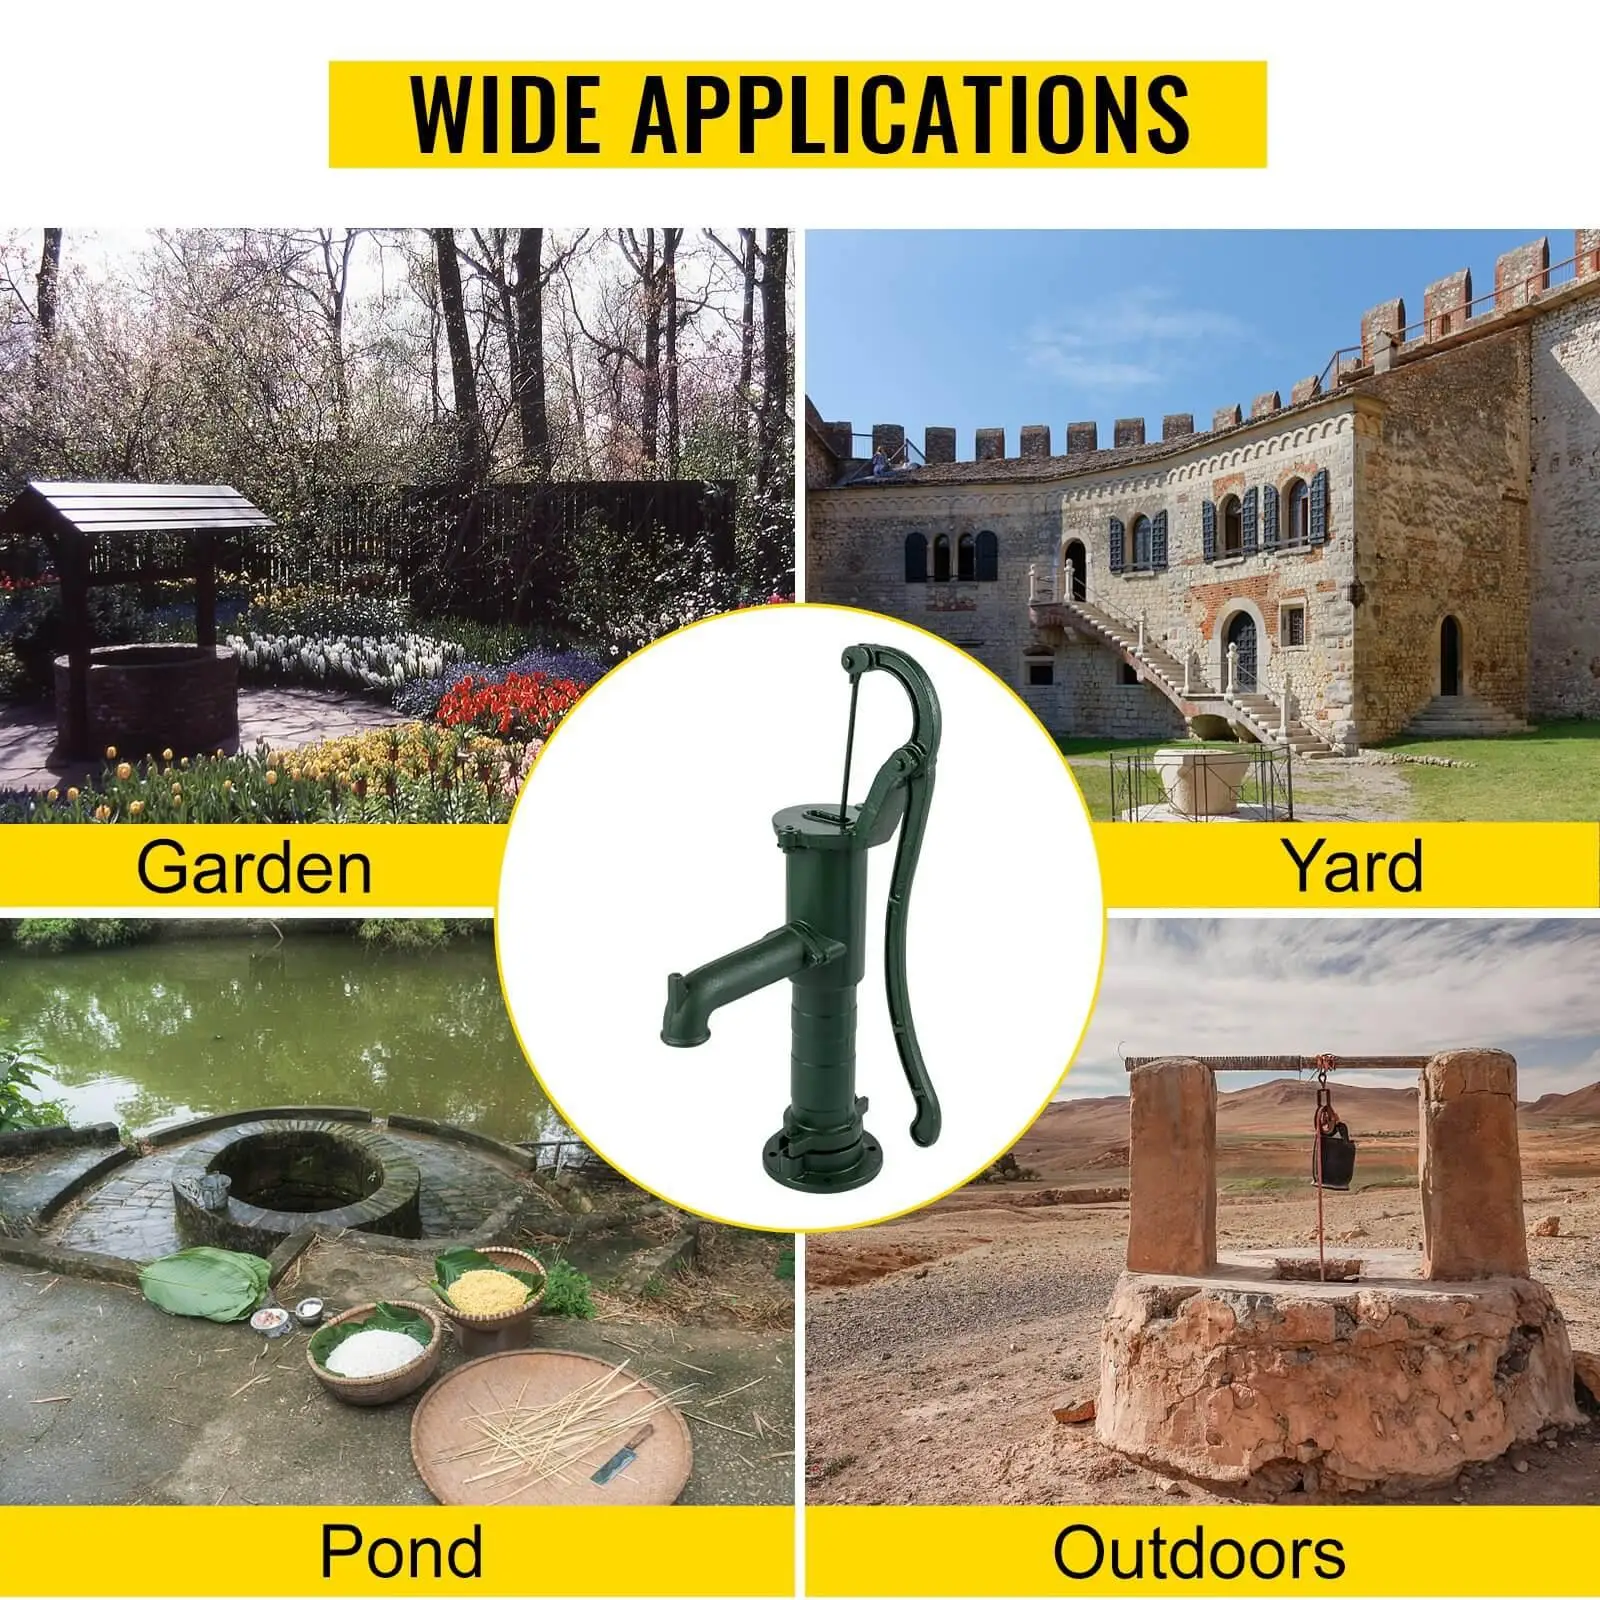
1. VEVOR Antique Hand Water Pump
First, you should get an antique hand water pump from VEVOR that adopts a retro design. This hand pump is truly impressive and beautiful. It takes a little time to pump the well water by shaking the handle up and down. This tool is made of cast iron which gives it amazing durability and sturdiness. You don’t need to worry about assembling and disassembling this hand water pump. The screws in the mount package will help you easily complete the installation process within a few minutes. Furthermore, it is equipped with an ergonomic handle that saves the time and effort of the user. The VEVOR antique hand water pump features make it a great choice for using your family ponds, gardens, and courtyards.
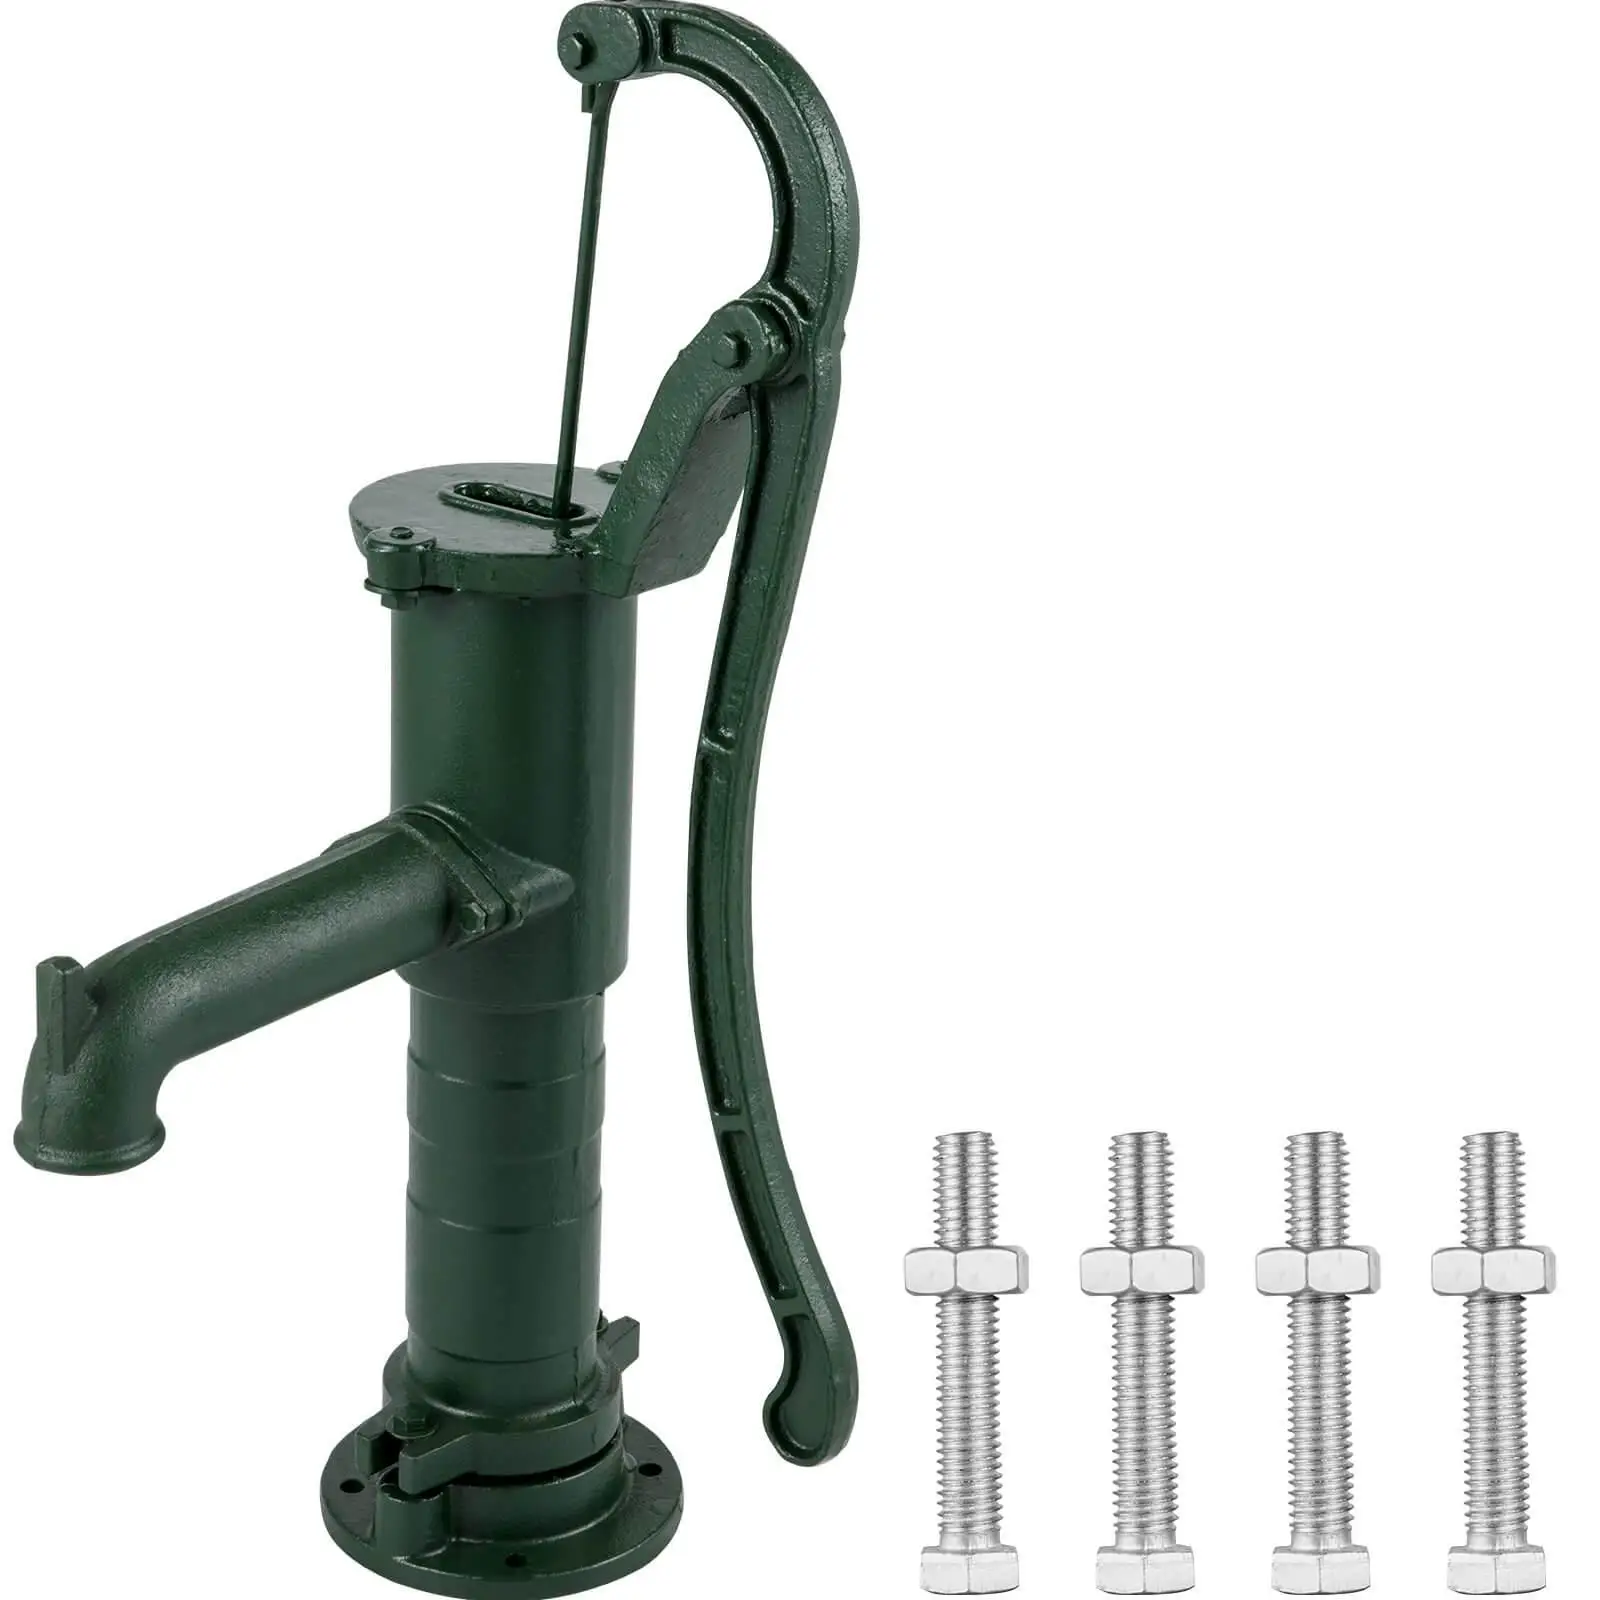
2. Hand Pump Kits
Along with an antique hand water pump from VEVOR, it is essential to gather some components of the hand pump, like the pump body, handle, riser main, seals, and piston. You should choose the kits depending on the hand water pump type. On an important note, you should also understand your well’s specific requirements.
3. PVC Pipe and Fittings
When utilizing PVC pipes and fittings to connect a hand pump to a well, it is essential to check that the measurement of the pipes is compatible with the requirements of the hand pump. The interior size of the pipe, also known as the bore, is referred to as the diameter of the pipe, and it is commonly measured in millimeters or inches.
To guarantee that there is enough water flow and that the system is operating correctly, the diameter of the pipes must be compatible with the hand pump. If the pipes are too thin, this might cause excessive friction and resistance, which can lead to a reduction in water flow or possibly the failure of the pump. On the other side, if the pipes are excessively broad, it might result in ineffective pumping and possible air leakage due to the increased surface area.
4. Sealant
When attempting to achieve a water-tight seal on threaded pipe connections, particularly those produced with PVC pipes and fittings, it is very necessary to use a high-grade sealant. In addition to halting leaks and preserving the system’s pressure integrity, it guards against corrosion and extends the device’s lifespan, making it an essential component in its overall maintenance.
5. Measurement Tape
Whatever project you plan to take in your hand, it is essential to collect a measurement tape in front of you. In this project, a measurement tape will help you to measure the depth of the well and the length of the pipes you need.
6. Pipe Wrenches
Pipe wrenches are good components for tightening and loosening pipes and fittings during the installation process of the hand pump.
7. Safety Gear
Don’t forget to wear protective clothing, safety glasses, hand gloves, etc., to protect yourself from potential accidents during the project.
8. Pump Rods
Pump rods are another essential component of the pump kit that connects the pump handle to the piston deep in the well.
9. Well Seal
A water well system cannot function properly without a properly installed well seal, which may also be referred to as a well cap or a wellhead seal. It offers the well casing and the pump riser pipe safety and protection in the event of an emergency.
Choosing the Right Location
Choosing the right location for a hand well pump depends largely on specific circumstances, including the property’s layout and where water is needed. You should choose a location where groundwater is most readily available. The pump should be positioned above a water-bearing aquifer. You can talk to a geologist to get help about using the best location on your property. It is usually better to install the pump as close as possible to the place where you use the water the most, like your kitchen, washroom, or house.
Remember that the well should be at least 50 to 60 feet from septic tanks. In some cases, you may need to consider greater distances according to your local regulations. So, check your local regulations before selecting the location. Usually, the hand well pump should be installed on a higher ground than your house so there is less chance of the well water being contaminated, which will help make the pumping process smoother. Think about the ground condition of the area as well. Some soil and rock conditions on the ground are easy to drill. Avoid placing the well pump in a location where you might need to build something in the future.
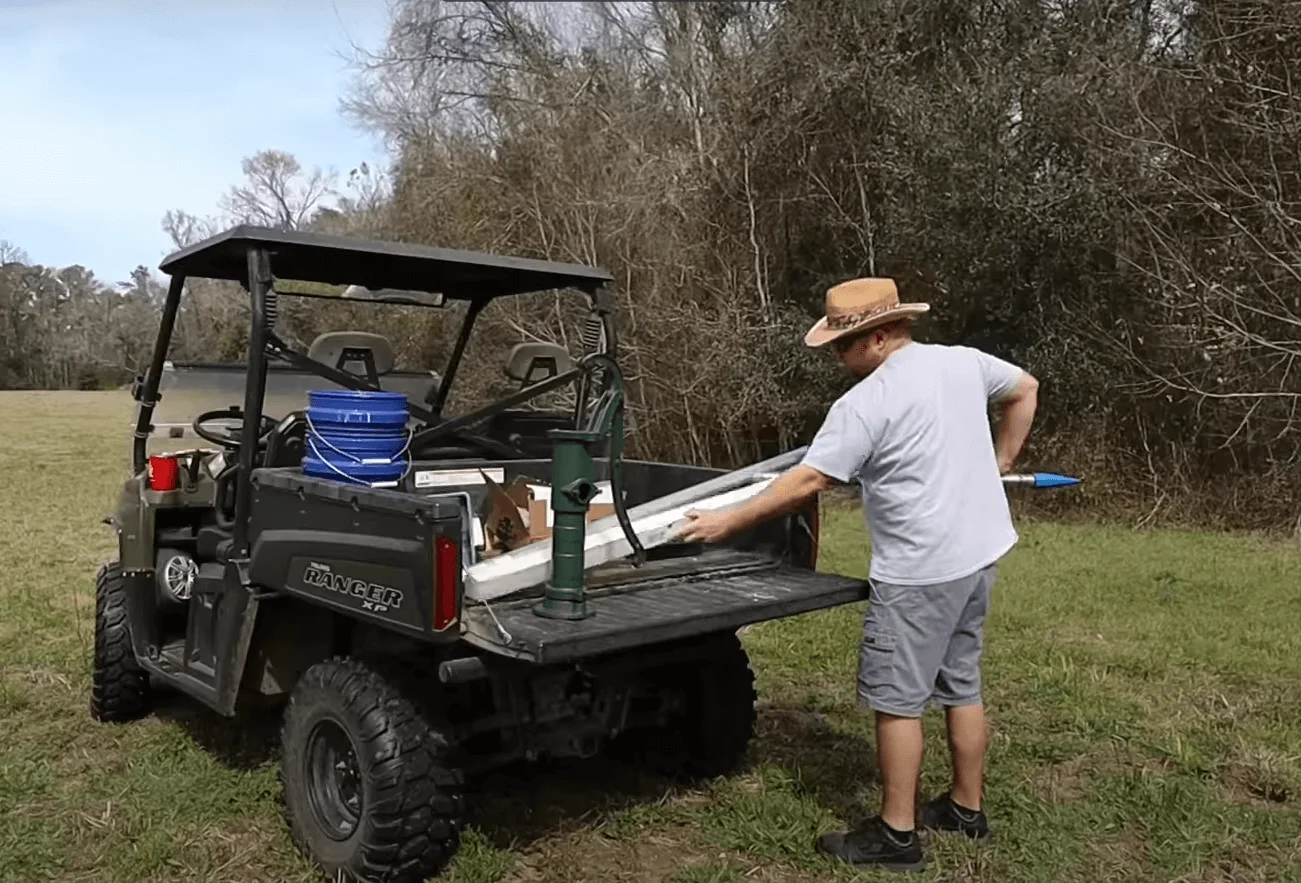
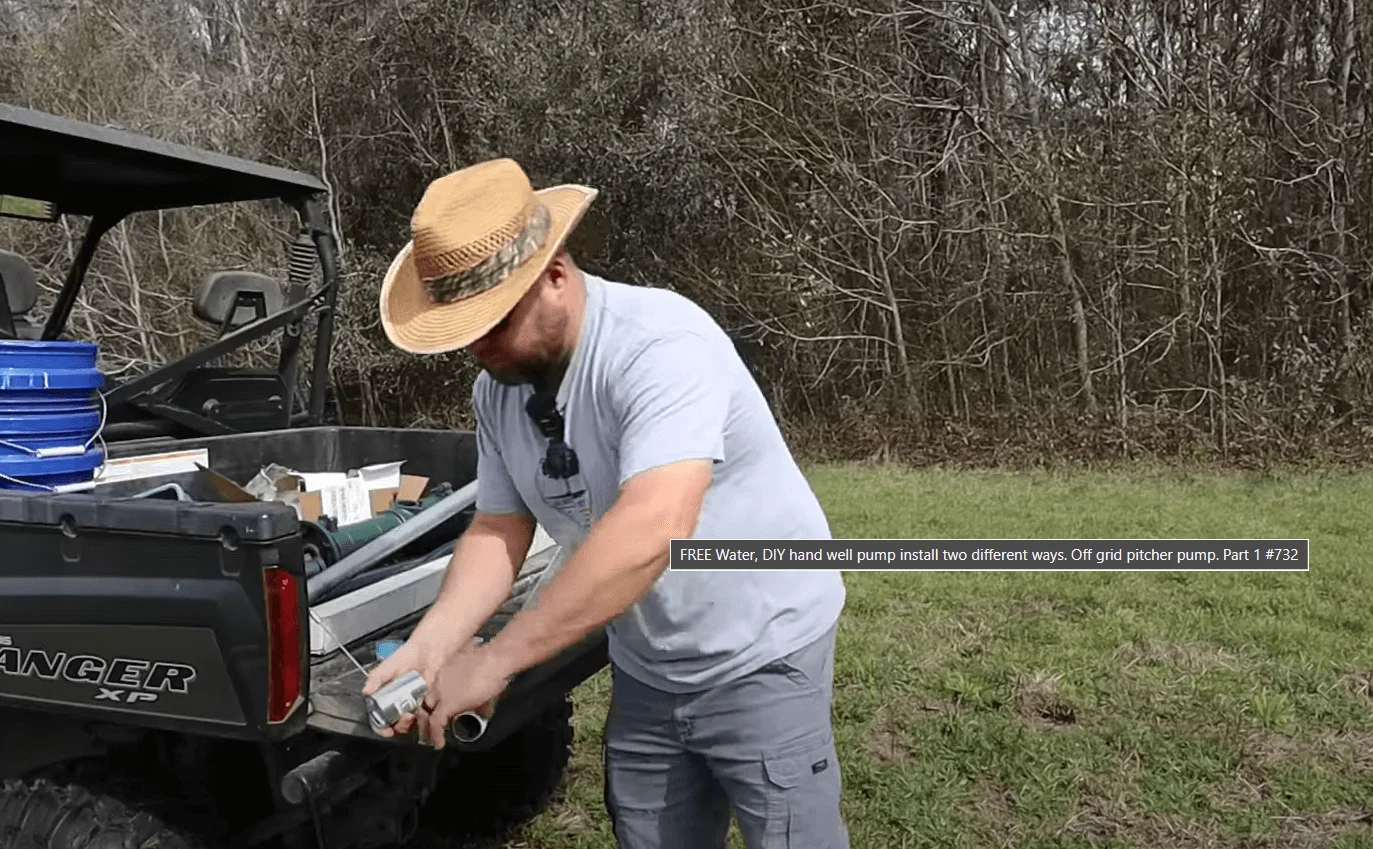
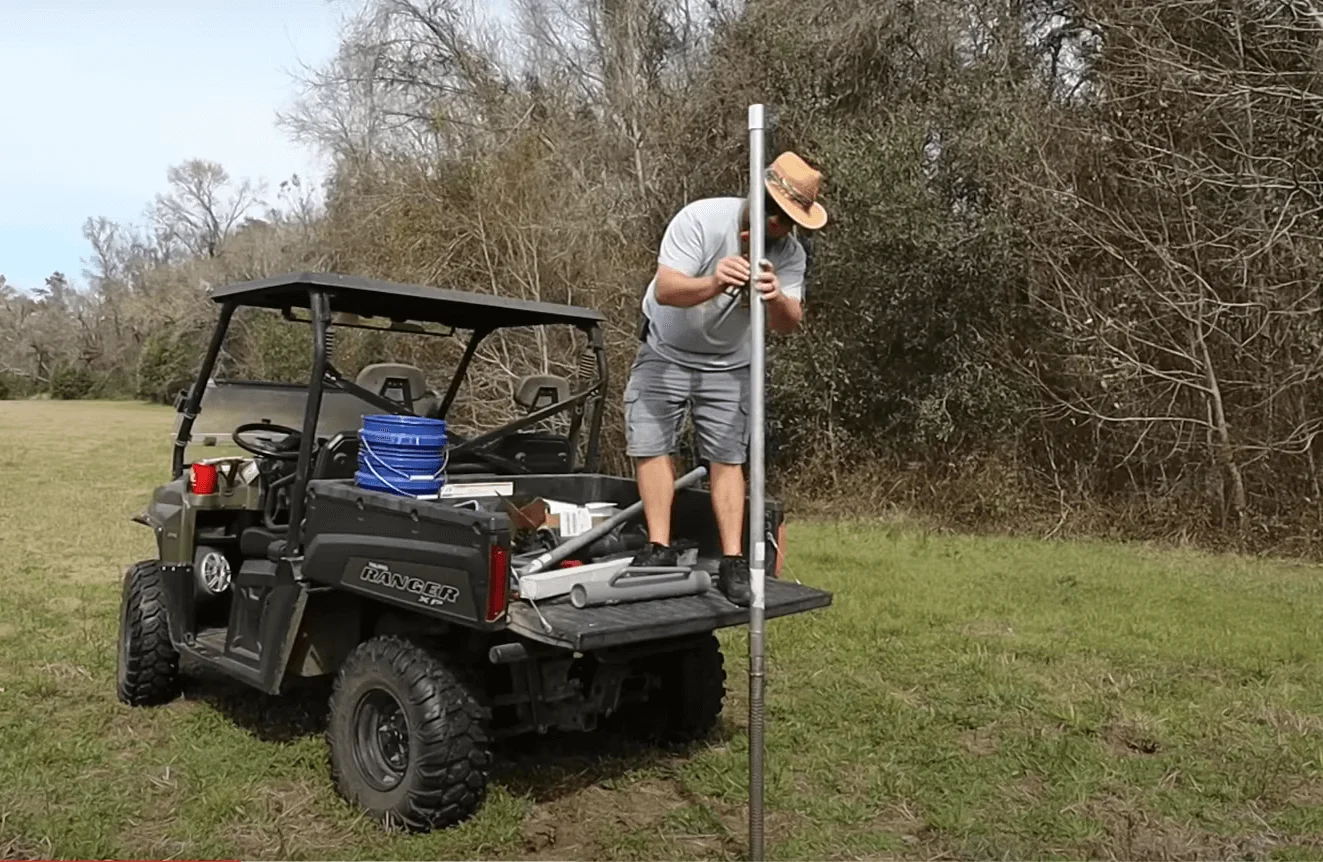
Step-by-step Processes of a Hand Pump Installation
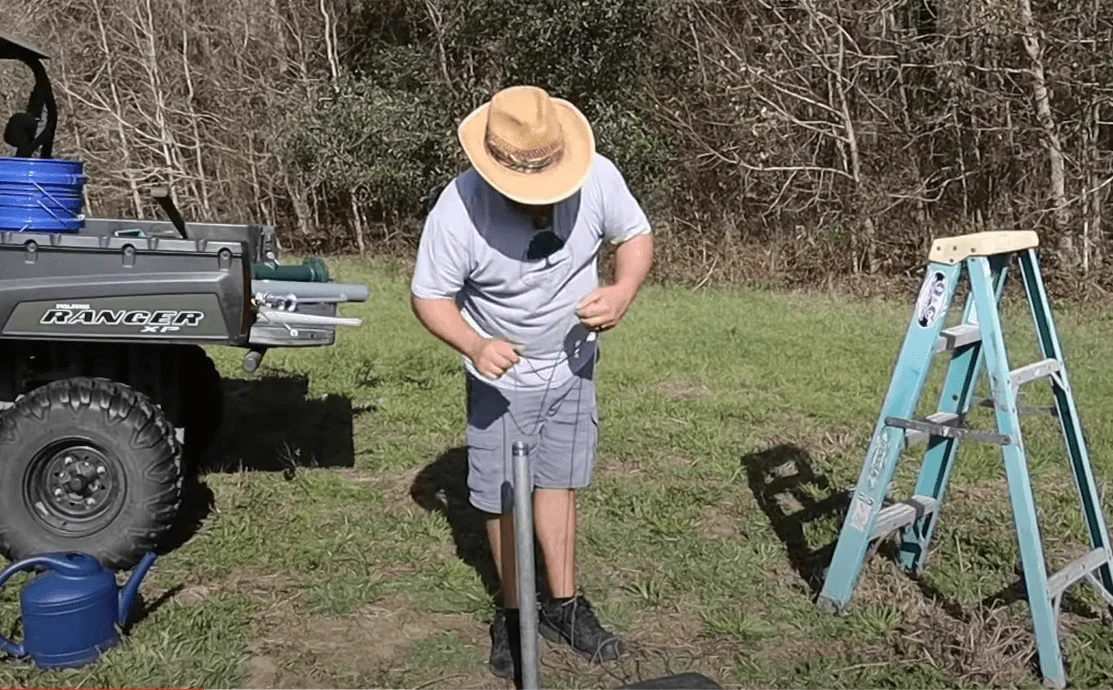
Step 1: Preparing the Working Area
Ensure the working area is clean and free from dust. Also, you need to arrange enough space to keep your tools and materials in front of you.
Step 2: Assembling the Hand Pump
Initially, you should assemble the hand pump following the manufacturer’s instructions. Attach the pump handle very carefully.
Step 3: Measuring the Depth of the Well
Next, you need to measure the depth of the well using a measurement tape. You should also measure the water level with a water level meter. If you are placing it on a patch of land that does not have a well, then you need to make sure that you take measurements of the depth to which your pipe hits.
Step 4: Check for Water
After you have successfully installed the pipe, the next step is to determine whether water is present. If you want to determine whether water is available, the simplest approach is to tie a nut to a string and then lower the line into the pipe until you reach the water source.
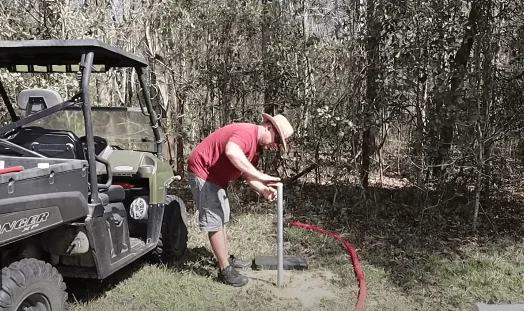
Step 5: Securing the Pipes
Now, it’s time to cut and connect the PVC pipes to the required length based on the depth of your well. Then, connect the pipes using appropriate fittings and pipe thread sealant. After that, attach the assembled hand pump on top of the pipe.
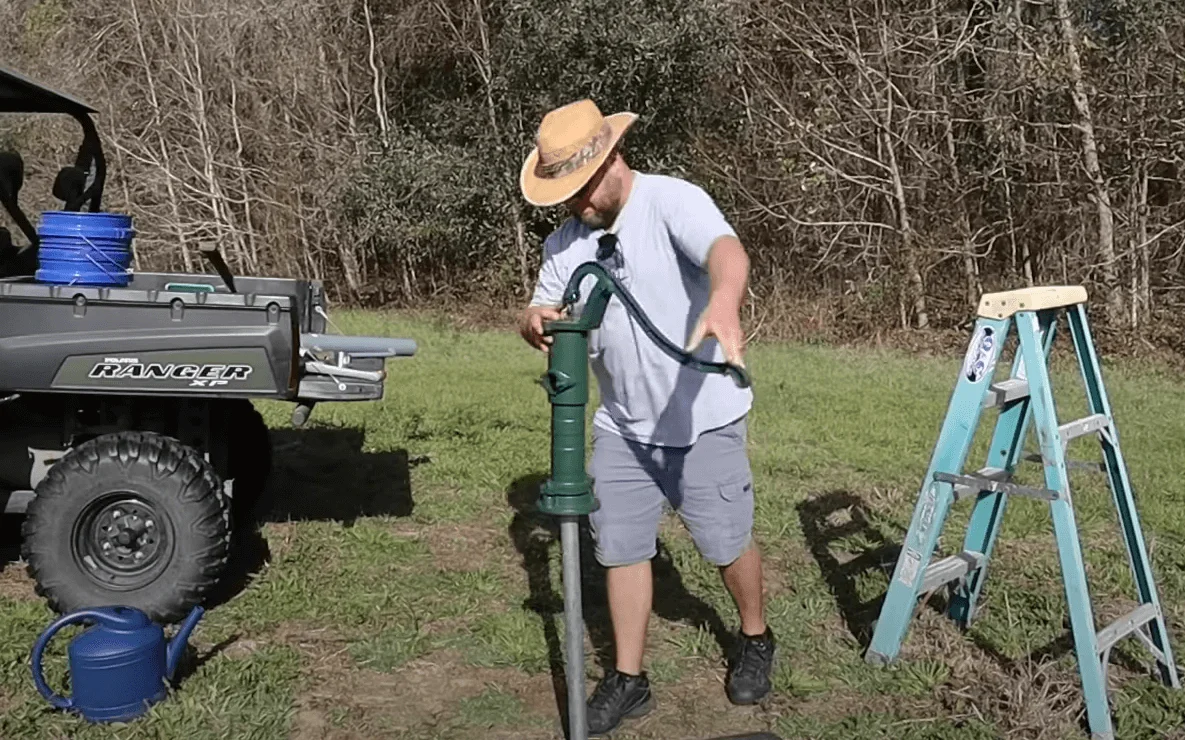
Step 6: Installing the Pump into the Well
After securing the pipes, you must carefully install the pump into the well pipe. Ensure the pump goes below the water level but stays above the bottom of the well. You also need to ensure the entire process doesn’t cause any potential contamination.
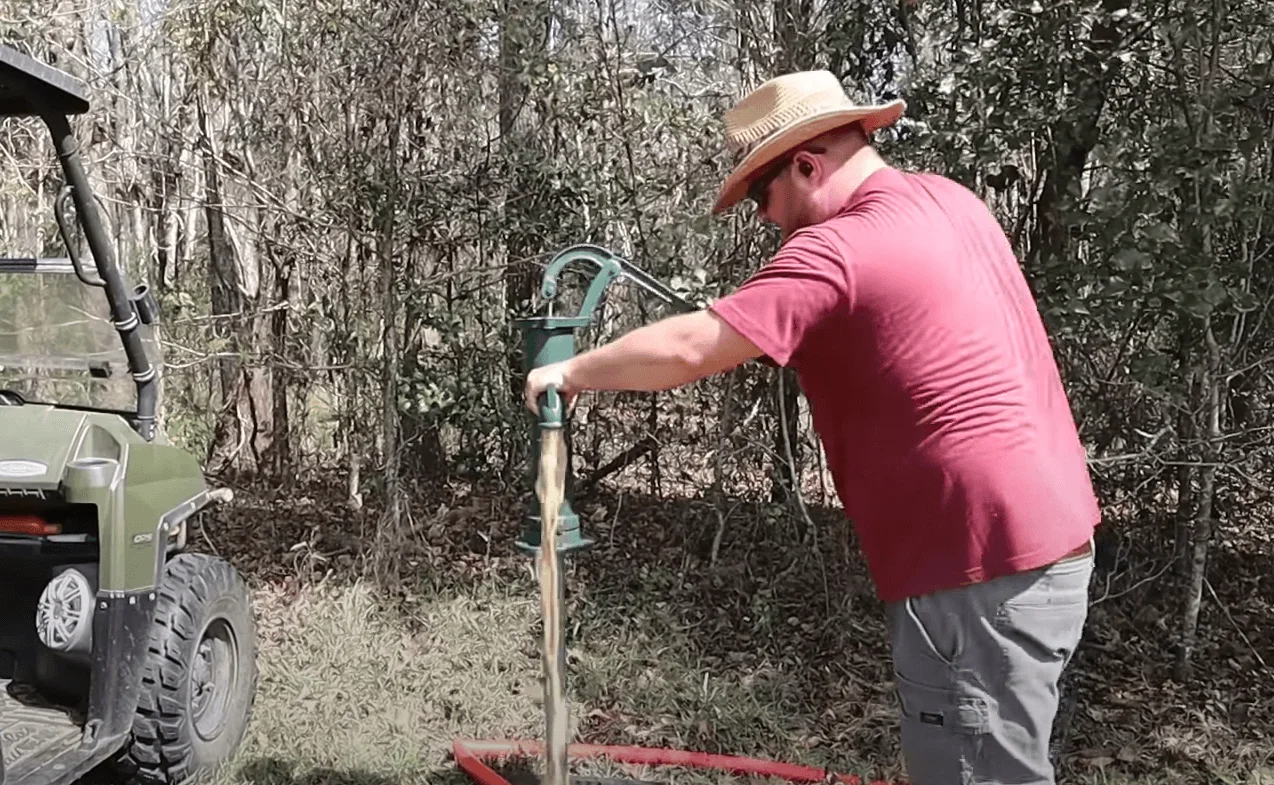
Step 7: Testing the Water Flow
You should test the pump at the final stage by operating its handle to start the water flow. It will take some minutes to get the water flowing.
Some Basic Maintenance Tips to Remember
After installation, you should also consider following some maintenance tips to ensure your hand pump’s longevity and consistent performance. Here are some essential maintenance tips you need to consider:
● Regular inspections
There is no alternative to inspecting your hand pump regularly to determine if it is in good condition. Regular inspection will help you to figure out any visible signs of wear, tear, or damage at seals and joints. The earlier you identify the errors, the quicker you will be able to resolve the issues before they become fatal.
● Cleaning and Care
You should keep the external parts of the pump clean. Make the well area free from debris. If you experience freezing temperatures, winterize the pump to avoid damage.
● Yearly Professional Inspection
Consider calling a professional every year to identify potential issues that might need to be resolved by your untrained knowledge.
Conclusion
You can better prepare yourself and save money by learning how to install a hand pump with proper techniques and tips. This article explores the process of a hand pump installation and provides you with some relevant necessary information to make the task easier for you. It is important to remember that practice and patience are highly required if you want to finish this project successfully.
There might be some challenges at the beginning, but with proper techniques, you can overcome the obstacles of the DIY project. Take help from this guide to be well-equipped to handle this project with precision and confidence.


