
If you’re a crafter, then you know that having the right tools can make all the difference. A heat press is an incredibly versatile tool that can be used for a variety of projects, from personalizing clothing, accessories, mugs, and tumblers, to setting dyed fabrics.
I recently got a VEVOR heat press (this one) and have been absolutely loving it and thinking through all of the crafting possibilities. I figured I’d share my learnings and show you the basics on how to use a Vevor heat press, what kind of paper to use, and some of the things you can make with it. Whether you’re looking to make sublimation t-shirts for your next family reunion or mugs for your friends, this guide will help you get started.
PROJECT TIME: 20minutes mins
What is a VEVOR Heat Press?
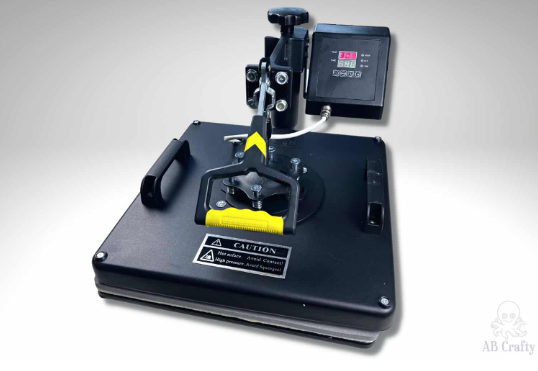
The VEVOR heat press machine is a device that uses heat and pressure to transfer designs from paper to fabric or other materials. With it, you can customize clothing, accessories, mugs, tumblers, and all sorts of items. It helps you create professional looking designs with vinyl or dye that will last, even after washing! Pair it with a sublimation printer and sublimation inks and you’ll be able to customize nearly anything!
You can even use it for other types of projects that require heat, such as setting dyes that require heat.
This is the one I have, but there are other models as well with different features (e.g. the size, controls, and accessories) so in case mine is out of stock, you can select a similar one.
Materials to Use a VEVOR Heat Press
- Vevor Heat Press (this is the one I have, but in case it’s out of stock, this one is similar)
- Shirt or Item You want to Customize (I’m using a drawstring bag that I got from Dollar Tree)
- Design or Image (this is the one I used with a different font)
- Heat Transfer Vinyl or Sublimation Paper (this is the one I’m using)
- Parchment Paper / Butcher Paper / Teflon Sheet (Amazon)
- Heat Tape (optional) – this is the one I have
- Vinyl Cutting Machine such as a Cricut (optional, this is the new version of the one I have)
- Weeding Tool (optional) – Amazon
- Pressing Pillow (optional) – Amazon
- Scissors
How to Use a VEVOR Heat Press
Set the Temperature and Time on Your VEVOR Heat Press
Start by placing the heat press on a sturdy table (this is similar to the one I have). Then you’ll want to turn it on and set the temperature and time. The way you’ll determine these settings is based on the material you’re using for your design. On the packaging, it will tell you the correct temperature and pressing time to use for the material you’re pressing.
For my project, since I was doing sublimation (using this black paper) on a shirt, I set the temperature to 365 degrees Fahrenheit and the timer to 40 seconds.
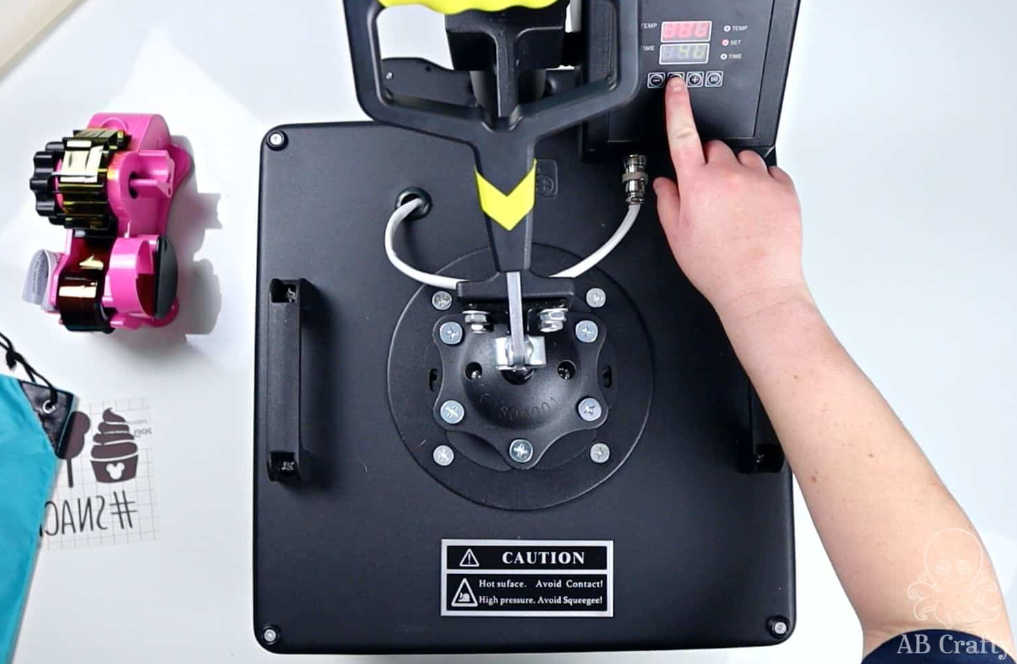
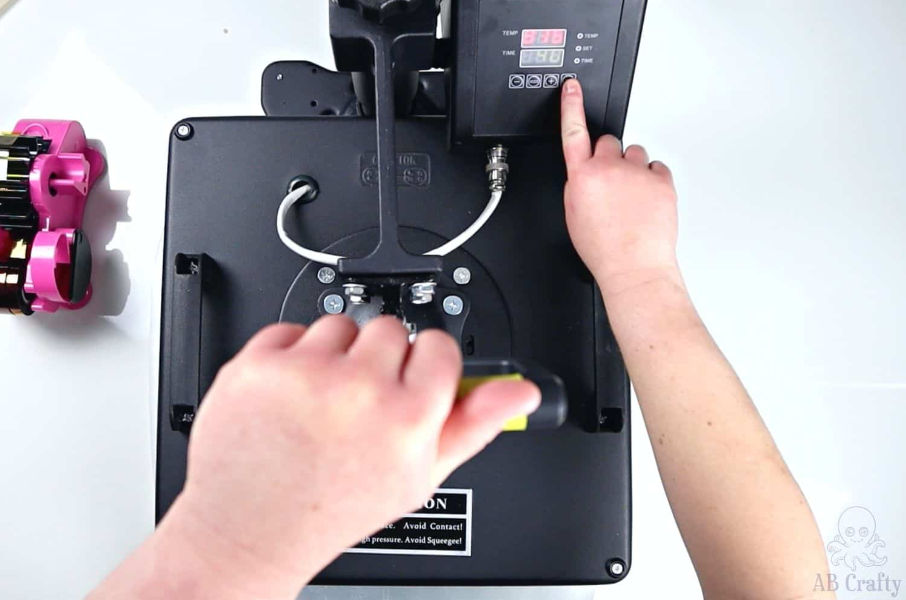
This is what the controls look like on my machine, but most will work similarly. Therefore to set the temperature, start by pressing the MODE button. The top number (TEMP) will start to flash. This will set the starting temperature.
You can then use the + and – buttons to adjust the temperature.
Once you have the starting temperature, press the MODE button again. Now you can set the ending temperature. (For the record, I have yet to do a project where the starting and ending temperature are different).
Press the MODE button again and the numbers next to TIME will flash. This is where you can set your timer (in seconds). When you’re finished, press MODE to save your settings.

Set the Pressure on Your VEVOR Heat Press
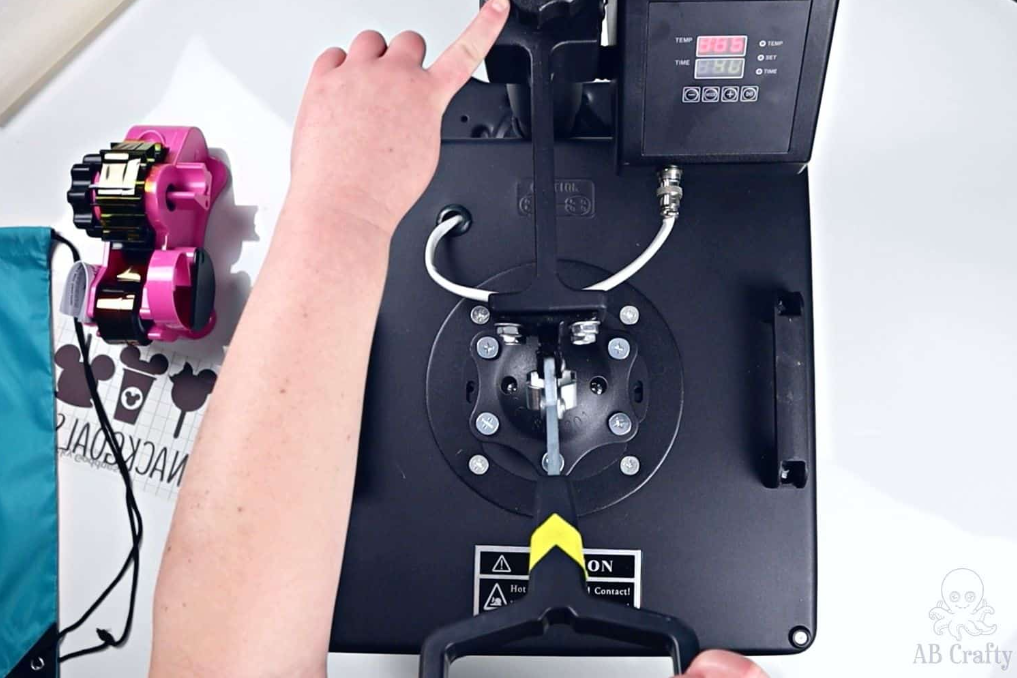
While the temperature starts heating up, you can make sure your pressure is how you want it.
Locate the pressure control (in my case it’s a knob at the top) and turn it to the right to increase the pressure or to the left to decrease the pressure. What it’s ultimately doing is raising and lowering the top plate. You can then lift and lower the handle to test out the pressure until it feels correct for your project.
Since I was doing sublimation, I wanted the pressure to be on the higher side so I tightened the knob to the right.
Tip: it’s always a good idea to have a test piece handy to make sure all the settings are correct before pressing onto your final item.
Create Your Design
You can do this prior to setting everything up and have it ready or depending on your design, you can get it ready while the heat presses warms up.
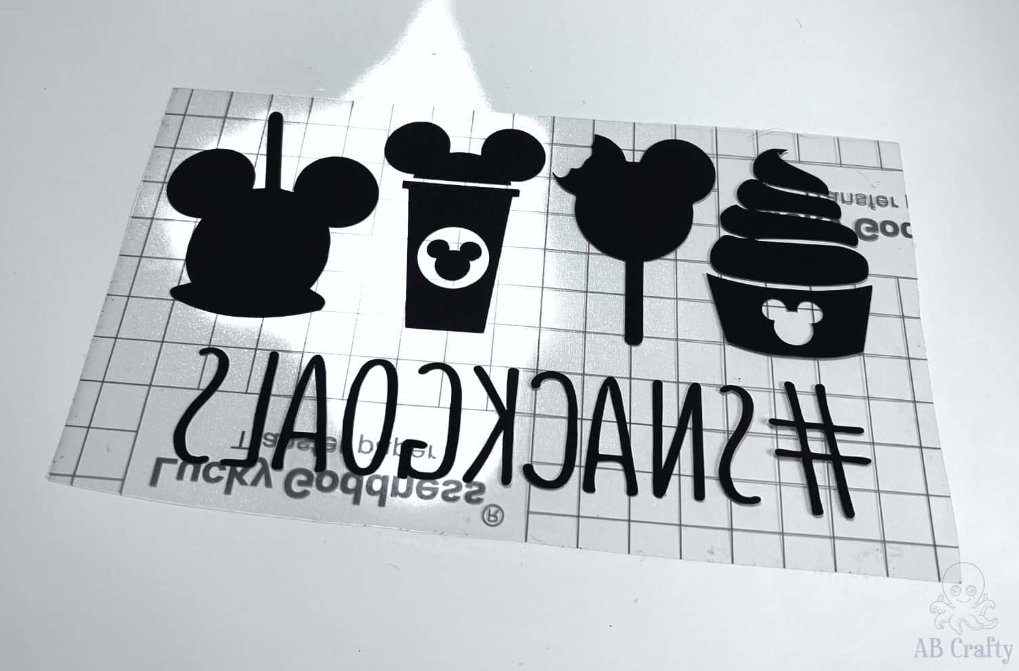
Cut out your design from the vinyl or sublimation paper (whichever you’re using – this is what I used for this project) with scissors or a cutting machine such as a Cricut. I went with this fun Disney snacks design that I got on Etsy. Be sure to cut it as a mirrored image!
Then weed your design – which means removing any pieces that aren’t part of your design. To make it easy you can get tools for this (this is the set I have).
Tip: If you’re using an image from the internet, make sure that it is high resolution so that it doesn’t come out blurry when you transfer it. You can also print your own designs with a sublimation printer and ink so you don’t need to be limited by sublimation transfer sheets.
Press the Design with the VEVOR Heat Press
When the VEVOR heat press is at the temperature, it’ll give a few beeps a few times. Then you’re ready to press!
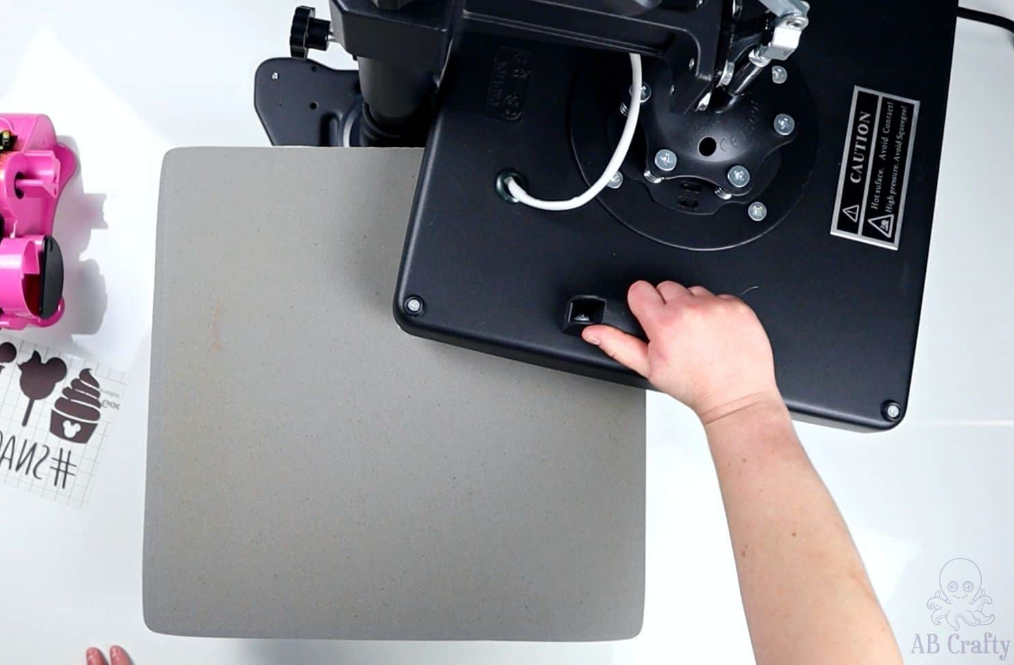
Use the handles to swing the upper plate to the side (it rotates 360 degrees!).
Note: The plates are extremely hot so be careful not to touch them – only the handles.
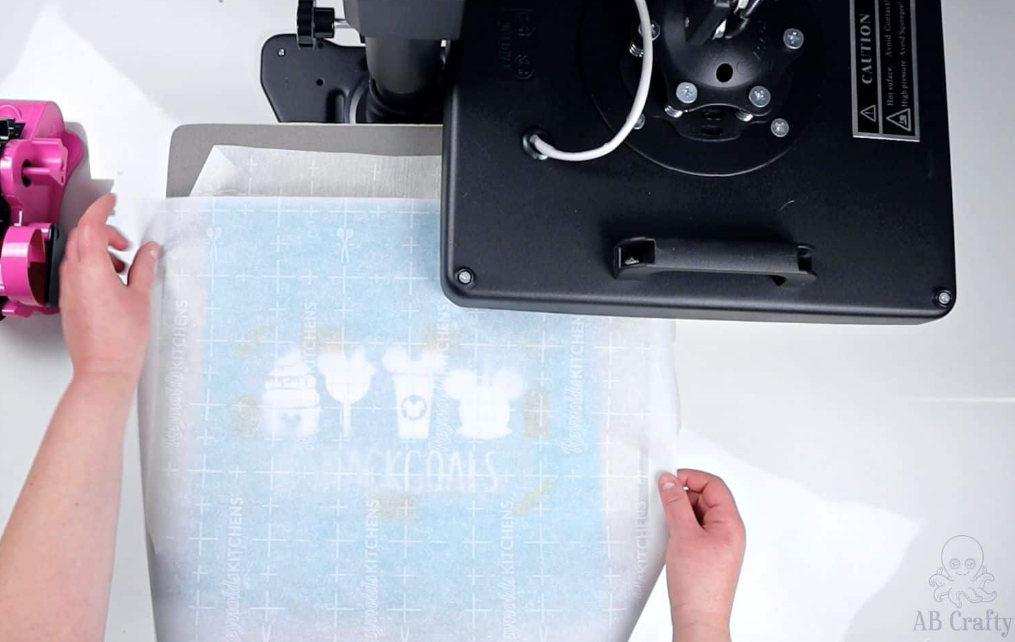
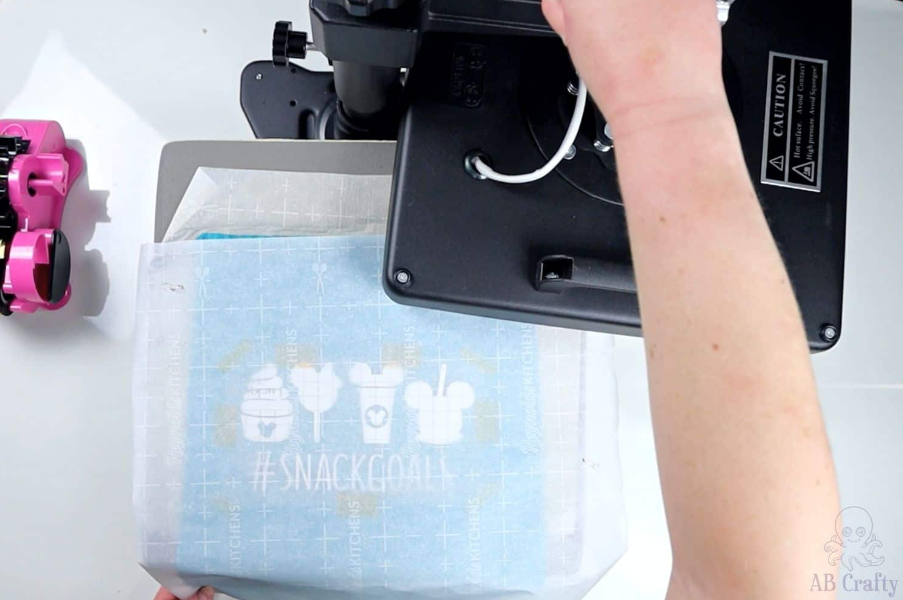
If you’re doing sublimation, put a piece of parchment paper on top of the bottom plate to protect it. Then place your item on top (if there are layers, put parchment paper inside the item between the layers to protect those underneath). If you’re using vinyl, you can simply place your item on the bottom plate.
Then place your design on top of the item – make sure it’s centered and that there aren’t any air bubbles under the image. If needed, use heat tape to secure it (this is the one I have).
If you are using heat transfer vinyl (HTV), place the vinyl shiny side down on the item.

Place parchment paper on top to protect the heat press and the rest of the item.
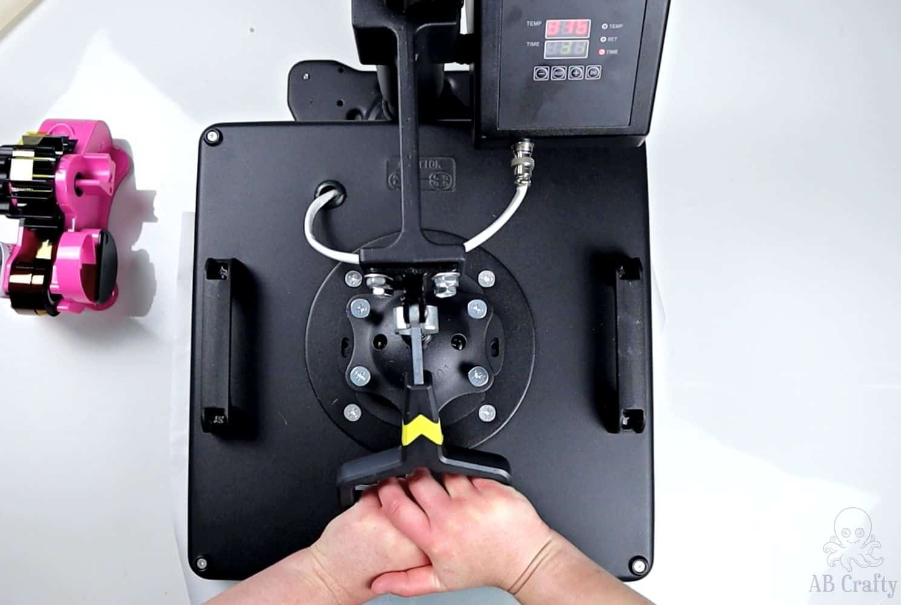
Then pull all the way down on the handle and press the start button to start the timer.
Note: I sometimes needed to use two hands when pulling the handle, especially at the higher pressures. Be careful that it also doesn’t tip over as you do so! There are screw holes to be able to secure it to the table, so I definitely recommend doing so if you can.
Once the time is up, the machine will beep…loudly. I’m personally not a fan of loud beeping so I actually end up pressing the start/pause button right before the time is up so that I don’t have to hear it.
You can then lift the lever of the press and swing it away.
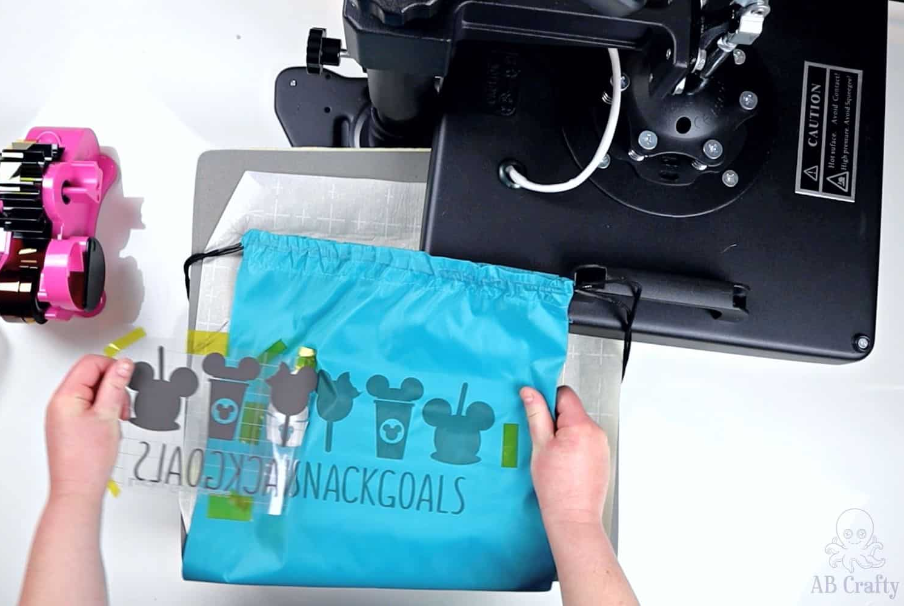
Depending on the type of material you’re using, you’ll want to peel off your design while it’s still warm or wait until it cools.
For sublimation, you want to wait until it cools as that is what sets the dyes.
Now your customized item is ready to use!
You can continue to use the VEVORheat press for additional projects or if you’re done, be sure to turn it off and unplug it.
Frequently Asked Questions
What can I make with a VEVOR Heat Press?
The possibilities are virtually endless with a Vevor heat press. You can make custom t-shirts, hats, mugs, tumblers, jewelry, aprons, bags, totes, labels, notebook covers and more. Pretty much anything that you’d want to personalize or add a design to that won’t melt when heated, chances are you’ll be able to with a heat press.
How is the VEVOR Heat Press different than using an iron?
The VEVOR heat press machine provides way more benefits than using an iron when working with iron-on vinyl or sublimation. Here are some of the key reasons why using a heat press is often recommended over an iron:
- Consistent and Continuous Pressure: A heat press provides consistent pressure, which is important for getting a good result. With an iron, it can be easy to apply too much or too little pressure. This can distort the image, not have it show up as vibrantly (in the case of sublimation), or cause it to peel off over time (in the case of transfer paper or vinyl)).
- Set the Pressure: You can select the exact pressure on a heat press, making sure you’re using the correct amount of pressure for your materials. Additionally, it applies the pressure evenly.
- Surface Area: A heat press has a wider area than an iron, making it faster and easier to press larger surfaces such as t-shirts.
- Timer: A heat press has a built in timer so you can control how long you want to press your items.
- Built in Surface: You don’t need an ironing board when using a VEVOR heat press – another space saver!
What kind of paper do you use on a VEVOR Heat Press?
Ultimately, the type of paper you need to use with the heat press depends on the project you’re making. This includes the material of the item you’re pressing and the material of the design itself.
There are a few different types that you can use, each with its own set of benefits. Here are some of the options:
- Heat Transfer Paper or Iron-On Transfer Paper: Allows you to print a design right from your computer and have that design transferred onto your item. If you’re using a dark fabric, you want to use dark fabric paper such as this one. For light fabrics you can either use the dark paper or light fabric paper such as these.
- Heat Transfer Vinyl (HTV) or Iron-On Vinyl: You can use a cutting machine such as a Cricut to cut your design or cut them out yourself. They come in all sorts of colors and patterns, including glitter, holographic, reflective, and more!
- Sublimation Paper: This is also known as infusible ink and sublimation transfer sheets. They actually dye the item with the design (vs adhering an image on top like with the transfer paper or vinyl). You can print your own designs on blank sublimation paper (this is the kind I have) using a sublimation printer and ink or you can buy paper with colors and designs (this is one of my favorites). I have a full guide on sublimation shirts that you can also check out!
For each of these, you’ll also want to use parchment paper, butcher paper, or a teflon sheet to protect the item you’re pressing.
How do you know which the temperature and time on a VEVOR heat press?
The short answer is it depends on the materials you’ll be pressing.
The correct temperature will vary based on the item you’re pressing and the material you’re using, so it’s important to follow the package instructions for the material! For instance, if you’re using standard iron-on vinyl pressing it onto cotton, then you’ll typically use around 280-320 degrees Farenheit. However, if you’re using sublimation paper on polyester, you need a much higher temperature in the 360-400 degree range.
As for time, the general rule of thumb is to press for 10-15 seconds on each side for vinyls and 40-60 seconds on the top for sublimation. However, this again will vary based on the material of the item and design. Therefore always be sure to check the instructions for the specific material you’re using as it even varies by brand!
How do you know how much pressure to use with the VEVOR heat press?
The main thing to keep in mind is it’s hot – it is a heat press after all! Therefore you’ll want to be aware of potential hazards and know how to properly operate it. Additionally, you should always ensure that the area you’re working in is well ventilated and free from flammable materials.
It’s also important to note that the Vevor heat press gets extremely hot and can cause burns if you’re not careful. Therefore consider wearing long sleeves and heat protective gloves.
Article Source: VEVOR Heat Press Guide
About Author:

Daniela is a lifelong crafter who loves to share her passion for crafting. Through classes or learning on her own, she likes to say she’ll do pretty much any craft aside from scrapbooking. Her current personal obsessions include garden crafts, felting, and spinning yarn.


