A heater is essential if you live in a freezing temperature. However, duvets and warm blankets are sumptuous while lying in a bed, but getting in and out of bed is really uncomfortable when your van features a chilly bin.
Well, due to the energy fuel crisis, gas and electricity are getting very expensive to overcome this, you need a diesel heater. You can install it everywhere, even in your campervan, and the VEVOR diesel heater is one of the best diesel heaters on the market.
This VEVOR diesel heater gives you a natural flame feeling, and sometimes you get fuel vapours due to this. But if you have a workshop that makes your teeth chatter in cold weather, you should buy this VEVOR diesel heater to feel warmth in such freezing weather. This article provides an extensive VEVOR diesel heater review, focusing on the VEVOR diesel heater and its application in workshops.
Unboxing the VEVOR Diesel Heater
With this diesel heater, feel warmth with every breath. It hots the cooler air through its aluminium combustion chamber. You can install this heater anywhere, in fact, in your car, and increase your car temperature in just 10 minutes. Without a second thought, buy this heater, pre-heat your engine, and clear the frost quickly.
Let’s take a look at what we got inside the box upon buying a diesel heater from VEVOR. You’ll get the different components which are as follows:
● Base Plate
● Exhaust Baffle
● Fuel Tank
● Little adapter
● Fuel Nozzle
● Wiring Loom
● Inlet Air Filter
● Two Jublie Clip
● Fuel Pump
● Remote Control
● Fuel Line
● Little Porch
● Two Vents
● Bendable Pipe
● Main Controller
● Exhaust Line
● Diesel Heater
For 100% combustion, this diesel heater features a fuel pump that helps to control the fuel inlet. However, the fuel tank holds up to 15 gallons, but can you believe only one gallon is enough for one night to keep you warm in freezing weather? The low vibration lets you sleep peacefully at night and enjoy a warm and quiet space. Due to its remote control access, you don’t need to get up from your warm place and operate your heater while sitting at a distance.
Features
● Portable Design
● Remote Control Access
● Noiseless
● Hold Enough Water
● Best for caravans, buses, ships and cars
Setting up the VEVOR Diesel Heater
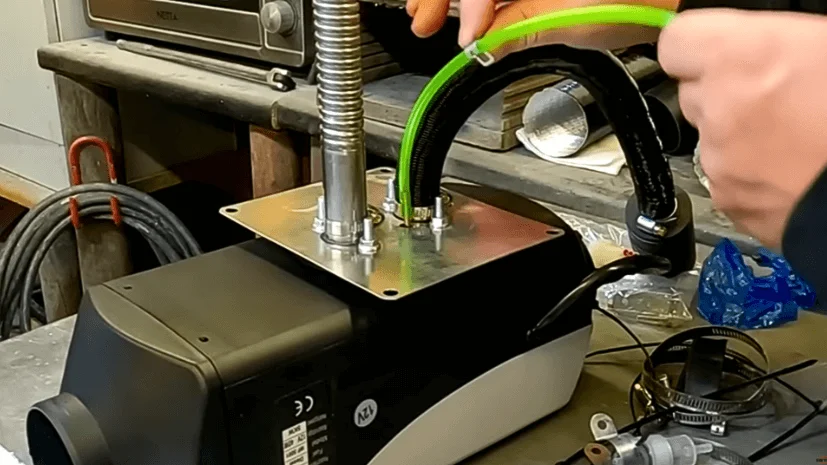
Before installing this diesel heater into your workshop and doing the step-by-step installation process, ensure you need a 12 V supply. Let us give you an overview of the components and understand how they’ll work and be installed. First, you’ll need to mount the base plate and connect the exhaust and intake pipes to them.
Afterwards, connect the fuel line to the board and install the fuel pump with the fuel line. After the connection of the fuel pipe with the fuel pump and unit, connect the other edge of the fuel line to the fuel pump.
However, many people install the exhaust sideways, protruding to the side. But it’s designed to be vertical, allow to collect water and drain through the small holes. Another important thing to note is that each end of this exhaust pipe is different in size. On encountering any issue, you can unscrew and adjust that fitting and then tighten it securely. After this is done, connect the other end of the fuel line, but to do this, push it over the designated spot and use the clips to hold it in place.
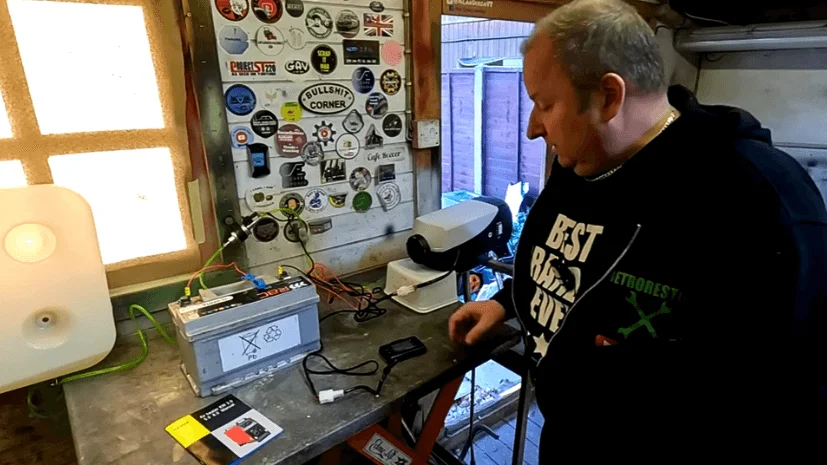
Start your heater and test by checking every button and increasing and decreasing the speed to ensure everything works fine and set the speed as you like. But this’s not enough to install the diesel heater, so let’s look forward step to installing the diesel heater.
Installing the VEVOR Diesel Heater in the Workshop
Let’s take a closer look at the step-by-step process of installing a diesel heater for a workshop, a 5KW heater.
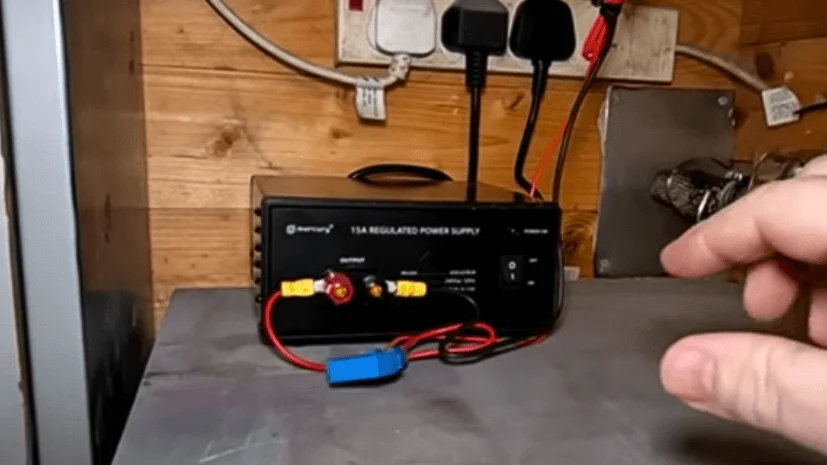
Step-1: First of all, you need a corner where you can run and install this unit. You’ll need a 15 amp power supply to run it; you can buy it from any online store.
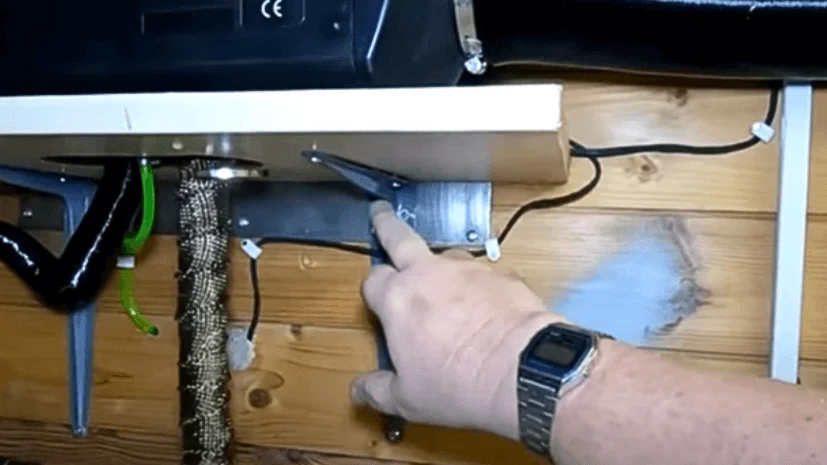
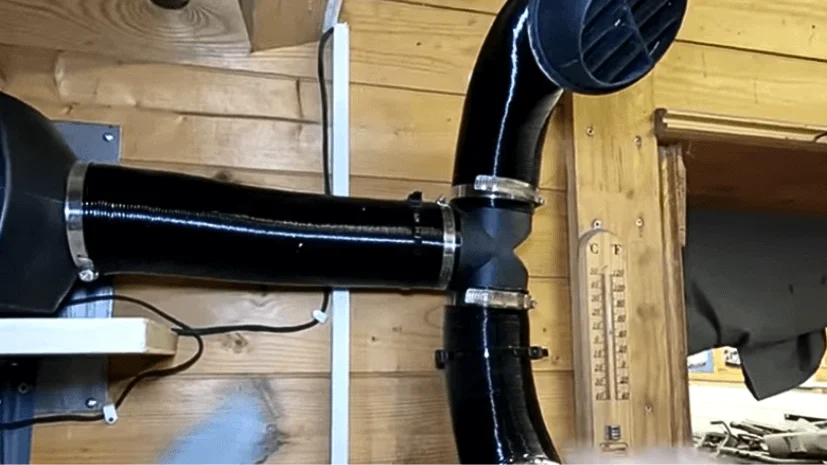
Step-2: Mount a couple of L-brackets on your wall with a wooden shelf, then cut out an oval shape from the bottom and add the exhaust wrap and pipe.
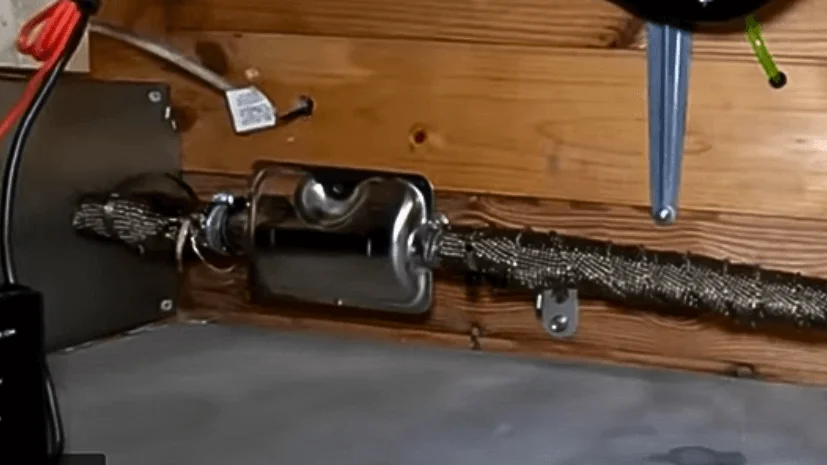
Step-3: Then you need to install the silencer that comes with this diesel heater, drill a hole to fit the plate, pass the silencer connecting with 22ml plumbing pipe to the outside wall, and place the silencer inside the wooden cabin. By doing this, there’ll be no contact of the hot exhaust pipe to the wooden area.
So actually slitting the pipe and sticking it to the exhaust after tightening up with the jubilee clip. There’s also a jubilee bracket to which you can support this pipe.
Step-4: Install the air intake pipe featuring a small baffle filter, and your cabin will get heated through the holes in the heater after the air passes through these holes. It draws air from within the cabin rather than pulling it in from outside by setting it up inside.
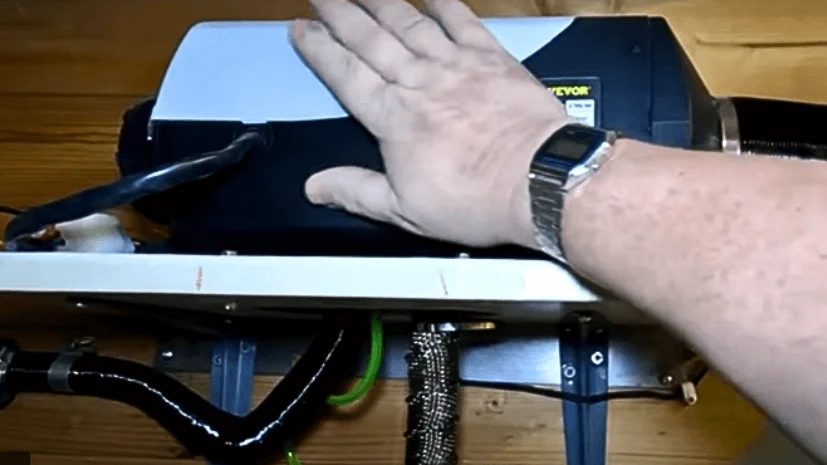
Make sure to insert the plate behind the heater so that it works as a safeguard and does not make your heater hot. If you do not do this, you’ll run the extra duct.
Step-5: You need to cut the pipe and make a T-piece, then connect them with each other; you can also turn their faces in different directions. Also, tie them up with cable tire clips to keep them in place. So, actually, you’ll wrap the pipe after passing the wire from the cable tire clips.
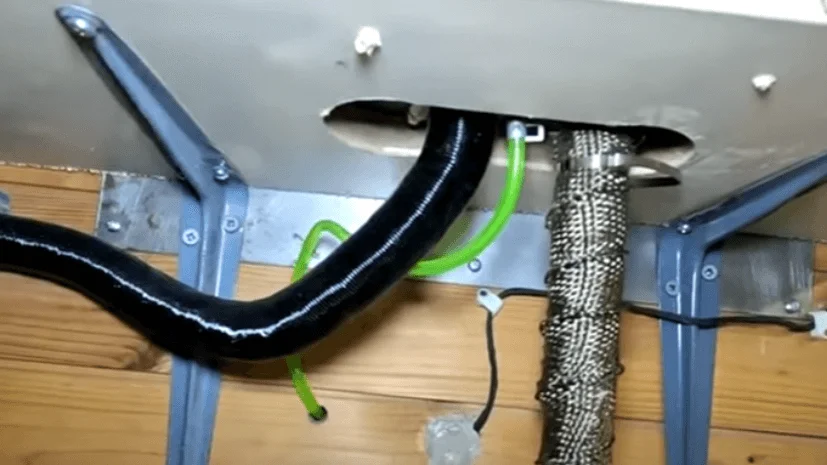
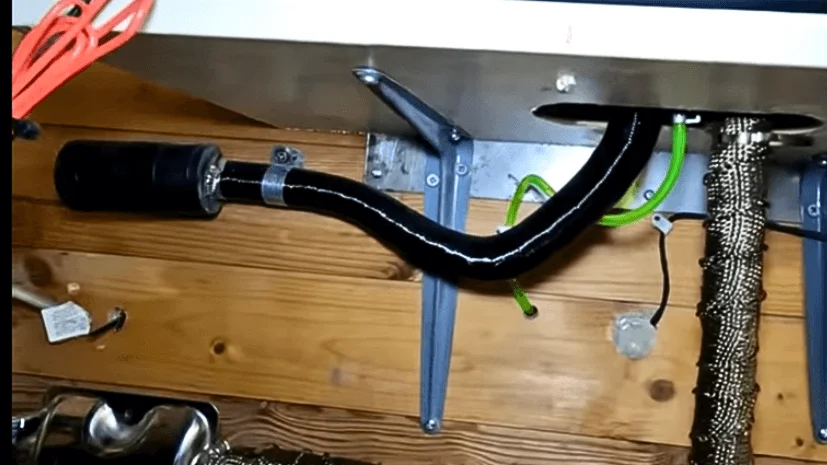
Step-6: Adding the primary connector to the wiring loom is straightforward. You can add cable protection around the battery charger for safety. At the same time, the rest of the wiring loom will run behind the setup, as in the images. One cable should go down to the fuel tank, and the other cable should go down to the controller. Ensure the fuel pipe is well positioned and away from the exhaust to prevent heat-related issues and protection from scalding and burning.
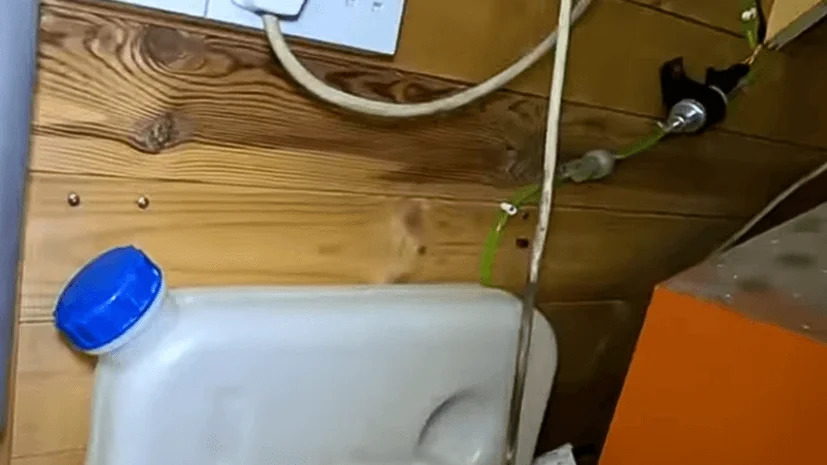
Step 7: Both cables you installed before will go through the fuel pump. Attach the pipes to the bottom of the fuel tank. To protect the pump, you’ll need to place it upwards slightly and through the wall and pipes, it’s connecting to the unit as well. Undo the cap and make a hole in it. Don’t forget the cap and make sure to clean it otherwise, diesel will be drawn out of it, and you need air to suck this, so clean the hole thoroughly.
Testing the VEVOR Diesel Heater in the Workshop
Firstly the burner will blow out cold air as it takes time to warm. A 4 by 4 room is enough to run this heater. At four temperatures, it’ll run pretty well you can ramp it down and see the temperature effects. At 4, it’ll give a little bit of noise, so when you ramp it down, the noise level will decrease. People often run these while they are traveling in their campervans or trucks.
Little fuel is enough to run this heater; even the noise level is so low you can only hear this when you’re inside your workshop or a van. You’ll have a laser temperature problem from the plastic vent as when you’ll run the heater, the plastic vent temperature will only be 62 degrees; however, there’ll be no trouble and heating issues as the plastic body itself is only about 25 degrees. The metal plate on the back work as a protection for the wood surrounding the area. The exhaust will get quite hot, but nothing to worry about because the area around the plate edge is only 23 degrees, so there’ll be no risk of combustion.
Precautions to be Noted
To use less fuel, keep the temperature down once your area gets warm. You can install a carbon monoxide sensor around the area to protect your area from building up carbon monoxide. However, there’ll be no issue if everything is sealed and vented to the outside. You can operate your diesel heater while sitting at your bench; it’s easy to use, and you can see it on display as the unit power down.
Lastly, when the power goes down, you’ll see a fan symbol on the unit, which will still be active. It’s most important not to turn on or off the unit until the fan stops running and the word off disappears from the display. You can safely switch off your power supply from its source after all the indicators go.
Conclusion
It’s very easy to use this 5KW system unit that you can run with a 12V battery. Cherry on the top, you can even attach a charger to the battery. This heater will cost you around 55 pounds but give you the warmth you don’t get with an open fire area. Without getting a second thought, buy this heater as it’s such a portable unit- a complete one containing a fuel tank.


