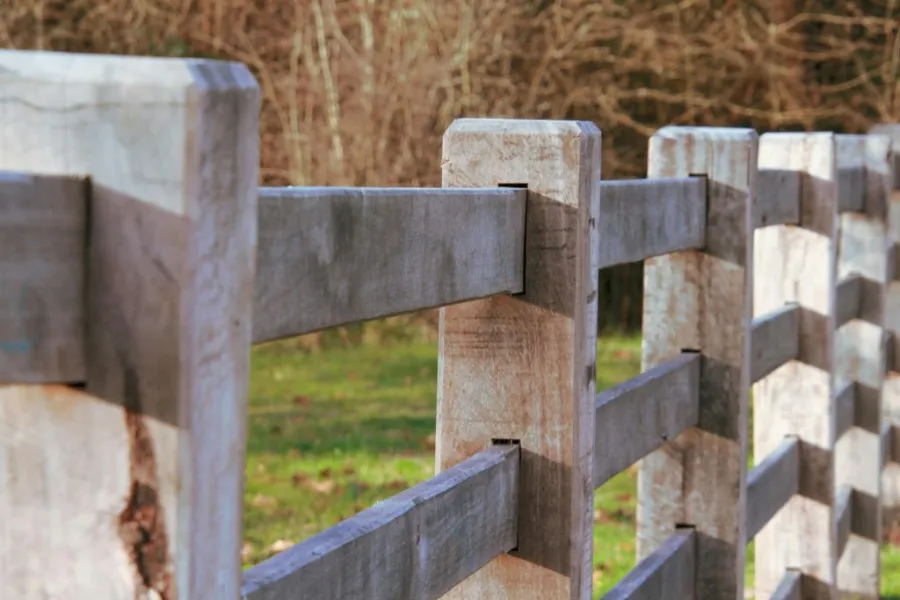
Looking out into the wide open space and dreaming of complete privacy, yet fearing backbreaking work? Don’t worry – building your own barrier doesn’t have to be a challenge. This article will teach you how to install a fence properly and cover all topics.
Before you start working on the fence itself, make sure that you have a high-quality post hole digger. You can get a good one with the help of experts and thus avoid back pain and wasted time.
Phase 1: Planning and legal prep
The biggest mistake you can make when learning how to install a fence yourself is rushing the paperwork. A fence is a permanent landmark, so you need to be 100% sure it is in the right spot before a single hole is dug.
Step 1: Mark your boundaries
Start by finding your property pins. These are usually buried metal stakes at the corners of your lot. Never guess where your line is, or you might end up building a gift for your neighbor. You can find some great front yard fence ideas once you know exactly where your land ends.
Step 2: Permits and HOA rules
Contact the appropriate building authority regarding whether or not you will need a permit, especially if you live in an HOA jurisdiction, because they typically impose heavy restrictions when it comes to height and type of fencing material. You risk getting fined heavily or even having to demolish the structure if caught without one.
Step 3: Contact utilities before digging
As far as North America goes, it is always best to call 811 before digging. It is free of charge to mark any existing underground utilities. Accidentally digging into a power or gas line can be extremely costly to fix.
Step 4: Material selection
Choosing your material determines the fence’s lifespan and look. If you are also doing garden work, knowing how to install landscaping fabric alongside your new fence can keep the weeds at bay. To get started, you will need the following materials:
- Fence Posts: Pressure-treated wood, vinyl, or metal.
- Fence Panels or Pickets: Pre-assembled panels or individual boards.
- Backer Rails: Horizontal supports for “stick-built” fences.
- Gravel/Crushed Stone: For drainage at the bottom of post holes.
- Concrete Mix: Fast-setting bags are best for DIYers.
- Fasteners: Galvanized screws or exterior-grade nails.
- Gate Hardware: Hinges, latches, and a heavy-duty drop rod.
- Post Caps: To prevent water from rotting the tops of the posts.
Phase 2: Layout and post hole digging
A straight fence starts with a perfect layout. If your posts are out of alignment, the panels won’t fit, and the whole project will look crooked. Precision in this phase is the key to a professional-looking finish.
Step 5: String your truth line
Stake your posts in the corners and string a tight line between them. This is called your “truth line.” All posts that you erect should conform to this line so that the fence is absolutely straight across its entire length.
Step 6: Establish your center points
The panels for your fence will be uniform in size, such as 6 feet or 8 feet wide. It is essential to measure from one center point to another. Using spray paint to mark these points on the ground will help you stay focused during your digging.
Step 7: Digging the perfect hole
Generally, you should dig down at least 1/3 the height of the post. For a 6-foot fence, aim for a 3-foot deep hole. This keeps the fence stable during high winds and prevents the ground from shifting during winter freezes.
Step 8: Drainage first
Before setting the post, dump 6 inches of gravel into the bottom of the hole. This allows water to drain away from the wood. Without drainage, the bottom of your post will rot in just a few years, forcing you to learn how to repair a fence post way too soon.
Phase 3: Setting the foundation
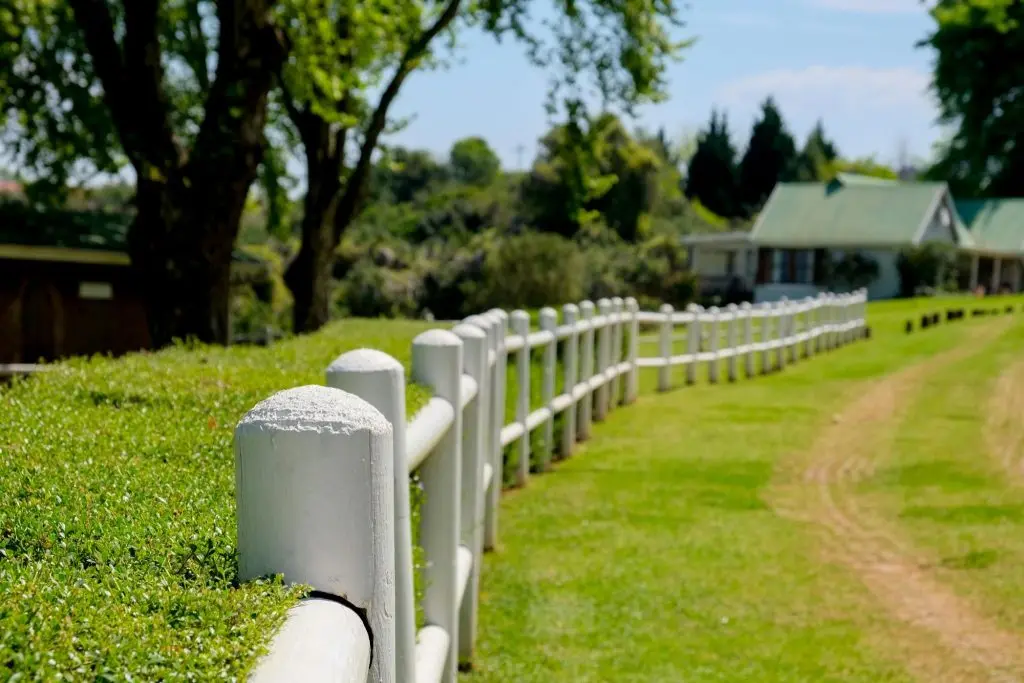
Now it’s time to actually see some progress. Setting the posts is the most critical part of how to install a fence. If the foundation is weak, the entire structure will eventually lean or collapse under the weight of the panels.
Step 9: How to install a fence post
The post should be centered in the hole. Using a level on two sides will ensure that the post is vertical. By bracing the post using scrap wood, it will not move when the concrete is being poured around it.
Step 10: The concrete pour
Mix your concrete and pour it into the hole, stopping just below the ground level. Slant the top of the concrete away from the post so water runs off. A 90-piece ratchet tool kit can help you assemble any metal bracing or brackets needed during this stage.
Step 11: How to install a fence on concrete
If you are working on an existing patio, you need to know how to install a fence on concrete. You’ll use heavy-duty post bases and anchor bolts. A 3/4-inch drive 29-piece set is perfect for torquing down those heavy anchor bolts.
Step 12: Curing time
Don’t rush to hang your panels. Concrete usually needs 24 to 48 hours to set properly. If you put weight on the posts too early, they will shift, and your fence will be crooked forever. Patience here saves hours of rework later.
Phase 4: Panel and gate installation
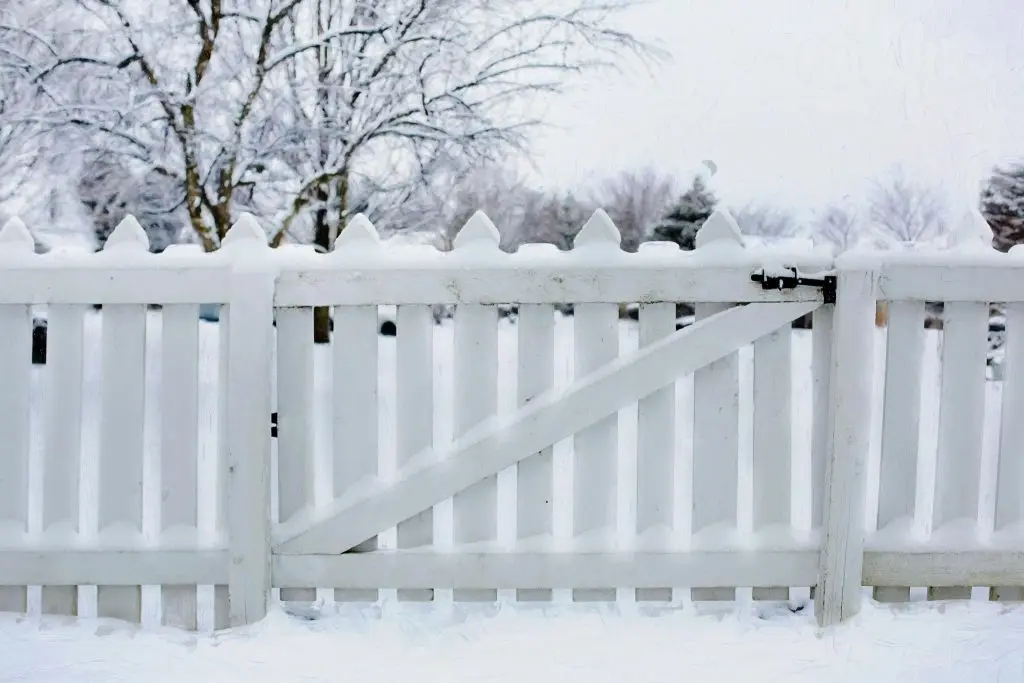
Once the posts are solid, the fun part begins. Seeing the panels go up is when your yard truly transforms. This phase goes quickly if your post spacing was accurate.
Step 13: How to install a fence panel
When learning how to install a fence panel, always start from one end and work your way down. Use a 65-piece impact socket set to secure any heavy-duty brackets. Keep panels a few inches off the ground to prevent rot.
Step 14: Fastening with precision
Instead of using nails, use galvanized screws. An 33-piece impact set can be useful for inserting large lag bolts into gate posts. Screws are more effective because they do not “pop” out when the wood shrinks and swells.
Step 15: Building a sag-free gate
The gate is the only moving part, so it needs extra support. Use a 34-piece metric set to tighten your hinge bolts until they are rock solid. A diagonal brace is essential to prevent that annoying ground-drag.
Phase 5: Finishing touches and maintenance
Your fence is up, but you aren’t quite finished. Taking the time to protect your investment now will save you thousands of dollars in repairs down the road.
Step 16: Trim and cap
Keep all the posts at the same level by cutting their tops equally. Installing post caps would prevent any water from entering into the end grain of the wood. If you have decided to use metal post caps, then you can use a 23-piece impact set.
Step 17: Seal and protect
Apply a high-quality stain or sealer. For hard-to-reach areas, a 19-piece deep length set might be helpful to reach bolts if you need to remove a panel for painting. Re-sealing every 2-3 years keeps the wood from graying and cracking.
Step 18: Annual hardware check
Every year, walk the perimeter and check your fasteners. A 26-piece metric deep set can help you tighten any structural bolts that loosened during the winter. A little oil on the hinges prevents rust and squeaks.
Using a 19-piece extension bar set can also make maintenance easier if your fence has complex latches. For smaller adjustments, a 48-piece ratchet tool kit is a great thing to keep in your garden shed.
FAQs
Can I learn how to install a fence by myself?
Yes, but having a partner makes it much easier when leveling posts. For the best results, use quality installation tools to ensure everything is tightened to professional standards without stripping your hardware.
Is it harder to learn how to install a fence post in clay soil?
Clay is much harder to dig by hand. If you have heavy clay, I highly recommend using a power auger and a 9-piece deep socket set for the assembly. It will save your back and ensure your holes are deep enough.
What is the trick to how to install a fence panel on a slope?
Either step your panels or rack them. In stepping, you will form a staircase effect with flat panels, and in racking, you tilt the panels at the same angle as the ground. Both involve precise measurement.
Do I really need concrete for every post?
For a permanent, sturdy fence, yes. Some use “no-dig” spikes for temporary projects, but for a privacy fence, concrete is the only way to ensure the posts won’t lean during a storm.
How do I ensure my fence is perfectly straight?
The trick is to use the string that you will establish in Phase 2. Your eyes should never be relied on alone. The string must always remain taut while each post should just touch the string without moving it.
Conclusion
Learning how to install a fence is one of the most satisfying DIY projects you can undertake. . Not only it will make you feel more secure but also add value to your property. As we mentioned earlier, the secret to this project lies in translating your dream into a concrete plan using the proper equipment.
With this guide and the appropriate tools at hand, your fence will become a permanent reminder of your labor. From measuring to checking the fasteners, you’ve just gained the expert know-how required to get the job done. It’s time to pick up your tools and start transforming your backyard!