Moisture can slowly damage a home without obvious warning signs, especially when it is in a crawl space. The presence of damp beneath the house can cause mold growth, musty doors, wood rot, and high energy bills. Many homeowners notice poor indoor air quality or cold floors and fail to recognize that excess moisture under the home is causing trouble. One of the best ways to protect your home from long-term moisture damage is learning how to install a vapor barrier in a crawl space.
A vapor barrier, when properly installed, blocks the moisture and creates a healthier, cleaner, and more eco-friendly living environment. This guide will walk you through the installation process in easy steps and help homeowners choose the right material for durable protection.
Why do you need a vapor barrier for a crawl space?
Crawl spaces sit above exposed soil or concrete surfaces or soil that releases moisture into the atmosphere. For learning how to install a vapor barrier in the crawl space on the floor, it is necessary to look into these issues. With the passage of time, it creates serious problems like:
- Rotting wooden joists and beams
- Mold and mildew growth
- Pest invasion
- Rust on metal surfaces
- Bad air quality
- Exceeded humidity levels
- Reduced insulation
Moisture control helps lower heating and cooling costs in researching how to install a vapor barrier in a crawl space. It is due to the effectiveness of dry insulation.
What is a vapor barrier?
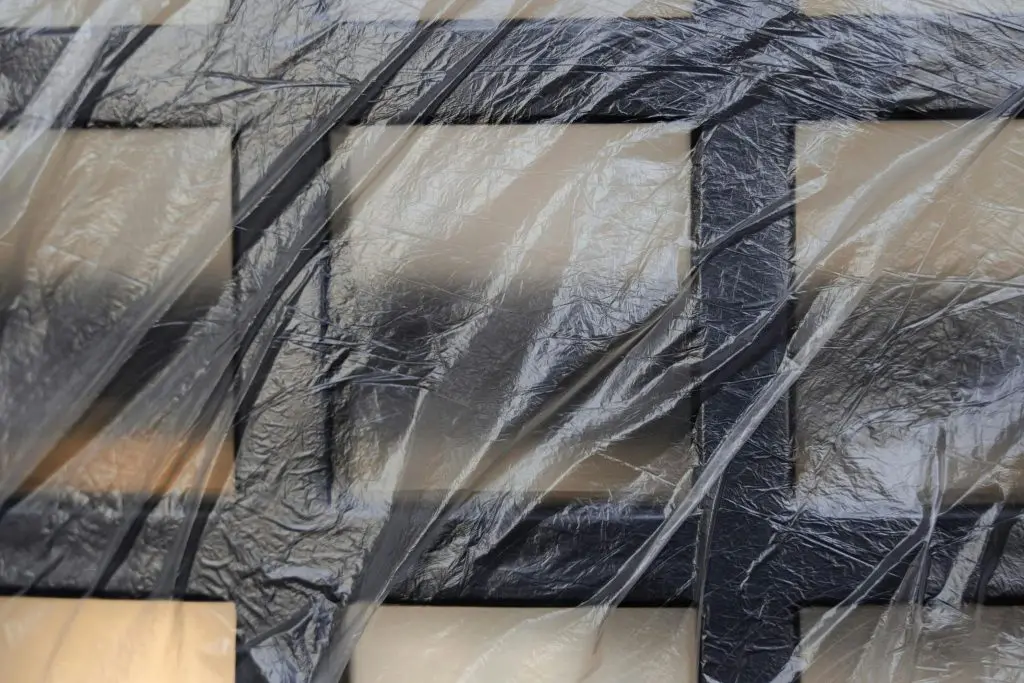
A vapor barrier is a heavy plastic sheet designed to prevent moisture from rising from the ground into the crawl space. Most vapor barriers are made from polyethylene, and they come in various thicknesses that are measured in mils.
Common options are:
- 6 mil plastic sheet for fundamental protection
- 10 mil supported plastic for better durability
- 14 mil thicker barriers for tough encapsulation systems
Many professionals recommend fortified polyethylene because it resists tear punctures and foot traffic better than fragile plastic.
Signs your crawl space has moisture issues
Look at the common warning signs before starting any project.
- Stagnant water
- Damp insulation
- Visible mold
- Musty odors
- Sagging floors
- Condensation on pipes
- High indoor moisture
In learning how to install a vapor barrier in a crawl space, homeowners often identify issues like these during routine checking.
Materials and tools required
Preparing the right tools in advance makes the installation process easier. For learning how to install a vapor barrier in a crawl space on concrete, you will need the following list of materials:
- Seem tape for crawl space
- Polyethylene vapor barrier sheeting
- Construction sealant
- Measuring tape
- Utility knife
- Knee pads and safety gloves
- Trash bags for removing debris
- Flashlight or headlamps
What to look for when buying materials
For sturdy and durable materials, consider plastic with low permeability ratings. It should be tear and mold resistant. Consider heavy-duty seam tape for learning how to install a vapor barrier in crawl space under the house . Buying good quality materials is important because fragile and cheap plastic can tear easily and fail earlier.
Preparing the crawl space
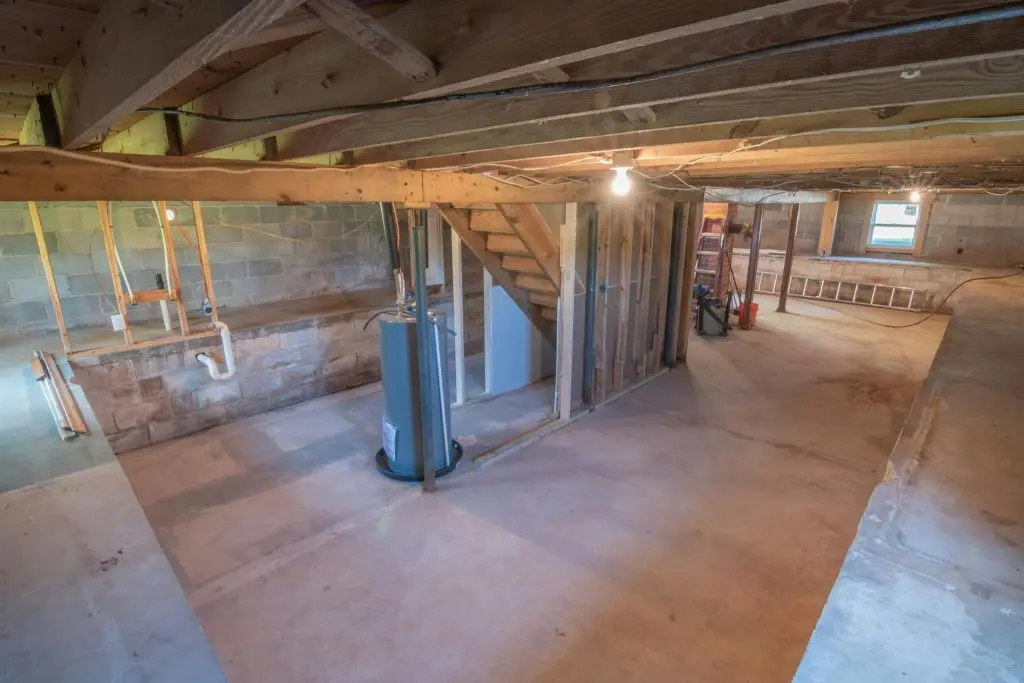
The first important thing is to prepare the crawl space, and for this, install a plastic over stagnant water. It can reduce the potency of the barrier.
- Remove trash: Clear the crawl space from nails, sharp rocks, broken wood, old insulation, and debris. It will be helpful to prevent punctures in the plastic.
- Fix drainage problems: Make sure the water does not enter the crawl space during rain. Common solutions are enhancing yard grading, repairing plumbing leaks and drainage, installing a sump pump, and extending gutter spouts.
- Check mold damage: Before sealing the area, repair severe mold growth.
Pick the right thickness of barrier
One of the critical things in learning how to install a vapor barrier in a crawl space is choosing the right thickness. Let’s have a look in detail:
6 mil vapor barrier
This type is budget-friendly and suitable for light residential use.
10 mil vapor barrier
With a little more thickness, it provides better puncture resistance and longevity. For many homeowners, it is the best balance between performance and expenditure.
14 mil and thicker barriers
These types of thicker barriers are commonly used for crawl space encapsulation systems, and for many homes, a strong 10 mil or 14 mil plastic barrier provides excellent support and security.
Steps to install
Now that you know all the essential things about a vapor barrier in a crawl space, let’s start exploring the installation process.
Measure the crawl space
Measure the whole crawl space floor carefully and add extra materials for wall coverage and overlaps. Many professionals recommend overlapping seams by 6 inches.
Cut the plastic into manageable pieces
Large sheets can be hard to move inside smaller and compact spaces. Smaller sections are easier to handle and place.
Place the plastic across the ground
Start at one side of the crawl space and gently unroll the barrier across the floor. At this stage, many homeowners understand how to install a vapor barrier in a crawl space properly. This step is necessary for complete moisture control in the area. The plastic should cover the exposed soil with minimal gaps.
Overlap the seams
Each section must overlap the next by a minimum of 6 inches. Leaving soil exposed can trap moisture from escaping into the crawl space.
Fasten the seam with tape
You can use heavy-duty seam tape designed specifically for crawl spaces. Press the tape securely to create a long-lasting seal.
Stretch the barrier up the walls
Bring the plastic a few inches up the foundation walls and support docks. With the help of adhesive fasteners, secure the materials properly.
Seal around pipes and obstacles
When cutting around pipes, columns, and vents, be careful. Use seam tape to seal all openings and prevent moisture spills.
Perform a final inspection
Check the crawl space for torn plastic, loose seams, exposed soil, and gaps near the walls. For maximum performance, repair small problems immediately.

Advantages of installing a vapor barrier
Homeowners who understand how to install a vapor barrier in a crawl space mostly enjoy long-term benefits like:
- Low humidity levels
- Good indoor air quality
- Less mold growth
- Enhanced energy efficiency
- Wood rot protection
- Elevated home value
Another plus point is that a dry crawl space helps insulation perform more effectively to reduce monthly bills.
Common mistakes you should avoid
The main cause of poor installation is some common errors, such as:
- Use of thin plastic that can tear easily
- Leaving gaps between the sheets can allow moisture to enter the crawl space
- Ignoring water issues like stagnant water or leakage
- Skipping wall coverage and extending the barrier walls to improve moisture control
- Using weak tape can not hold up well in humid crawl spaces
For better moisture control in a crawl space, you should avoid these mistakes for long-lasting durability.
Wrap up
In learning how to install a vapor barrier in a crawl space, it is a crucial step to protect your home from moisture damage and poor air quality. Although the process needs careful preparation and attention to detail, the long-term benefits can not be denied.
Picking durable polyethylene sheeting, quality seam tape, and materials can help the system last longer. Having exposed soil, concrete flooring, or limited access, proper installation is necessary for a cleaner and healthier home. So, if you are planning to buy materials, investing in durable vapor barriers and moisture-resistant accessories, it is the smartest decision to install a vapor barrier in your crawl space.