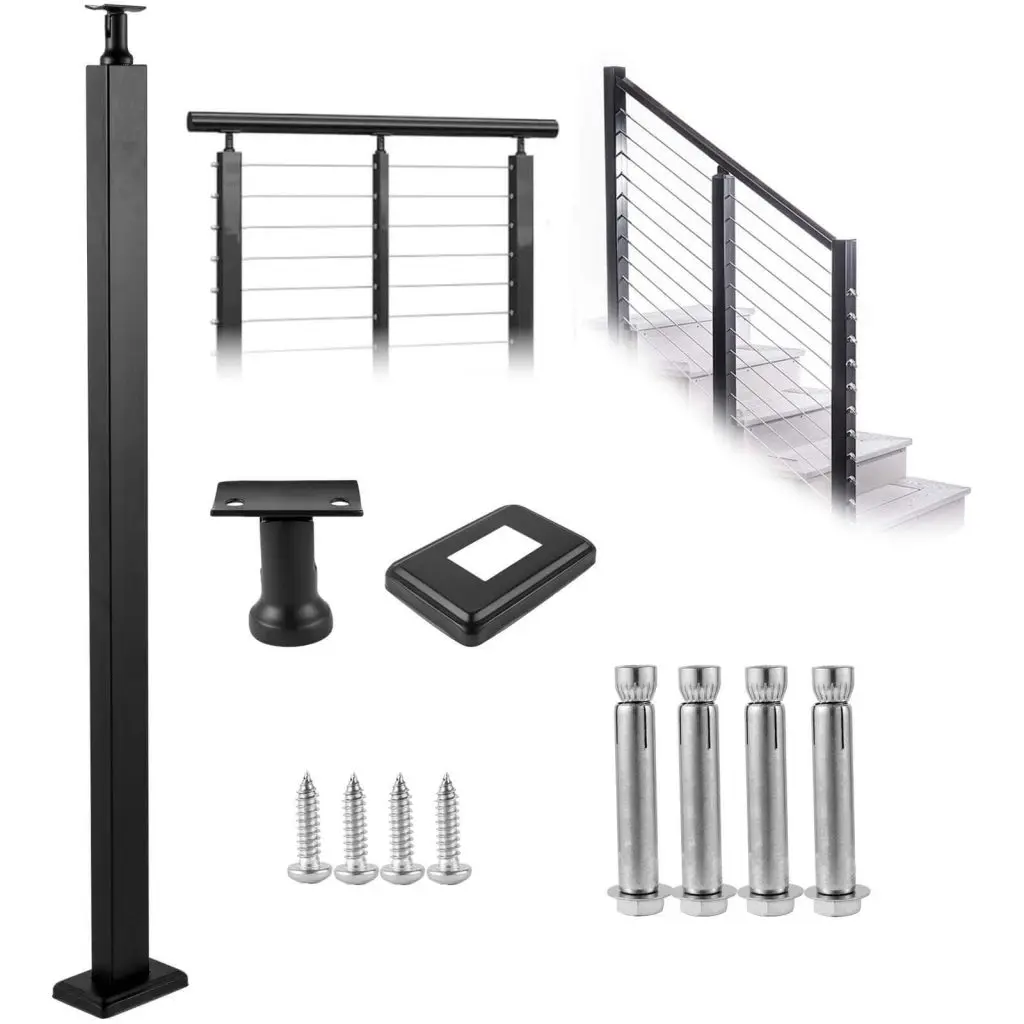
Cable railings are an elegant way to support the railing on your porch or stairs, and they must stay tight to perform well. If your cables become loose, it could cause your railing to be shaky, and it will allow objects to pass through the wires.
That’s why it’s important that after installing your cables, you should routinely inspect and tighten them to ensure they do not become loose. Besides guaranteeing that your railings function properly, tight cables are also better looking and ensure durability.
In this article, you’ll learn the step-by-step process of how to tighten cable railing. But first, let’s explain why you even need to tighten your cable railings in the first place.
Table of contents
Why You Need To Tighten Cable Railing
There are multiple reasons why you should tighten your cable railing. The first is to meet cable railing tension requirements. These requirements, set by local building codes, recommend that your cables should be tight. Therefore, you could fail an inspection if they are loose.
Another reason to tighten your railing is to guarantee the durability and longevity of your railings. Tight cable railings prevent wobbling that could affect the overall structural integrity of your railings. Also, if they are tight, there is less temptation for wandering hands to play with them, which can improve the longevity of your railings. In the same breath, tight railings are also safer than loose ones.
Finally, you should tighten your railings because doing so makes them more aesthetically pleasing and gives your home a more elegant appearance.

Now that you know why you should tighten cable railings, the next agenda is to understand how tight they should be.
How Tight Should Cable Railing Be?
Generally, building codes mention that your cable railing should be tight enough that you cannot stretch it to allow an object of 4 inches to pass through it. It means that you should tighten it to about 200-300 pounds (lb) of tension pressure. However, it’s important to note that these numbers are not necessarily universal and can vary from locale to locale and manufacturer to manufacturer.
To add to that, your cables mustn’t be too tight because when they are, they may cause your posts and railing to bend in. This is a situation that is neither safe nor visually appealing.
Following this, the general rule is that your cable railings must not be too tight or loose. Instead, you should strive to achieve a balance. To be more specific, 200-300 pounds of tension pressure should do the trick.
If you’re going to tension your cable railing, it’s first important to understand what tool to use.
Tool To Tighten Cable Railing
It is impossible to tighten your railing with your bare hands. Instead, you will need to get the cable tensioner tool for the job. The designers of this tool specifically made it to tighten cables by pulling them through the quick connection and then tightening the nuts on the terminal.
It is an efficient and time-saving way to tension cables because it streamlines the process and provides features that ordinary pliers and other tools may be unable to provide. Furthermore, it is usually flexible and used in professional and home settings.
Note, however, that you can use other tools to tighten your cable railings if you don’t have the cable tensioner tool. Some of these tools include wrenches and pliers.
Either way, the fact remains that you’ll need the right cable railing tightening tool to follow the instructions in the next section. It is in said section that we’ll finally answer the question of “how to tighten wire cables” with a step-by-step approach.
Step By Step Process To Tension Wire Railing
Tensioning a cable railing might seem daunting, but with the right guidance, you can get it done quickly and easily. In fact, by following the below steps, you should be done in a matter of minutes.
Step 1: Anchoring the Cable
The first step here is to connect the non-tensioning fitting to your end post, then anchor the cable into the non-tension fitting by inserting it into the opening on the said fitting. After this, thread your cable through all the midposts and intermediate picket spacers.
When you are done with this, pull the cable to the score line on the cable tensioner tool by hand, then mark and cut the cable at the score line. Finally, remove the end of the tension fitting from the anchor portion and insert your cable into the tensioner fitting at the opening now created.
Once that’s done, it’s on to the connection phase.
Step 2: Connecting and Tensioning
Here, you attach the non-tensioning fitting and then use your cable tensioner tool to tighten the cable. You can do this by holding the tensioner with a flat wrench while using an open-ended wrench to rotate the threaded section of the non-tensioning fitting into the thread of the already installed portion of the tensioning fitting. Generally, you can make use of a ⅜ wrench.
After connecting and tensioning the cable, the next thing to do is to fine-tune the tension to just the right pressure.
Step 3: Fine-Tuning the Tension
As you tension, you should start from the center of your railing and then alternate up and down, moving towards the top and bottom. The reason for this is because the center has more flex than the top and bottom.
After tensioning, you should pull your cable downward to test how well you have tightened it. You may tension a cable again if it is still loose or not tight enough. Once you’re satisfied that all cables have just the right amount of tension pressure, you may move on to the final step.

Step 4: Final Checks
In this final step, you’ll need to check your cables to ensure that they are neither too tight nor loose, and that they comply with the building requirements of your locality. A simple test is to stretch your cable and see if it allows a 4-inch object to pass through. If, after checking, you notice some looseness on any cable, you can re-tension that cable following the instructions above and using your cable railing tightening tool.
After the final checks and re-tensioning, you can’t just call it a day forever. You’ll still need to dedicate a little of your time, once in a while to ensure your cables remain firm for a while. That’s what we explain in the next section.
How To Maintain Cable Railing Tension
The first tip in maintaining your cable railing tension is to do frequent checks. Don’t abandon your cable railing till it’s obviously loose and sagging. Once you notice even a little bit of looseness, you need to take the time to correct it immediately by tightening.
Other maintenance practices to adopt include carrying out routine checks and cleaning the screw channels of your railings. As a matter of fact, we recommend periodically lubricating them.
Lastly, note that looseness and frequent sagging sometimes result from low-quality cables that quickly rust or deteriorate due to time and temperature changes. So, a vital tip for maintaining cable tension will be to go for durable, high-quality cables from the start. A prime example of these types of cable railings are VEVOR’s railing cables.
At VEVOR, you’ll find a wide range of cable options that are long-lasting, firm, and strong. Each cable is specifically designed not to be susceptible to rust or wear and tear. You can rely on these railing cables for all your interior and exterior railing needs. What’s more is that these cables are affordable and available in different price ranges.
So, there you have it. If you’ve read to this point, then you now know how to tighten cable railings.

Key Takeaways
- You have to tighten cable railing from time to time to prevent sagging. Doing this ensures your railings are visually pleasing, durable, and safe. Moreover, it helps you comply with local building code requirements.
- To tighten your cable railing, the first thing to do is anchor your cable, then connect and tighten it. While tensioning your cables, start from the center and alternate up and down as you proceed to the top and bottom. Also, remember to make final checks and re-tension where necessary.
- While it is your responsibility to check your cables frequently to tension them, VEVOR’S steel railing cables can help you rest easy. With these cables’ anti-rust features, you won’t have to worry about whether your railing cable is loose or not. The idea is to help you reduce the need to tighten cable railing.
Want to learn more about the art of tightening cable railing? Check out the FAQs below.
FAQS About Tightening Cable Railing
When should I tension my cable railing?
While there is no special time of the day or year when you must tighten cable railings, it is advisable to check your cables for looseness at least once a year and then tension them if necessary. Furthermore, it only makes sense to do your tightening when you have plenty of light, so during the day might be best.
Note that if your cables get loose more than once a year, you should still tighten them every time they get loose. Alternatively, frequent sagging may be as a result of poor cables, so, you might want to invest in cable railings of higher quality.
Can I tighten cable railing by myself?
Yes, you can. By arming yourself with your trusty cable tightener and following the instructions above, you can tighten your cable railings on your own.
Should I tension cable railing with a drill?
We advise you not to use a drill to tension your cable railing because it could affect the whole structure of your railings and even cause you to fix completely new cables.


