
Imagine you’re hosting guests in your living room, and fire crackles in your fireplace. Everything feels cozy. But all of a sudden, you hear a crack, then a bit of scurrying, and boom a debris of dirt and a squirrel pour directly onto the fire. It quickly turns into a fiery mess of burnt animal, dust and ashes. That’s what can happen when you don’t install a chimney cap.
If you’re tired of water leaks, dirt buildup, dust and even chimney fires, you need to install a chimney cap.
The best part about installing chimney caps is that they’re pretty cheap to buy and install. You could either hire a professional, or get a satisfying DIY installation experience using this guide.
In this article, we’ll take you step-by-step on how to install a chimney cap.
But first, let’s talk about why chimney caps are so important.
Table of contents
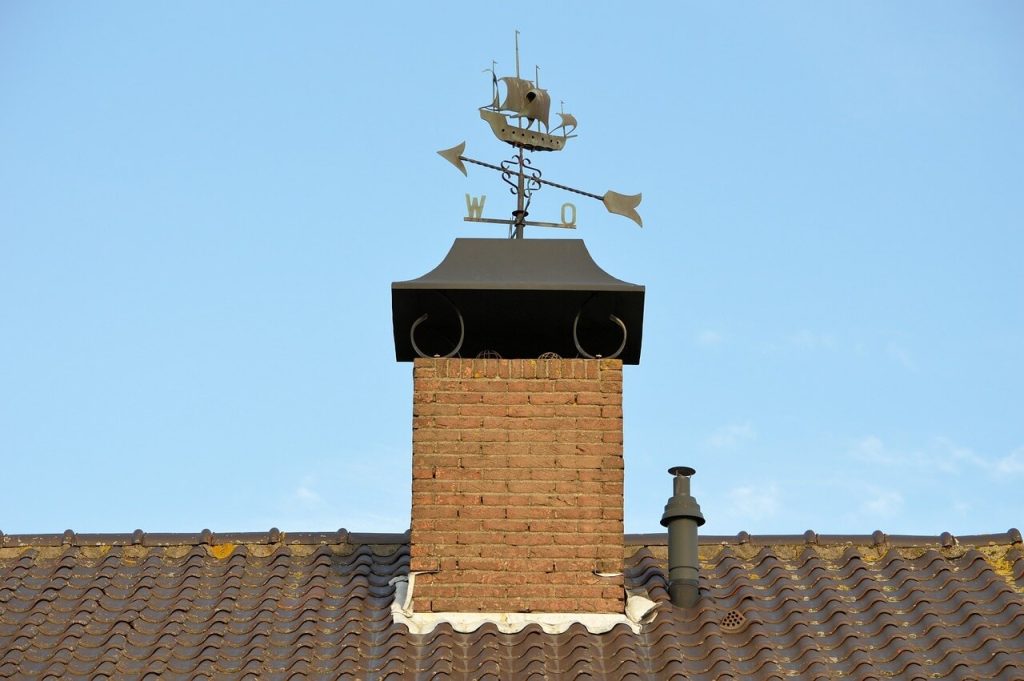
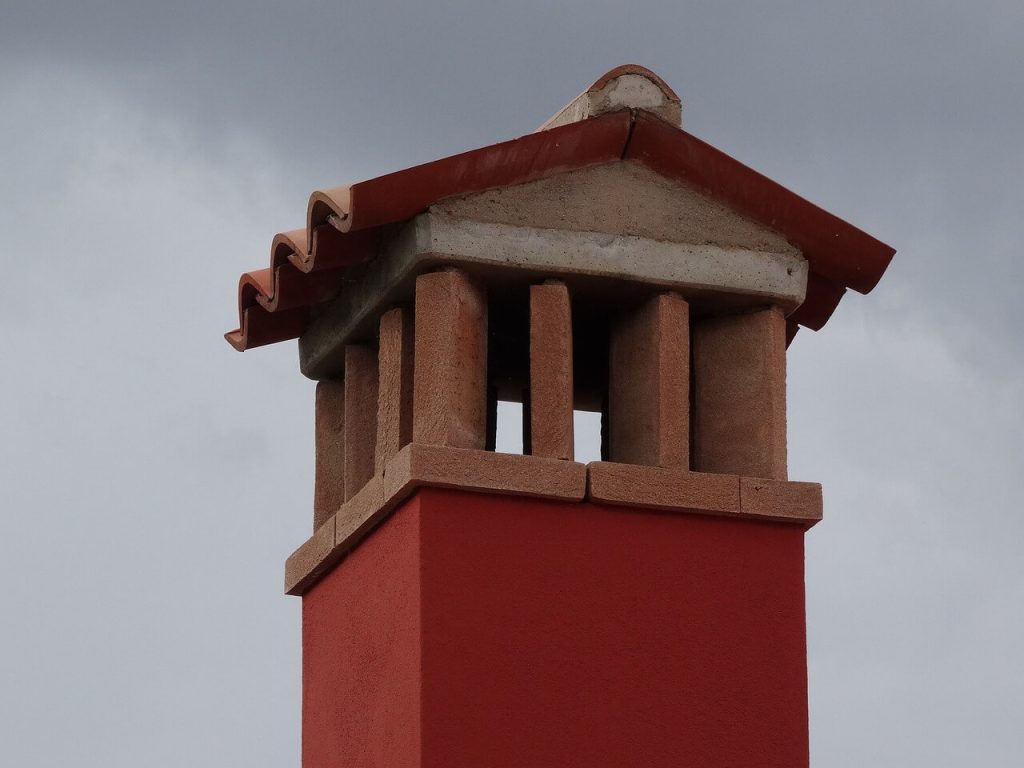
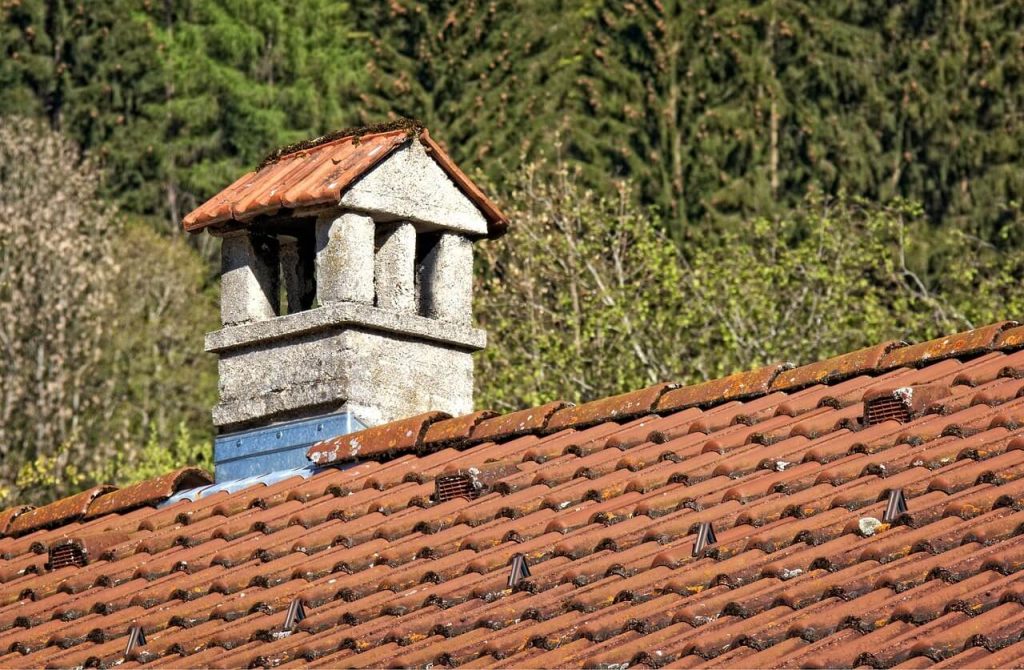
Why are Chimney Caps so Important?
While chimney caps may look bland and unimportant, they’re an essential part of the chimney. Just like you need bottle caps to avoid bottled liquid spillage or possible contamination, chimney caps also play health and safety roles. Besides protecting your chimney from debris flying around, they also ensure that your fireplace works nicely at all times.
Here are some of the amazing functions of chimney caps, and why they’re so important to your chimney:
- It prevents debris and dust buildup: An open chimney is an open invitation for rain, snow, dust, debris to settle in your chimney. This ends up ruining the functionality of your chimney, and also leaves you exposed to possible health risks.
- It helps to keep animals out of your chimney and home: Little animals like squirrels and rats always look for openings to hide or infiltrate homes. The easiest way to avoid having to call pest control is to install a chimney cap to keep the little animals out.
- It reduces the risk of fire outbreaks: Sometimes, all it takes for a fire outbreak is for dry debris to fall into the fire in your fireplace. But with a chimney cap, the debris and dust are kept out. What’s more is that a chimney cap prevents fire sparks from escaping from your chimney, thus reducing fire risks even more.
- It improves the efficiency of your chimney: A chimney cap helps to prevent downdrafts, and ensures proper heating ventilation. It draws out smokes and fumes that could easily overwhelm your home due to wind blowing down your chimney.
- It saves you money on maintenance: Installing a chimney cap saves you from having to deal with water damage, debris buildup, and potential chimney fires. This way, you won’t have to worry about chimney repairs or the cost of fixing water, debris and fire damage.
Now that you know why a chimney cap is important, it’s time to get started on how to install.
First up, let’s talk about the installation tools.
Necessary Tools For Installing a Chimney Cap
Installing a chimney cap only needs basic tools that you can find in any maintenance store. These tools include:
- Screwdriver and screws
- Drill and drill bits
- Tape measure
- Level
- Caulking gun and sealant
- Work gloves and safety goggles
- Scaffolding Tower
As you’ll notice, most of these tools are sold with complementary bits. For instance, you’ll need drill bits to work with a drill. The same applies to screwdrivers and screws.
To install a chimney cap, you need to have most of these tools ready. You can get a work belt to keep your tools close when working.
Always ensure that you follow safety rules. Don’t forget your work gloves and safety goggles. A harness is important when working on the roof.
Once you have all your tools ready, it’s time to install the chimney cap all by yourself.
How To Install a Chimney Cap By Yourself
Installing chimney caps is a straightforward process that you can handle all by yourself. But, you need to first know the kind of chimney you’re working on. You could either be working on a single-flue chimney, or a double-flue chimney.
Here’s how to install a chimney cap on a single-flue chimney:
Installing a chimney cap on a single-flue chimney
1. Measure the flue
To install a chimney cap on a single-flue chimney, the first thing you need to do is to measure the flue. The chimney flue is a tube that extends from the top of your chimney. It helps direct escaping fumes, and also improves ventilation.
Measuring the flue helps you figure out the size of the chimney cap you’ll need. To measure the flue, take your measuring tape and measure the length and width of the flue. If your flue is cylindrical, measure the length and diameter.
2. Obtain a chimney cap
Take note of the measurements and head to a maintenance store to purchase a chimney cap that fits the measurements. You could easily buy a fitting chimney cap on VEVOR.
VEVOR chimney caps come in different shapes and sizes that will fit any type of flue. Most VEVOR chimney caps are made of durable stainless steel. What’s more is that they come with adjustable metal spark arrestor and a safety mesh to keep out troublesome animals and debris. And the best part is that they’re designed for easy installation.
3. Install the chimney cap
Once you have your chimney cap, the installation is a simple matter. You could either follow the installation manual, or “use your DIY instincts”.
Start with setting the chimney cap on the top of the flue, ensuring that it is properly leveled. Next, use your drill to drill holes into the flue, aligning precisely with the pre-drilled holes on the chimney cap.
You can apply sealant to the base of the chimney cap and then set it down on top the flue again. As you do this, ensure that it is leveled and the drill holes are properly aligned.
Once the holes are drilled, use your screwdriver to drive in screws through the drilled holes. This way, you’ll fasten the chimney cap to the flue.
4. Clean up
Clean up the work area, and you’re good to go.
If you have a double-flue chimney, here’s what to do:
Installing a chimney cap over a double-flue chimney
Double-flue chimney means that you’ll have to install a larger sized chimney cap. This also applies to multi-flue chimneys. Typically, double-flue and multi-flue chimneys usually serve multiple home appliances to improve ventilation and manage space, especially if you don’t want to build an entirely separate chimney.
1. Measure the chimney
For a double-flue chimney, the first step is to measure the length and width of the chimney. Typically, the measurement for a double-flue chimney is longer than a single-flue chimney. Hence, you’ll need a longer chimney cap.
2. Buy a chimney cap
After measurement, you need to buy a chimney cap that fits or covers the measurement you have. VEVOR chimney caps come in different sizes which can conveniently fit any double-flue chimney. They’re made of stainless steel for long-term use, and they’re also easy to install. The safety mesh on VEVOR chimney caps help keep out snow, debris and small animals. They also have pre-drilled holes to make your installation a lot easier.
3. Install the chimney cap
Once you have your chimney cap, the next thing to do is to properly level it on top of the flue. After that, you should drill holes into the crown of the flue in such a way that they align with the pre-drilled holes on the chimney cap.
Going forward, you should apply sealant to the base of the chimney cap and then set it down on top of the flue again. But in so doing, ensure that it is leveled and that the drill holes are properly aligned.
Finally, use your screwdriver to drive in screws through the drilled holes and secure all sides of the flue to the chimney cap. Once all that’s done, ensure that you clean up the work area.
Now, let’s see how much installing a chimney cap would cost.
How Much is a Chimney Cap Installation?
Generally, it’s easy to install a chimney cap all by yourself. But if you hire a professional, you may have to spend between $300 to $500 which covers the cost of buying the required chimney cap. You could also spend as high as $1000 on installing a chimney cap, depending on your location, and the quote of the installation company.
If you were to install a chimney cap all by yourself, you would need anywhere between $100 to $200 if you need to buy some installation tools as well. But, if you have your installation tools already, you can get durable chimney caps from VEVOR from $40 to $100 depending on what you need.
In all, you’ll be saving at least $100 if you choose to install a chimney cap all by yourself.
Now, let’s answer the big question; should you DIY or hire a pro?
Should You DIY or Hire a Professional?
The decision to DIY or hire a professional is really dicey. If you’re keen on comfort, safety, and professionalism, you may feel like it’s much better to hire a professional. But then, DIY is really tempting. It saves cost, time, and even gives you a boost of self-confidence.
Here’s how to decide:
- If you have basic to advanced DIY experience, and you’re not afraid of heights, then you can go ahead and DIY. If you make mistakes in installation, you can easily fix it by yourself at no extra cost.
- If you’re too busy with other things, and you have the money to spend, then hiring a professional is fine. The professional will likely give you premium value for your money. But if you encounter any issues, you may have to pay for repairs.
Let’s have a quick recap.
Key Takeaways
- If your chimney has no cap, you’re setting yourself up for messy and avoidable damages. You stand a risk of fire outbreaks, water damage, debris build-up which would ruin ventilation, and little animals infiltrating your home through the chimney.
- Installing a chimney cap would help improve your home ventilation, reduce downdrafts, and help you reduce maintenance costs.
- Installing a chimney cap is really about measurements, drilling and fastening. Once you measure your chimney flue, get the right-sized chimney cap, level it onto the chimney flue, drill holes into the crown of the flue, and fasten using screws. You can apply sealant to the base of your chimney cap to improve the fastening.
- The most important part of installing a chimney cap is to get the best quality in the market. This is where VEVOR chimney caps come in. They’re easy to install and are highly durable.
If you have any questions in mind, here are a few FAQs with clear answers for you.
FAQs About Installing a Chimney Cap
Q: When do I need to replace my chimney cap?
This can be as soon as you experience a fire outbreak or notice that the chimney cap is worn out. It’s advisable to periodically check the chimney cap to be sure it’s still in good condition. The easiest way to notice if your chimney cap is wearing out is if you notice downdrafts, dust or debris falling through your chimney.
Q: How do I install a chimney cap without a flue?
If you have a chimney without a flue, you can still install a chimney cap on it. You’ll need a chimney cap that covers the entire crown of the chimney. Once you have this, simply level the chimney cap to the crown of the chimney and fasten it with screws.
Q: When should I replace the damper?
You can replace the damper once you notice that it’s worn out or stuck. If the damper is cracked, stuck, broken, or has completely fallen off, it’s time to replace it.
Q: Do roofers install chimney caps?
Yes, most roofers install chimney caps after installing or repairing your roof.


