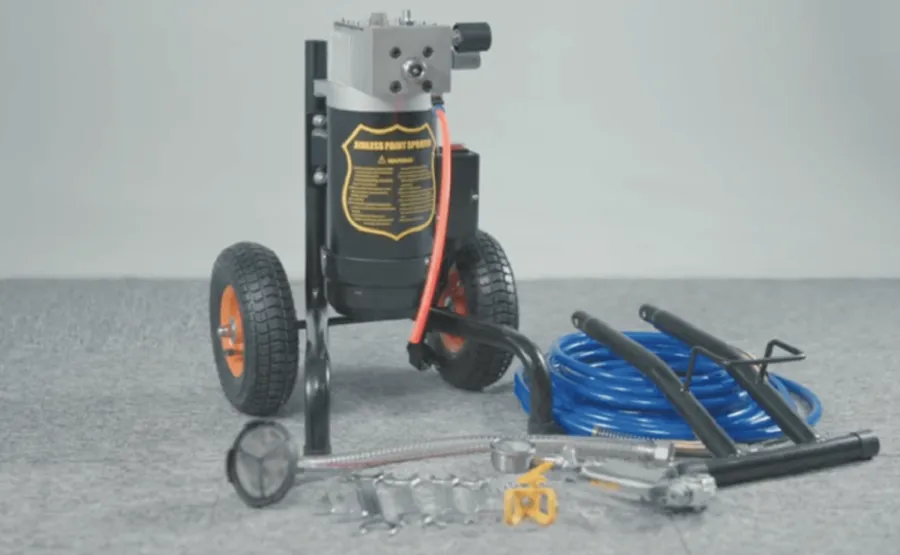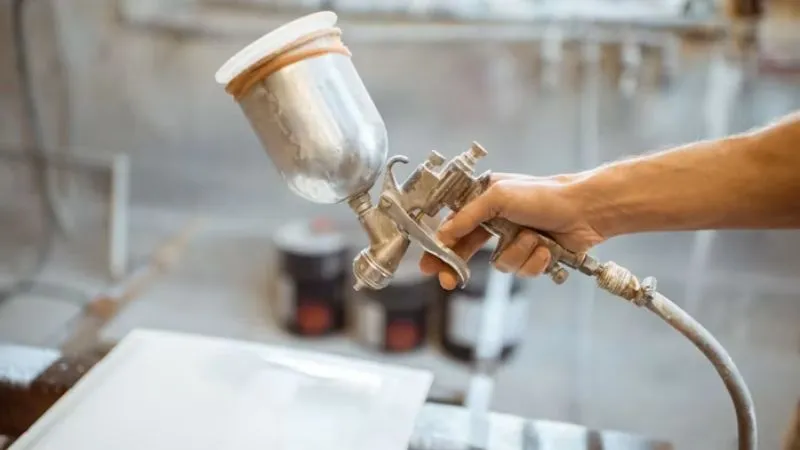
You want a professional paint job, but you feel unsure about using this tool. This step-by-step guide will explain every part, from setup to cleanup. You will learn how to use an airless paint sprayer correctly, including essential techniques for applying it to walls, ceilings, and trim. The guide walks you through each step of using an airless paint sprayer, so you’ll know exactly how to use it well, from thinning the paint to adjusting the pressure. These tools save time and give a smooth finish, but you need proper spraying techniques to avoid drips and uneven coats. You must follow safety rules to avoid common mistakes with a paint sprayer, such as overspray or clogging.
Airless sprayers require careful handling, but with these tips for using an airless paint sprayer, you can start your project with confidence and achieve a flawless result. Proper preparation protects your floors, furniture, windows, and other nearby surfaces from paint mist. This guide explains how to use an airless paint sprayer step by step, from preparation and spraying to cleaning. With the right techniques and a little practice, you can confidently tackle your next painting project.
Table of Contents
What You Need Before Using an Airless Paint Sprayer
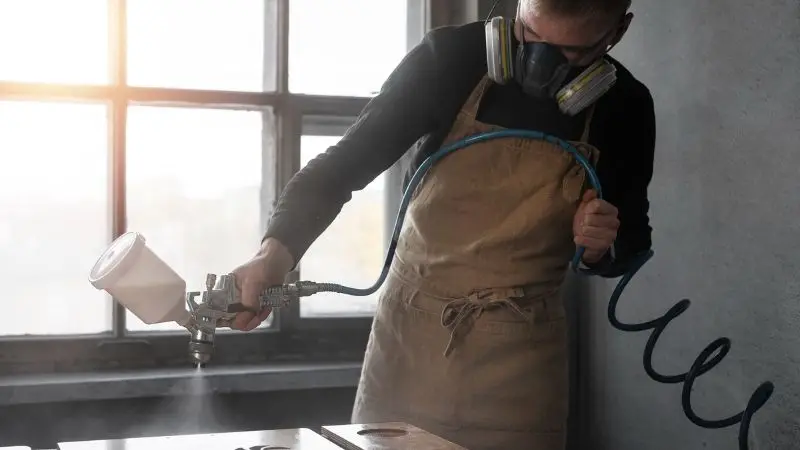
Plan the project and get the appropriate tools and supplies first. Accidents and paint wastage can be avoided with proper preparation. The time it takes to get it right before spraying is 15 minutes, but it saves you hours of frustration later on. Before using the paint, it is important to know the precautions and then choose the paint that flows through the machine. Proper preparation, spraying, and cleaning will yield better results and help you avoid common issues.
Recommended For Your Project
Essential Safety Equipment
Safety equipment helps protect you from the risks of paint mist and high-pressure injuries. An airless paint sprayer’s pressure can reach up to 3,000 PSI, which is high enough to penetrate your skin with paint. Use protective eyewear that fully covers the eyes. How to use an airless paint sprayer step by step? Cover yourself with a disposable suit or old long-sleeved clothing, as paint can settle on the skin and float in the air. Don’t use a basic dust mask; use one rated for organic vapors. Solvents in the fine mist from an airless sprayer are irritating to the lungs. Do not shoot the spray gun in the direction of your body. The high-pressure stream may cut through the skin and may require surgical removal. Your hands deserve protection as well! Use chemical-resistant gloves to secure the gun.
Take off all jewelry before starting. Tie long hair and dress in loose-fitting clothes. These safety measures must be used at all times when operating the equipment, including during quick touch-ups. Establishing a work area also involves creating a protected area surrounding you. Use plastic sheeting to cover floors, furniture, and windows. Use painter’s tape to tape off edges for clean lines.
Choosing the Right Paint for an Airless Sprayer
Not all paints are suitable for use in an airless sprayer. Latex paints and acrylics spray beautifully since they flow easily through the hose. Oil-based paints will also do, but will require mineral spirits for cleanup. Don’t use textured paints or paints with heavy additives, as they can clog the nozzle and cause uneven spray patterns. How to use an airless paint sprayer for the first time? Look for the “sprayable” or “airless compatible” paint label. This is satisfied by most interior and exterior house paints. If the paint is too thick, a little bit may need to be thinned. Dilute latex paint with water or mineral spirits, or oil-based paint with mineral spirits (about 10% by volume). Mix well, then try it on cardboard before putting it in the machine. This initial setup of a paint sprayer will guarantee even application and eliminate “sputtering”.
Select Quality Spray Paint
The first step when using a paint sprayer is knowing what type of material to use. A quality paint can prevent tip clogging and provide a factory-finished appearance. If you know how to use an airless paint sprayer as a beginner, you will understand that the quality of your paint is more important than your technique. The best results are obtained with high-quality paint suitable for spraying. This option makes the whole process of installing an airless paint sprayer easy and offers professional results. Selecting the right paint before starting can save time, minimize waste, and simplify the painting process. The first step is to select the right paint for the job and ensure it is compatible with an airless sprayer. Review the label to find out where, how, and if the product can be sprayed, as well as the surface types it is recommended for.
Master Your Spraying Technique
Now you know how to use an airless paint sprayer from cover to cover! Safety equipment is designed to keep you safe. The correct setup and paint are the key to avoiding frustration. Learn spraying methods to get smooth, even coats. Recall painting hand movements for even coverage,e such as steady arm movement. Once complete, the paint should be immediately flushed out. The machine can be cleaned in minutes, but skipping cleaning will lead to clogging. How to use an airless paint sprayer on walls? Adopt good maintenance practices following each project. These are some of the most common pitfalls to avoid while using a paint sprayer. Confidence comes with practice – begin with a fence or a small piece of furniture. The more you learn about using a paint sprayer, er the more you will know about the next project. Now you know what to do and how to do it. Take your airless paint sprayer, organize your work area, and transform your next paint job. You’ve got this.
How to Avoid Common Painting Mistakes
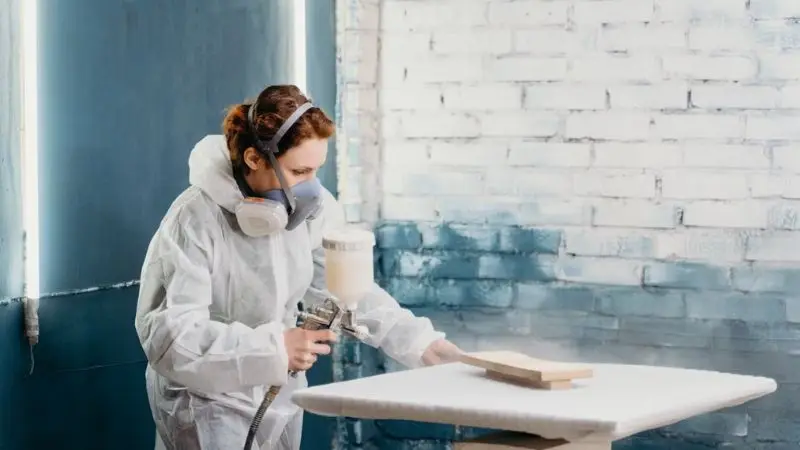
Follow some basic painting tips to prevent overspray: use the proper pressure and maintain a steady motion with the sprayer. Keep adjacent surfaces protected and slowly increase pressure to avoid paint wastage, streaks, and uneven coverage. To minimize the chances of clogged spray tips and interruptions, be sure to clean and filter the paint before spraying. Here are some easy tips to make your paint-spraying job smoother, with less cleanup, and more effective with an airless paint sprayer.
Avoid Excessive Overspray
An important skill to learn when using an airless paint sprayer on walls is controlling overspray. Overspray occurs when paint is thrown beyond the area you intend to paint. The paint mist may deposit on windows, floors, vehicles, plants,s and other objects in the area instead of on your wall, fence, ceiling, ng or furniture. You save paint, clean-up, and get a cleaner finish by learning to control overspray. First, protect all paint work spaces. Use plastic sheeting or drop cloths to cover floors, furniture, windows, doors, and other nearby objects. Apply painter’s tape around edges and areas to be kept unfainted. When spraying outdoors, be sure to assess the wind. Paint mist may be carried considerably farther by strong winds. Select a quiet day, if possible.
Use the Correct Spray Pressure
One of the most crucial factors to consider when learning to operate an airless paint sprayer is the proper spray pressure. The right pressure will allow the paint to flow smoothly and evenly out of the spray tip. When the pressure is too low, the paint may appear uneven, resulting in streaks, heavy spots, or inadequate coverage. Too much pressure is likely to result in excess overspray, paint waste,e and a rough surface. How to use an airless paint sprayer when painting furniture? Slowly increasing the pressure from a lower setting will allow you to determine the optimum setting for the paint and surface. Always consult the paint manufacturer for the recommended spray pressure before spraying. The thickness of paint varies, so the pressure setting for each may differ. The pressure required for thick exterior paint may be greater than that for thinner interior paint. Stick to the recommended range; it gives you more control and lets you work the sprayer more efficiently.
Keep the Sprayer Moving
One of the most crucial techniques when learning to use an airless paint sprayer is to keep it moving. The spray gun sprays paint fast: if the gun is held in the same spot for too long, too much paint will be applied to that spot. This can lead to drips, runs, uneven paint application,n and paint wastage. The consistent speed of the sprayer application ensures the paint is applied evenly, producing a smoother finish. Pull the spray trigger after moving your arm. Begin the motion, squeeze the trigger, and then carry the gun across the surface. Stop moving the gun and squeeze the trigger just before you stop. A large amount of paint will not build up at the beginning or end of each pass. It also gives you more control over how much paint is used.
Avoid Clogged Spray Tips
One of the most crucial lessons to be learned when operating an airless paint sprayer is how to avoid clogged spray tips. When the tip is clogged, it can cause interruptions in work, affect the spray pattern, and make painting frustrating. How to use an airless paint sprayer on cabinets? Small particles of fouling matter can jam the opening, or paint can dry around the tip. Properly prepared paint and a clean spray tip improve the sprayer’s smooth, even spray. Strain the paint through a paint filter or a fine-mesh screen before loading it into the sprayer. Newly painted surfaces can still have small pieces of paint, dried paint, or dirt that could clog the spray tip. Particles may be caught inside the tiny hole at the end. By filtering out unwanted material, the paint will not enter the sprayer, minimizing the risk of blocking.
Wrap Up
An airless paint sprayer can save time in painting and promote a neat, professional appearance. Clean, wear the correct safety equipment, and select paint compatible with your sprayer. Adjust the spray pressure correctly and move the nozzle continuously to avoid drips, streaks, or uneven coverage. To prevent overspray, safeguard nearby surfaces, and ensure the spray pattern, test it on a trial surface before applying it to the main surface. Taking the time to properly filter and prepare the paint can help minimize the risk of paint buildup in the spray tips and interruptions. Wash the sprayer immediately after application to ensure the apparatus is working properly and to remove paint residue. How to use an airless paint sprayer for beginners? If you’re a newbie, try it out on a piece of cardboard, scrap wood, or a smaller project before working on a larger surface. You can avoid common painting mistakes by properly preparing, handling, and spraying paint.
FAQs
Why is my sprayer spitting or sputtering?
It’s probably due to a clogged tip or low pressure. Shut down the machine and release the pressure. Trim off the tip and clean with a small brush. Inspect the paint filter for debris. Make sure the pressure dial is turned up until there is a consistent, even airflow pattern.
What is the correct pressure setting?
Set the pressure dial at the lowest setting. Spray on cardboard to check the spray pattern. Apply pressure slowly and steadily until a smooth, even fan with no tails or streaks forms. Excessive pressure causes overspray and excessive paint loss. Too little pressure will cause drips.
Do I need to thin my paint?
Look on the paint label for sprays. Most latex and acrylic paints will not require any thinning. Add water (latex) or mineral spirits (oil) if paint is too thick. Add water (latex) or mineral spirits (oil) if paint is too thick. Mix well and try on cardboard before loading the machine.
What is the best way to clean and maintain your paint sprayer?
Rinse out the system straight after use. Run water or mineral spirits through the hose until it runs clear. Use a tip remover and clean the tip. Clean the outside of the unit. Keep the sprayer with the pressure off. These maintenance best practices will help avoid clogs and prolong equipment life.
How to prevent drips and runs?
Maintain a constant speed of the arm when spraying. Place the gun about 12 inches above the ground, perpendicular to the ground. Make the passes half-overlapped. Use light layers instead of a single heavy layer. These spraying methods will provide you with a smooth finish without sagging or dripping.