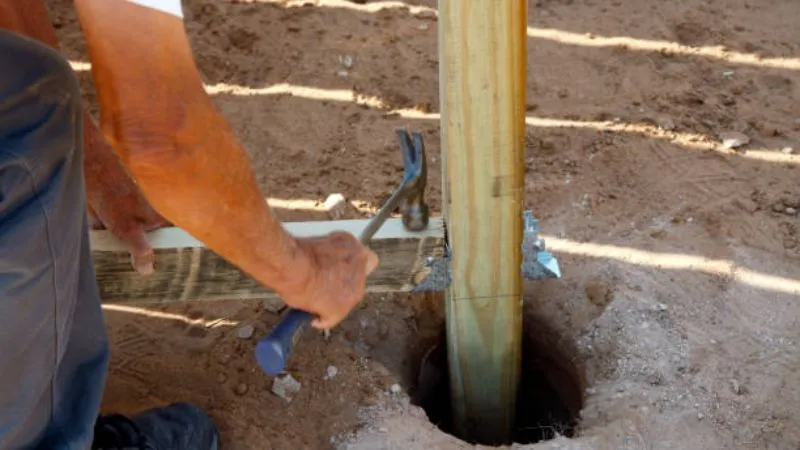
Building a fence seems like a simple weekend chore until you start digging and encounter hard dirt, pebbles, roots, or uneven terrain. Learning how to dig fence post holes the right way might help you avoid leaning posts, uneven spacing, and weak fence stability. Before you start, you’ll need to plan your fence layout, check for subsurface utilities, and get the proper tools for the work.
This article outlines how deep to dig fence post holes, how wide they should be, and how to keep them straight and properly aligned, even when the earth is hard to work with.
Table of Contents
What You Need to Dig Fence Post Holes
Preparation is the key to making the digging operation easier and reducing installation errors. Consider the soil, fence size, and number of posts before gathering your tools and supplies. If you plan how to dig fence post holes by hand, make sure you have the right equipment ready before starting. Keeping everything nearby helps the project stay on schedule and prevents unnecessary interruptions.
Recommended For Your Project
Tools for Digging Fence Post Holes
Having the correct tools will make learning how to dig fence post holes easier and more accurate:
-
- Post hole digger: You may dig a hole and move soil around with a post hole digger, and it is safe
-
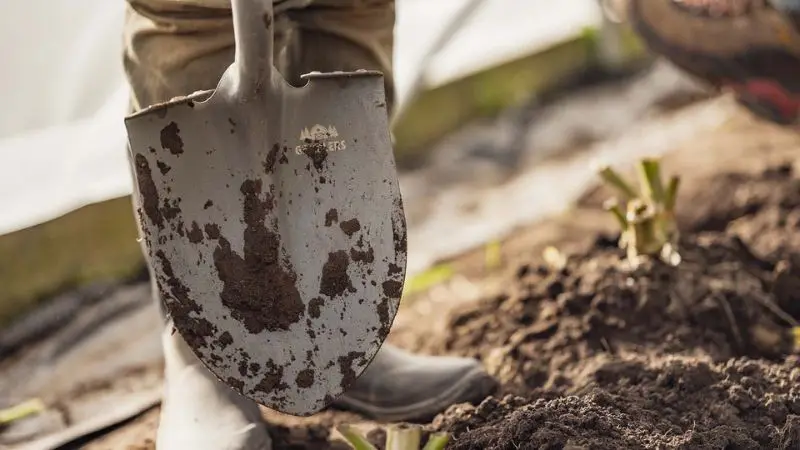
- Shovel: You can always make the hole bigger by moving the loose earth with a shovel if necessary.
-
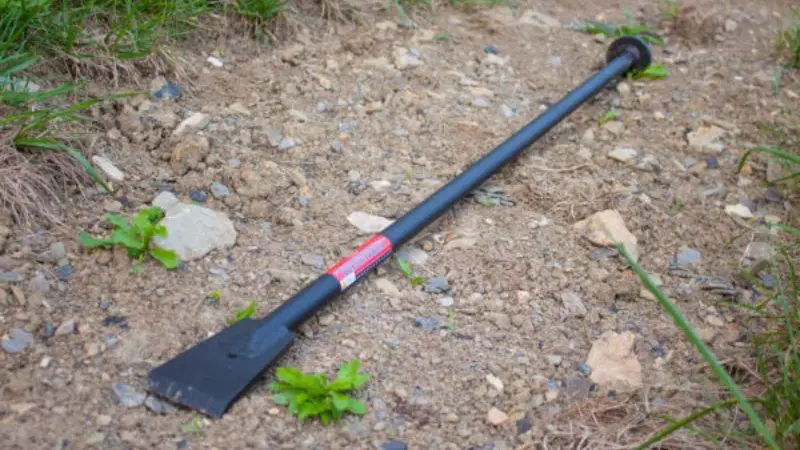
- Digging bar: is useful for breaking up hard soil so that small rocks or roots can be seen.
-
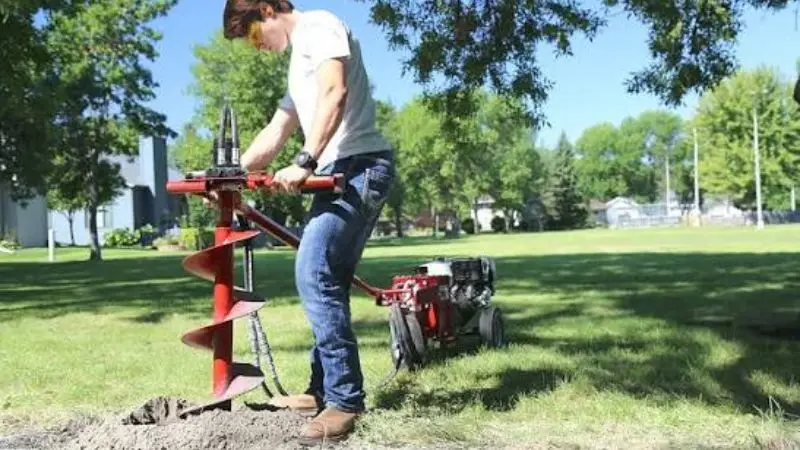
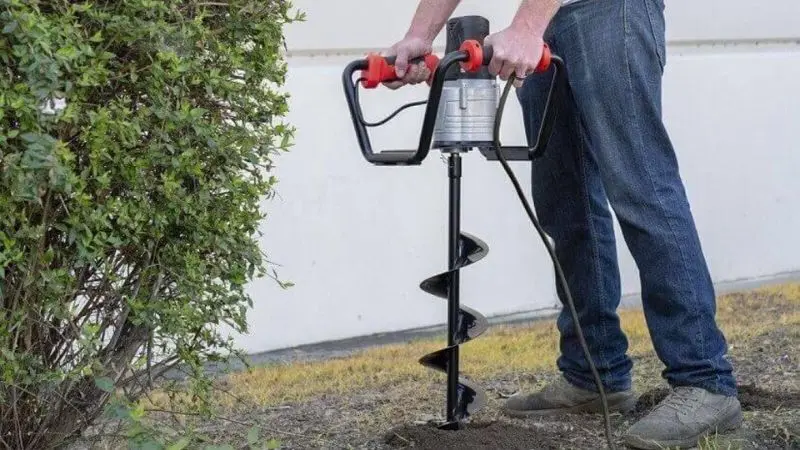
- Powered auger: For bigger fence jobs, a powered auger is preferred because it digs faster.
-
- Measuring and alignment tools: Have sticks, a level, a tape measure, and a string line handy to make sure holes and spacing are straight.
Wear work gloves and safety glasses when digging to protect your hands and eyes from dirt and sharp objects.
Materials You May Need
The right materials can make how to dig fence post holes easier and help keep the posts secure. Gravel can provide drainage and a sturdy base under the post. Some fence designs, soil conditions, and local requirements may require posts to be set in concrete. If you’re building a wood fence, use pressure-treated posts rated for ground contact. You may also need temporary braces, screws, and scrap lumber to hold the posts in place while the foundation material sets.
Check the Fence Design Before Digging
Check the fence height, panel width, post dimensions, and spacing before marking the ground. Plan gate and corner locations, as these areas may need extra support. Also consider slopes, property lines, landscaping, driveways, and nearby buildings. Having these details ready before you dig helps you understand how to dig straight fence post holes and prevents misplaced holes that could require costly corrections later.
Plan and Mark Your Fence Post Layout
A well-designed layout helps keep the fence straight, evenly spaced, and properly positioned. Mark the beginning and end points, then stretch a tight string line between them. Use a tape measure to mark each post location along the line. Dig once, measure twice. Planning the complete layout first makes excavation easier and reduces the chance of having to move posts later.
Account for Gates and Corners
Mark the gates and corners ahead of the usual fence posts. Gate posts tend to carry more weight and may require additional support, while corner posts change the fence’s direction. When planning how to dig fence post holes, measure the gate opening precisely and leave enough room for the hardware to work correctly. At corners, check that both fence lines meet at a right angle.
Consider Slopes and Changes in Elevation
Walk the whole fence line and look for changes in ground level. If you have a slope, decide whether the fence should follow the ground or use stepped sections. Keep each post vertical while adjusting the fence panels to the landscape. Measuring the distance between posts helps maintain a consistent appearance and is an important part of how to dig straight fence post holes on uneven ground.
Mark the Correct Hole Locations
Once you have the fence line confirmed, stake or mark the center of each post hole. Use the distance between posts or other objects, rather than judging the spacing by eye. Align all marks with the string line so that the finished fence is even. Confirm dimensions before commencing excavation, especially in the gate and corner areas. For long runs of fence, look at the whole line from different angles to catch spacing or alignment problems before you dig the holes.
Check for Underground Utilities Before Digging
How to dig fence post holes by hand starts with knowing what may be buried along the fence line. Check for underground utilities such as electrical wires, gas lines, water pipes, communication lines, and irrigation systems before you begin. Contact your local utility-locating service and have the area marked. If you find an unexpected pipe, cable, or other buried object, stop digging and identify it before continuing. This simple step can help prevent serious damage, costly repairs, and possible injuries.
How Deep Should the Holes Be?
The required depth depends on the fence height, post size, soil conditions, frost depth, and local building requirements. If you are learning how to dig fence post holes in hard ground, soil conditions are especially important, as hard or compacted ground can make excavation more difficult. A common guideline is to bury about one-third of the post length, but this is not a universal rule. In cold climates, posts may need to extend below the local frost line to reduce movement caused by freezing and thawing.
Before digging, check local codes and the fence manufacturer’s recommendations. Mark the required depth on your digging tool or a measuring stick so each hole can be checked consistently.
Several factors can affect the depth of a fence post hole, so consider the following before you start digging:
| FACTOR | WHAT TO CONSIDER |
| Fence height | Taller fences may require greater depth and stronger support. |
| Post size | The post dimensions affect the appropriate hole size and depth. |
| Soil conditions | Soil type and stability can affect how the post should be set and supported. |
| Frost depth | In cold climates, posts may need to extend below the local frost line. |
| Local requirements | Check local building codes and the fence manufacturer’s recommendations. |
How to Measure Hole Depth
How to dig fence post holes correctly starts with measuring the depth of each hole. Use a tape measure or marked measuring stick to measure from the planned ground level to the bottom of the hole rather than relying on visual estimates.
If the yard slopes, use the finished ground level at each post as your reference point. Checking every hole before setting the posts helps maintain consistent height and support throughout the fence.
How Wide Should the Holes Be?
The hole should be wide enough to provide proper support around the post without creating unnecessary extra space. The required width depends on the post dimensions, fence design, soil conditions, and foundation method.
When deciding how wide should a fence post hole be, consider the space needed for concrete or other backfill around the post. Avoid making holes excessively wide because this increases excavation and material requirements. Keep the sides reasonably stable and remove loose soil from the bottom before setting the post.
How to Keep the Holes Straight and Aligned
A string line is one of the simplest ways to maintain a straight fence layout. Keep the line tight between your reference stakes and position each hole directly beneath the planned fence line.
Use a tape measure to maintain consistent spacing between posts. After digging several holes, step back and look along the fence line to identify any noticeable deviations.
When learning how to dig straight fence post holes, remember that accurate marking and regular measurements are just as important as the digging technique itself.
How to Deal With Rocky Soil
Rocks can stop a digging tool suddenly, so work carefully when you feel an obstruction. Small rocks can usually be loosened with a digging bar and removed by hand or with a shovel.
For larger rocks, expose more of the surface before attempting to move them. This gives you better leverage and helps determine whether the obstruction can be removed.
When figuring out how to dig fence post holes in rocky soil, remember that an unexpected hard object may not always be a rock. If you encounter a pipe, cable, or other unfamiliar material, stop digging and identify it first.
Working on Sloped Ground
Sloped properties require more planning, as the fence may need to follow the terrain or use stepped sections. Design the arrangement before you dig so the finished fence looks uniform. Place each post plumb rather than slanting it to follow the slope. This is important when how to dig straight fence post holes is part of the project on uneven ground. The fence panels or rails can then be adjusted to follow the planned elevation. As you work, measure the height and distance between neighboring posts to avoid large variations between sections.
Managing Drainage Around Posts
How to dig fence post holes in hard ground also means making sure water can drain properly around the posts. Water should drain away from the post rather than collect around its base. A layer of suitable gravel can improve drainage and provide a stable foundation where appropriate.
On sloped ground, pay attention to the natural direction of water flow. Avoid creating low spots that trap water around the posts, especially near the bottom of a hill.
Common Mistakes to Avoid
One of the most common mistakes in how to dig fence post holes is rushing the excavation process. Incorrect spacing, uneven depths, and leaning posts can cause problems during panel installation.
Another mistake is failing to check for utilities before digging. Oversized holes, poor drainage, and loose soil at the bottom can also weaken the installation.
Take the time to measure each hole and check every post before the foundation sets. It is much easier to make small adjustments early on than to make major repairs once the fence is complete.
Don’t Ignore Small Alignment Errors
How to dig straight fence post holes starts with careful alignment. A small alignment issue may not seem important at first, but it can become apparent when you install the panels or rails. Before setting a post, check each hole against the string line to ensure everything is aligned.
Don’t Leave Soil Loose in the Bottom
Loose soil will settle and make a post move. As you set the post in place, dig the hole to the bottom and ensure it has a strong, well-prepared base.
Don’t Attach Panels Too Soon
Concrete and other foundation materials require time to set. Give panels, rails, or gates sufficient time to cure before installing. Follow the manufacturer’s instructions for the prescribed wait period.
Tips for making work easier
How to dig fence post holes by hand is easier when you work in small sections rather than trying to dig the whole fence line at once. Take regular breaks, especially if the ground is hard or stony. Keep your tools clean and in good condition so they are easier to use. Keep the soil you remove in one area, and separate rocks and roots as you work. Keep your tape measure and level nearby so you can check each hole as you go.
Final Steps to Take Before Erecting Fence Panels
How to dig straight fence post holes also means checking the entire fence line before putting up the panels. Stand at one end and look along the posts for alignment problems. Recheck the spacing, especially around the gate posts, and use a level to make sure each post is plumb. Before fitting the panels, make sure the posts are sturdy and that the concrete or other base material has set in accordance with the manufacturer’s instructions.
Conclusion:
Strategically placed post holes give a strong base for your fence. Roots, hard soil, rocks, and slopes can make digging tough, but with proper preparation, careful measurement, and the right tools, the task becomes easier. Knowing how to dig fence post holes correctly helps ensure the posts are installed at the right depth and width, remain level, and have enough support. Be sure to check for underground utilities and follow local regulations before you start. Spending some extra time on preparation can help prevent leaning posts, uneven panels, and expensive repairs.
FAQ
How deep do I dig each post hole?
As a rule of thumb, bury roughly one third of the post length. However, the proper depth also depends on the fence height, soil conditions, frost depth, and local regulations. Check local codes before you dig.
I hit a rock; what should I do?
How to dig fence post holes in rocky soil requires care when you hit an obstruction. Use a digging bar to loosen small rocks. For a large rock, you may need to shift the hole while keeping the fence line and spacing correct.
How far apart do fence posts go?
Spacing of 6 to 8 feet is common on many residential fences. Spacing will depend on the fence style, panel size, and local standards. Always follow the manufacturer’s guidelines.
Do I need to put concrete or just gravel for every post?
Depends on soil, fence design, and local requirements. Concrete can provide good support; gravel can improve drainage. Follow the approved installation process for your fence type.
Is it okay to dig post holes in wet or frozen ground?
Better to wait till the soil is fit for work. Wet dirt may cave into the pit, while icy ground is harder to excavate. The work can be easier if you wait for better conditions.