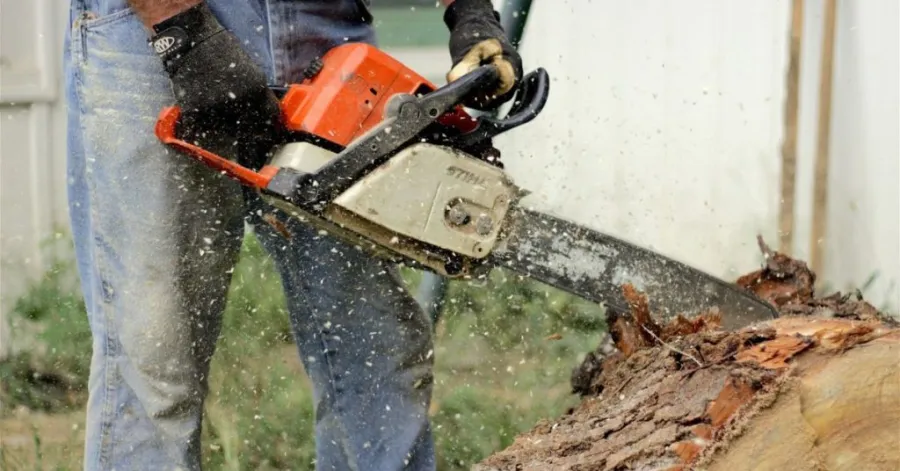
While working with a chainsaw, you must have knowledge of how to tighten chainsaw blades so that serious injuries or damage can be avoided. A loose chain may either break or fall from the guide bar, increasing the chance of a kickback. Tightening a chainsaw ensures efficient cutting without causing wear and tear of the guide bar. Tight chains can damage the bar or motor. Always check the chain tension before you use your saw. First, make sure the chainsaw is off and safe to handle. Explore the best way to tighten chainsaw chains by following some simple steps.
How to Tighten a Chainsaw Blade with Tools and Safety Gear
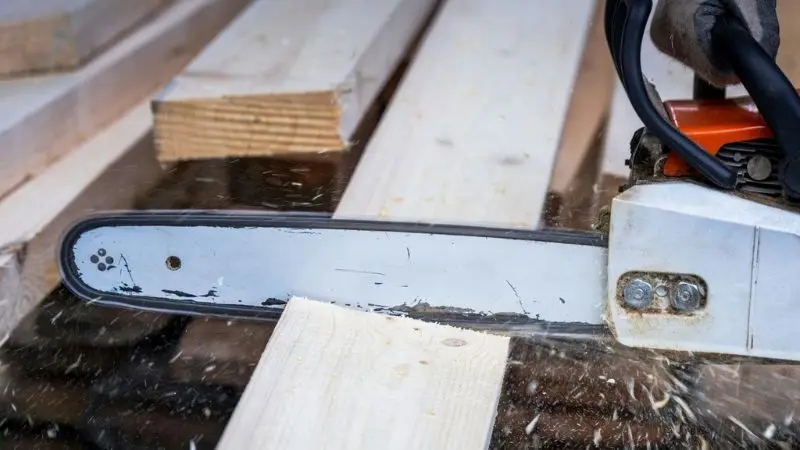
Regularly checking the tension in the chain is a key component of safe chainsaw ownership since chainsaw chains will loosen and stretch over time, according to chainsaw maintenance experts. Here are the tips that will also teach you how to adjust chainsaw chain tension at home.
Essential Tools for Adjusting Chain Tension
There are not too many tools required for adjusting the chain tension. There’s a tool named scrench that comes with most chainsaws. A scrench is a wrench and screwdriver. It is used for loosening the guide bar nuts and for turning the tensioning screw.
Here’s how to tighten a chainsaw blade with the provided tools:
- Scrench (or screwdriver and socket wrench)
- Owner’s manual
- Clean rag
This is especially crucial information in the owner’s manual, as each chainsaw model could have a different tensioning system, as well as a different recommended tension. Accidental over-tightening or under-tightening can be prevented by following the manufacturer’s instructions. Also, you should have a clean rag handy to clean up sawdust, oil buildup, and debris that can affect proper chain adjustments. A flashlight may also be helpful for low-light tasks to provide good lighting of the chain, guide bar, and tension parts.
Recommended Safety Gear
Always put safety first! Wear the appropriate garments to avoid sharp objects and flying debris. Wear gloves to protect your hands. Shield your eyes with safety glasses. If you will be running the chainsaw after adjustments, please ensure that you use ear protection. Wear chaps or sturdy pants to protect your legs.
How To Tighten A Loose Chainsaw Chain with Recommended Safety Gear:
- Heavy-duty gloves
- Safety glasses or goggles
- Ear protection
- Chainsaw chaps or sturdy pants
To provide maximum protection, wear steel-toe boots and a long-sleeved shirt, along with the equipment mentioned above. Total PPE is recommended for chainsaw maintenance and operation by professional safety organizations.
Preparing Your Chainsaw for Maintenance
Make sure that your chainsaw is turned off before you start to use it. If electric, unplug it; if gas, remove the spark plug wire. If used recently, allow the chainsaw to cool down. Put the chainsaw on a stable and flat surface. Use a clean rag to clean and remove sawdust and dirt from the guide bar and chain region. This step will allow the parts to be seen clearly, and it will prevent dirt from entering the saw.
Taking these steps on how to tighten a loose chainsaw chain helps you adjust chain tension safely and keeps your chainsaw in good shape.
How to Tighten a Chainsaw Blade: 7 Easy Steps
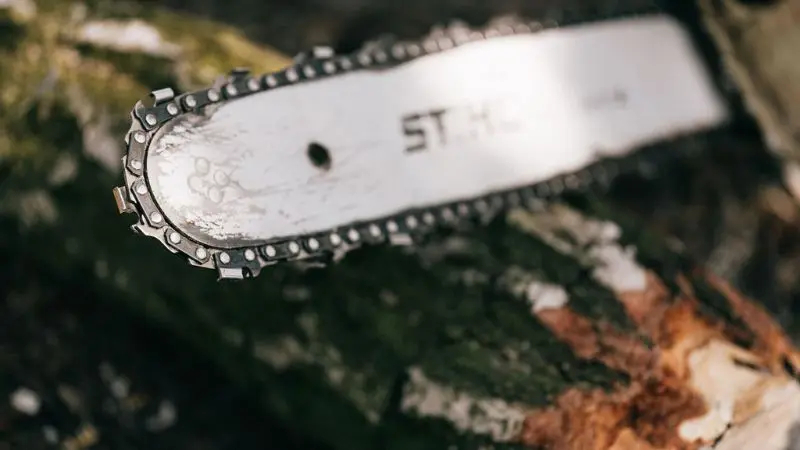
The following steps will show you how to tighten the chainsaw chain on an electric chainsaw. These steps pertain to the electric chainsaw, but the process is the same on any chainsaw:
Step 1: Turn Off the Chainsaw and Disconnect the Power Source
Turn the chainsaw off first. If using an electric chainsaw, unplug the chainsaw from the outlet. If the chainsaw is gas-powered, disconnect the spark plug wire. In doing so, you will prevent yourself from getting hurt from accidental starts.
Step 2: Engage the Chain Brake
Move the chain brake forward until it clicks. When operating, the chain brake prevents chain movement. Helps to keep your hands safe during maintenance.
Step 3: Loosen the Guide Bar Nuts
Using a screwdriver or a socket wrench, remove the nuts from the side panel. Don’t completely take them away. Loosening the nuts allows the guide bar to move slightly, which is necessary for the tensioning adjustment.
Step 4: Locate the Chain Tensioning Screw
Find the chain tensioning screw. It will be located close to the bottom of the guide bar. Some chainsaws feature the screw to the side, others have it to the front. If in doubt, consult your owner’s manual!
Step 5: Adjust the Chain Tension Correctly
Turn the tensioning screw slowly. Turn it clockwise so that the chain gets tight. Loosen by turning it anti-clockwise. The chain should be tight against the bar but hand-free. This is the most crucial of the steps for tightening a chainsaw blade. This is the key part of how to tighten a chainsaw blade.
Tip: Gently pull the chain away from the bar. When there is a small gap, and the chain snaps back, then it is the correct tension.
Step 6: Tighten the Guide Bar Nuts
Hold the guide bar up with one hand. Use your screwdriver to tighten the nuts again to lock the bar and chain in place.
Step 7: Check Chain Movement and Final Tension
Spin the chain by hand (with gloves on). Make sure it moves smoothly. Perform a quick check to correct the tension by pulling the chain away from the bar. If it snaps back, you have finished the process. You now know how to tighten a chainsaw blade safely.
How to Tighten Chainsaw Blade – Extent of Chain Tightening
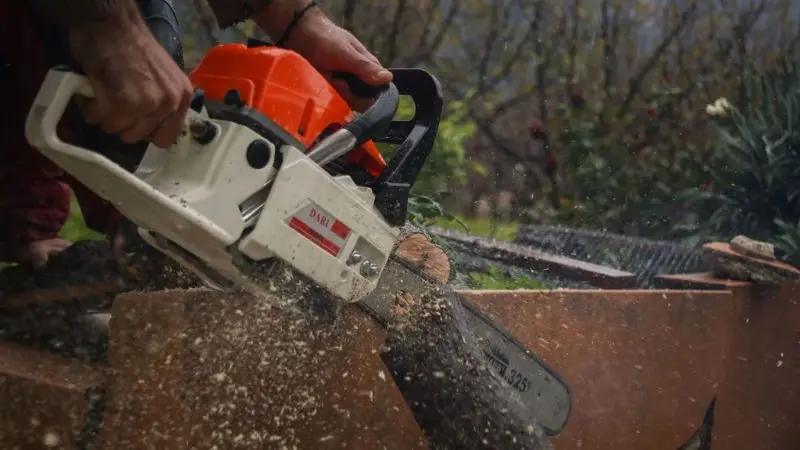
The Proper Chainsaw Chain Tension Test
You need to check the chain tension before you start cutting. A loose chain can slip off the guide bar. Whereas a tight can cause damage. To test for correct tension, wear gloves and pull the chain away from the guide bar. The chain should move easily but snap back into place. You should see only a small gap between the chain and the bar. If the chain hangs away or feels stiff, you need to adjust it.
Tip: Always perform this test after you follow the steps for how to tighten a chainsaw blade. This helps you avoid mistakes and keeps your chainsaw safe.
Avoiding Over-Tightening the Chain
If you make the chain too tight, you can strain the motor and wear out the guide bar. The chain must be gliding smoothly along the bar. You should never force the chain to move. Over-tightening can also cause the chain to break during use. You protect your chainsaw and yourself by keeping proper chain tension.
Here is a quick checklist to avoid over-tightening so that you can learn how to adjust chainsaw chain tension at home:
- The chain moves freely when you pull it.
- The chain snaps back into place.
- The chain does not bind or stick.
Manufacturer Recommendations to Follow
Manufacturers like VEVOR give clear advice about chain tension. You should always check your owner’s manual to get the best way to tighten the chainsaw chain. Each chainsaw model may have different requirements. Some brands use a table to show the right gap for proper chain tension.
| Chainsaw Brand | Recommended Chain Gap |
| Stihl | 1/8 inch |
| Husqvarna | 1/16 inch |
| Echo | 1/8 inch |
Note: Follow the manufacturer’s instructions for your chainsaw. This ensures you get correct tension and safe operation.
You keep your chainsaw running well when you follow the steps on how to tighten the chainsaw blade. You also prevent accidents and extend the life of your tool.
How to Tighten a Chainsaw Blade – Do’s & Don’ts
When you learn how to tighten a chainsaw blade, you need to watch out for common mistakes. These errors can affect your safety and the performance of your chainsaw. You can avoid problems by understanding what to look for and what to do.
Tightening the Chain While It’s Hot
Just after a chainsaw operation, you may want to adjust the chain. This is not a good idea. The chain will grow in length when it is hot. When hot, tighten the chain, and it will contract when cool. This may lead to the chain becoming too tight and being damaged. Never adjust chain tension when the chainsaw is hot.
Tip: Wait at least 15 minutes after using your chainsaw before making any adjustments.
Ignoring Chain Wear and Damage
You need to check the chain for signs of wear or damage. Check for broken links, dull teeth, or rust. When any of these troubles are detected, replace the chain prior to further operation. An improperly placed or damaged chain could cause accidents and poor cutting.
Here is a quick checklist for chain inspection:
- Check for broken or missing links
- Look for dull or chipped teeth
- Inspect for rust or corrosion
Forgetting to Recheck Tension After Use
It is important to re-tighten the chain after operating your chainsaw. The chain may become slack while working. The chain will slip off the guide bar if you forget to check the chain tension. This can result in damage or injury to your tool. Periodic checks ensure the safe and ready operation of your chainsaw. Follow the steps to know how to adjust chainsaw chain tension at home.
How to Tighten a Chainsaw Blade when it keeps Loosening?
The chainsaw chain may loosen frequently. As you use the chain, it stretches. The guide bar or tensioning screw might not keep the chain tight. The tensioning system can also be clogged by sawdust and dirt.
Some of the common causes are the following:
- Chain wear from regular use
- Loose guide bar nuts
- Worn tensioning screw
- Debris in the tensioning area
Tip: Clean your chainsaw after each use, along with checking the guide bar nuts and tensioning screw before cutting.
What to Do If the Chain Won’t Tighten Properly
Be sure the guide bar nuts are sufficiently loose first. If they are too tight, the bar is not able to move. Next, check the tensioning screw. The chain may be stripped or broken if it spins but fails to tighten the chain.
Here are the safe ways to tighten a loose chainsaw chain:
- Loosen guide bar nuts just enough.
- Rotate the tensioning screw and observe the chain.
- If the chain is not moving, check for damage to the screw.
- If necessary, change the tensioning screw.
Note: The answer to how to tighten a chainsaw blade lies in using the right tools for your chainsaw. This helps you avoid damage to the parts.
When to Change the Guide Bar/Chain
Look for any of these indicators:
- Lives in the air for long periods of time from the bar.
- The guide bar is worn out and uneven.
- The chain will not maintain its tension after the adjustment.
DO NOT use a broken chain or guide bar. Replace worn parts in order to maintain your chainsaw’s safety and effectiveness.
Conclusion
By regularly checking the chain tension, you can keep your chainsaw safe to use and efficient. Lack of the proper tools and protective equipment can result in accidents. Follow each step in this guide to learn how to tighten a chainsaw blade and get the best results. Ensure that the correct equipment is used, safety precautions are taken, and worn parts are replaced when required. Regularly inspect and adjust the tension on chains. Your chainsaw will serve you for longer and perform better.
FAQs
When should you check the tension of the chain on the chainsaw?
Inspect the chain tension before using. If you cut for a long period of time, then stop and check again. Loose chains can occur while working.
How to tighten a chainsaw blade without a screwdriver?
It is possible to use a flathead screwdriver and a socket wrench. Some chainsaw tension knobs do not require tools. Be sure to read your owner’s manual for the most effective approach.
How will it affect the performance of the chainsaw if the chain is loose?
A loose chain will jump off the bar and injure or damage your chainsaw. The chain needs to be at the correct tension at all times.
Why is my new chainsaw chain so long?
As chains break in, they are stretched. It may take a few uses to adjust for the desired tension. This is normal.
Should the chain be oiled after it is tightened?
Yes! The chain is never to be cut without the application of oil. Oil lubricates and reduces wear in the chain.