Replacing a power cord on your RV is a necessary task that you need to do from time to time. Just like other pieces of hardware, RV power cords don’t last forever. When an RV power cord goes bad, it needs to be replaced, or else you won’t be able to use your RV anymore, especially all of those appliances on the inside. So, how to replace an RV power cord is exactly what we’re here to do today.
Table of contents
An Introduction to Power Cords for RVs
Power cords for RVs are important elements that allow the vehicle to be connected with an external power source which provides electricity in order to operate onboard appliances, lighting and HVAC systems. The cords are available in different lengths, diameters and amperage ratings to address various power requirements as well as hookup distances.
Typically, RV power cords come in two main amperage ratings: 30 amps and 50 amps, where the first one is a standard for smaller RVs, while second – larger models with higher electrical needs.
Matching the RV’s needs with what is provided by the power cord capacity ensures safe and effective functioning. An ideal, high-quality RV power cord is a must if you wish to enjoy the comforts of home while traveling on your recreational vehicle; thus being an essential component in every camper’s arsenal.
Knowing When It’s Time to Replace an RV Power Cord
The replacement of an RV power cord is a fundamental maintenance task that guarantees the safety and functionality of your vehicle’s electrical system. If one can identify the perfect moment when it is appropriate to replace the power cord, then unforeseen power issues and possible safety hazards will be averted.
Here are five key factors to consider that indicate it’s time to replace your RV power cord.
1. Aging and Wear-and-Tear
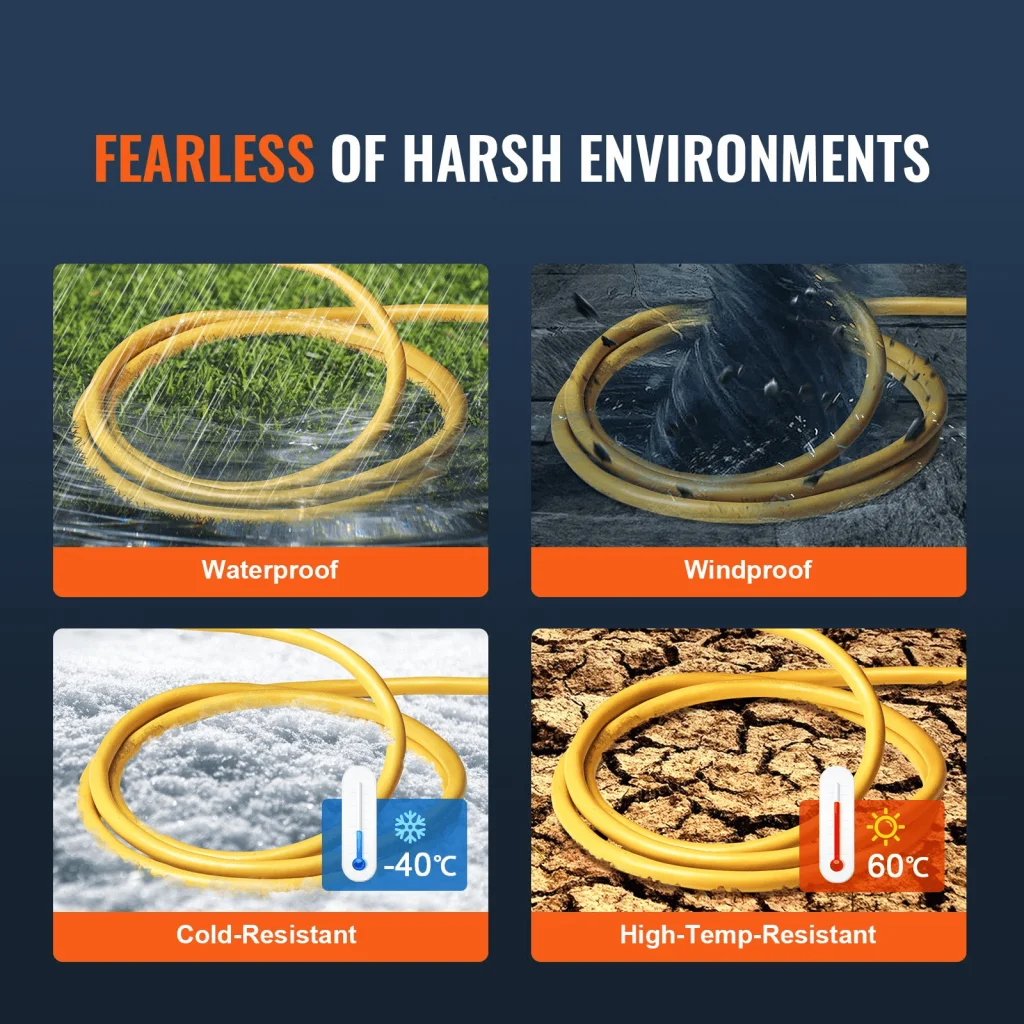
A routine inspection of your RV power cord can help you identify the signs of wear and tear like fraying, cracks or exposed wires. These conditions not only decrease the effectiveness of power transmission but also present serious safety concerns, such as short-circuits and electrical fires. If insulation is pierced, it’s critical that the cord be replaced to ensure safety as well as functionality. Some are built tougher than others!
2. Consistent Power Fluctuations
If you have any consistent power fluctuations or interruptions when connected to a source of electricity, the problem may be with your RV cord. Connections that are not correct, or internal damage to the cord can result in an inconsistent supply of power which affects how your RV’s electrical appliances and systems work. The replacement of the power cord can ensure stable supply and avoids damage to sensitive electronic devices.
3. Burnt or Melted Plugs and Connectors
If you notice that the plugs and connectors are burned, melted or discolored, it indicates overheating which is often due to loose connections, power surges or using a cord rated below what your RV needs in terms of amperage. Such damage compromises the security of your electrical system and requires an immediate replacement with a new power cord to prevent fire hazards, as well as ensure proper connection.
Making Preparations to Replace an RV Power Cord
RV power cord replacement is an important part of the maintenance process and requires proper preparation as well as adherence to safety guidelines so your recreational vehicle works properly. The process is characterized by several critical stages, beginning with paramount safety concerns.
Safety First
Before you start any work, it is paramount to unplug your RV from all power sources so that the danger of electric shocks does not arise. Even further safety measures, shutting off the main breaker in your RV’s electrical system prevents current from flowing through an RV while you are working. Proper protective clothing like gloves and safety glasses is also necessary to reduce the chance of electric shock or sharp edges causing injury.
Prepare the Area
Another important step in the process is getting ready for this area. The workspace around the inlet and electrical panel of RV’s power cord should be clear, without obstructions that will affect accessibility to these points easily as well as reducing chances for accidents.
The right amount of lighting is critical, especially in dark environments; hence, utilizing a portable work light or flashlight to illuminate your working area guarantees visibility while making connections.
The working environment should also be factored in. Weather conditions should be favorable: electricity is far more dangerous when workers work under wet and humid conditions. If bad weather cannot be prevented, take additional safety measures to stay dry.
Gathering Materials
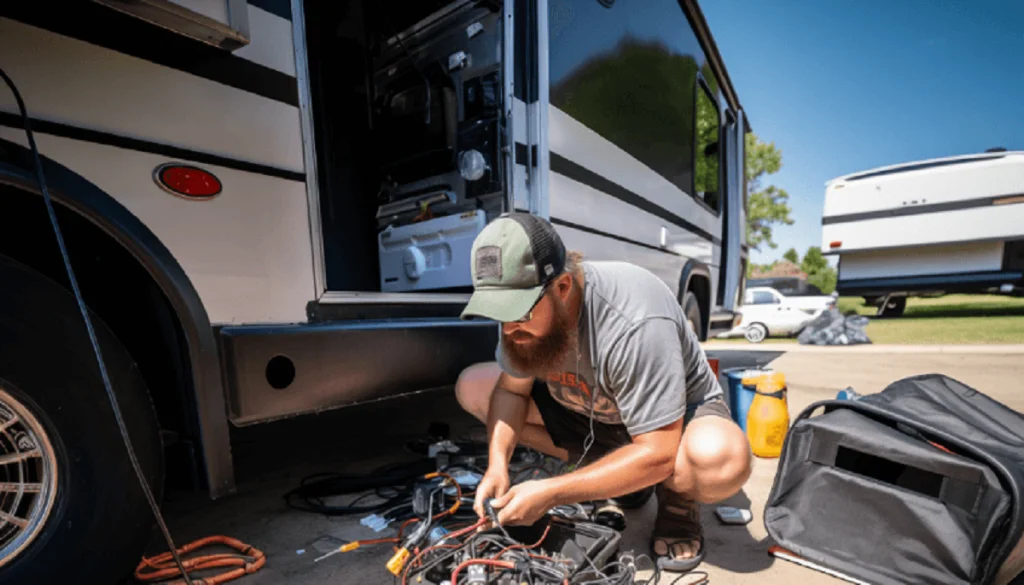
It is crucial to get the necessary tools and materials before embarking on a replacement process. This would mean having all the required tools like screwdrivers, wire strippers, electrical tape and most likely cable ties to secure the new cord.
The type and size of the replacement power cord that fits your RV, in terms of amperage and length have to be predetermined. Also, having your RV’s electrical system documentation close by can be priceless as diagrams or manuals may have specific directions or color-coding for wires, allowing for a faster replacement process.
How to Replace an RV Power Cord: Step-by-Step
Replacing an RV power cord is a very important skill that all RV owners should be familiar with. Being able to replace the power cord on your RV by yourself will allow you to ensure that your RV remains functional and that you can keep using all of the appliances that you have come to love. However, if you need to replace or upgrade the power cord for your RV, then the steps as listed below are what you need to follow.
Step 1: Know What Your Needs Are
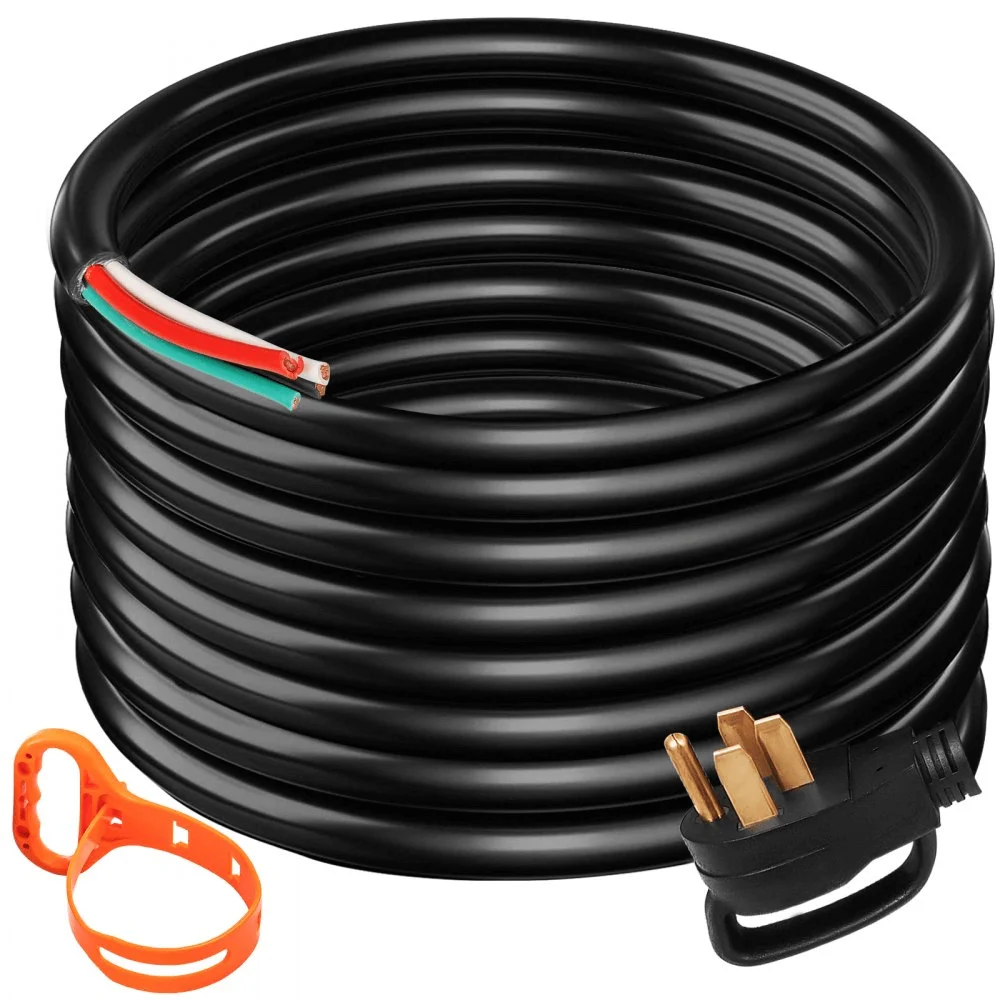
To replace the power cord on your RV, you first need to know what your needs are. In other words, you need to assess both your current and future needs as far as power is concerned. You need to know what the wattage requirements of your appliances are, and what the amperage requirements of your RV is. Moreover, you also need to assess your needs in terms of the length of cord you will need to get from the RV to the outlet.
Step 2. Buy the Right Power Cord.
The second thing to do is buy the appropriate power cord for your RV. It has to have the correct receptacle or plug type, watts and amps as well as be sturdy enough for outdoor use. Keep in mind it needs to be weatherproof and withstand harsh outdoor conditions because most of its time will be spent outdoors. You should also find a power cord for your RV that has the UL certification.
Step 3. Get all the Tools You Will Need.
In order to change the power cord of your RV, there are a few tools and materials that you would require like new RV Power Cord, specific types of screwdrivers, electrical tape, wire strippers, cable ties, safety equipment such as protective eyewear and gloves. Ensure that you have all the required safety and protective gear readily available because here, we are dealing with electricity – a very dangerous substance.
Step 4. Disengage from the Old Power Supply.
After collecting all the required equipment, you need to disconnect your recreational vehicle from any external source of power. This implies that you have first to switch off the main breaker in your RV or else an electrical accident may occur. Remember that electricity is very lethal, and you have to do everything possible for your own safety.
After this, you can now take out the old power cord. For this, you will have to find the location of your RV where the power cord enters and there is some kind of access panel.
Unlock the access panel, locate the point where old cord plugs in and take it out. However, if there is a junction box you will need to unscrew the cover and loosen the screws that hold it to the terminal before removing wire.
Step 5: Get the New Power Cord ready.
If your new cable does not have pre-stripped ends or if you need to change the length, use wire strippers to remove a sufficient amount of sheath at the end of that cord. Generally, you will expose around ¾ inch of wire. If the wires are not color-coded, then label each wire with electrical tape.
Step 6: Install the New Power Cord.
Pass the end of the new power cord through that same opening that was used by old wire. Ensure it gets to the connection point neither too tight nor too loose.
For junction box connections, connect the new cord by attaching each wire to its corresponding terminal or wire nut inside the box, as described earlier for that configuration or according to RV’s wiring diagram. Make sure each connection is well fastened.
For direct connections, connect each of the wires from the new power cord to its equivalent point in an RVs electrical system as per any labels or diagrams. Secure each connection firmly.
Step 7: Ensure and Test the Connection.
After all wires are connected, attach the junction box cover or electrical panel back in place. If the cord needs to be secured along its entry path, do so with cable ties. Connect your RV to an outside power source and turn on the main breaker. Test the power cord by running several electrical items in an RV to ensure that a new cable supplies constant and sufficient electricity.
Step 8: Regular Maintenance
Check your new power cord regularly for wear, damage or corrosion. Ensure it is kept well when not used to avoid unnecessary strain or exposure to harsh weather.
Safety Precautions to Replace an RV Power Cord
Here are some important safety considerations to follow so that you can replace your RV power cord without incident.
Disconnect from the Power Source
The first step that should be done before replacing an RV power cord, which is by far one of the most important steps in this whole process – it involves disconnecting your RV from any kind of external sources to load its source.
This preventive measure is necessary to ensure that there will be no electricity hazard since it can cause serious harm and even death. Ensure also that you turn off the main breaker to prevent electricity from flowing through your RV’s electrical system while undertaking the replacement.
Use Proper Safety Gear
The use of proper protective apparel is essential in handling electrical features. Hands should be protected with protective gloves and considerable attention to eye protection is recommended since accidental cuts can occur, leading to burns or shocks.
Such protective items serve as a necessary layer of protection between you and potential electric hazards greatly contributing to creating an environment that is safer.
Verify Cord Compatibility
Before wiring the power cord, do double-check that it meets the electrical specifications for your RV and ensure compatibility with the connection fixture you intend to use.
Power cords can pose a life-threatening danger owing to improper or unmatched power cord types as your RV may collapse due to overheating, electrical fires resulting from the mismatched junction couplings of switches and sockets, among other reasons.
It is always best to use the correct amperage and voltage suited power cord for your RV. Otherwise, it poses a threat to your safety and will not function effectively.
Conclusion
There you have it folks, everything you need to know about replacing the power cord for your RV. Remember, above all else, you need to be safe, so don’t forget your safety gear! If you’re having trouble finding the right RV power cord for your needs, VEVOR is likely to have what you’re looking for.

