
Is your outdoor faucet leaking, dripping, or just not working right? Don’t worry—replacing it is easier than you think! A faulty faucet can waste gallons of water and spike your utility bills. In fact, swapping it out for a new one could save you up to $250 over time.
With just a few tools and a little know-how, you can tackle this DIY project in no time. Learning how to replace an outdoor faucet isn’t just about saving money—it’s about gaining confidence for future home repairs. In this guide, we’ll learn how to get that faucet fixed—fast, simple, and stress-free!
Tools and Materials Needed
You don’t need fancy or expensive equipment to tackle an outdoor faucet replacement. But having the right tools and materials on hand makes everything smoother, quicker, and less stressful from start to finish.
Must-Have Tools for the Job
Before starting this step-by-step guide to replace the outdoor faucet, gather all the essential tools. Each one has a specific job that will make your DIY project much easier and help you avoid delays or extra trips to the hardware store:
- Pipe Wrench: This sturdy tool gives you the power to grip and twist tight, rusted, or old pipes. It’s a must-have when learning how to remove and replace an outdoor faucet securely and safely.
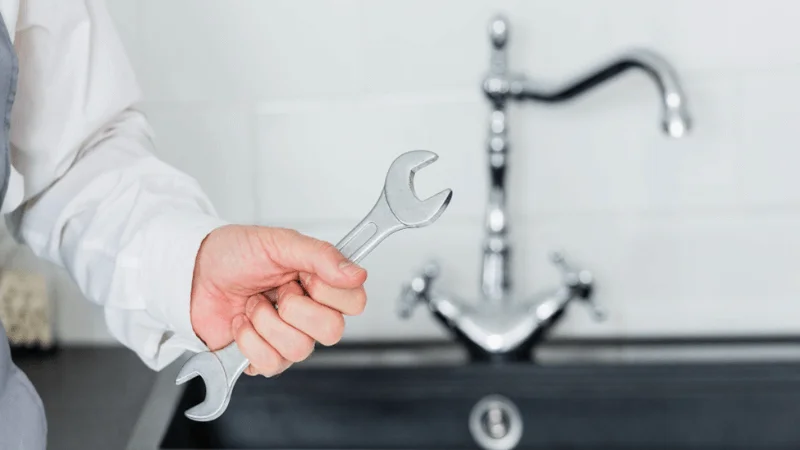
- Adjustable Wrench: Perfect for turning nuts and bolts of various sizes, an adjustable wrench makes loosening and tightening fittings a breeze during your DIY outdoor faucet replacement.
- Screwdriver: A basic yet essential tool that helps remove mounting screws from your old spigot. This step is crucial for replacing an outdoor faucet without damaging the wall or pipe.
- Pliers: When extra grip or force is needed, pliers come in handy. They’re ideal for twisting small parts or holding pipe sections steady while you work through each replacement step.
- Hacksaw: In some cases, older pipes may need to be cut for a proper fit. A hacksaw helps slice through both PVC and metal pipes quickly and cleanly when no other tool will do.
Having these tools on hand gives you a strong start in your DIY outdoor faucet replacement. Being prepared is the best way to avoid frustration mid-project.
Materials You’ll Need for the Replacement
Alongside tools, the right materials make a big difference. Strong, durable parts ensure your new faucet will last and prevent problems down the road. Here’s what to gather:
- New Outdoor Spigot: Choose between a regular hose bib or a frost-free spigot based on your local climate. This is the heart of the replacement and varies in price depending on quality and type.
- Teflon Tape: Wrap this around the threads of your new spigot to seal joints and stop leaks. It’s a small detail, but it’s one of the best ways to replace an outdoor faucet without future drips.
- Pipe Fittings: These connectors make sure your new spigot attaches properly to your plumbing system. They’re essential in following a proper step-by-step guide to replace an outdoor faucet.
- Plumber’s Putty or Sealant: Adds a protective, watertight seal between fittings and the faucet. It prevents leaks and improves durability, especially in outdoor weather conditions.
- Copper or PVC Pipes: If your existing pipe is damaged or too short, you may need to cut and replace a portion. These materials are commonly used in outdoor plumbing repairs.
Ball valves are more durable than basic hose bibs. Though more expensive at first, they can last longer and perform better over time. Hose bibs cost $20–$50, while frost-free versions range from $50–$100.
Extra Items for Fixing Problems
Sometimes, even the most straightforward faucet replacement throws in a few surprises. Keeping these extra tools nearby can help you adapt and continue without running back to the store:
- Soldering Torch, Solder, and Flux: If you’re working with copper pipes, these tools are necessary to create secure, leak-proof joints. They allow for custom adjustments during the DIY outdoor faucet replacement process.
- Pipe Cutter: For cleaner, more precise pipe modifications, a pipe cutter is ideal. It delivers a straight cut that helps fittings align perfectly for leak-free performance.
- Bucket or Towels: These simple items are essential for catching water that may spill during the process. They keep your work area dry and reduce cleanup time after the replacement.
Having these extras on hand supports the entire process of how to remove and replace an outdoor faucet, especially if unexpected plumbing issues arise.
Step-by-Step Guide on How to Replace an Outdoor Faucet
Replacing an outdoor faucet might sound like a job for the pros, but you can absolutely do it yourself. When done correctly, it saves money and prevents future water damage.
Follow this clear step-by-step process to feel confident and capable every step of the way. Below, you’ll find DIY outdoor faucet replacement tips that walk you through each part of the task.
Step 1: Turn Off the Water Supply and Drain the Line
The first step is shutting off the water. Locate the shut-off valve inside your home where the outdoor faucet connects. If there’s no dedicated valve, turn off the main water supply. Open the outdoor faucet fully to let any leftover water drain from the line.
Doing this prevents unexpected spills when you detach the faucet. Keep a bucket or towels close to catch stray water. If your setup has a separate drain valve, open that too for a fully dry pipe. This is one of the most important DIY outdoor faucet replacement tips—start dry to avoid a mess and damage.
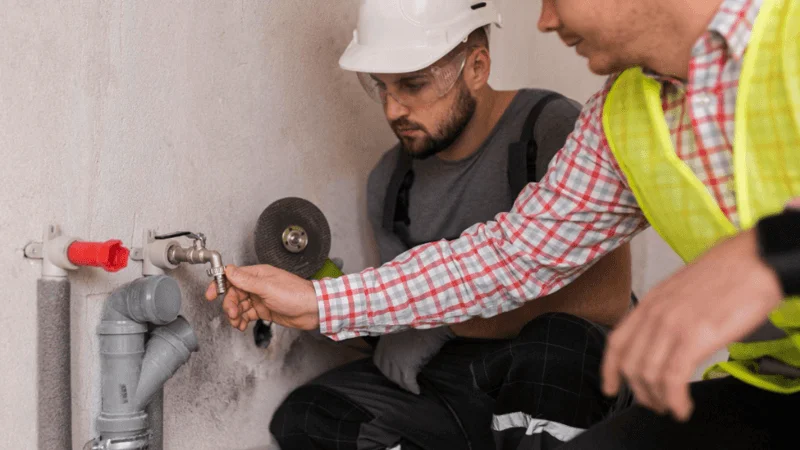
Step 2: Remove the Old Faucet (Screw-On and Soldered Types)
Now that the line is dry, it’s time to remove the faucet. This step depends on your existing setup. For screw-on types, use a pipe wrench to twist counterclockwise until it loosens. Apply penetrating oil if it’s stuck. If your faucet is soldered in place, carefully cut the pipe with a hacksaw just behind the fitting.
If you’re skilled with a torch, you can heat the joint and slide the faucet off. Wear gloves and goggles during this part of the step-by-step guide to replace the outdoor faucet—safety always comes first when cutting or heating metal.
Step 3: Prepare the Pipe for the New Faucet
Before installing the new faucet, the pipe needs to be cleaned and ready. Brush off any old debris or sealant from the threads with a wire brush. Next, wrap Teflon tape around the threads to create a waterproof seal.
If you’re working with copper, solder a new fitting on the pipe and use plumbing flux for a strong, leak-proof joint. This is the best way to replace an outdoor faucet without future issues. Don’t forget to anchor any loose pipe sections and seal gaps at the flange using putty or caulk to prevent water from seeping into your walls.
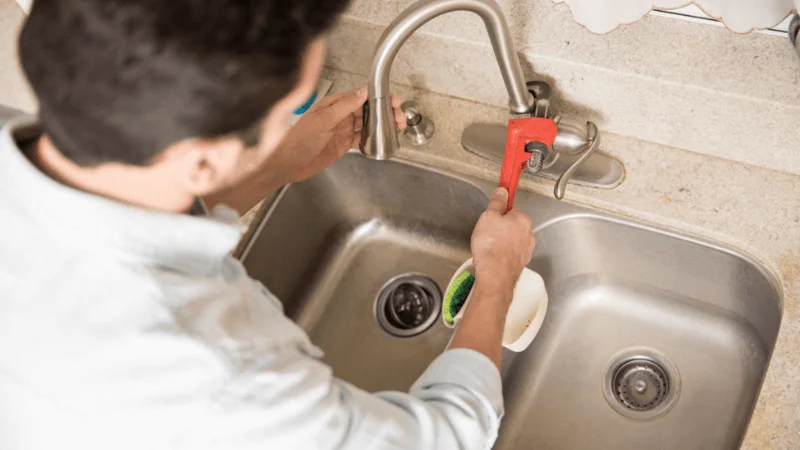
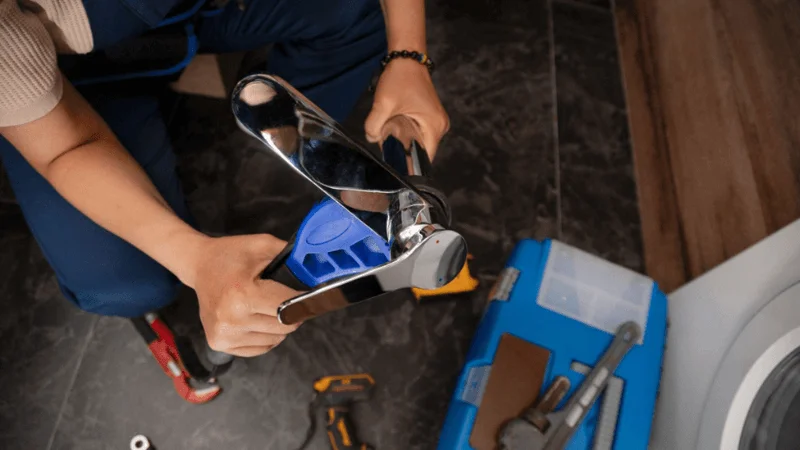
Step 4: Install and Secure the New Faucet
It’s time for the most satisfying part—putting the new faucet in place. Screw it on by hand first, turning clockwise until it’s tight. Then use a wrench to snug it up just enough—don’t over-tighten. For copper-to-PEX connections, use a soldered or push-fit transition fitting.
Attach the faucet securely to the wall or post using screws to prevent movement. For buried installations, PEX tubing is ideal because it’s flexible and frost-resistant. This section highlights how to remove and replace an outdoor faucet while protecting your plumbing from weather and wear. A secure mount adds years to your faucet’s life.
Step 5: Test the Faucet and Check for Leaks
Once everything is installed, slowly turn the water supply back on. Watch the faucet carefully and check all joints for leaks. Open the faucet and let water run for a minute. If there’s any dripping around the threads or fittings, turn off the water and try re-tightening.
Add extra Teflon tape or a touch of plumber’s putty if needed. This is the final step in your step-by-step guide to replace the outdoor faucet—make sure it works before calling it done. A successful test means you’ve just completed a major home improvement project like a pro!
Safety Tips and Precautions
Replacing an outdoor faucet is a manageable task, but it still involves tools, water, and sometimes soldering. Staying cautious not only protects your home, but it also ensures a smoother, safer repair process.
These important precautions help you work smarter while following any step-by-step guide to replace the outdoor faucet.
Stop Water Damage While Working
Water damage can sneak up if you’re not careful. Before removing any fixtures, give your plumbing a full check.
- Rusty or old pipes: Examine all nearby pipes and joints for rust, corrosion, or soft spots. Replacing weakened areas before starting is the best way to replace the outdoor faucet and avoid future damage.
- Leaks and drips: Look closely at walls and floors near your faucet for water stains or mold. These can be early signs of hidden leaks that may worsen once you open the line.
- Noisy pipes: Pipes that rattle, bang, or shift when water runs might be poorly secured. Use clamps or straps to stabilize them before moving forward with how to remove and replace an outdoor faucet.
- Banging sounds: If your pipes bang loudly when the faucet shuts off, it may mean loose or unsupported plumbing. Ignoring this could lead to costly issues during or after installation.
- Bad pipe setup: Make sure your pipes are well-supported and anchored to surrounding surfaces. A strong setup keeps things steady while applying DIY outdoor faucet replacement tips during installation.
Wrap pipes in colder areas with insulation to prevent winter freezing, and consider adding shut-off valves for easier control and faster maintenance during future plumbing fixes.
Use Proper Tools to Stay Safe
Using the right tools for the job is just as important as doing the steps correctly. The wrong tool can cause injury or damage to your faucet or pipes.
- Use GFCI Outlets to Avoid Shocks: Always use ground-fault circuit interrupters (GFCI) when plugging tools in near water. It’s an essential part of any safe DIY outdoor faucet replacement routine.
- Avoid power tools in wet areas: Wet conditions mixed with electricity can create dangerous situations. Dry your work area thoroughly and stick to manual tools when replacing outdoor fixtures in damp zones.
- Use Frost-Proof Faucets in Cold Areas: Frost-free faucets not only help avoid frozen pipes, but they also make future maintenance easier, supporting the best way to replace an outdoor faucet with long-term durability in mind.
Always wear gloves and safety goggles while cutting or soldering. Protecting your eyes and hands ensures fewer interruptions and keeps the replacement project safe and smooth.
Check for Hidden Problems First
Before you start your project, take a few minutes to inspect your outdoor plumbing. Hidden issues can turn a simple replacement into a costly repair if ignored.
- Check for Wet Spots Near Faucet: These may signal underground leaks or burst pipes. If you continue without checking, you could make the situation worse and damage your foundation.
- Watch for high water bills: A sudden spike in water usage could mean a hidden leak. This is crucial to identify before applying any step-by-step guide to replace the outdoor faucet on a damaged system.
- Contact Leak Detection Experts for Major Issues: Professionals can identify hidden problems using non-invasive tools. If you’re unsure where the issue lies, it’s better to be safe than sorry.
Troubleshooting and Maintenance Tips
Replacing a leaky outdoor faucet might feel like the end of the job, but it’s only the beginning of keeping it in great shape. Sometimes, even after careful installation, problems like leaks or blockages may arise. This section shows you how to fix these issues and protect your faucet for years to come.
Knowing how to handle common maintenance can also build your confidence and help you tackle future repairs with ease. Here’s how to stay ahead of any faucet trouble.
Common Problems After Replacing a Spigot
Even with the best way to replace an outdoor faucet completed, you might still face issues. Understanding the signs and causes helps you fix them fast and keep your faucet working well.
- Leaking Valves: If your faucet drips after installation, it may be from worn washers or poor threading. Check your connections and replace any old parts to stop wasting water over time.
- Clogged Pipes: Debris and sediment inside older pipes often cause reduced water flow. Cleaning the system or flushing it regularly after replacing a spigot keeps everything running smoothly.
- Rust and Worn Parts: If your outdoor faucet is connected to ageing metal pipes, rust can form and cause damage. Replacing those pipes or using a rust-resistant spigot extends their lifespan.
- Fixing Small Leaks: Minor drips may happen even after correct installation. Wrapping more Teflon tape or resealing joints often stops small leaks, making this a great moment to apply DIY outdoor faucet replacement tips.
- Clearing Clogs: Low pressure or water flow often points to interior pipe buildup. Unscrewing the spigot and cleaning the line with a flush or brush prevents bigger plumbing issues later on.
How to Prevent Future Faucet Leaks
Once you’ve learned how to remove and replace an outdoor faucet, your next goal is to keep that faucet leak-free long term. Regular care helps avoid damage and keeps your system reliable.
- Check faucets often for loose parts or worn washers. Over time, vibrations or pressure may loosen the spout or fittings, and early repairs prevent bigger water waste.
- Switch to frost-proof faucets to stop freezing problems. These models prevent cold-weather cracks, which is especially useful if you live in an area with icy winters.
- Watch over underground pipes to detect hidden leaks quickly. When grass is soft or the water flow is uneven, it could suggest a piping issue underground and dealing with it right away keeps costs down.
- Wrap foam around pipes that are not insulated in the winter. Putting insulation on your system stops it from becoming brittle or overpressurised by fluctuations in outdoor temperatures.
- Unhook and drain the hoses before the weather gets freezing. A hose left attached can fill the faucet or pipe with water, which can freeze and cause pipes to burst.
- Set up a pressure regulator so that faucets are not affected by very high water pressure. A spike in your water pressure can wear the connections down quickly, so adding a regulator can protect your spigot.
Seasonal Care for Outdoor Faucets
Regularly handling seasonal maintenance prevents unexpected repairs and protects your new faucet for years. After you have finished the guide on how to change the outdoor faucet, basic care is important moving forward.
- Winter Care: Disconnect all hoses, drain remaining water, and insulate your pipes. Letting your faucet drip slightly during very cold nights can keep it from freezing and bursting.
- Summer Care: After periods of heavy use, flush the line to clear any sediment, inspect the hose for cracks, and clean the spigot screen to maintain a strong, even water flow.
By following these seasonal habits, you’ll reduce problems year-round and make your installation efforts last longer.
Wrap Up
A step-by-step guide to replacing an outdoor faucet provides you with money savings and helps you learn how to fix little home issues by yourself. Having clear instructions and being patient is all you need, not any special equipment. Learning how to replace an outdoor faucet gives you more skills than just running water.
You become more confident in fixing plumbing issues that come up later on. You won’t have to rely on a plumber when there are a few issues around the house. Use these steps to fix your outdoor faucet, stop leaks, conserve water, and feel satisfied with your work.
FAQ
Is there a noticeable way to find out if I need to change my outdoor faucet?
Look for rusted areas, leaks, and any hard spots when you turn the key. Replace the faucet if there is not enough water or if the flow is not regular.
Can I change faucets without soldering?
Yes! Most outdoor faucets get attached to the water pipe by using screws. Applying Teflon tape to the threads helps keep water out. Damaged fittings on copper pipes are the only time you need to use soldering.
Which kind of outdoor faucet works best in cold weather?
Get a faucet that won’t freeze in cold weather. It keeps pipes free from freezing and bursting in the cold winter. Prefer models that have insulation to them for better protection.
Will replacing an outdoor faucet only take a short time?
It generally takes about half an hour to an hour to change an outdoor faucet, depending on the pipes and the kind of faucet being installed. Preparing beforehand and having proper equipment reduces the time it takes.
Is it necessary to turn off the main water valve?
It is important to turn off the water supply before you do any kind of repair. Go to the nearby shut-off valve and close it or cut off the main water to avoid problems like leaks, spills, or water damage when replacing your faucet.


