
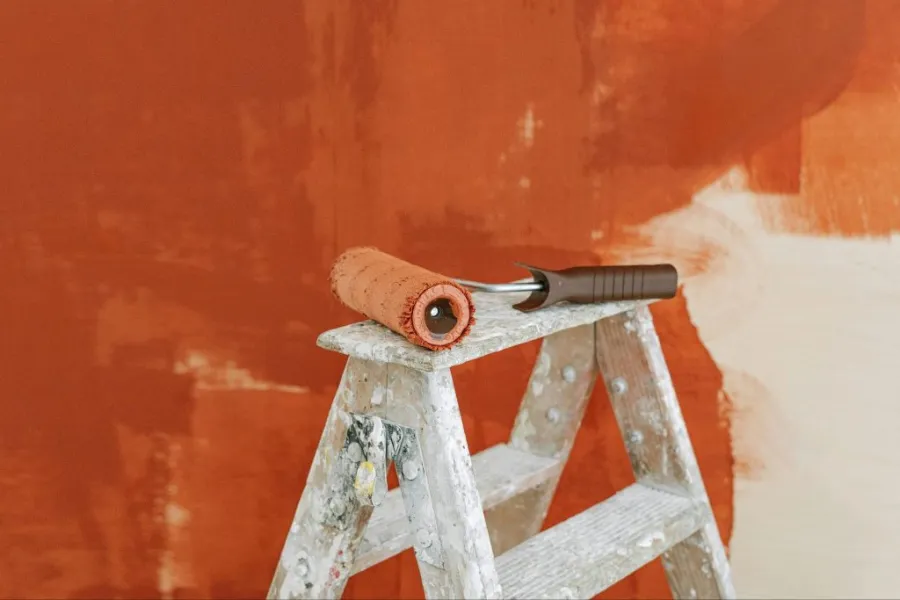
DIY wall painting is a really great project to do at home. You can do it over a weekend if you have the things and a good plan. This will make a change in a room and it will not cost you a lot of money like it would if you hired someone to do it. The big difference between a paint job that looks good and one that looks like it was done in a hurry is getting prepared to paint.
This guide has ideas for painting walls in any room, ways to make your walls look nice and how to get your space ready before you start painting your walls. Painting your walls is fun. You can learn how to do it with this guide and with some practice.
Prep Work: The Step Most People Rush
Every DIY wall painting project lives or dies in the prep stage. Skipping it doesn’t save time. It creates rework.
Clear and Protect the Room
You need to move the furniture to the center of the room or get it out of the room completely. The furniture that stays in the room must be completely covered. The paint mist can travel far and people often do not realize this. If you have a dropcloth on the floor it will not protect the couch if it is three feet away from the roller spray. You have to remember that the paint mist can get on the furniture even if it is a bit away from the roller. So the furniture that stays in the room must be completely covered to prevent the paint mist from getting on it.
Here’s what to cover before you open a can:
- Floors: full coverage with plastic sheeting or canvas dropcloths across the entire floor, not just the area you’re working in
- Furniture: plastic sheeting draped fully over anything remaining in the room
- Fixtures and hardware: remove outlet covers and switch plates, tape off anything you can’t remove
- Trim and baseboards: painter’s tape applied carefully along the edge
For floor protection during painting, a quality plastic sheeting drop is more reliable than canvas for catching drips because paint doesn’t soak through. The VEVOR 6mil Plastic Sheeting, 10 x 100 ft covers a standard room floor in one to two lengths without overlaps creating trip hazards. At 6mil, it stays flat under foot traffic and doesn’t tear when you step on it mid-project.
Surface Preparation
Paint applied to a poorly prepared surface fails. It peels, bubbles, or shows through no matter how good the paint is.
Before painting:
- Fill all holes and cracks with spackle or joint compound, let cure fully, sand smooth
- Sand any existing high-gloss paint lightly for adhesion
- Wipe walls with a damp cloth to remove dust and grease, especially in kitchens
- Prime bare patches, new drywall, or walls going from a dark color to a significantly lighter one
Primer on patched spots isn’t optional if you want even sheen across the finished wall.
DIY Wall Painting Ideas for Living Room and Beyond
Solid Color, Done Properly
The foundation is really important. A single color that is applied well on walls that have been taken care of looks very nice. It looks better than a method that is not done correctly. If you are painting for the first time you should start with the foundation. The foundation is the key to making everything else work.
Technique tips that separate average from excellent:
- Cut in at ceiling, trim, and corners with a 2 to 2.5-inch angled brush before rolling
- Roll in a W or M pattern on the wall surface, then fill without lifting the roller
- Maintain a wet edge, which means working quickly enough that the section you’re joining hasn’t started to dry
- Two thin coats beat one thick coat every time
DIY Wall Painting Designs: Accent and Feature Walls
An accent wall is the most accessible DIY wall painting concept that has a significant visual impact. One wall handled differently than the rest adds depth and a focal point without repainting the entire space.
Options that work well:
- Single bold color: The rest of the room stays neutral, one wall goes dark or saturated. Works particularly well in living rooms and dining rooms where you want a defined anchor wall.
- Geometric pattern: Taped-off shapes — triangles, hexagons, color blocks — painted in two or three coordinating colors. The tape does the work; the technique is straightforward.
- Horizontal or vertical stripes: They can have two colors that go back and forth or they can have the same color but with different finishes, like flat and satin. This makes the wall look a bit interesting but not too crazy.
- Ombre fade: It is when one color slowly turns into another color as you go up the wall. To do this you use a roller that is dry and you blend the colors together while they are still wet.
DIY Wall Painting Ideas at Home: Texture Techniques
When DIY wall painting, it is crucial to remember that texture adds dimension that flat color can’t. These techniques are accessible for first-timers:
- Sponge painting: You dip a sea sponge in a second color and then dab it over the base coat. This makes the wall look really cool. Gives it a lot of depth. It is great for feature walls, in your living room and bedroom.
- Rag rolling: You take an up cloth or rag and roll it through some wet paint. Then you use it to create movement and texture on your wall. The best part is that it does not make a pattern so it looks really unique.
- Color washing: You do this by applying paint in big strokes over a dry base. This makes a layered look that people like to use in Mediterranean and rustic style rooms.
- Stenciling: This is where you use a stencil and a specific brush to create patterns on the walls. The advantage of stenciling is that it is incredibly intricate and does not require a high level of painting ability.
DIY Wall Painting Ideas for Living Room: Layout and Color Strategy
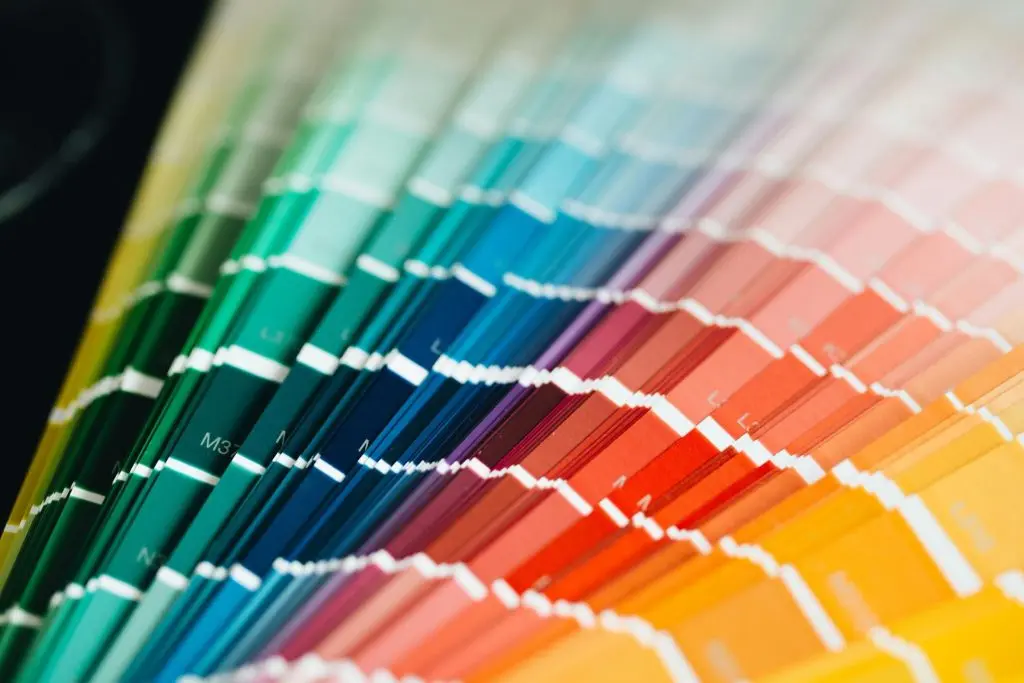
The living room is the most visible space in the house and the one where design decisions have the most impact. A few practical principles:
Undertone matching is everything. All paint colors have undertones that shift significantly depending on light. Test samples on the actual wall in both natural and artificial light before committing to a full can.
The 60/30/10 rule for color: 60 percent dominant wall color, 30 percent secondary color in soft furnishings and trim, 10 percent accent in cushions and objects. This creates a balanced palette without the room feeling flat.
Ceiling color strategy: Painting the ceiling a little lighter than the walls makes a room look taller. For example you can paint it one or two shades brighter. On the other hand if you paint the ceiling the same color as the walls, the room feels cozy and personal. It actually feels like a cocoon. Both ways are okay; they just do things for the space.
Feature wall placement: The wall your eye naturally goes to when you enter the room is the right feature wall. This is almost always the wall directly opposite the entrance, or the wall the largest piece of furniture sits against.
Covering Large Areas and Furniture During Painting
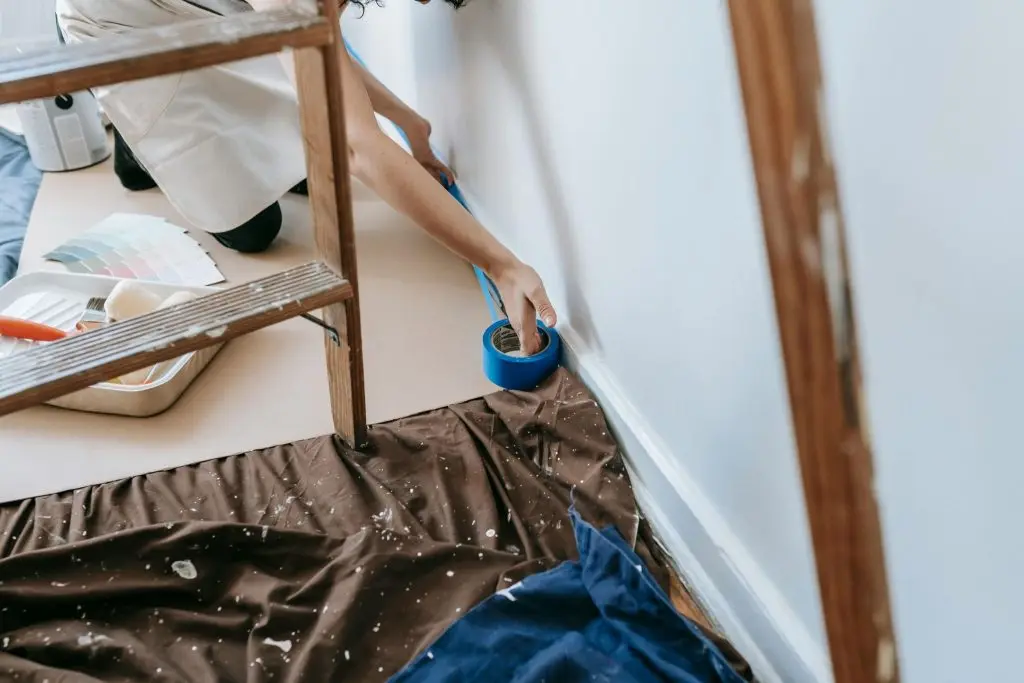
Full plastic sheeting coverage is really important, in areas where furniture can’t be taken out. When you are painting and lots of people are working, roller spray and brush splatter can easily get everywhere in the room. You need plastic sheeting coverage to protect your furniture and floors from paint spills. It helps to prevent a mess.
For large rooms or open-plan spaces where furniture coverage is extensive, the VEVOR 6mil Plastic Sheeting, 24 x 100 ft covers a wide area in a single run. Drape it from the back of furniture down to the floor in one piece rather than using multiple small sections that leave gaps between them.
For smaller coverage jobs — a single piece of furniture, a section of floor near a detail wall — the VEVOR 4mil Plastic Sheeting, 3 x 50 ft is the practical compact option. It cuts easily to size and works for all the smaller coverage tasks in a typical room.
Frequently Asked Questions
How many coats of paint does a DIY wall painting project need?
Two coats are standard for most color changes. Going from a light base to a dark color may need two full coats plus a tinted primer. Going from dark to light often needs three coats. One coat is rarely adequate for a clean, even finish.
Do I need to sand between coats?
For smooth walls, a light scuff between coats (220-grit sandpaper) removes any raised grain or dust nibs and improves adhesion. It takes five minutes per wall and makes a visible difference in the final sheen consistency.
What type of paint finish works best for living rooms?
Eggshell or satin for most living spaces. These finishes are cleanable without being high-gloss, and they hold up to normal wall contact and light cleaning over time. Flat finish shows less surface imperfection but marks easily and is harder to clean.
How long should paint dry between coats?
Most latex paints are ready for a second coat in two to four hours under normal temperature and humidity. Oil-based paints need eight to twenty-four hours between coats. Always check the product’s specific instructions.
Can I paint over existing paint without priming?
Yes, when staying within the same color family and the existing paint is in good condition. Priming is necessary when going over bare drywall, covering stains, making a dramatic color shift, or painting over high-gloss surfaces.
Conclusion
A successful DIY wall painting project is mostly about respecting the prep stage. Before you start painting you have to cover the floors, protect the furniture really well and fix any holes in the walls and put a primer on them. You can do all sorts of things with your walls, like make one wall a different color or give them a special texture as long as you follow the basics of painting your walls. For floor and furniture protection during the job, the VEVOR 6mil Plastic Sheeting, 10 x 100 ft is the reliable coverage option that handles an active painting session without tearing, shifting, or letting splatter through.




