
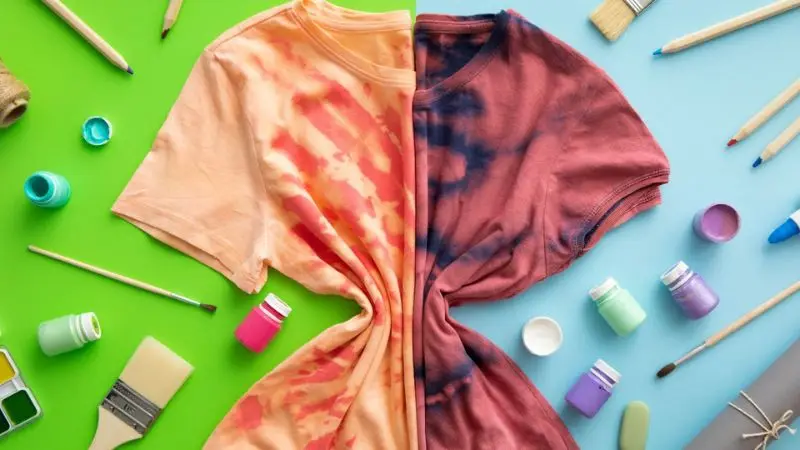
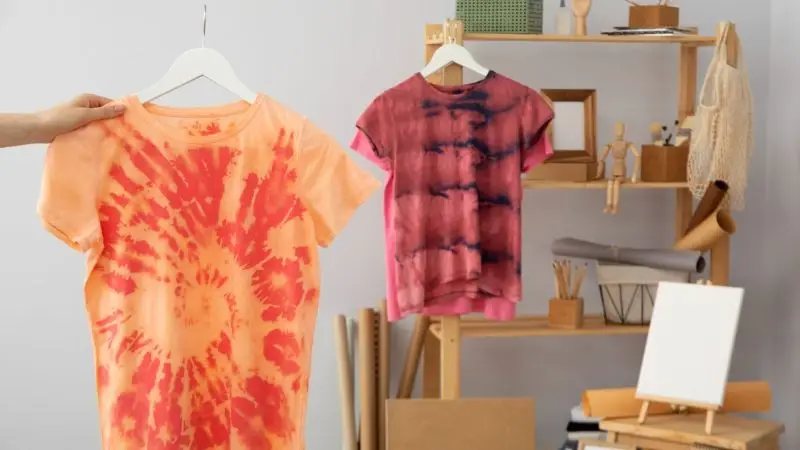
Feel like creating your own customizable t-shirts at home? Screen printing may sound like it would be complicated, but, in fact, it is not that heavy, and you do not need any experience at all. In this easy tutorial, we will show you in detail a home method of screen printing t-shirts with common sundries and tools that are available at home.
It can be used to create a hobby, a gift, or a small business concept, and in either case, this DIY project gives you the power to create wearable art. From setting up your screen to printing your first tee, you’ll see just how creative and satisfying it can be. Wondering how do you screen print t-shirts without fancy equipment? We’ll show you exactly how. Let’s get started!
Materials You Need for Screen Printing
Before getting into the screen printing process step by step, it’s important to gather the right supplies. Whether you’re interested in DIY screen printing or learning how to screen print on fabric, having the correct tools will help you get clean and professional-looking results. You don’t need fancy machines—just the basics and a bit of creativity.
Essential Supplies for Screen Printing T-Shirts at Home
In order to start screen printing t-shirts at home, the following materials will be required. All you need to make your own designs easily and cheaply are these few things:
- Screen/Frame: This is what keeps your design where it is. You may purchase those that have been pre-stretched or do it yourself.
- Squeegee: It is applied to move ink properly over your screen.
- Screen Printing Ink: Select fabric type ink. Those who are starting out are better suited with ready-mixed options.
- Photo Emulsion: A transfer fluid that is light sensitive. It transfers your design to the screen. You will also require an emulsion remover, in case you want to use the screen again.
- Transparency Film: Place your design on this transparent paper and then paste it on the screen.
- Painter Tape: Tape over any section of the screen that you do not want ink to flow through or over.
- Blank T-shirts: 100 percent cotton shirts are necessary to absorb the best and print the shirts.
- Heat Press Machine: The heat press machine is quite appropriate in curing your print on the screen printed material to make sure that the ink settles appropriately, and can withstand washing.
This basic list makes it easy for beginners to try DIY screen printing with minimal investment.
Safety and Workspace Setup for Screen Printing
Creating your own t-shirts with a heat press machine or traditional screen printing can be fun, but messy. Setting up a clean and safe workspace will help you avoid accidents and focus on perfecting your craft. Preparing your area properly also improves your overall experience during the screen printing process, step by step.
Keep Your Setup Safe and Functional
When you are going to screen print t-shirts safely, organize your workplace and put on protective clothing:
- Gloves: Avoid getting ink and emulsion on your skin.
- Mask: Saves your breathing from any smoke or when you are dealing with photo emulsions or some types of inks.
- Apron or Old Shirt: Screen printing is dirty. Wear a garment that will not be a big deal to soil.
- Ventilation: Open the windows or employ the help of a fan to assist with the air flow and the removal of strong odours.
- Low Light: Work in dim light with emulsion, or it will reveal itself too soon.
Before starting to print, flatten the t-shirt and put all of your supplies at hand. This makes it easy since you will find an easy way of learning to screen print on fabric.
How to Screen Print T-Shirts at Home
Printing shirts on paper at home is something that can be initially daunting; however, when approached correctly, it is a very creative and entertaining process. Now we will go through the screen printing process step by step until you are sure of printing your own personal t-shirts.
Step 1: Prepare the Screen and Frame
Start by setting up your frame. You can either buy a ready-made screen or create your own. To make a DIY screen, stretch mesh tightly over a wooden frame and secure it with staples. The mesh should be smooth and firm to ensure clear print results.
Place the frame on a flat surface and tape the edges of the mesh with painter’s tape. This prevents ink from leaking. If you plan to reuse the screen later, be sure to clean it thoroughly after each use. The correct preparation is the key to any successful DIY screen printing affair.
Step 2: Create and Print Your Design
Now you will have to prepare the artwork. Use a design software to make an easy picture–strong, contrast black and white graphics are easier to work with as a beginner, as opposed to colorful graphics. Period the image on a transparency film. The transparency should then be placed carefully on the screen in the space you prefer to have the design placed. Stick it somewhere so it is not moving around.
This process of transferring one design to another is one of the most important points in learning the technique of screening print on fabric, and it will make your final result of the process. You may also draw by hand your design with a black marker on a transparency film.
Step 3: Apply Photo Emulsion to the Screen
Now you will put photo emulsion on the screen. This photo-receptive fluid will enable you to transfer your design to the mesh. Pour a small amount onto the screen and spread it evenly using a squeegee, covering the entire design area.
Do this step in a dim room to prevent early exposure to light. Let the emulsion dry in a completely dark place. You can use a fan to speed up drying, but make sure the layer is smooth and fully dry before moving forward. This coating process is essential in the screen printing process, step by step.
Step 4: Expose and Wash Out the Screen
Once the emulsion is fully dry, place your screen flat and lay the transparency film with your design on top. Shine a bright light over it for the time recommended in your emulsion instructions. The light hardens the emulsion everywhere except where the design blocks it.
After exposure, remove the film and rinse the screen with water. The unexposed emulsion will wash away, creating a stencil. This step is essential in how to screen print t-shirts successfully. Check for sharp lines—blurriness means the emulsion wasn’t dry enough, and if nothing washes out, your exposure time was too long.
Screen Printing at Home: The Printing Process
When your screen is prepared, then it is the most exciting time to proceed to screen printing t-shirts in the comfort of your home. In this section, you learn about ways of aligning your screen with the application of ink and even some experiments with colours. Just a few prints will make you an expert who can print wherever you want within a short time.
Align the Screen on the T-shirt
Begin by placing your t-shirt on a clean plane, laid flat. Make sure you smooth out all of your wrinkles so you are smooth. Put some cardboard into the shirt, which will ensure that the mark does not soak onto the back of the shirt. You want the design to be shown in the front of the shirt, so place your screen there.
Take a moment to center the screen carefully. Align it with the collar and side seams. This small adjustment makes a big difference in how the final print looks. Secure the edges of the screen to the shirt with painter’s tape to keep it steady while you screen print at home.
Apply Ink with the Squeegee
Now comes the fun part—printing! Scoop a line of screen printing ink at the top of the screen. Hold the squeegee at a 45-degree angle and pull the ink firmly across the screen. This method pushes the ink through the stencil and onto your shirt.
Cover the entire design area in one or two smooth passes. Then, gently lift the screen from the t-shirt. You’ll see your design clearly printed on the fabric. If it looks too light, you can go over it again. This is where you begin to understand the hands-on steps of how to screen print on fabric in a controlled and clean way.
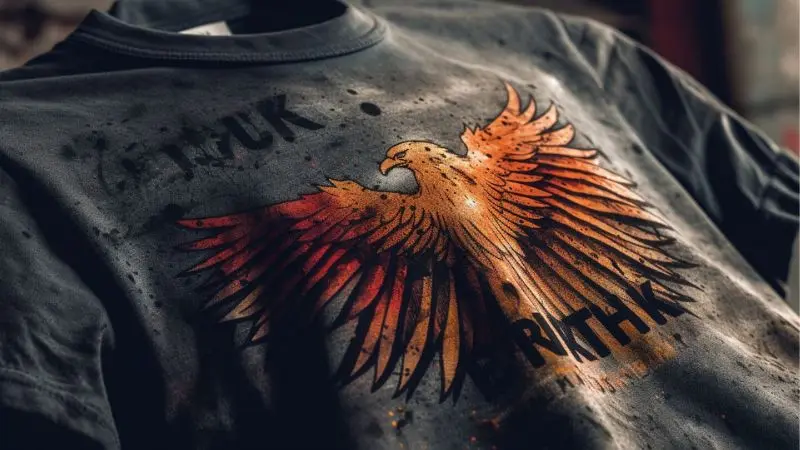
Add Multiple Colors and Layers
If you want to add more creativity to your prints, try working with multiple colors. Allow each layer to dry completely before applying the next one. Always clean your screen between colors to avoid blending or smudging.
Start with the lightest ink color and work your way to darker shades. Carefully realign the screen for each new layer. This technique lets you explore more advanced DIY screen printing methods while keeping your t-shirt designs clean and vibrant. It may take practice, but your skills will improve with every print you make.
Curing and Cleaning Your Screen Printed T-Shirts
Once you have carried out your DIY screen printing, the ink should be cured and your tools cleaned. This will give you prints that last and retain your equipment in perfect condition, ready to help in any other project. Do these simple things to preserve your toil and years of pleasure out of your custom t-shirts.
Heat-Cure the Print
The ink is cured so that the design is set into the cloth. After your shirt has been air-dried and the ink is to the touch, you are ready to heat set it. You should use a heat press that has been set to 320, press the shirt, and leave it for 30 seconds. Otherwise, a household iron will do.
Cover the design with parchment paper and firmly press down on it, moving the iron back and forth after about 2-3 minutes; it should not be allowed to burn the fabric. This is because by taking care during the curing process, the design will not fade or peel off once the shirt is worn after washing, which is an important aspect of screen printing at home.
Clean and Reuse Screens
Rinsing your printing devices is also necessary right after printing to maintain the devices in good condition. A soft brush gently brushes excessive wet ink off the screen, and a squeegee is used using cold water when the ink is as wet as possible. Once you complete a design, emulsion remover should be used to clean the screen thoroughly.
Keep all the tools dry after drying. Flat; avoid direct sunlight to store screens in order to maintain their quality. Clean tools can go a long way in producing quality prints, and the setup being smooth the next time as well, thus it is an essential component of how to screen print t-shirts at home.
Care for Your Screen-Printed T-Shirts
Washing your screen-printed tees is essential because the ink needs to stay as vibrant as possible. To keep them looking lively, wash your screen-printed t-shirts inside out in cold water on a gentle cycle. Do not use bleach or powerful detergent, which will fade the design. The best way of drying it is to air-dry, but if the dryer is used, low heat should be selected.
Always check carefully before ironing; never iron over the print, as it will be spoiled. These are the basic guidelines that you can use to take care of your custom shirts. Indeed, it is only right and appropriate to know how to screen print t-shirts; however, it is equally important to take good care of them so that they remain fresh, stylish, and long-lasting after every wear and wash.
Wrap Up
Have you ever asked yourself how do you screen print t-shirts when you do not have special equipment? Then, this is the process that is going to demonstrate to you that it is very simple. In the process, though, you will develop your own ways and rhythm. The thing is to collect the materials and proceed through the steps to have fun. In no time, you will be sporting your own homemade fashions!
Have you ever asked yourself how do you screen print t-shirts when you do not have special equipment? Then, this is the process that is going to demonstrate to you that it is very simple. In the process, though, you will develop your own ways and rhythm. The thing is to collect the materials and proceed through the steps to have fun. In no time, you will be sporting your own homemade fashions!
FAQ
How long does it take to screen print a t-shirt at home?
You can finish one shirt in about an hour. Drying and curing the ink may take longer. If you prepare your materials first, the process goes faster.
Can I reuse my screen for different designs?
Yes, you can! Use emulsion remover to clean off the old design. Wash the screen well. Let it dry before you add a new design.
What if my print looks faded or patchy?
Try using more ink or pressing harder with the squeegee. Make sure your screen sits flat on the shirt. Practice helps you get better results.
Do I need special ink for dark shirts?
For dark shirts, use opaque or “high-opacity” fabric ink. Regular ink may not show up well on dark colors.
Is screen printing safe for kids?
Screen printing can be safe if you follow some rules:
- Wear gloves and a mask.
- Work in a well-ventilated area.
- Ask an adult for help with chemicals and heat.


