
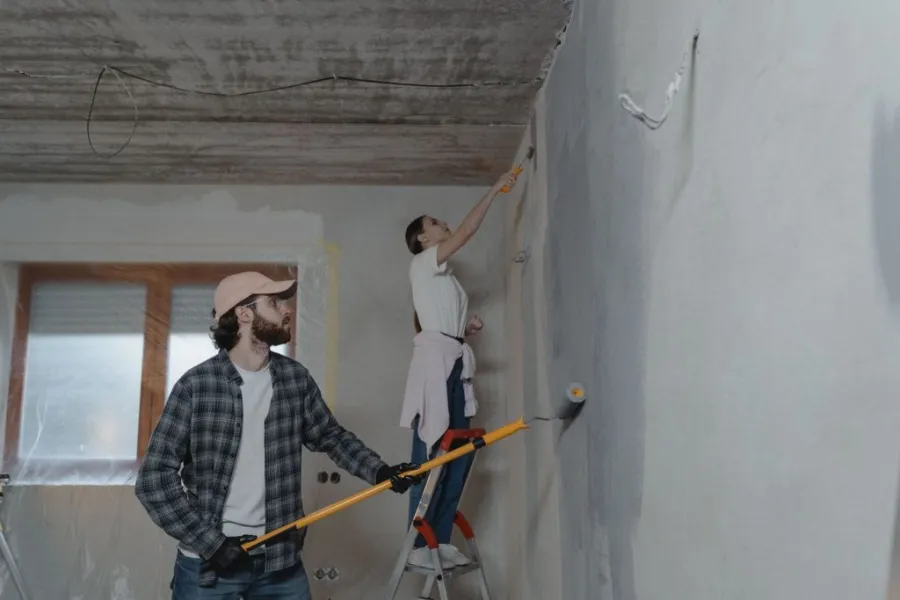
Imagine you go downstairs and your socks get wet from water. Maybe you see a big crack in your basement wall. That is really scary for anyone who owns a house. But here is the thing: if you have the tools and you know what to do you can tackle your basement repairs by yourself.
This guide will show you everything you need to know. You will learn what kind of cracks you have, in your basement you will find the tools to use, you will make repairs that will last and you will keep the water out. Having a set of premium tools like a socket kit makes it easier to fix things. You can tighten the bolts so your repairs do not fall apart. Your basement will look great. Your house will be safe.
Let us get started and keep your basement safe and dry.
How to find the real cause of your basement problems
Before you buy any materials you need to figure out what is going on. If you just treat the symptoms without fixing the problem the issue will come back.
Take a look at your basement to find out what is going wrong.
- Vertical Cracks: These usually happen when a house is getting settled in the few years after it is built. If they are not leaking they are not usually an emergency but you still need to seal them to keep soil gases and moisture out.
- Horizontal Cracks: This is a sign. If you see lines going across blocks or walls it means the soil outside is too wet and heavy and it is pushing against the wall.
- Efflorescence: If you see a white powdery stuff on your walls it is not mold. It is called efflorescence, which’s what happens when moisture goes through the concrete and then evaporates. It shows you where the water is getting in.
- Condensation or Seepage: Try this test. Stick a piece of aluminum foil to a spot on your basement wall with tape. Check it after two days. If the top of the foil is wet the problem is that the air inside your basement is humid. If the bottom of the foil is wet it means water is coming in from outside.
Must-have tools for DIY basement repair

Fixing a basement requires specialized gear that goes beyond a standard household toolkit. Having the right tools upfront ensures your repairs hold up against intense soil pressure.
Why Heavy-Duty Impact Sockets Are Needed for Strong Bolts
When you are dealing with structural repairs—like stabilizing bowing walls or tightening sill plates—you will be driving massive anchor bolts into solid concrete and heavy timber. Standard chrome sockets will shatter under the violent torque required for these jobs.
You need heavy-duty, impact-rated sockets made from chrome molybdenum steel. Their thicker walls and ductile composition allow them to flex slightly under the high-torque load of a pneumatic or cordless impact wrench without snapping, ensuring your structural fasteners are locked down completely tight.
For smaller anchoring brackets, a compact 48-piece 3/8-inch drive ratchet tool kit or a ultra-comprehensive 90-piece 3/8-inch drive impact bit and socket set is exceptionally nimble, while massive reinforcement tiebacks will require an industrial-grade 29-piece 3/4-inch drive impact socket set to handle maximum pressure.
For standard 1/2-inch mechanical wrench work, keeping a simplified budget-friendly 23-piece 1/2-inch drive SAE and Metric socket set or a balanced mid-range 33-piece 1/2-inch drive combination socket set nearby gives you the size flexibility required to switch between different concrete anchors seamlessly.
Safety Gear for Working in Dark Basement Spaces
Basement repairs can be really messy and dirty. They often happen in areas with air and not much light. To stay safe and healthy make sure you have these things:
- High-output LED work lights: These lights help you see clearly by getting rid of shadows. This way you can spot cracks and apply sealants correctly.
- N95 or P100 respirator mask: You need this mask when you are grinding concrete removing efflorescence or dealing with mold.
- Duty nitrile and leather gloves: Some chemicals, in epoxies and cements can stick to your skin and cause burns. These gloves protect your hands.
- Impact-resistant safety goggles: Wear these goggles when drilling into concrete or chiseling out wall cracks to protect your eyes.
Choosing the Best Waterproof Cements and Crack Sealers
Don’t just reach for regular wall spackle—basement problems need the right fix.
- Hydraulic Cement: Hydraulic cement works wonders for deep holes and cracks, especially if water’s seeping through. It expands fast as it dries and locks itself in tight.
- Polyurethane or Epoxy Injection Kits: If you’ve got poured concrete walls, look for polyurethane or epoxy injection kits. Polyurethane swells to block out water, and structural epoxy actually welds the concrete back together, making it super strong.
- Polyurethane Masonry Caulk: For those moving joints that aren’t structural—like the spot where your basement floor meets the foundation wall—grab some polyurethane masonry caulk. That’ll seal things up nicely.
Easy steps for fixing a wet basement repair
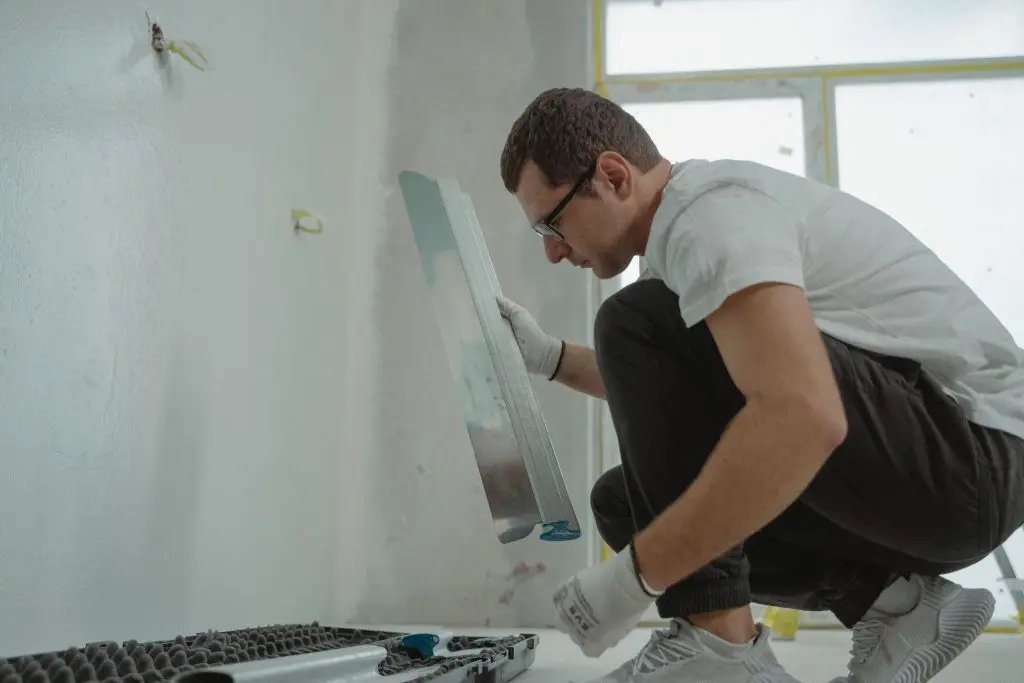
Water always takes the path of least resistance. To stop minor leaks and localized moisture seepage, you can execute a targeted interior defense strategy.
How to inject epoxy into leaking wall cracks
When you have cracks in your poured walls that are moving or leaking you can use a special kind of epoxy or polyurethane to fix them. This stuff is like a strong glue that will seal the crack from the front all the way to the back.
- First you need to clean the crack. Take a wire brush. Scrub it really well to get rid of any loose junk, old paint or white stuff that might be on it. Then blow it clean with some air.
- Next you need to attach some ports to the crack. These ports are like plastic tubes that you space out about 6 to 12 inches apart. You stick them over the crack using some strong epoxy paste. This paste is like a kind of glue that will hold the ports in place.
- After that you need to seal the surface of the crack. Take some more of that epoxy paste. Spread it all over the crack making sure to cover the whole area, between the ports. Let it dry completely so that the special liquid you are going to inject does not leak out.
- Now it is time to inject the resin into the crack. Start at the port and pump the epoxy or polyurethane into it until you see it start to come out of the port above it.
- Finally cap the port you just filled and move up to the one. Keep doing this until you have filled the crack all the way to the top of the wall. This will make sure that the crack is completely sealed and will not leak anymore.
Sealing gaps around windows and plumbing pipes
Utility penetrations (where sewer lines, water mains, or electrical conduits pierce your foundation) and old basement window frames are classic weak points that frequently require targeted leaky basement repair work.
Chisel away loose concrete around the pipe or window frame to create a clean, square recess at least 1/2-inch deep. Pack this void tightly with hydraulic cement, smoothing it flat with a trowel flush to the wall. For window frames, finish the exterior border with a high-grade polyurethane marine sealant to allow for minimal thermal expansion without splitting.
Installing a sump pump to keep water out
When groundwater levels rise beneath your home, an internal drainage system and a sump pump act as your final line of defense to relieve hydrostatic pressure and complete a successful wet basement repair.
- Excavate the pit: Dig a hole in the lowest part of your basement floor, making it slightly deeper and wider than the sump pump basin liner.
- Install the basin: Place the perforated plastic basin liner into the hole. Surround the outside of the basin with clean, coarse gravel to filter out fine silt.
- Position the pump: Place the submersible sump pump flat at the bottom of the basin, ensuring the mechanical float switch moves freely without touching the basin walls. If you are also managing broader home water systems, understanding the layout of setups like a two-wire submersible well pump can offer useful mechanical insight into similar utility configurations.
- Plumb the discharge line: Run a PVC pipe from the pump out through the rim joist of the house, directing the water to a discharge point far away from your foundation.
- Install a check valve: Splice a one-way check valve into the vertical discharge pipe just above the basin. This prevents water remaining in the pipe from flowing backward into the pit when the pump cycles off.
How to repair bowing and pushing basement walls
When the soil outside pushes the foundation walls inwards we need to make them stronger. Here is how to make your shifting structures stable:
- Gluing Carbon Fiber Strips: If your walls are bowing inwards by more than 2 inches you need to grind the surface to plain concrete. Then apply a strong epoxy paste. After that press carbon fiber straps into the paste. Finally, locking the ends to the frame using brackets and carbon fiber strips are very helpful here.
- Installing Structural Steel Beams: If the bowing is more than 2 inches you need to fit heavy vertical steel beams against the wall. Then lock them into the floor slab and floor joists using tension brackets. Steel beams are really good for this.
- Sizing Impact Sockets, for Anchor Brackets: To drive foundation anchors you need strong tools. These tools prevent the structure from slipping.
- For deep, long-threaded anchors, a 34-piece 1/2-inch drive Cr-Mo deep metric socket set or a heavy-profile 26-piece 1/2-inch drive metric deep wall set keeps deep nuts from bottoming out early.
- For extreme, industrial-sized anchors, use an oversized 9-piece 1/2-inch drive deep metric socket set (29-38mm) to transfer maximum torque safely.
- For standard American sizing, opting for a deep-clearance 19-piece 1/2-inch drive deep SAE impact set or a highly reach-accessible 19-piece 1/2-inch drive SAE socket set featuring extension bars guarantees swift tightening past tight structural obstacles.
- Securing Sill Plates and Rim Joists: Use an impact wrench to firmly clamp the wooden sill plates back onto the concrete anchors, and use temporary screw jacks if you need to hoist structural weight to replace rotted rim joists.
Simple ways to prevent future basement leaks
Fixing internal vulnerabilities is meaningless if water keeps ponding directly outside your home. Proactive exterior water management guarantees long-term basement repair and waterproofing success:
- Diverting Roof Rainwater: Extend exterior downspouts at least 6 to 10 feet away from your foundation wall, or pipe them into underground smooth PVC lines leading to a dedicated dry well.
- Applying Barrier Coatings: Brush a heavy-duty, oil- or latex-based waterproof masonry paint directly onto bare interior brick or concrete. For best results, following the verified step-by-step techniques for painting concrete basement walls will help seal up microscopic pores completely.
- Controlling Ambient Humidity: Run a specialized low-temperature dehumidifier to keep indoor humidity between 45% and 50%, checking out our guide on choosing a basement dehumidifier to prevent condensation from sweating along cold walls.
- Extracting Severe Moisture: For highly saturated subterranean zones or oversized layouts, integrating a heavy-duty industrial dehumidifier for basement spaces adds the robust moisture-pulling capacity required to starve mold spores of the water they need to thrive.
FAQ
Can I fix a bowing basement wall myself?
A: While a highly experienced DIYer can install carbon fiber straps for minor bowing, any wall bowing inward more than 2 inches or showing severe horizontal shifting should be evaluated by a licensed structural engineer.
How long does hydraulic cement take to dry?
A: Hydraulic cement cures incredibly fast, typically setting completely within 3 to 5 minutes. Mix only small amounts at a time that you can apply immediately before it hardens in your bucket.
Is efflorescence dangerous to my health?
A: No. Efflorescence is purely mineral salt and is harmless. However, it is a warning sign that moisture is moving through your walls, which creates the perfect environment for toxic mold to grow if left unchecked.
Conclusion
When you do basement repairs by yourself you are not just fixing the water that is frozen on the floor or the walls that are sticking out. You are making sure these problems do not happen again. Once you know what is really making your basement walls move you get the tools you need and you make sure everything is sealed so water cannot get in. Then you are in-charge of what happens to your home. So you put on your safety equipment, you check that the water is flowing out of the house properly and you feel good because you have a basement that’s dry and strong.




