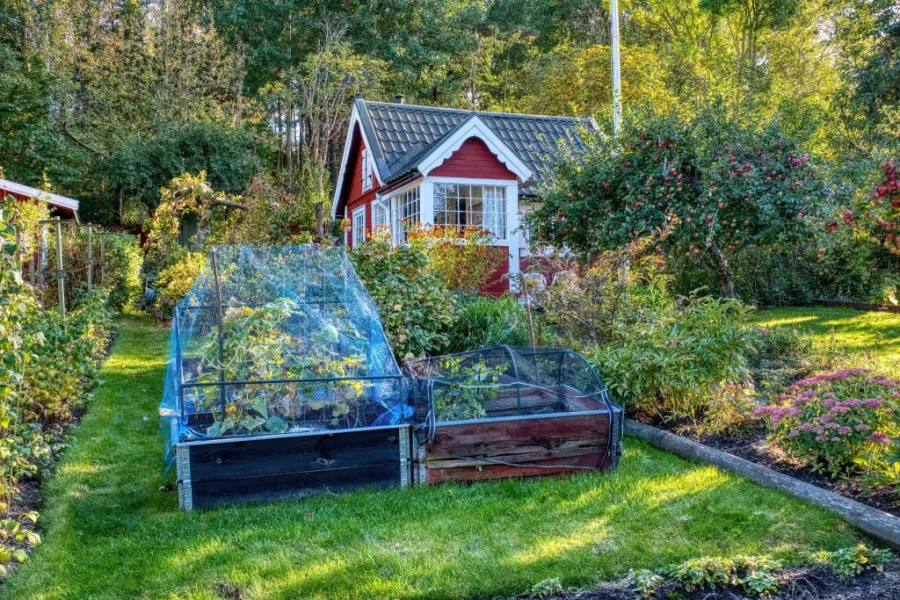
When autumn rolls around, a lot of gardeners think it’s time to hang up the trowel until spring. Here’s the thing, they’re missing out. Imagine picking fresh, crunchy spinach in the middle of January, or getting your tomato seedlings started way before anyone else in your neighborhood. Learning how to build a cold frame in your backyard is honestly a game changer, it keeps your garden alive, even when there’s frost on the ground and snow piling up.
Making your own mini greenhouse gives your plants shelter from the worst weather, and you don’t get hit with big heating bills. Even better, if you use tough, clear greenhouse film, your cold frame will last for years and cost way less than any glass version. So, let’s walk through exactly how you can put a cold frame together—step by step—so you can keep picking fresh greens, no matter what’s going on outside.
What is a cold frame and how does it work?
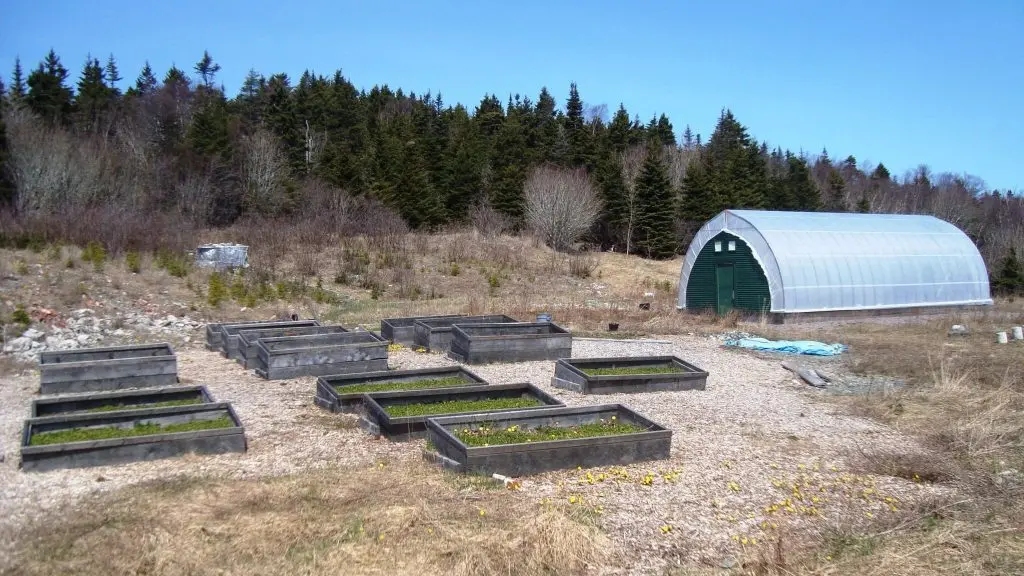
In its simplest form, the cold frame is an unbottomed box placed directly above the soil of your garden. Its lid is made of clear glass, inclined so as to collect solar power while shielding your garden against freezing winds.
This works on the very simple principle of a greenhouse. The sunlight passes through the lid and heats the soil and the air inside during daytime. The insulated wooden sides trap the heat within during night time, thereby ensuring that the frost does not kill the roots. In this way, this device ensures that you keep the temperature around ten degrees higher than the surrounding atmosphere.
This higher internal temperature ensures that your garden environment has moved by several zones southwards. Thus you will be able to cultivate cold resistant salad crops during winter and get your tender plants ready for transplantation to the open ground during spring.
Choosing the best location in your yard
Essentially, the cold frame consists of just a box with no bottom surface that you place right on top of your garden soil. The box has a slanted and see-through lid that collects heat energy from the sun but does not allow the entry of freezing cold winds.
Hence, the location you choose for constructing your cold frame is crucial. The purpose is to make sure you get all the solar energy possible on those short winter days.
- South Is Best: You should always arrange the slanted lid so that it faces south to make the best use of the winter sun.
- Use the Windbreaks: Place the back side of your box next to some structure to avoid freezing northerly winds.
- Select High Ground: Select well-drained high grounds so that rainwater and melted snow do not collect at the bottom of the box.
- Accessibility is Key: Remember, the location should be convenient because you will have to access it daily.
Materials and tools needed for the build
Building a highly reliable frame does not require specialized tools or complex workshop machinery. You will need a few basic construction elements:
- Rot-Resistant Wood: Use 2×12 lumber made from naturally durable cedar, redwood, or heat-treated timber.
- Fasteners: Use 3-inch exterior deck screws and rust-proof utility hinges for the lid.
- Hand Tools: A standard circular saw, cordless drill, utility knife, and tape measure.
Why heavy-duty plastic sheeting beats glass?
Traditional glass window sashes are heavy, easy to shatter, and difficult to cut safely. Swapping them out for an affordable, lightweight poly cover offers a safer, more practical solution for backyard growers.
| Material Property | Standard Window Glass | 6-14 Mil Polyethylene Sheeting |
| Shatter Risk | High (dangerous around kids or pets) | Zero (flexible and tear-resistant) |
| Insulation Value | Poor single-pane thermal retention | High heat retention with proper mil thickness |
| Weight Friction | Heavy (requires heavy structural framing) | Extremely light (easy to lift and prop open) |
| Cost Efficiency | Expensive to buy or replace | Budget-friendly for large garden footprints |
Step-by-step guide on how to build a cold frame
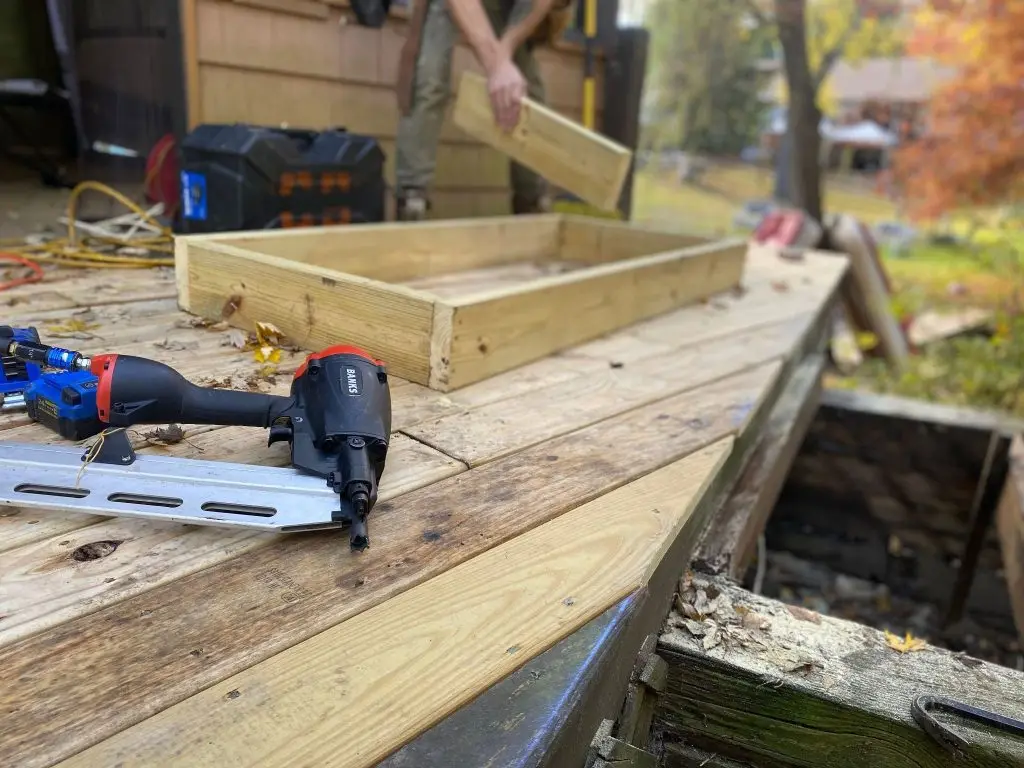
Creating a shelter yourself can be a fun weekend project. The following set of directions will provide you with clear and concise information on how to construct an amazing and sturdy enclosure.
Measuring and cutting your wood panels
Before cutting, you need to measure the area where you want to place your fence. Cut 2 pieces of your wood in equal sizes. The size must be 4 feet in length. After measuring and cutting your pieces, make a diagonal cut that will form a sloping side of your board going down from 12 inches height on one end of the piece to 8 inches on another end.
Assembling the box with an angled slope
Arrange the cut pieces of wood on the table in the shape of a rectangle. Place the pieces upright, ensuring that the angled side panels are placed with their steep edge facing towards the rear. Fasten the corners of the box with 3-inch exterior deck screws inserted vertically from the face panels into the end grains of the side panels. To make the construction stronger, use small interior 2×2 wood blocks to strengthen the corners, enabling them to withstand heavy snow loads during the winter months.
Building and attaching the hinged lid
Create a 3×4-foot square wooden frame using narrow 1×2 wood planks held together either by pocket screws or corner brackets. Position the lid on the workbench, spread the thick plastic covering over its surface, and staple it all over the edges of the wood framework using a staple gun. Trim away any excess covering with a utility knife. Lastly, place the lid onto the main box, and fix it to the high rear side panel using two utility hinges.
3 Custom design alternatives
Each back yard will require its own set of spatial requirements and budget allocations. The following options are available to modify the building process according to your specific space.
How to make a cheap cold frame
If budgetary constraints limit your spending capabilities, you can discover how to make a cheap cold frame using cheap straw bales that you can purchase from a farm supply store. Arrange four thick straw bales in the shape of a compact rectangle right above your garden bed. Add a light wooden cover with a cheaply available roll of 4 mil plastic to insulate the interior of your garden.
How to build a cold frame for plants
To protect nursery starters or fragile potted herbs, you should learn how to build a cold frame for plants by concentrating on providing maximum insulation for these plants. Use a 14 mil thick roll to cover the inner wooden surface of your structure. This covering will protect the delicate plant roots from the chilling ground temperature.
How to build a cold frame for a raised bed
If you want to save your back from bending over, learning how to build a cold frame for a raised bed is the ideal choice. Measure the exact top dimensions of your existing wooden bed planter box. Build a lightweight, bottomless 2×4 frame that fits perfectly on top of the rim, using a puncture-resistant 10mil plastic sheeting cover to protect your existing soil beds.
Pro Tip: Before mounting your frame onto a raised bed, line the bottom soil layer with a highly breathable PE weed barrier fabric to manage water drainage properly while stopping invasive winter weed roots from taking over your planting zone.
Managing temperature and venting
The biggest mistake gardeners make is forgetting to vent their boxes. On a sunny winter day, internal temperatures can quickly spike over 90 degrees, cooking your delicate plants.
- Watch the Thermometer: Place a simple digital thermometer inside the box where you can see it easily through the clear lid.
- Prop It Open: When outdoor temperatures rise above 45 degrees, prop the lid open a few inches with a wooden block to allow fresh air circulation.
- Close Early: Always shut the lid fully by late afternoon to trap the remaining daytime heat before the sun goes down completely.
Troubleshooting common cold frame issues
Excess Condensation: Heavy water droplets on the plastic block sunlight. Vent the lid slightly during midday to clear out trapped humidity.
Damping-Off Fungus: Mold can kill young seedlings in stagnant air. Ensure you lift the lid regularly to provide consistent fresh air movement.
Pest Intruders: Hungry mice love warm winter boxes. Keep the outer edges sealed tightly, or use an extra wide 6mil heavy-duty film buried along the outer perimeter to prevent pests from digging underneath.
FAQ
What are the best winter crops to grow inside a cold frame?
Hardy leafy greens like spinach, kale, arugula, claytonia, radishes, and green onions thrive beautifully in cold weather conditions.
Do I need to water my plants during the winter?
Very rarely. Because the sealed plastic lid traps evaporating moisture inside, you will typically only need to water once every few weeks.
Can a cold frame protect plants from a heavy deep freeze?
Yes. For extreme sub-zero weather, you can toss an old blanket or burlap sack directly over the clear lid overnight to add extra insulation.
Should I use treated wood for building the box?
Avoid older treated woods containing harmful chemicals. Stick to natural rot-resistant timbers like cedar, or use raw pine sealed with food-safe linseed oil.
Conclusion
Constructing your own garden sanctuary for winter does not need to be costly or difficult. With your new found knowledge of how to make a cold frame out of readily available wood and strong plastic sheets, you can have your hands in the soil during the winter as well. By positioning your box to the south, ventilating it during sunny days, and choosing strong material to protect it, you will always have access to fresh produce through the winter. Grab your saw, pick your materials, and extend your growing season today!