
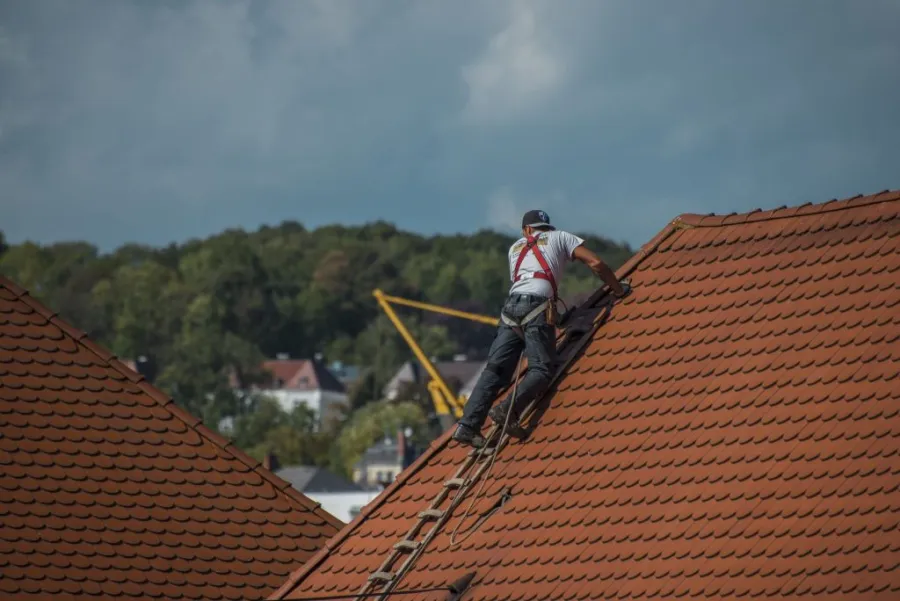
Imagine this scenario: It’s 2:00 AM; there is a severe storm going on outside; you find yourself rudely awakened by the drip, drip, drip noise coming from inside your room. Leaking roofs can be a homeowner’s nightmare; however, that doesn’t mean a basic roof repair costs an arm and a leg to call an emergency contractor.
Through this practical guide, you will discover the art of discovering leaks, constructing a solid emergency patching kit, and performing basic repairs to your roof’s shingles yourself. Simply by having reliable protective films, you are sure to feel better prepared when it comes to protecting your house against rain and storms.
Find the true source of a roof leak.
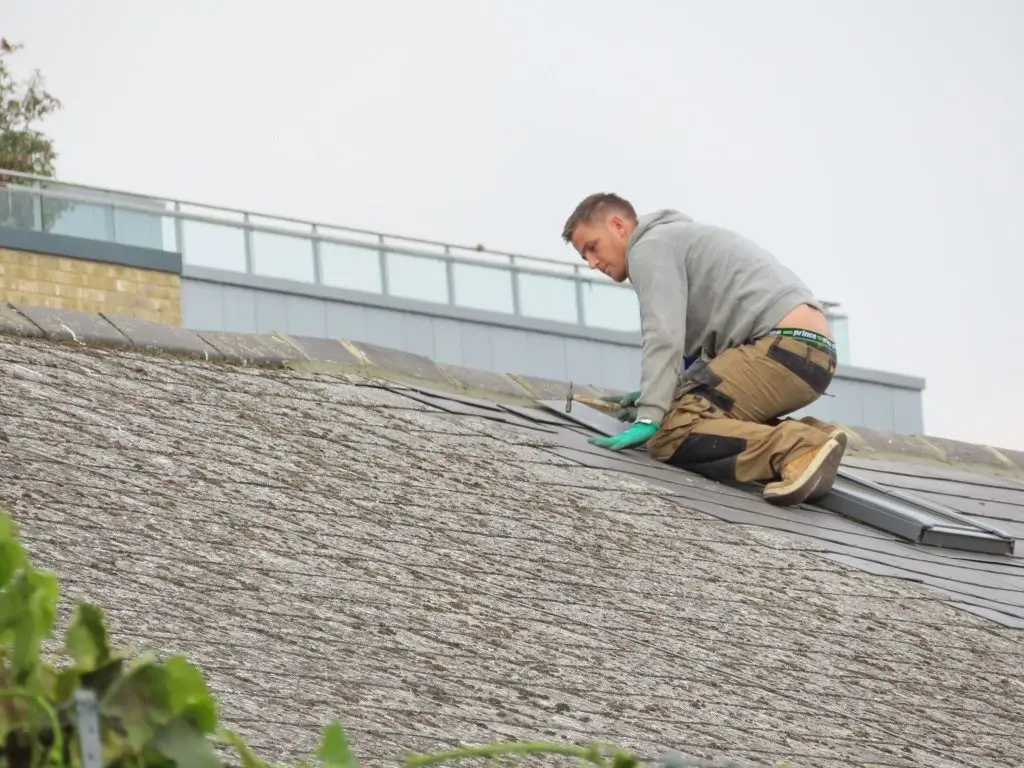
The absolute toughest aspect of getting a proper roof leak repair is not fixing the hole itself; rather, it is locating where the water is entering your house. In fact, water hardly ever travels in a straight line down from your shingles to the ceiling above your head.
Rather, gravity dictates that the water will travel along the attic rafters, the supporting timbers, and the electrical wiring inside your roof until it reaches your ceiling. This means the leak may be far more distant than you think, possibly even up to 10 to 15 feet from the leak.
Check the attic
The most effective method of pinpointing the leak’s origin is to take a bright flashlight into the attic while it is raining outside. Be careful not to walk anywhere but on the ceiling’s wooden support beams; otherwise, you could fall through into the living space.
Look for any water that may have entered the structure as you shine the flashlight under the roof deck. Specifically, be on the lookout for glistening wood or water stains. Use a grease pencil to mark the spot. In this way, you will be able to quickly identify it from the outside once the weather clears up.
Look for the “water track”
If it happens that it has already stopped raining, then do not worry, since you can still trace the leak. First, pull back any fiberglass insulation blanket using caution while wearing gloves to see whether there are water stains on the paper backing.
Move up the damp wood towards the top of the roof line to find where the water is at its highest point. Inspect any roof penetration points, such as plumbing vent pipes and exhaust fans, as well as the valley seams of the roof.
Assemble an emergency roof repair kit.
You should never wait for a severe weather report to start gathering your roofing supplies. Having a dedicated, pre-packed roof repair kit stored safely in your garage can mean the difference between a simple patch job and thousands of dollars in interior structural restoration.
A great home defense kit combines basic hand tools with high-quality, professional-grade water barriers. When a sudden leak threatens your home, you won’t lose precious time running to a crowded hardware store because you’ll already have everything you need to protect your investment.
Why heavy-duty plastic sheeting is your best temporary shield
When a storm is actively dumping rain on your neighborhood, a permanent patch is completely out of the question. What you need right then is a tough, reliable temporary shield, and that is exactly where high-quality heavy-duty 14mil sheeting comes into play.
This puncture-resistant material is thick enough to withstand driving rain, flying tree branches, and intense wind gusts without tearing apart. It acts as an instant, waterproof umbrella for your damaged roof structure. Having it ready to deploy keeps your home safe and dry while you patiently wait for clear weather to do a permanent fix.
Essential safety gear and patching cements
Beyond your main plastic barrier, your emergency kit needs a few specific tools to make the job quick and efficient. Throw in a pair of heavy-duty work gloves, a sharp utility knife, a hammer, and a few tubes of wet-surface roofing cement.
It’s also smart to pack secondary rolls of material, like a flexible 4mil plastic sheeting roll for smaller patches or wrapping chimney vents. Keep these supplies packed together in a clean, portable plastic bin so you can grab the entire kit in a single second during a midnight crisis.
How to handle an emergency roof repair
In cases where unexpected storm damage causes problems with your roof, you need to undertake an emergency roof repair promptly to prevent further interior water damage. In this situation, aesthetics don’t matter – only quick containment will suffice.
- Protect Yourself First: Never step onto a sloping area under conditions of lightning, thunder, heavy rain, and strong winds. Wait until the weather improves, put on rubber-soled shoes, and always have someone holding the ladder while working.
- Cover the Damage Area: Take out the heavy-duty plastic sheet and cover it properly above the damage. The upper edge of the plastic should be placed over the ridge line of the roof to make sure that the water cannot flow under the covering.
- Ensure Overhang Past the Damage Area: Always make sure that the plastic sheet extends at least two to three feet beyond the damaged shingles to avoid the wind-driven rain blowing in.
- Secure the Plastic with Wood Furring Strips: Never use cheap tape or bricks to secure the sheet. Tightly roll the lower edge of the sheet over the 1 x 3 wooden strips, and attach it using 2-inch wood screws.
Simple steps for standard roofing repair
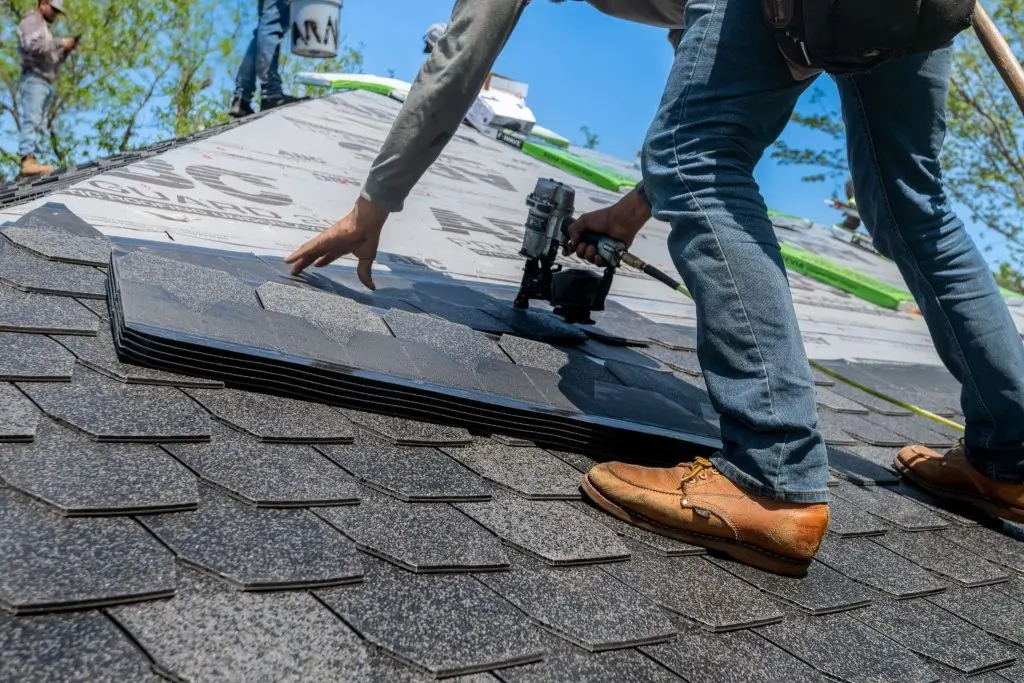
Once the storm clears out and the sun thoroughly dries your shingles, you can transition from emergency mode into a proper, long-lasting roofing repair. The most common permanent fix for an asphalt roof involves replacing damaged, cracked, or completely missing shingles.
This is a great DIY weekend project that requires careful attention to detail but very little specialized construction skill. Working systematically ensures your roof remains completely watertight for years to come.
Replace Damaged or Missing Asphalt Shingles:
Slide a flat pry bar carefully underneath the damaged piece to loosen the old roofing nails.
- Gently lift the shingle directly above it to expose the hidden fasteners, pop the old nails out, and slide the ruined shingle out.
- Take a fresh, matching shingle and slide it up into the empty slot, ensuring it aligns perfectly with the surrounding rows.
- Drive four new galvanized roofing nails into the designated nail line, keeping them straight so the nail heads sit flush with the asphalt surface.
Seal Cracked Flashing Around Chimneys and Vents:
Inspect the old metal joints around your chimney, dormers, and roof vents to look for gaps, holes, or separating edges.
- Use a wire brush to clean away any crumbling caulk, dirt, or debris from the metal surface until it is completely smooth.
- Apply a thick, continuous bead of high-quality exterior polyurethane roofing sealant along the seam.
- Smooth the sealant down with a gloved finger to ensure a watertight bond that stops leaks before they start.
Fix Popped Roof Nails and Exposed Fasteners:
Locate any nails that have backed out of the wood deck over time due to temperature changes.
- Carefully drive them back down flush using a hammer, or pull them out completely and replace them with a slightly thicker screw.
- Cover the exposed nail head with a generous dab of roofing cement to completely seal the puncture against future rust or water intrusion.
When to call a professional roofer
While DIY projects are fantastic for small fixes, every smart homeowner needs to know their personal limits when it comes to roof repair. Some roof problems are signs of deep structural issues that simply cannot be fixed with basic hand tools or simple patches. If you encounter widespread rot or structural damage, it is time to step aside and call a licensed, insured roofing contractor:
- Identify Extensive Structural Sagging: If you notice a distinct dip or sag in your roof line from the driveway, stop immediately. This indicates that long-term water leaks have completely rotted out the heavy support rafters beneath your shingles, requiring a professional crew to rebuild the structural framework safely.
- Spongy Decks and Advanced Roof Rot: To step on a roof where it feels soft, spongy, or bouncy is one of the most dangerous things you can do to yourself. This is because the plywood under your shingles is rotting and cannot properly hold roofing nails, causing any windstorm to take your whole roof off.
- Recognize Where Spot Repairs Don’t Work: When your roof is near the end of its 20-to-25-year life span and has multiple leaks at once, spot repairs are simply not going to solve the problem; a total roof tear-off is what needs to be done.
- Deal with Difficult Architecture: It’s really hard to work on roofs that have difficult architecture, like valleys, commercial roofs, or difficult skylights. This is where you leave things to the professionals who can give you peace of mind.
Preventive maintenance to avoid costly repairs
The very best thing you can do concerning your roof repair bill is to prevent damage in the first place. A few hours of preventative maintenance work a year will keep your roof safe and minimize those costly emergencies:
- Clean Out Gutters Twice a Year: Rake out clogged-up leaves and twigs so that your rainwater doesn’t stand up there pooling under your shingles; this is the leading cause of last-minute roof leak repair requirements.
- Cut Back Overhanging Trees: Trim off any tree branches that reach within six feet of your shingles. The wind will wear down the protective coating of mineral granules, causing you an emergency roof repair situation.
- Check Flashing for Cracking: Inspect the seams in your roof flashing on a yearly basis for any cracks or separations in the sealant. This is where water damage occurs.
- Look for Loose Nails: Any raised nails mean lifting shingles and can be quickly remedied by roofing repair prior to storm season.
- Clear Rooftop Debris: Sweep pine needles and moss mats away from your roof.
Pro Tip: If you have low-hanging structures like a backyard tool shed or a garden greenhouse nearby, keep the surrounding ground completely clear using a premium permeable weed barrier fabric. This prevents aggressive climbing vines from growing up your outbuilding walls and lifting the edge shingles over time.
FAQ
How much does a basic DIY roof repair cost?
A basic DIY project using a sturdy 10mil plastic sheeting and standard patching cement usually costs less than fifty dollars. This is a tiny fraction of what a commercial roofing company would charge just to drive out to your house for an inspection.
How long can an emergency roof repair tarp last?
An emergency roof repair tarp is strictly designed to buy you time, not to serve as a permanent fix. While a heavy-duty, UV-stabilized plastic cover can easily hold up against the elements for a few weeks, you should always plan to complete a permanent fix as soon as dry weather returns.
Can I use patch materials while the shingles are still wet?
Standard roofing caulk and adhesives will not stick to a wet surface. However, if you are dealing with an active leak during a storm, look specifically for specialized wet-surface or “wet-patch” roofing cements, or secure a 6mil heavy-duty film over the area until the shingles dry.
What is the cheapest way to patch a small roof leak?
The most budget-friendly fix for a single small leak is a simple tube of exterior roofing cement applied directly into the puncture with a standard caulk gun. If a larger section is vulnerable, stretching a durable 14mil heavy-duty plastic liner over the area is the most cost-effective way to prevent massive water damage.
Conclusion
In summary, a sudden roof repair issue does not have to be a very worrying thing at all. With the basic knowledge of how to track water and always keeping a full repair kit on hand, along with maintaining your gutters well, you will find yourself solving the smallest issues before they become bigger structural problems. Remember that the key to avoiding that stressful 2:00 AM wake-up call is simply a matter of being prepared and quick to act. Stay ahead of the problem, keep your house safe, and be worry-free with a watertight roof!




