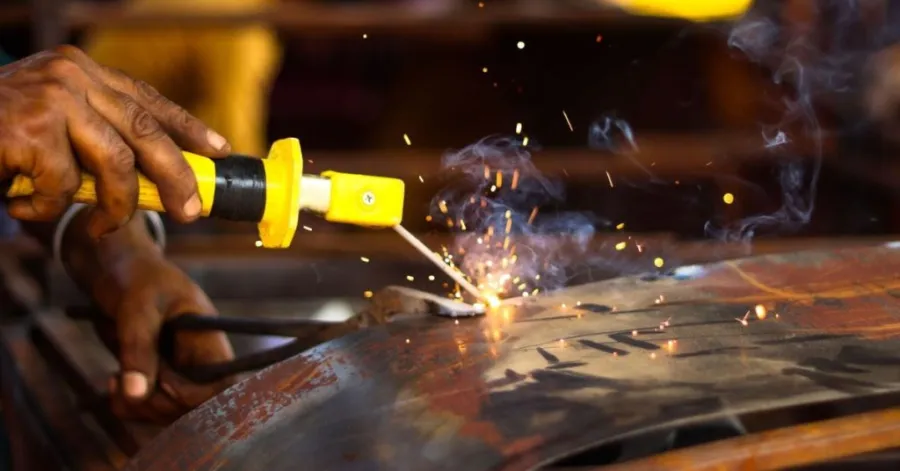
Thin sheet metal is welded at low power with a short-circuit process to control the heat. Many beginners experience issues like warping or holes when welding sheet metal with a MIG welder. It is fast, consistent, and works with mild and stainless steel, making it a good option for busy work like car panels, boxes, and light frames when welding quickly and consistently. MIG welding is ideally suited to situations where speed and productivity are a concern. This step-by-step MIG welding sheet metal for beginners guide will help you start your welding project with the right information. So keep reading!
Essential Equipment for Welding Sheet Metal with a MIG Welder
Choose the best MIG Welder for Thin Gauge Metal
For welding sheet metal with a MIG welder, you need a welder that offers precise control for thin-gauge steel. Search for a machine that will have an adjustable voltage and wire feed rate. A lot of people opt for a 110V or 120V welder for home projects. These models work well for welding auto body panels and auto body sheet metal. There are welders available that have an assortment of features, such as a spool gun and a digital display. These features enable you to install rapidly and safely.
Best Shielding Gas Options for Sheet Metal Welding
You should use shielding gas for welding sheet metal with a MIG welder. It will guard against contamination of your weld. Typically, a combination of Argon and Carbon Dioxide (CO2) is used in most welders. Argon and CO₂ comprise 75% and 25% of the common ratio, respectively. This blend provides a stable arc and minimizes spatter. Using pure CO₂ is cheaper, but it will produce more spatter. It is not possible to use pure argon gas in steel, but only in aluminium.
Tip: Make sure to always inspect your gas regulator prior. A smooth flow provides a clean weld.
Choosing the Right Wire Type and Diameter
The proper wire must be chosen for the project. Thin-gauge steel should be welded with ER70S-6 wire. The best diameter for sheet metal is 0.023″ or 0.025″. Thicker wire can cause burn-through. You can use a table to compare wire sizes:
| Wire Diameter | Best Use |
| 0.023″ | Thin sheet metal |
| 0.025″ | Auto body panels |
| 0.030″ | Thicker materials |
Must-Have Safety Gear for MIG Welding
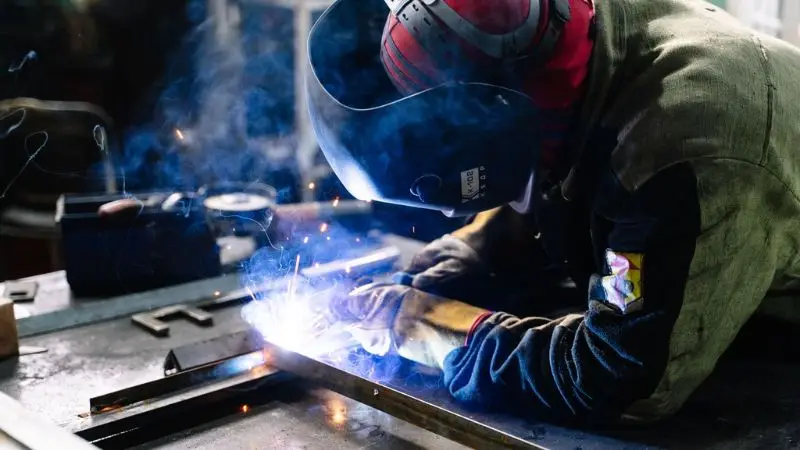
To get started with welding sheet metal with a MIG welder, you need safety gear to protect yourself. Please wear a welding helmet equipped with an auto-darkening lens. Wear welding gloves. Wear a long-sleeve cotton shirt and pants. It is also recommended to wear safety glasses over the helmet. Have a fire extinguisher handy.
Note: Safety gear prevents burns and eye injuries. Never weld without proper protection.
How to Prepare for Welding Sheet Metal with a MIG Welder
Rust, Paint, and Oil Cleaning
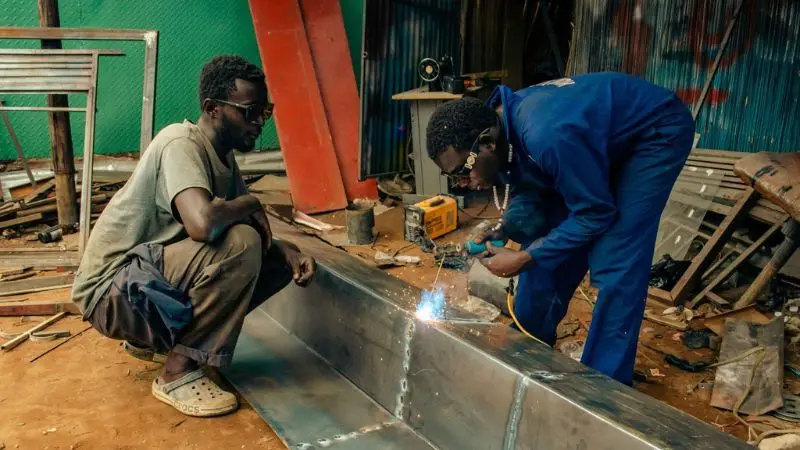
Clean sheet metal is required for the first time. Welds can be ruined by dirt, rust, paint and oil. Clean off old paint and rust using either a wire brush or a grinder. Use a clean cloth to clean the surface. Use a degreaser for oil or grease, or rubbing alcohol. Make sure the metal is dry before you begin. For welding sheet metal with a MIG welder, clean metal helps you get strong, smooth welds.
Note: When cleaning metal, always wear gloves. This protects your hands from sharp objects and chemicals.
Ensure Correct Clamping And Fit-Up Skills
For welding sheet metal with a MIG welder, you need to hold the metal pieces in place before you weld. Secure the sheet metal with C-clamps, magnets or locking pliers. Ensure that edges match up nicely. Gaps may result in either weak welds or burn-through. The best results will be obtained by tack-welding and clamping the corners first. Small welds that join the metal together are called tack welds. This way, the pieces do not move and make it more difficult to create the weld.
- Check the fit-up by looking for even gaps.
- Use enough clamps to stop the metal from shifting.
- Tack weld every few inches for long seams.
Preventing Warping in Thin Metal Sheets
Thin metal can warp easily from heat. Now, how to prevent warping when MIG welding sheet metal? You can prevent this by using short welds and letting the metal cool between passes. Move around the workpiece instead of welding in one spot. Place your welds in a staggered pattern. This spreads the heat and keeps the metal flat for welding sheet metal with a MIG welder.
Note: If the metal gets too hot, stop and let it cool. You can use a damp cloth to speed up cooling.
Taking time to prepare your sheet metal will help you get better welds and avoid common problems.
Settings for Welding Sheet Metal with a MIG Welder
Adjustments of Voltage and Wire Feed Speed
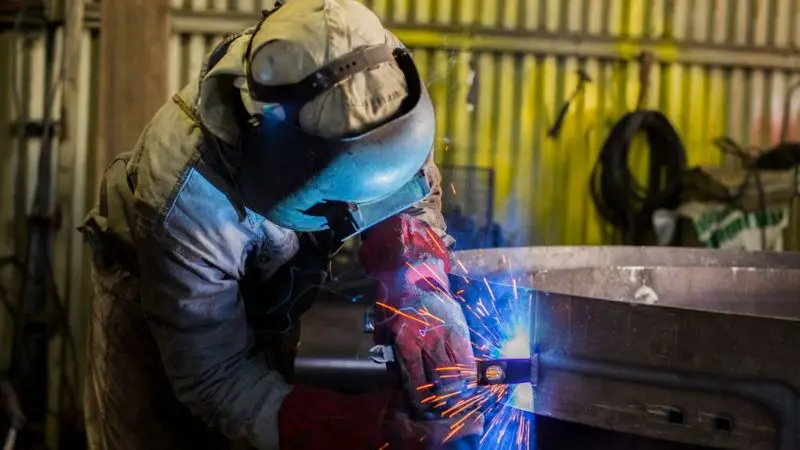
You need to set the voltage and wire feed speed on your welder before you start. Thin sheet metal is best handled at a lower voltage. You can burn holes in your work with high voltage. Use the smallest setting and try on a scrap piece. Tune the wire feed rate for a smooth flow of wire. If it moves too quickly, popping sounds will be heard. Too fast, and the wire will be consumed at the end of the wire. For welding sheet metal with a MIG welder, you want a steady, soft buzzing sound from your welder.
Tip: Always test your settings on scrap metal before welding your project.
Heat Control Techniques for Thin Metals
For welding sheet metal with a MIG welder, you must control the heat to avoid warping. But how to weld thin sheet metal without burning through? Use short welds called “tacks” instead of long beads. Let the metal cool between welds. Move around the workpiece to spread the heat. Hold the gun at a slight angle and keep it moving. This helps you avoid putting too much heat in one spot. You can also use a damp cloth to cool the metal faster.
- Use short bursts instead of long welds.
- Allow time for cooling between passes.
- Move the welder to different spots to spread the heat.
Recommended Settings for Different Sheet Metal Thicknesses
This table shows the best settings for MIG welding 20-gauge sheet metal and others:
| Sheet Metal Thickness | Voltage Setting | Wire Feed Speed |
| 22 gauge (0.030″) | Low (1-2) | 30-50 |
| 20 gauge (0.036″) | Low-Med (2-3) | 40-60 |
| 18 gauge (0.048″) | Medium (3-4) | 50-70 |
These numbers are starting points. Every welder is a little different. Always check your manual for the best settings. Practice on scrap metal to find what works best for you.
Note: Good settings make welding easier and help you get strong, clean welds.
Step-by-Step Guide to Welding Sheet Metal with a MIG Welder
Tack Welding for Alignment and Stability
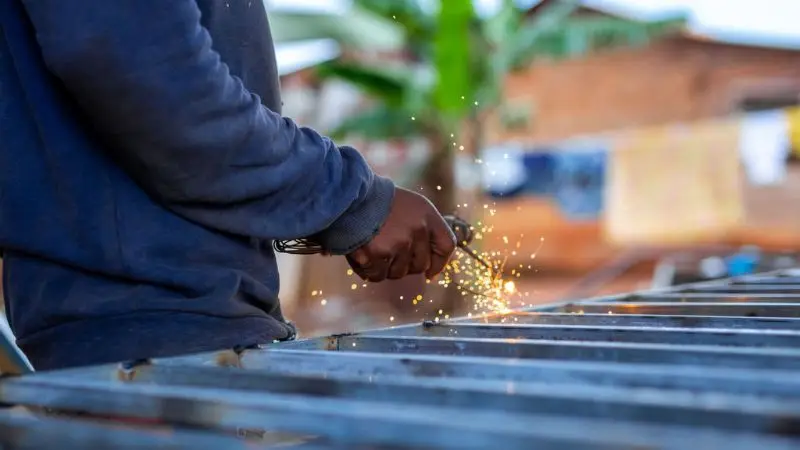
The answer to how to weld thin sheet metal without burning through is tack welding. You should always start welding sheet metal with a MIG welder by tack welders, as these are small, fast welds that hold pieces together. The patch panel should have a tack at each corner. Stick more tacks to all the sides to hold it all in place. This step helps you align the patch panel before you finish welding sheet metal with a MIG welder. Tack welds stop the metal from moving or warping.
Tip: Space your tacks about two inches apart for best results.
Using Stitch Welding to Prevent Burn-Through
How to prevent warping when MIG welding sheet metal? Stitch welding sheet metal with a MIG welder is a smart way to avoid burn-through. You make a short weld, then move to another spot and make another short weld. This method lets the metal cool between welds. If you work on a patch panel, stitch welding keeps the heat low and protects the thin metal. Repeat this process until you connect all the tacks.
- Weld for one second, then stop.
- Move to a new spot and repeat.
- Let the metal cool before adding more welds.
Controlling Weld Bead Size and Speed
The size of your weld bead and your speed must be controlled. Move the MIG welder at a steady pace. If you go too slow, you might burn through the patch panel. If you go too fast, the weld will not hold. Correct wire feed speed and voltage settings must be matched to the material thickness for stable arc performance. Try to keep your weld bead small and even. Practice on scrap metal before you weld sheet metal on your project.
Cooling Techniques Between Weld Passes
How to weld thin sheet metal without burning through? Cooling is important when welding sheet metal with a MIG welder. Let the metal rest after each weld. You can use a damp cloth to cool the area faster. This step helps prevent warping, especially on a patch panel. Always check the temperature with your hand (wear gloves) before you start the next weld.
Note: Cooling between weld passes keeps your work flat and strong.
Use these tips to get better results on every patch panel you repair.
Common Problems When MIG Welding Sheet Metal with a MIG Welder
Burn-Through and How to Avoid It
Burn-through happens when you melt a hole in the metal. This problem often occurs with thin auto body sheet metal. You can avoid burn-through during welding sheet metal with a MIG welder by using short welds and letting the metal cool between passes. Set your welder to a lower voltage and use a smaller wire size. Always test your settings on scrap before you start welding auto body panels. If you see a hole forming, stop right away and let the area cool.
Tip: Move your welding gun quickly and do not stay in one spot for too long.
Warping and Distortion Issues
Heat from MIG welding can cause the metal to warp or bend. Warping makes it hard to fit repair panels or finish your project. But, how to weld thin sheet metal without burning through? You can prevent warping during welding sheet metal with a MIG welder by using tack welds and spreading them out. Work in a staggered pattern instead of welding in a straight line. Let the metal cool after each weld. Use clamps to hold the metal flat. If you need to cut away damaged metal, make sure the new piece fits well before welding.
- Use tack welds first.
- Weld in short bursts.
- Let the metal cool often.
Porosity in Welds and Its Causes
Porosity means you have small holes or bubbles inside your weld. These holes make the weld weak. Porosity often comes from dirty metal or not enough shielding gas. Always clean your metal before welding sheet metal with a MIG welder. Make sure that your gas flow is correct and that there is no wind blowing away the gas. If you see bubbles in your weld, stop and fix the problem before you continue.
| Problem | Cause | Solution |
| Porosity | Dirty metal, low gas | Clean metal, check gas |
| Warping | Too much heat | Short welds, cool often |
| Burn-through | High heat, slow speed | Lower settings, move fast |
Conclusion
This step-by-step MIG welding sheet metal for beginners helped you learn welding sheet metal with a MIG welder. To sum up, it calls for the following: cleaning the metal, clamping tightly, setting the correct voltage and wire speed, doing tack and stitch welds, and allowing the metal to cool between passes. Practice often to get better. Safety measures include the use of safety equipment at all times, setting your machine before you start welding, and paying attention to common issues such as burn-through and warping. Patience and safety are the keys to better welding.
FAQs
Which size wire should be used to weld thin sheet metal?
For MIG welding sheet metal, the wire size to use is 0.023″ or 0.025″. These sizes allow you to regulate heat and prevent burn-through.
Can you weld sheet metal without gas?
You can use flux-cored wire without gas, but your welds may look rough. Shielding gas gives you cleaner, stronger welds. For best results, use a MIG welder with gas.
How to weld thin sheet metal without burning through?
Use short welds and let the metal cool between passes. Move around your workpiece to spread heat. Be sure to tightly clamp your metal to flatten it.
Why does my weld have holes or bubbles?
Porosity often means your metal is dirty or you have low shielding gas. Clean your metal before welding. Check your gas flow and block any wind near your work area.
Can you weld 22-gauge sheet metal with a MIG welder?
Yes, you can. But because it is very thin, take precautions to avoid warping the piece.