
Absolutely, you can make your DIY magnetic knife holder at home! Strong magnets, a board of wood, wood glue, some screws, a drill – nothing fancy. This project is easy, safe, and adds a personal touch to your home. You can choose a size, shape, and wood style to fit your kitchen – rustic, modern, minimalist wood, or maybe hidden magnets. Get some imagination, and your magnetic knife holder will make your kitchen practical, stylish, and beautiful.
Tools And Materials You Need For Making A Magnetic Knife Holder By Yourself
Before you begin your project, it is important to gather all of the tools and materials you will need for a DIY magnetic knife holder. Having everything ready makes the process easy and fun. With the proper supplies, you can make a safe and stylish storage solution for your kitchen knives.
Essential Materials (Magnets, Wood, Adhesive, Screws)
Making a strong and reliable magnetic knife block holder will require a few primary materials:
- Magnets: Strong neodymium magnets work best. They can hold your knives safely, and you’ll need enough to cover the length of your wooden board. Magnets are the most important part of this project.
- Wood Board: Select a strong piece of wood such as oak, maple, or bamboo. One thing that you need to be sure about is that it fits the space where you are going to put it.
- Adhesive: Use wood glue or a high-strength epoxy to fasten the magnets in place.
- Screws: These are needed to mount the holder as firmly as possible on your wall.
Before installing the magnets, test them to make sure they can hold your knife’s weight. This step is to be sure that your DIY magnetic knife rack will be safe and functional.
Optional Tools for a Professional Finish
For a neat and store-bought appearance for your knife holder, a few tools are needed that are optional, including:
- Sandpaper – Level and give a smooth finish to rough edges
- Wood Stain – Colors the wood and protects it from wear.
- Varnish – Provides a shiny finished appearance with a strong enhancement of natural wood grain.
- Level – To make sure that your holder is mounted straight.
- Clamps – These are used to hold the wood in place while the adhesive is drying.
Using these optional tools is not required with a simple look, but they will give your magnetic knife block holder a professional appearance.
Step-by-Step Magnetic Knife Holder Sticking at Home
Contrary to popular belief, making your own magnetic knife holder is easy. If you have the most essential tools and are willing to invest a little time, you can fabricate a one-of-a-kind, highly functional, and customizable organization solution. This comprehensive guide will ensure optimum safety and precision, resulting in a professional-grade, durable holder.
Step 1- Select the Proper Magnets
Selecting the correct magnets to begin building a magnetic knife block holder is very important. Magnets made of neodymium are the strongest and best for holding the knives in place. Depending upon the weight of the knives, you will need to get large-sized magnets. Small-sized magnets are subjected to a high risk that knives could slip and be extremely dangerous. At home, test out magnets before going to construction. Place one under a wooden board and see if a knife is able to hold. This will tell whether the DIY knife holder will be safe. A well-made base will also make the block holder look nice, especially if it’s for kitchen knives or BBQ tool organization around the grill.
Step 2 – Pick and Prepare the Wood Base
For this step, choose a board that suits your kitchen area. Woods that are strong, such as oak, maple, or bamboo, are ideal. Sand the edges to ensure they are smooth and wipe away any dust. If you are looking for a customized look, you can stain or paint the wood and allow the stain or paint to dry completely. Proper preparation of the wood not only ensures that your holder is going to look great, but it also ensures that the magnets are going to stick better. Your kitchen magnet knife holder will last longer and look better if you prepare the wood right.
Step 3 – Install the Magnets Securely
Now for the magnets. Get your marker and make spots for the magnets. Drill out small holes for your magnets. Use a strong glue such as wood glue or epoxy, and glue each magnet in place. Wait until the glue is dry and continue. This is required to prevent the magnets from moving and to allow your knives to have a good hold. If you follow these guidelines carefully, you’ll have a magnetic knife rack all your own, in addition to one that’s functional and safe to use.
Step 4 – Attach the Knife Holder to the Wall
After the magnets are installed, it is time to mount your holder. Stand the board up against the wall and use a level to make sure that it’s in the right position. Mark the locations to put your screws and holes, and tightly tie your holder. A good holder won’t wobble, and definitely won’t fall down on its own, providing you with a stable and reliable DIY magnetic knife holder. A properly mounted magnetic knife block holder can double up as one aspect of outdoor grill storage or BBQ tool storage too, keeping utensils and knives tidy and accessible.
Step 5 – Test the Strength and the Safety
Now you can hang your knives and check the holding strength of each magnet. If a knife falls out of the holder, then you can use a larger magnet or possibly add more magnets. This is to ensure that your magnetic knife block holder can be used safely on a daily basis. An effective tested holder will help you in keeping your knives in an organized manner, and even make your kitchen look more functional and aesthetic. This is the last step, in which you check and make sure that your project works properly and that it is going to last.
How to Remain Safe Using a Magnetic Knife Holder
A do-it-yourself magnetic knife holder is an amazing way to organize your kitchen, but safety should always be first. Understanding how to put knives in the right place as well as keeping children out of the way means that your kitchen never sees an accident. These simple steps will make your knife holder both useful and safe for all.
How to Put Knives in the Right Place to Prevent Injuries
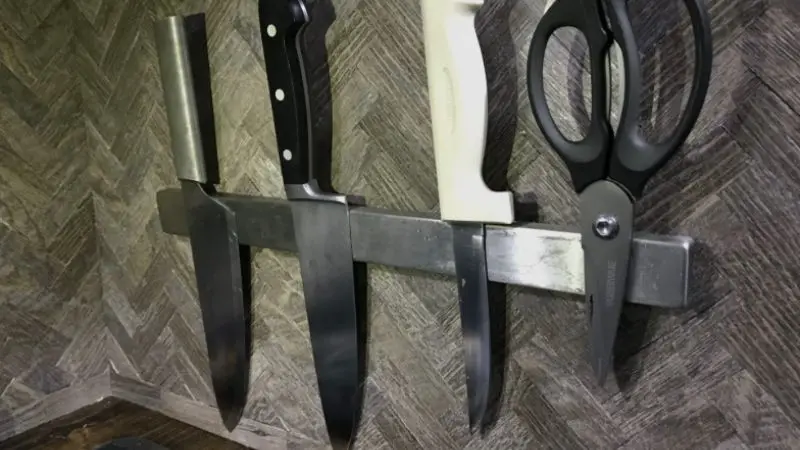
To keep your holder working and to keep accidents from happening, you will need to place knives in a certain way. Always keep knives that point up and away from the wall. Hold the knife by the handle and place the knife onto the magnet instead of tossing it. Space out knives so they never touch. The biggest knives go on the ends, and the tallest holders keep the sharpest blades highest. Slip prevention means knives must be dried before storing them in the holder. These tips will keep your DIY magnetic knife holder safe and will help it last longer.
How to Protect Children From a Magnetic Knife Holder
If you have kids at home, you need to be even more safety-conscious. Mount your DIY magnetic knife rack higher up on the wall or above counters or inside cabinets where knives are out of harm’s way. Teach kids that knives are tools, not toys, and that they need to ask for help when they need it! These precautions help keep your family safe, but they can also help kids learn about kitchen responsibility. A high-mounted and secure knife holder keeps everyone safe and gives you peace of mind.
Creative Design Ideas for Your DIY Magnetic Knife Holder
A DIY magnetic knife holder is possible, and it can be both functional and stylish. There are various designs that are appropriate for various kitchen designs, from rustic charm to modern minimalist. Choosing the right design helps your kitchen to look organized and visually appealing while keeping knives easily accessible.
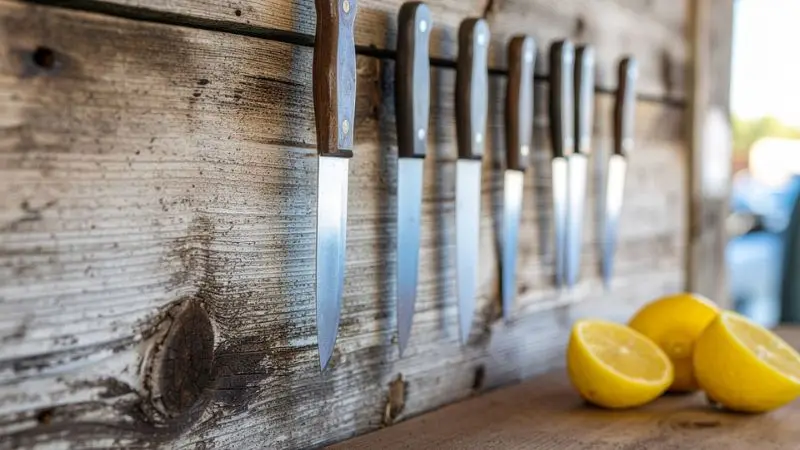
Rustic Wooden Magnetic Knife Holder for a Cozy Kitchen Appearance
A rustic do-it-yourself magnetic knife rack brings warmth and charm to your kitchen. Use reclaimed or distressed wood and sand edges for a soft and polished feel. Light stains clear up the wood grain, while metallic hooks can keep extra utensils. A rustic magnetic knife block holder works well in kitchens and complements outdoor grill storage areas or BBQ storage ideas for tools. You can even burn a design into the wood for our personal touch. This style works great with kitchens that have natural textures and adds a unique homey look to your magnetic knife block holder.
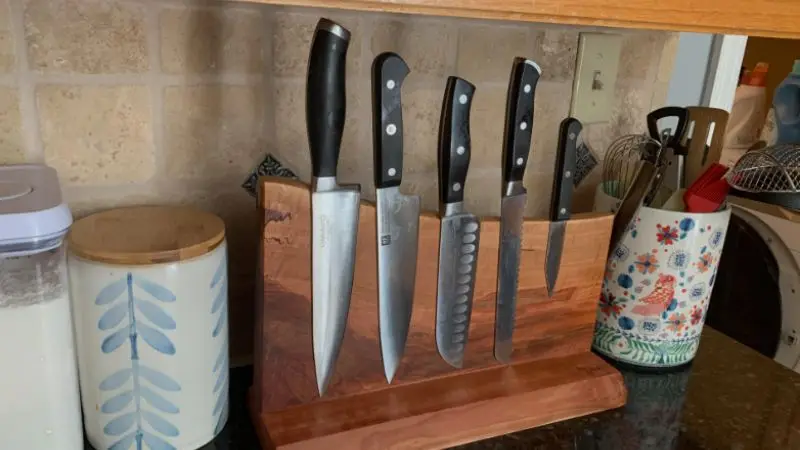
Minimalist Modern Black Magnetic Knife Holder Clean Look
For a sleek and modern kitchen, a minimalist and DIY magnetic knife holder is ideal. Choose smooth, light colored wood, and keep designs simple with holes for hidden screws for a clean look. Neutral colors allow them to blend well with any decor. Over or under-horizontal holder, depending on your space, mount the holder horizontally or vertically. A minimalist DIY magnetic knife rack keeps knives organized while fitting kitchens or BBQ tool organization setups with sleek, modern style.
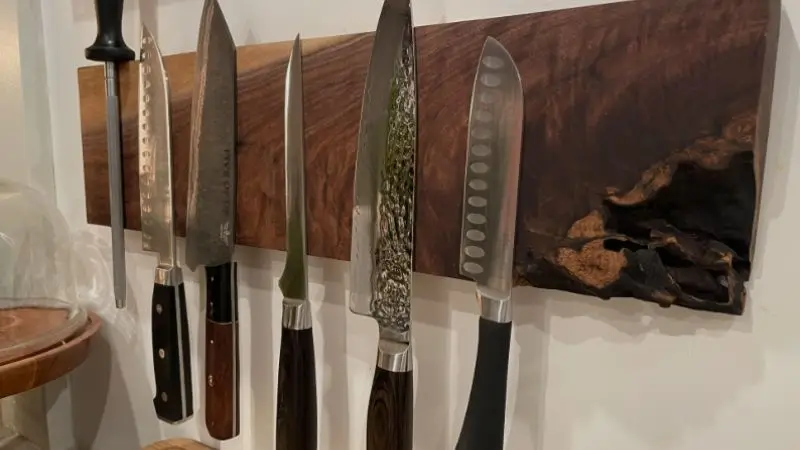
Hidden Magnet DIY Knife Holder Floating Knife Effect
For a modern and unexpected solution, a secret magnet DIY magnetic knife rack gives the knives an illusion of floating. Place magnets inside a thicker wood board, and paint or stain the surface for a nice, smooth finish. Always test the strength of magnets before hanging heavier knives. It is visually appealing and will keep your kitchen clean, so this design makes your DIY magnetic knife holder professional and modern.
Common Mistakes to Avoid While Making a Magnetic Knife Holder
Building your own DIY magnetic knife holder can be fun, and like any other project, there are mistakes that can severely impact its safety and functionality. Knowing what to avoid can make your project look as good as new, work as intended, and even last you many more years. These are the most common mistakes that are easily avoidable if you do a little planning and take some precautions.
Choosing Magnets That Are Too Weak
Not all magnets are as powerful as each other. If you use weak magnets, your knives won’t stay in place, and that can be hazardous. A reliable magnetic knife holder needs to use good neodymium magnets, so avoid using any other type of magnet. Always do a test before you install magnets in your knife rack, and do a knife and magnet test to see if the knife won’t slide down. This will ensure that you will be using a safe knife holder rack.
Mounting the Holder at an Incorrect Height
Whether mounted too high or too low, knife holders can create frustration and safety issues. If too low, children may have access to the knives, and if too high, it may be difficult to grab your favorite chef’s knife. Be sure to measure your kitchen so you can mount the holder at eye level. This will make your DIY magnetic knife holder safe by keeping knives out of the reach of children while still being easily accessible to you.
Uneven Weight Distribution
A common mistake is that people put too many heavy knives on one side of the holder. This may cause the knife holder to tilt or be literally pulled off the wall. To avoid this, ensure that you distribute your knives equally in the magnetic knife block holder. This will also ensure that the holders remain stable and will keep all the knives on the holder. Correct weight distribution will create a safer and longer-lasting DIY magnetic knife rack.
Wrap-Up
Creating your own DIY magnetic knife holder is a great and interesting way to help keep your kitchen organized while also keeping your knives safe and handy. By choosing high-quality magnets, building a solid wooden base, and following the proper steps for installation, you can make a holder that’s both beautiful and functional. Think of all sorts of designs from rustic wooden racks to inconspicuous magnet holders that shape your style of kitchen decor. To avoid common mistakes like weak magnets, mounting height, and uneven weight distribution, your magnets should be able to last a long time. With smart planning skills, your block holder of magnetic knives is a vital tool for your neat, safe, and efficient kitchen.
FAQ
Can you build a do-it-yourself magnetic knife holder without using wood?
Certainly! You can choose a board that has already been cut to size to use on your DIY project. This saves time for your project as well as saving trees, if you would like to not cut wood.
How can I line disc magnets up in a row best for my DIY?
Using a ruler or a straight surface would be your best option. With your pencil, mark out the locations where each magnet would go. This will ensure that your magnets are placed within a straight line and will not look sloppy.
Is there any way for this project to DIY try no-drill hanging?
Absolutely! For your DIY magnetic knife holder, you can opt for powerful adhesive tapes. This no-drill hanging option is great for renters or for those looking for a simple project.


