
Have you ever wondered how to use the basin wrench set without becoming frustrated? Grab the tool and reach behind the sink to turn the nut. If you feel nervous, don’t worry. This tool can be used to reach tight areas under the sink. You will be surprised at how easy it is to fix a faucet, even if you’ve never done so before.
In this article, we will discuss how to use a basin wrench set properly. Take your time, and make sure you follow every step.
What Is a Basin Wrench Used For?
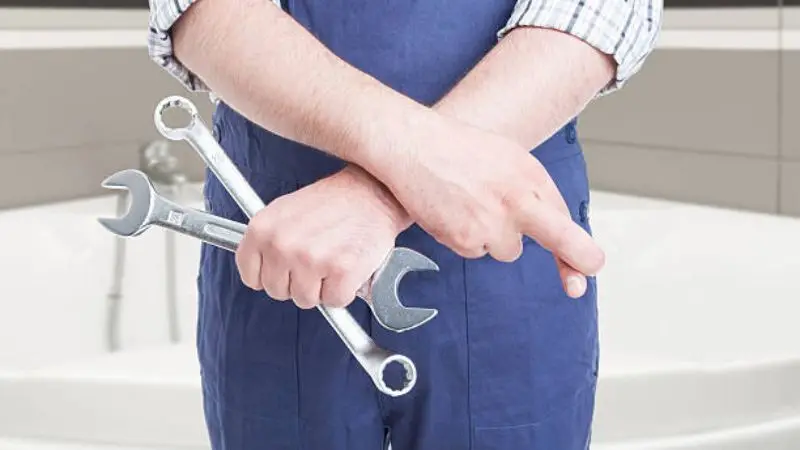
Below are the points where and why a basin wrench is commonly used and why it’s important.
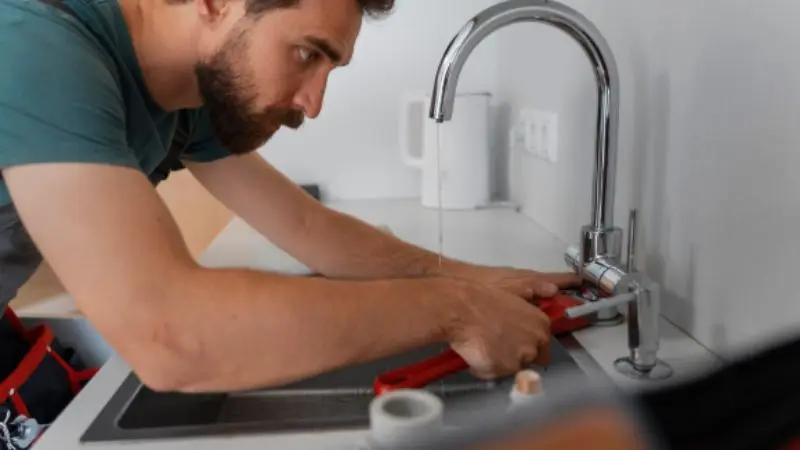
Installing and Removing Faucets
Installing or removing a faucet often requires you to work under the sink. Your hands are unable to reach the nuts that hold the faucet in position because the space is so tight. Basin wrenches help you get to those difficult spots, especially when learning how to use a basin wrench for sink faucet installations. You can grip the nut with the long handle and pivoting jaw. The wrench is slid behind the sink, and the nut is grabbed. This tool is great for when you don’t have enough space to fit a standard wrench.
Before starting, check the size of your nut. It will save your time.
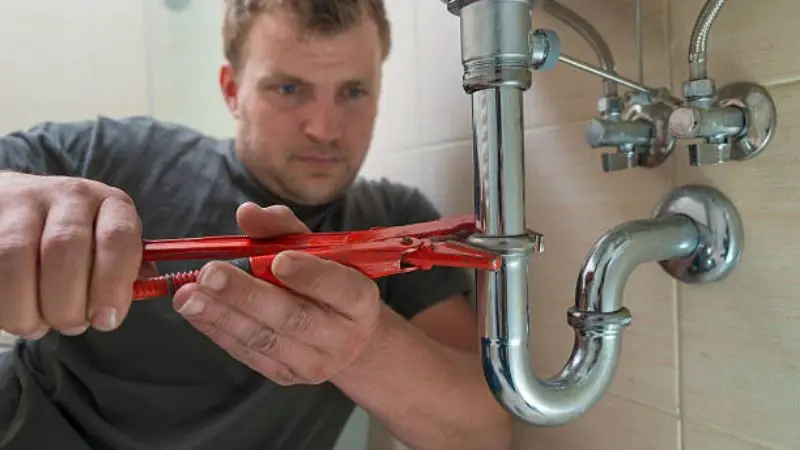
Loosening Tight or Hard-to-Reach Nuts
You may need to remove nuts from awkward places or those that are stuck. You may have difficulty tightening or loosening nuts behind pipes or under sinks, so understanding how to use a basin wrench under sink becomes important. You can reach further and use more leverage with the basin wrench. The handle can be twisted to increase the force without damaging your knuckles. Spray a small amount of penetrating lubricant on the nut and allow it to sit for a couple of minutes. Use the basin wrench set to loosen it.
Why not use a basin nut wrench?
- You get a better grip.
- You avoid damaging pipes.
- It will save you time and effort.
Common Sink and Plumbing Applications
A basin wrench set is useful for a variety of plumbing jobs. This wrench is ideal for laundry tubs, kitchen sinks, and bathroom sinks. Mounting nuts, supply lines, and other fittings can be reached in tight spaces. Plumbers rely on this tool when learning how to loosen nuts with a basin wrench in areas where regular tools fail. Keep a basin wrench handy if you’re planning to replace or repair old plumbing or fix a leaking faucet.
| Application | Why Use a Basin Wrench? |
| Faucet installation | Fits in tight spaces |
| Nut removal | Grips hard-to-reach nuts |
| Plumbing repairs | Saves time and effort |
How to Use a Basin Wrench Step by Step
You can make your plumbing job easier by learning how to use the adjustable basin wrench set. It is not necessary to be nervous when working on faucets and fixing leaks. Follow these simple steps to get the job finished.
Step 1 – Prepare the Area Under the Sink
Clear everything from under your sink. It is important to have plenty of room for movement. Under the pipes, place a small bucket or towel to catch any drips. Be sure to have good lighting. You can see better with a flashlight or headlamp. Use a mat and knee pads to stay comfortable.
Before starting the task, turn off the water. It will prevent any unexpected leaks.
Step 2 – Adjust the Basin Wrench Length
Most basin ratcheting wrenches set come with an adjustable handle. You can adjust the length of the handle to fit your space. Slide the handle to increase your reach. If you’re working in a small space, shorten the handle. When you are learning how to use a Basin Wrench, this step is crucial because it allows you to fit the tool precisely where you need it.
Step 3 – Position the Jaw Correctly on the Nut
The nut holding the faucet in position is the one you are looking for. The jaws of the basin wrench set must grip the flat side of the nut. The jaw should face the direction in which you wish to turn. The jaw should be facing left if you are looking to loosen it. If you need to tighten the nut, turn it right. This step is important when learning how to use a basin wrench to remove faucet hardware safely.
Step 5 – Remove or Secure the Faucet Nut
Turn the handle once the jaw has been positioned. The wrench will grab the nut and loosen or tighten it. Apply steady pressure. Do not rush. If you feel the nut is stuck, apply a little extra force. It may be necessary to move the wrench around a few more times. Check that the nut has been removed or is securely fastened when you are finished.
Practice makes perfect. The more you use the basin wrench, the more it becomes.
You now know how to use wrench set on most plumbing projects. With confidence, you can work in tight spaces or with tricky nuts.
Tips for Using a Basin Wrench Effectively
Here are some tips that will help you how to use the basin wrench set effectively during your tasks
How to Get a Better Grip on Stuck Nuts
Some faucet nuts will just not move. Spraying some penetrating oil onto the nut can help. Allow it to sit for a couple of minutes. This will help loosen any rust build-up or rust. Use your basin wrench to ensure that the jaws fit snugly onto the nut. Wear work gloves to give you more grip if your hands are slipping. For better control, you can wrap a rag around the handle. If you still feel the nut is stuck, gently tap the handle with a rubber mallet. It can be broken loose by using a rubber mallet.
Before turning, check that your jaw is facing the correct direction
How to Avoid Stripping Faucet Nuts
A quick job can become a headache if you strip a nut. This is something you want to avoid. Make sure that the jaw of the wrench is flat on the nut. Use only a small amount of force. Stop and reposition your wrench if you feel it slipping. Old nuts can become rounded or soft. If this happens, use slow pressure and go slowly. If you see damage, try a different tool. Or ask at your local hardware shop for assistance.
- Double-check your jaw position.
- Apply even, steady pressure.
- If the nut begins to round, stop.
Safety Tips When Working Under a Sink
It can be uncomfortable to work under a sink. It is important to be comfortable and safe. Before you begin, turn off the water. Always keep a bucket or towel nearby to catch drips. You can use a headlamp or flashlight to see what you’re doing. If you are feeling tired or sore, take a break. Be careful of sharp edges in pipes and cabinets. You will have fewer problems if you use these tips to use a basin wrench.
| Safety Tip | Why It Matters |
| Turn off the water | Prevents leaks |
| Use good lighting | Helps you see clearly |
| Wear gloves | Protects your hands |
Common Mistakes to Avoid When Using a Basin Wrench
You might make a few mistakes the first time you use a Basin Wrench. Don’t worry, if you know where to look, you can avoid many of these issues. Here are the most common mistakes and how to avoid them.
Incorrect Jaw Positioning
The jaws of your basin wrench should grip the nut firmly. The wrench will slip if you put the jaw at an odd angle or on the wrong side. This can make the job more difficult and even cause damage to the nut. Check that the jaw is flat against the sides of the nut. Stop and reposition the wrench if you feel it slipping.
Wiggle the wrench around a bit before you begin turning to ensure that it is locked onto the nut. If the jaw feels loose, adjust it until it fits tightly.
Using Too Much Force
You may think that more muscle will produce faster results. Plumbing is not always the same. You can break the faucet or strip the nut if you apply too much pressure. It is important to apply even, steady pressure. Try a small amount of penetrating or rubber mallet oil if the nut will not budge.
Here is a checklist to help you avoid overtightening.
- Slow, steady turns are recommended.
- If you feel resistance, stop.
- After each turn, check the nut.
| Mistake | What Happens | How to Fix It |
| Too much force | Stripped nut | Use gentle pressure |
| Rushed turning | Damaged faucet | Go slow and steady |
Forgetting to Shut Off the Water
It is possible to get so excited about starting your project that you forget to shut off the water. This can cause leaks, puddles, or a mini-flood under your sink. Before you work on any plumbing, turn off the water.
Under your sink, look for shut-off valves. They will stop turning when you turn them in a clockwise direction. Check that no water is coming out by turning the faucet on.
You can avoid making the most common mistakes when using a basin wrench if you follow these tips. Save time, protect the plumbing, and complete the job with confidence.
Basin Wrench Alternatives and When to Use Them
You might not always have a basin tool on hand. Don’t worry, with a few additional tools, you can tackle the majority of jobs that need to be done under your sink. We’ll look at some of the most common alternatives and when they should be used.
Adjustable Wrench
In your toolbox, you probably have an adjustable wrench set. This tool is great for bolts and nuts that you can easily reach. You can use an adjustable wrench if the space underneath your sink is wide open. Slide the jaws over the nut, then twist. The wrench should fit snugly, or it may slip.
Use an adjustable wrench to remove larger fittings from behind pipes.
When to use it:
- The nut can be easily seen and reached.
- Standard nuts must be tightened or loosened.
- The space is not too crowded.
Channel-Lock Pliers
The channel-lock pliers, also known as groove-joint pliers, give you a firm grip. The jaws can be adjusted to fit different nuts. These pliers are best used when extra force is needed. Channel-lock pliers are useful for removing a rusted or stuck nut. Be careful not to press too hard, or you may damage the nut.
| Tool | Best For | Watch Out For |
| Channel-lock pliers | Stuck or large nuts | Crushing soft metals |
Faucet Installation Tools
These tools are often included in faucet repair kits. These tools are often included in kits for faucet repairs. These tools allow you to reach nuts that are in tight places where other tools can’t fit. You might consider buying one if you are planning to install or replace faucets frequently. These make the job easier and faster.
Be sure to check the type and size of your plumbing fittings prior to choosing a tool. The right tool can save you time and protect your plumbing.
If you don’t have a basin screw, there are other options. Choose the tool best suited to your task and available space.
Conclusion
Now you know how to use a basin wrench step-by-step. First, clear the area and adjust your tool. Then grip the nut and turn. Follow these tips to finish your plumbing project faster and less stressed. Practice makes perfect. Do not worry if the first few times are difficult. This guide is always available for assistance.
FAQ
How do I know if I need a basin wrench?
You need a Basin Wrench if you can’t reach nuts under the sink with your regular wrench. This wrench set allows you to work in tight spaces behind sinks and taps.
Can I use a basin wrench for all plumbing nuts?
Use a basin wrench to remove nuts from faucets and other hard-to-reach areas. Try an adjustable wrench or pliers for larger nuts or those that are exposed.
What size nuts does a basin wrench fit?
Most basin wrenches fit nuts between 1/2 inch and 1 1/4 inches. Before you start, always check your faucet’s nut size. If the nut is bigger or smaller, then look for a specialty tool.
My basin wrench keeps slipping. What should I do?
Make sure the jaw sits flat on the nut. Properly reposition the wrench. Spray some penetrating oils on the rusted nut and wait for a few moments.
Is a basin wrench hard to use for beginners?
No, you can learn quickly. Just follow the steps carefully, take your time, and do some practice. You will get better with each try.


