
A leaking fuel tank can be stressful, but fixing it doesn’t have to be complicated. With the right fuel tank repair kit, you can quickly stop leaks and get back on the road safely. Start by gathering your tools and putting on proper safety gear. If you need to temporarily store fuel while working, a jerry can is a safe and practical option.
Next, clean and prep the area around the leak to ensure the patch or epoxy sticks well. Apply your repair material carefully, follow the instructions, and let it cure fully. Once set, inspect your work for a strong, lasting seal. Whether it’s a truck or motorcycle, the right kit makes repair simple and effective.
How to Prepare Your Fuel Tank Repair Kit for a Successful Fix
Preparation must be done before any repair. You must have the right supplies and tools to safely and effectively fix a leaking fuel tank.
Essential Tools and Materials You’ll Need for Fuel Tank Repair
Firstly, gather all the tools and materials needed for the fuel tank repair. Most truck or motorcycle fuel tank repair kits include epoxy and a patch along with an applicator. An epoxy fuel tank repair kit can be a tool with too little. It may include a fiberglass cloth and a special adhesive. You will need a wire brush, sandpaper, a clean rag, and a bucket (container) to drain the tank if necessary, in addition to the kit. Using a certified jerry can is recommended for safely storing drained fuel. A flashlight helps locate leaks clearly, ensuring precise repair.
Essential objects to be prepared include.
- A repair kit for leaking fuel tanks (e.g., Permatex fuel tank).
- Steel wool and sandpaper.
- Fresh cloth.
- Alteration tool.
- Torch.
Safety Gear and Precautions to Follow Before Repairing Your Fuel Tank
Safety is the top priority. When working in a confined area, consider wearing a mask. Always remember to wear gloves and safety glasses to protect your hands and eyes. Always perform repairs in a well-ventilated area because gas vapours are highly flammable. Follow the directions in your leak repair kit for fuel tanks on motorcycles or trucks very carefully.
Some wet kits allow a repair on a wet tank. Some kits do not and require a drain. When getting started, never light up or use flames nearby, and ensure that the instructions of your fuel tank repair kit are followed. Following these precautions will ensure safe and effective repairs, which will give you confidence in the results.
Step-by-Step Guide to Repairing a Leaking Fuel Tank
It seems intimidating to repair a fuel tank, but by breaking it down, it gets easier. If you follow a step-by-step approach, it becomes easier to repair small leaks and use the tank safely. Being able to fix a leaking fuel tank properly not only prevents damage but also ensures a proper fix.
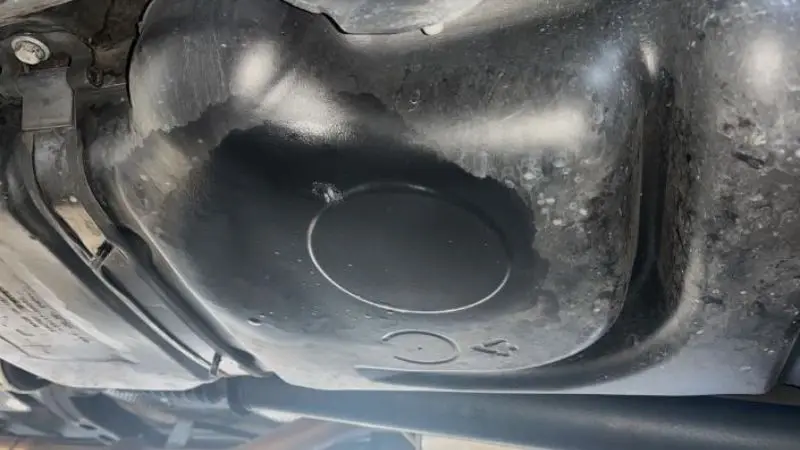
How to Locate and Assess the Leak in Your Fuel Tank
The first step is to determine exactly where the fuel tank is leaking. Shine a flashlight on the tank searching for any wet spots, stains, or small drips. Make sure to check the seams on the bottom as well. You may observe the odour of petrol, too. Wipe down the tank with a rag. If you notice any fresh fuel, you have a leak that is hard to spot.
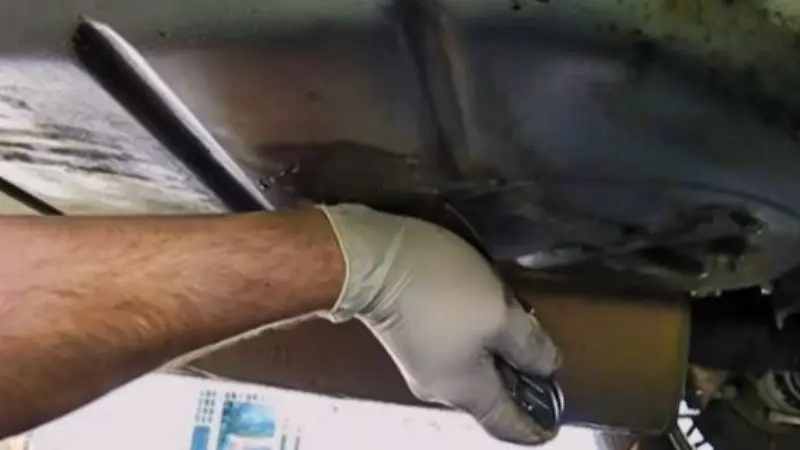
Once located, mark the position to assist in the repair. If the tank must be drained, transfer fuel into a jerry can to keep it safe and reusable. It is good practice to check both sides of the tank, as leaks can travel. Finding out the location of a leak accurately allows the effective application of a fuel tank leak repair kit for a motorcycle/truck.
How to Clean and Prepare the Area Around the Leak
A good repair will not be achieved without cleaning the area. To remove the rust and debris, use a wire brush and sand the spot until bare metal appears. Use a clean rag to remove dust and grease buildup. Depending on your kit instructions, drain the tank if necessary or follow the instructions if the kit allows repairs on a wet tank. Surface preparation will allow the epoxy or patch to stick. Preparation is one of the most crucial steps in fuel tank repair kits for trucks because it guarantees the seal is tight and lasts longer.
How to Apply Your Fuel Tank Repair Kit
When ready, you can proceed to apply the repair. Most epoxy fuel tank repair kits come with instructions for mixing and applying epoxy, pressing a patch, and wrapping fiberglass cloth. If needed, mix the epoxy very well and spread it over the leak. Eliminate all air bubbles and press the patch or cloth firmly to seal the leak completely.
If your kit includes fiberglass cloth, then wrap it tightly. Using the right amount of materials is essential; too little and the repair won’t hold; too much and the repair won’t set right. If you follow the instructions carefully, your patch or epoxy will stick and seal the tank.
Curing and Inspecting Your Fuel Tank Repair
After you do the repair, allow it to cure as specified. Most of the repairs require several hours, while some require overnight. After curing, check for cracks, soft spots, and gaps. If any problem occurs, repeat the fix steps.
Once solid, refill the tank using fuel stored in your jerry can and check for leaks. To ensure the success of the fuel tank leak repair Kit for motorcycles or trucks, proper curing is essential for effective and durable sealing.
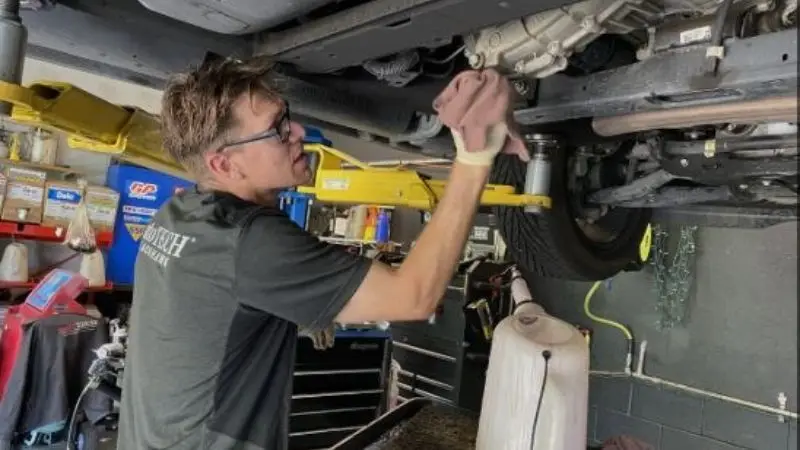
When to Call a Professional for Fuel Tank Repair
Some leaks may be too severe to fix at home. If the tank is badly rusted, has multiple leaks, or fuel is spraying out, call a professional mechanic immediately. Large or complex repairs require specialized tools and expertise.
When it comes to repairing, your safety comes first. Attempting this task when you are not fit enough to do the task safely can be dangerous. Knowing when to call in a professional not only saves you from harm but also extends your car’s life.
Common Mistakes to Avoid When Using a Fuel Tank Repair Kit
Regarding the best fuel tank repair kit for trucks or motorcycles, mistakes can happen. Be certain your repair is safe, effective, and long-lasting by avoiding these common errors. When you know what to look out for, you won’t waste your time or effort, and leaks won’t come back.
Skipping Surface Preparation Before Repair
Rushing past surface preparation is one of the biggest mistakes. If dirt, rust, or grease prevents the epoxy or patches from sticking to the surface, the repair will not succeed. Before any other step, always remember to give the area a thorough scrub with a wire brush and sandpaper, then wipe it clean.
This step is essential for repairing a leaking fuel tank with a patch, epoxy, or fiberglass, whatever sealant you may be using. With proper application, the fuel tank leak repair kit for motorcycles or trucks adheres strongly to provide a long-lasting, durable seal.
Applying Repair Material Too Thick or Too Thin
The quantity of applied repair material is important. If you’re using too much epoxy or patch material, it might sag or take much longer to dry. Too little will let the leak return. Read the instructions on your kit carefully.
Apply it carefully to the leak and the surrounding area. If the thickness is right, the epoxy fuel tank repair kit would work as sold. If applied correctly, you will get a leak-proof seal, minimizing any chances of the leak coming back, so you can drive without worries.
Not Allowing Enough Cure Time
You will have to be patient when using the tank repair kit. If you drive too soon, the patch or epoxy will fail. Various kits need a few hours, and some need overnight curing. Check your kit’s instructions for the recommended cure time.
If you let it set properly, the repair will bond and last. Allowing the epoxy or patch to cure correctly will help your motorcycle or truck fuel tank leak repair kit work its best and prevent the leak from reopening.
Ignoring Safety Warnings During Repair
Never ignore safety when working with fuel. It is important to wear gloves and safety glasses and ensure adequate ventilation. Never smoke or have open flames near your vehicle, as gas is dangerous.
Whether it’s an epoxy kit, a patch, or fiberglass, read all warnings on the fuel tank repair kit. By taking these safety precautions, you can protect both yourself and your vehicle and have your repair done safely and correctly. Repair safety holds the same importance as the repair itself.
Wrap Up
Fixing a leaking fuel tank can be easy when you follow the correct instructions. From preparation and safe fuel storage in a jerry can to applying your fuel tank repair kit for trucks or motorcycles, every step matters. Proper cleaning and application of epoxy or patches, followed by sufficient curing, is expected to fix the damage.
Stay safe to keep yourself and your vehicle safe. If you know when to avoid certain blunders and when to call a professional, you can save a ton of cash and keep using your vehicle safely by maintaining your effective fuel tank.
FAQ
How long does it take a fuel tank repair kit to cure?
Most fuel tank repair kits need to cure for 4 to 24 hours. Carefully Follow The Instructions On The Kit. Often, stronger repairs will require an overnight period.
Is it possible to drive my car after using a repair kit?
No, never run the vehicle until after the repair has cured. If you drive on the patch or epoxy too soon, it could cause the leak to come back and/or not work.
What happens if the leak reappears after a repair?
You can repeat the repair following the kit instructions if the leak comes back. If your car is leaking persistent fluids or has significant damage, take it to a mechanic.


