
It is possible to safely drill a hole into a ceramic pot by following simple steps. If you’re wondering how to drill a hole in a ceramic pot, wear safety gear and use the correct tools. Patience is key to success with this DIY project. By working slowly and carefully, you can reduce the chance of cracking.
Before starting the project, preparing the surface and stabilizing the pot improves precision and minimizes stress on the pot. When you properly follow the techniques, it will make your entire process easier and smoother.
Understanding Ceramic Pots and Their Risks
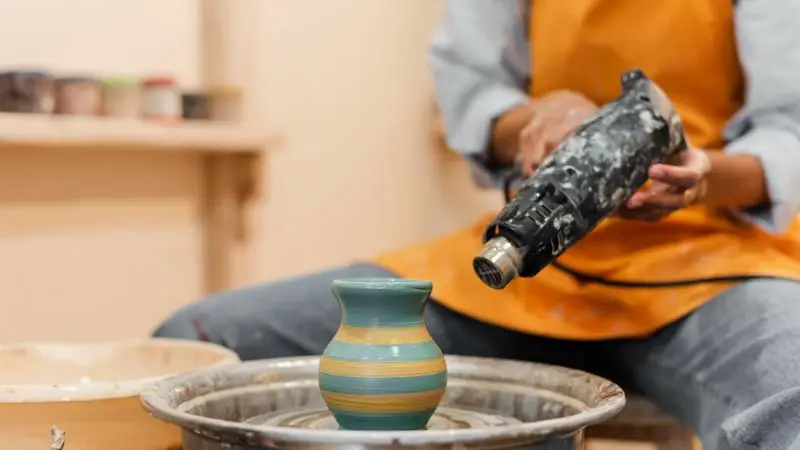
Ceramic pots are prone to cracking when exposed to force, heat changes, or drilling. Even a small mistake can lead to sudden cracks or completely break your task, especially if you don’t know how to drill a hole in a ceramic flower pot without cracking it.
Types of Ceramic Pots
Ceramic pots are available in many different types. Some pots are glazed and have a smooth surface. Some pots have a rough, unglazed finish. You can find pots with thick walls or delicate, thin ones. How you drill the drainage hole depends on what type of ceramic pots you select.
- Glazed ceramic pots are pots with a glossy coating. The glaze hardens the surface and makes it slippery.
- Unglazed ceramic pots are rough. They allow water to pass through more easily.
- Handmade ceramic pots may have irregular surfaces or thickness.
- Ceramic pots that are mass-produced usually have uniform walls and shapes.
Tip:. Some pots come with a drainage hole, so check the bottom of ceramic pots. You can add one if you don’t have one.
Risks of Drilling Ceramic Pots
You can create drainage holes for your plants by drilling a hole into a ceramic pot. Before you begin, be sure to understand the risks. If you rush or use the wrong tools Ceramics can crack or break.
- If you press down too hard, the ceramic pot can crack.
- If you drill too quickly, the edges of your drainage hole may chip.
- Pots that are thin or old can shatter.
Avoid these problems by learning how to avoid breaking ceramic pots when drilling. Use the right drilling bit. A drainage hole lets extra water escape. This helps to prevent root rot and also allows for proper drainage. When you drill carefully, you can protect your ceramic pot while keeping your plants healthy.
Tools You Need to Drill a Ceramic Pot Safely
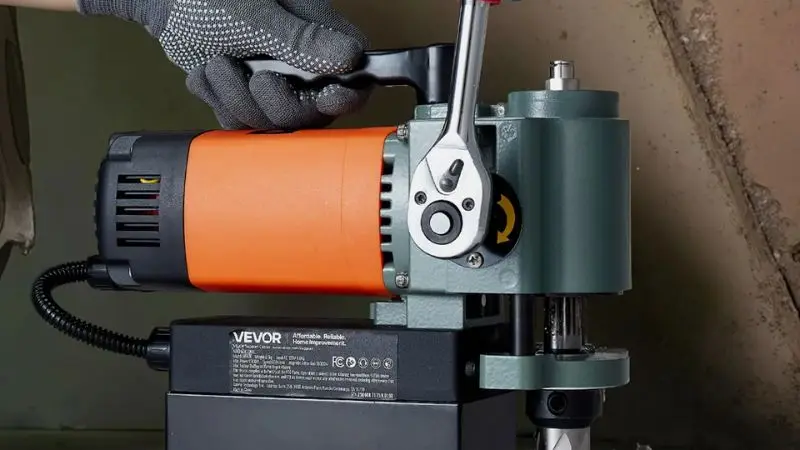
For better results, drilling a ceramic pot requires specific tools. The right setup helps maintain control and reduces the risk of cracking.
Drill Types Recommended for Ceramic Pots
To make a hole in a ceramic pot, you need to use the correct drill. You can control the speed of a cordless drill. Avoid sudden movements, which could crack the ceramic pot. You can use an electric drill, but it must be used at a low speed. Hold the drill steady, and let it work. Do not force the drill in the ceramic pot.
Tip: Before you begin, practice holding the drill. You will feel more confident, and your hands will be steady.
Drill Bits for Ceramic Pots
Choose a drill bit designed for surfaces with a hard surface. The best drill bit for ceramic pots is a diamond-tipped bit. In stores, you can also buy carbide-tipped bits. These bits can cut through ceramic pots without leaving chips. Start with a smaller drill bit, and then move up to the larger size as needed. Dip the drill bit in water to keep it cool. This prevents cracks from forming in the ceramic pot.
| Drill Bit Type | Best Use |
| Diamond-tipped | Glazed ceramic pots |
| Carbide-tipped | Unglazed ceramic pots |
Safety Gear
Protect yourself before drilling by wearing safety gear. Wear safety goggles at all times to protect your eyes from dust or chips. Even if you believe the ceramic pot won’t break, you should wear goggles. Wear goggles whenever you use a drill. To protect your hands, you also wear gloves. Keep your work area clean and clutter-free. When you drill ceramic pots, safety is paramount.
Tip: Check your safety goggles regularly for scratches. Clear goggles will help you to see the pot of ceramic better.
Step-by-Step Guide: How to Drill a Hole in a Ceramic Pot
This step-by-step guide to drill ceramic pots shows how to drill a hole in a ceramic pot safely.. Simple and controlled steps help protect the surface from damage and reduce cracking.
Preparing the Ceramic Pot
Before starting your DIY project, clean the ceramic pot. Properly remove any dirt and dust. It is important to have a clean surface for drilling. Mark the area where the drainage hole will be. Apply a piece of masking tape to the bottom of the pot. The tape keeps the drill bit stable and reduces slippage. By using a pencil as a guide to mark a small dot.
Tip: The drainage hole should be placed in the middle of the base of the pot. This area will give your plant the best drainage.
Securing the Pot for Drilling
Place the ceramic pot onto a towel or rubber mat. The pot will not move while you are drilling because of the soft surface. Stability is important when learning how to make a drainage hole in a clay pot without causing any type of damage. Be sure that the pot doesn’t wobble. When drilling a hole, you want to avoid cracks. Use a clamp if you are working alone to gently secure the ceramic pot.
Drilling Technique
Set your drill to a slow speed. Hold the drill directly over the mark and start drilling slowly. Use gentle pressure. Let the drill work. The drill bit should be dipped in water frequently. This will ensure the drill bit remains cool and it does not overheat. You can just hear the sound of a little crushing of the glass. Keep on drilling holes until you have reached where you want. This must not be a hurried step.
Note: If you see dust or even small chips, stop and check progress. For your plant, you need a clean drainage hole.
Finishing the Hole
Take out the exercise, and any pieces of ceramics that may have separated. Varnish the drainage hole against the rough ends. Use the smooth the edges with sandpaper. The drainage hole should allow water to flow freely. Before going in again, clean your ceramic pot. You have completed your DIY project and created the ideal drainage holes.
Now you can enjoy healthier plants and improve drainage. This guide will show you how to safely drill a hole into a ceramic pot.
Tips to Prevent Cracks and Damage
You should make sure that your ceramic pot is in good shape, as you put a hole in it, thus creating a drainage hole. In order to have a successful project, follow these tips:
- Go Slow
You can reduce the speed of your drill and avoid sudden pressures that could crack the pot. Allow the drill to work gently through the surface. - Keep the Drill Bit Cool
Submerge the drill bit in water. This is useful in avoiding overheating. By doing this, we are able to minimize the risk of damage. - Use Masking Tape
Place a masking tape on the place you are going to drill. The tape allows no slipping of the drill bit. Now the ceramic pot is protected, and you get a better result. - Check for Stability
Be sure that the pot doesn’t move. Placing a mat or towel or asking someone to hold the pot will help keep it in place. - Pause and Inspect
After every few seconds, pause drilling and examine whether there are any small chips or cracks. Slow and alter technique in case of any.
Tip: Always wear safety goggles whenever you drill. It will protect your eyes against flying dust and chips.
Choose the Right Drill Bit
Select a bit with a diamond or carbide tip. These bits work best on ceramic surfaces. This bit creates a hole that is less likely to break. You can drill a hole in your ceramic pot with confidence. When you are patient and do the right thing, you can avoid the cracks.
Conclusion
By following each step carefully, you now know how to drill a hole in a ceramic pot safely and effectively without causing any damage. Wear safety gear and use the correct tools. Check your progress frequently and take your time. Your plants will grow stronger, and your pot will remain sturdy. Enjoy the results of this project.
FAQ
Is it possible to drill a hole into any ceramic pot?
The majority of ceramic pots are drillable. Make sure that there are no cracks and thin spots before you start. Pots that are very old may be more fragile.
What if I do not have a diamond-tipped drill bit?
There is no problem with that; you may utilize a drill bit with carbide. This technique is done on unglazed ceramics. Always drill very slowly, and cool the bit with water.
Where is the best place that I can find a tutorial video for this process?
Different Video tutorial can be found on the internet. A lot of gardening sites and even video hosting sites contain step-by-step instructions on how to drill a pot hole.


