
Want to keep your meat slicer spotless and your food safe? Cleaning it the right way makes all the difference! Before you start, always unplug the machine—safety first. Then grab a few simple tools: hot water, dish soap, a soft cloth, and sanitizing spray. With just a few easy steps, you can remove grease, food bits, and bacteria to keep your slicer working like new. A clean slicer doesn’t just look good—it protects your food’s freshness and flavor every time you slice. Let’s get into the step-by-step guide on how to clean a meat slicer safely.
Tools and Supplies You’ll Need
Before you start, make sure everything is ready. Cleaning a slicer involves sharp parts, so take your time and work carefully. Preparing your tools in advance makes the process smoother and helps you clean your slicer quickly and safely. Whether you’re learning how to clean a meat slicer at home or in a commercial kitchen, safety and organization always come first.
Here’s what you’ll need:
- Hot water – Loosens grease and leftover food bits.
- Mild dish soap – Breaks down oils and grime without damaging the surface.
- Soft cloth or sponge – Cleans gently and prevents scratches.
- Sanitizing spray – Kills bacteria after washing.
- Clean towel – Helps dry all parts to stop rust and water marks.
When using the blade, you should wear cut-resistant gloves. They ensure the additional safety of the item and simplify cleaning. Placing them close to a sink makes everything reachable and minimizes mess.
A food-safe lubricant may be handy to the busy cook who has to learn how to clean a commercial meat slicer the right way. This may not be necessary for home users, but it is good to know.
The first thing you should do is to quickly check the supplies you have to ensure that nothing is missing. You have your tools ready, and you will know just how to clean a meat slicer safely, without needing to stop halfway to find something you left out.
How to Clean a Meat Slicer: Step-by-Step Guide
Cleaning your meat slicer keeps your food safe, fresh, and free from contamination. A well-cleaned slicer also works better and lasts longer. Whether you’re learning how to clean a meat slicer at home or using a commercial machine, following a clear step-by-step process makes the job easy and safe. Let’s go through each step so you can clean your slicer properly every time.
Step 1: Unplug and Disassemble
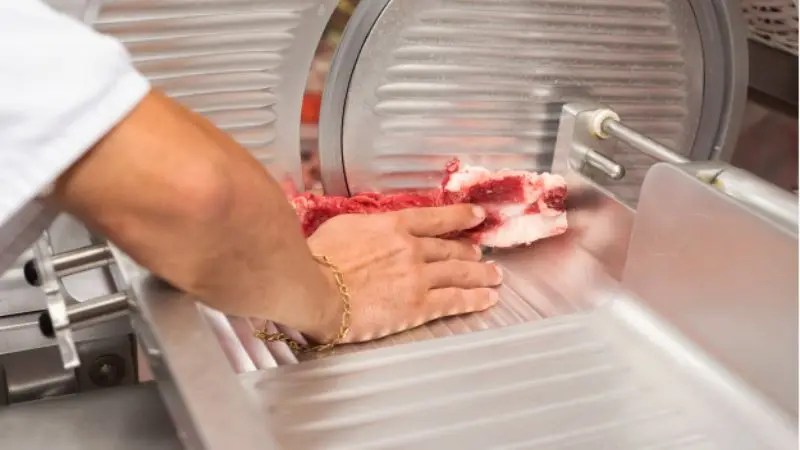
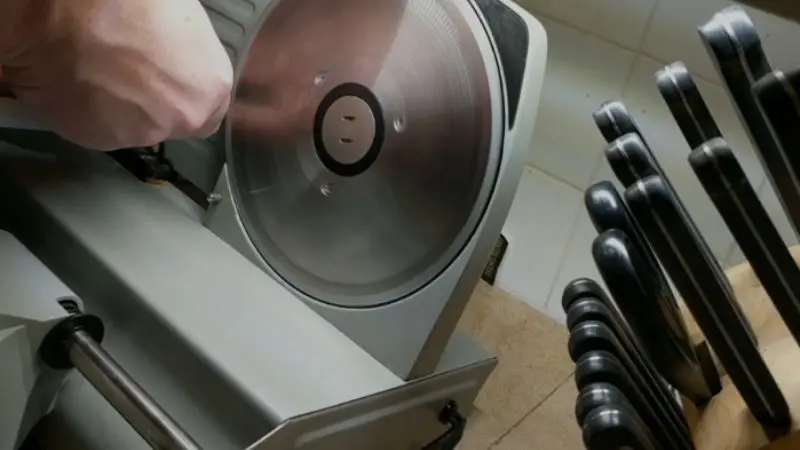
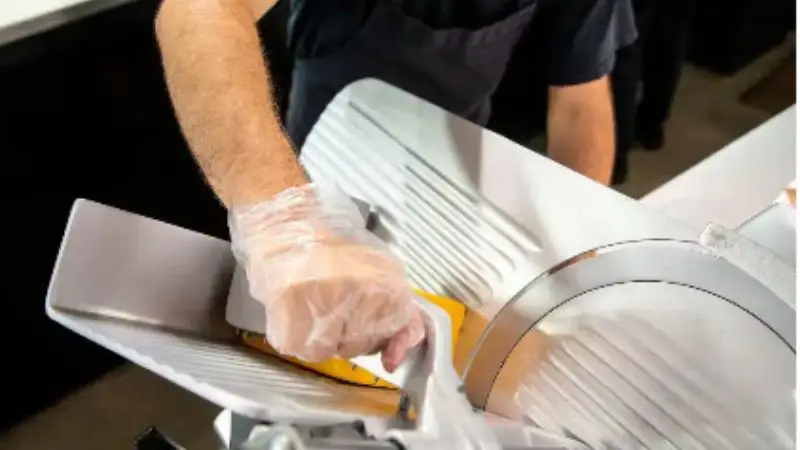
Start by unplugging the slicer completely. Never try to clean it while it’s still connected to power. Carefully remove the blade, food carriage, tray, and guard. These parts usually detach easily, but always check your manual if needed. When learning how to clean a meat slicer safely, handle the blade with extra care — it’s very sharp. Wearing cut-resistant gloves can help prevent cuts. Set all parts on a clean towel and use a soft brush or toothpick to remove food stuck in tight spots. Keeping small parts organized makes reassembly easier later.
Step 2: Wash All Removable Parts
Prepare your sink or a large basin of hot water and a drop or two of light dish soap. Put the removable components – the blade, tray, carriage, and guard in the soapy water. Wipe away grease or food bits with the help of a sponge or soft cloth. In teaching how to clean a meat slicer after having used it, pay attention to the edges of blades and corners where food is likely to collect. Wipe off every section thoroughly with a lot of clean water to leave no traces of soap. Place them on a clean towel and let them dry thoroughly, and then disinfect. It should not be washed with hard cleansers or leave electric components in water.
Step 3: Sanitize Every Surface
Once everything is washed, it’s time to sanitize. Spray each piece with a food-safe sanitizer to remove any remaining bacteria. This step is essential to keeping your food safe and your machine hygienic. Let the sanitizer sit for the recommended time, then either air dry or wipe gently with a clean towel. Don’t forget to sanitize the main body of your slicer, especially the food chute and blade housing. When learning how to clean a meat slicer at home, sanitizing ensures that no germs or residue are left behind. A clean, germ-free slicer means fresher, safer food every time.
Step 4: Dry and Reassemble
After sanitizing, make sure all the parts are completely dry. Any leftover moisture can cause rust or mold. Use a soft, clean towel to dry each piece thoroughly. Once dry, start reassembling your slicer according to the manual. If you’re learning how to clean a commercial meat slicer properly, double-check that all safety covers and locks are secure. Wipe down the slicer one final time to remove fingerprints or residue. Proper drying and reassembly keep your slicer working smoothly and prevent damage to the blade or motor over time.
Step 5: Maintain and Clean Regularly
Now that you know how to clean a meat slicer safely, it’s important to keep up with regular maintenance. Clean your slicer thoroughly after every use to prevent buildup and odor. In a commercial kitchen, you may also apply a small amount of food-safe lubricant to the moving parts to keep them working smoothly. Always store your slicer in a clean, dry place. Regular cleaning not only ensures food safety but also helps your slicer last longer. A little care after every use will keep your machine in great shape for years to come.
How to Keep Your Meat Slicer Clean and Long-Lasting
Keeping your meat slicer clean is the key to food safety and long-term performance. Even if you already know the basics, understanding how to clean a meat slicer safely helps you avoid hidden bacteria and ensure every slice stays fresh. Let’s look at how to identify problem areas and maintain good cleaning habits that protect both your food and your machine.
How to Spot Hidden Problem Areas on Your Slicer
Some parts of your slicer collect more food residue than others. The blade is the main area where meat and cheese stick, while the food carriage and the space under the blade often trap crumbs and grease. When learning how to clean a meat slicer at home, always check these spots carefully. Use a small brush or toothpick to clean tight spaces that a regular cloth can’t reach. Paying close attention to these hidden areas helps prevent bacteria buildup and keeps your slicer truly clean and safe to use every time.
How to Maintain Your Meat Slicer for Daily Use
Once you know how to clean a meat slicer after use, regular upkeep becomes easy. Always clean the slicer right after slicing to stop bacteria from growing. Dry all parts completely before putting them back together to prevent rust and water stains. Wear gloves while handling the blade to protect your hands from cuts. If you want to know how to clean a commercial meat slicer properly, follow a routine cleaning schedule and store it in a dry place. These small habits keep your slicer hygienic, efficient, and ready for your next use.
How to Practice Safety and Hygiene When Cleaning a Meat Slicer
Safety and hygiene go hand in hand when maintaining your slicer. Knowing how to clean a meat slicer safely helps you avoid injuries and keeps your kitchen free from contamination. Whether you use your slicer at home or in a commercial kitchen, following proper safety steps ensures your food stays clean and your hands stay protected during every cleaning session.
How to Protect Your Hands While Cleaning
When learning how to clean a meat slicer at home, always wear gloves before handling any part of the machine. The blade is sharp, and even a small slip can cause cuts. Cut-resistant gloves are the best choice for both safety and comfort. Besides protecting your hands, gloves prevent bacteria from transferring from your skin to the slicer’s surface, keeping the process sanitary. Wearing gloves may seem like a small step, but it’s one of the most effective ways to maintain safety and hygiene every time you clean your slicer.
How to Maintain Safety Records in Commercial Kitchens
If you work in a restaurant, deli, or food service space, it’s important to document your cleaning routine. When learning how to clean a commercial meat slicer properly, keeping a simple cleaning log helps track regular maintenance. Record the date, time, and name of the person who cleaned the slicer. This not only reminds staff to clean regularly but also proves compliance during health inspections. Consistent recordkeeping builds trust, prevents food contamination, and ensures your kitchen always meets hygiene standards required for safe food handling.
Wrap Up
Now that you know how to clean a meat slicer safely, keeping it in top shape is simple. Regular cleaning prevents bacteria buildup, keeps your food fresh, and helps your slicer work like new. Always handle the blade carefully, sanitize after every use, and store the slicer in a dry place. Whether you’re slicing at home or in a busy kitchen, following these steps ensures safety, hygiene, and long-lasting performance. A little care after each use goes a long way in keeping your meat slicer clean, safe, and ready whenever you need it.
FAQ
How often should you clean your meat slicer?
You should clean your meat slicer after every use. This keeps your food safe and your machine in good shape.
Can you put the meat slicer parts in the dishwasher?
Some parts might be dishwasher safe. Always check your manual first. Most blades and trays need hand washing to stay sharp and rust-free.
What should you do if you see rust on your slicer?
- Remove the rust with a soft brush.
- Clean and dry the area well.
- Use a food-safe lubricant if needed.


