
Painting walls with a brush or roller takes time, but a paint sprayer can make the job faster and give your walls a smooth, flawless finish. Many DIYers love using a sprayer indoors because it covers large areas quickly and evenly. With the right prep, interior spray painting can turn out professional-looking every time. If you’ve ever wondered how to use a paint sprayer on walls, you’re in the right place. This guide will walk you through the basics and show you just how simple and effective spray painting can be.
Paint Sprayer for Walls: Should You Use One?
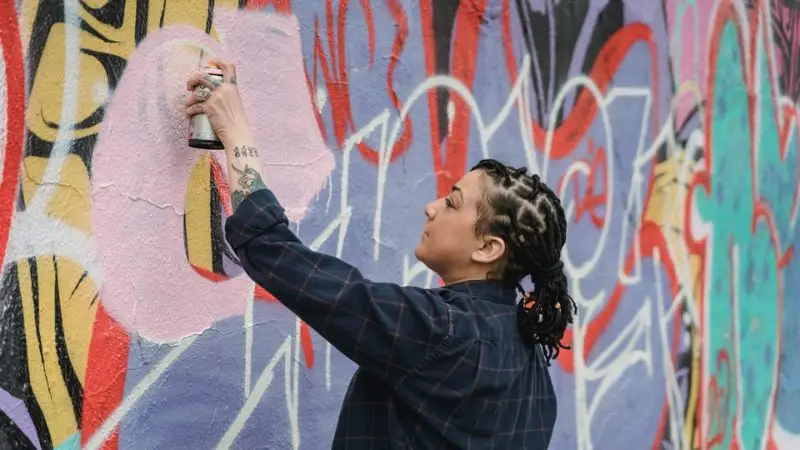
Painting walls is a common home project, but choosing the right method can be tricky. Many people ask, “Is it better to spray or roll paint on walls?” The truth is, both methods work, but using a paint sprayer for walls can make the job faster and easier. If you want a smooth finish with less effort, a sprayer may be the better choice.
Benefits of Using a Paint Sprayer Indoors
When you think about freshening up your home, you might wonder, “Can you use a paint sprayer indoors?” The answer is yes, and many DIY homeowners prefer it. Using a paint sprayer gives your walls an even coat and saves time. It is especially helpful for larger areas where rollers or brushes can feel slow.
Here are the main benefits of spraying your walls:
- Quick application on large walls.
- Smooth, professional-looking finish.
- Easy reach for corners and textured surfaces.
- Less bending, stretching, and physical effort.
A paint sprayer indoors also makes it easier to work on ceilings or high spots without climbing too much. For best results, always test a small area first. This lets you adjust your technique and check how the paint looks before spraying the entire wall.
Things to Consider Before Spraying Walls
While paint sprayers save time, they do need more setup. Before you begin, cover your floors, furniture, and windows. Overspray can reach places you don’t want it to. Good prep work ensures the paint only goes where you want it.
Some things to keep in mind:
- Overspray can be messy.
- You must protect floors and furniture with tape and cloths.
- A sprayer has a learning curve.
- You need to choose the right spray tip for your project.
Another common question is, “Do paint sprayers use more paint than rollers?” The answer is yes, sprayers can use a little more paint. However, the smooth finish and speed often make up for it. With practice, you will find spraying walls both effective and satisfying.
How Many Coats Do You Need with a Paint Sprayer?
Many people ask, “How many coats do you need with a paint sprayer?” In most cases, two thin coats are better than one heavy coat. Spraying lightly helps the paint dry faster and avoids drips. It also gives your walls a stronger and more even finish.
Here’s a simple approach for the best results:
- Apply one thin coat and let it dry.
- Check for spots you may have missed.
- Add a second thin coat for complete coverage.
By following this method, your walls will have a smooth, long-lasting finish. Spraying may use a little more paint than rolling, but it reduces streaks and gives you a cleaner look overall.
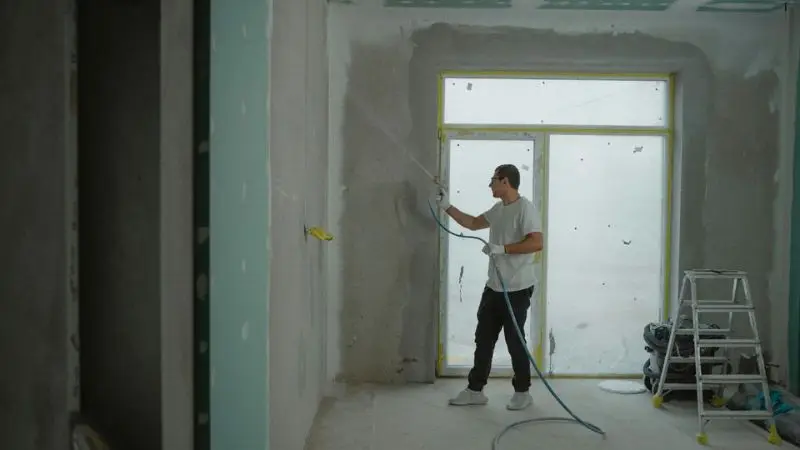
Preparation Steps for Using a Paint Sprayer on Walls
Before you start painting, preparation is the most important step. Good prep work helps you avoid a mess and ensures a smooth finish. Many people ask how to use a paint sprayer on walls, and the answer always begins with proper setup. Once you get ready, spraying will feel much easier.
Gather Equipment and Safety Gear
To get started, you need the right tools and protective gear. Without them, the process can get messy and unsafe.
Here’s a quick checklist to follow:
- Paint sprayer for walls (make sure it works with your paint).
- An interior paint sprayer is needed if you plan to spray indoors.
- Paint for interior walls.
- Drop cloths or plastic sheets.
- Painter’s tape for edges and trim.
- Safety goggles and a mask.
- Gloves for hand protection.
- Ladder for hard-to-reach spots.
Always wear safety gear. Spray painting releases tiny paint droplets into the air, and safety tools help you avoid breathing them in.
Protect Surfaces and Apply Painter’s Tape
When using a paint sprayer indoors, you need to protect everything around you. Overspray can easily land on furniture, floors, and windows. That’s why covering surfaces is key.
Steps to protect your room:
- Move furniture out if possible.
- Cover anything left behind with drop cloths.
- Tape around windows, outlets, and trim.
- Double-check corners and edges.
This step may feel time-consuming, but it makes cleanup much easier. Think of it as the base of the whole project. Once your room is ready, painting becomes faster and less stressful.
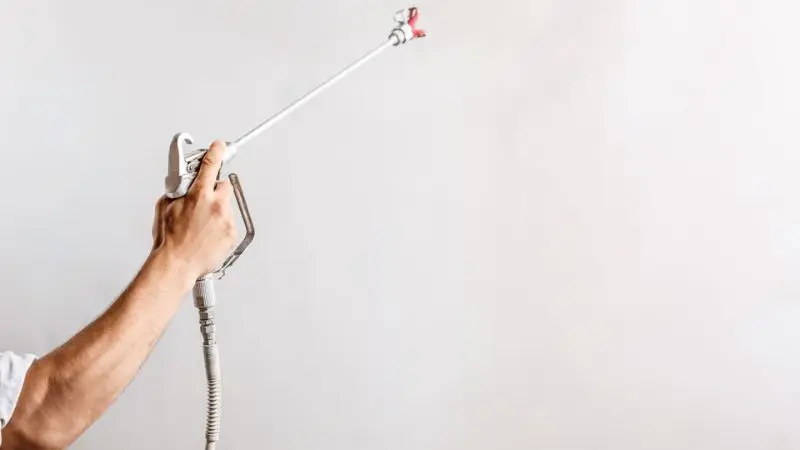
Select the Right Spray Tip
The spray tip decides how the paint comes out of your sprayer. Choosing the wrong tip can cause drips, uneven coverage, or wasted paint. Always check your sprayer’s manual to see which tip works with your paint.
A few simple rules:
- Small tips work best for thin paints.
- Larger tips handle thicker paints.
- Keep your wall surface clean and dry before spraying.
By selecting the correct tip and prepping your walls, you’ll get smooth, even results. With practice, you’ll know exactly which setup works best for your wall projects.
How to Use a Paint Sprayer: Setup and Testing
Once your room is prepared, it’s time to set up your sprayer. Proper setup helps you avoid mess and ensures a smooth wall finish. Many beginners ask, “How many coats do you need with a paint sprayer?” and the answer starts with correct setup and testing. Getting your sprayer ready is the key to even coverage.
Prime and Adjust the Sprayer
A paint sprayer on the wall will not do the job well unless primed and adjusted appropriately. Begin by pouring the wall paint that you have selected into the container. Mix the paint thoroughly. Certain paints must be thinned prior to spraying, and therefore, always read the label on the paint.
Steps to follow:
- Install the right wall painting spray tip.
- Warm up the sprayer with the flow of paint running through it until it flows out uniformly.
- Test the flow with scrap cardboard or paper.
- Change the pressure settings—low with thin paints and high with thick paints.
These are necessary measures to prepare your sprayer to do interior spray painting easily.
Test Spray Pattern and Pressure
It is a good idea to test the performance of your sprayer before wall painting. With a wall paint sprayer, put the sprayer about 12 inches off a scrap surface. Keep the arm moving and observe the shape of the sprays. You want a fan spray, even.
When you notice drips or splatters, or spots:
- Change the pressure levels.
- Try a different spray tip.
- Ensure that the paint is well mixed.
Make sure you test before you paint your real walls. Here you can avoid making mistakes and get used to the sprayer in your hands.
Common Setup Mistakes to Avoid
Many beginners rush through setup, which leads to poor results. To get the best finish, avoid these common mistakes:
- Skipping the test spray.
- Using the wrong spray tip.
- Not adjusting the pressure for your paint type.
- Forgetting to cover or prep the area.
- Starting with a dirty sprayer.
Remember, a good setup is the foundation of successful spraying. When you take your time with these steps, you’ll avoid problems and enjoy a smooth, professional-looking finish.
Paint Sprayer for Wall Projects: Application Techniques
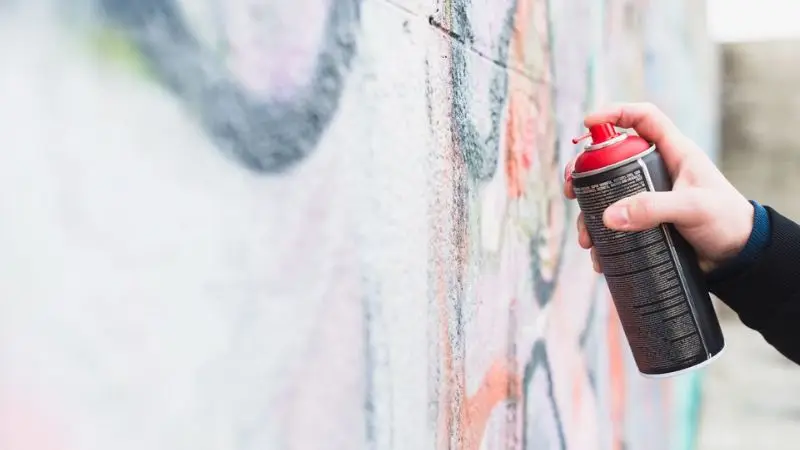
Now that your sprayer is set up, it’s time to start painting. Many beginners ask, “Is it better to spray or roll paint on walls?” Spraying is faster and gives a smooth finish, but you need the right technique. By following a few simple steps, you’ll get even coverage and avoid common mistakes.
Cut In Edges Before Spraying
For clean, sharp lines, always cut in around windows, doors, and trim before spraying. Cutting in means painting a border where the wall meets the ceiling, corners, or trim. This step stops overspray and keeps the edges neat.
Quick tips for cutting in:
- Use a brush for edges and corners.
- Apply painter’s tape to protect trim and fixtures.
- Don’t stress about perfection—the sprayer will blend it later.
By cutting in first, your paint sprayer for walls can focus on large areas, giving you a smooth and professional finish.
Spraying Motion and Overlap
Everything is movement when a sprayer is used. Grasp the wall paint sprayer approximately at the distance of 12 inches. Move the arm in straight lines and not in arcs. Every single pass of the spray is to start over before the edge of the wall and finish slightly beyond it.
Keep these tips in mind:
- Don’t move your wrist alone, but your whole arm.
- Pass by each approximately a third.
- Constant speed assures being drip- and thin-free.
- Do not swing the sprayer about like a threshing machine; this is bad work.
In time, your spraying movement will become natural and steady.
Maintain Consistent Distance
Wall distance, just like motion, is also significant. When you get it too close with the sprayer, it will result in a lot of heavy paint and dripping. Well, out there it will be thin or dusty. Work at maintaining a distance of about 12 inches at most.
Constancy in distance guarantees a consistent coverage on your walls. When you understand that you have an issue such as streaks or splatters, stop and examine yourself to find out your technique. The issue can usually be solved by changing your speed or distance. Practice your movement and distance on cardboard and then go on the real walls.
Allow for Drying and Additional Coats
After finishing the first coat, let the paint dry completely before adding more. Always check the paint can for drying times. Most paints need a few hours between coats. Rushing this step can ruin your finish.
Steps to follow:
- Let each coat dry fully.
- Inspect the wall for thin or missed spots.
- Apply light, even coats for best results.
- Add a second or third coat if needed.
This answers another common question: “How many coats do you need with a paint sprayer?” Usually, two thin coats give a smooth and lasting finish.
Clean Up After Using a Paint Sprayer Indoors
Painting doesn’t end when you finish spraying the walls. Proper cleanup keeps your sprayer in good shape and makes your space look neat. Many DIY painters wonder, “Do paint sprayers use more paint than rollers?” While sprayers may use a little more paint, they save time and give a better finish—if you take care of them. Cleaning up after every project is the best way to keep your sprayer ready for the next job.
Clean Equipment Thoroughly
Your sprayer needs cleaning right after use. If paint dries inside, it can clog parts and damage the tool. Start by switching off and unplugging your sprayer. Pour leftover paint back into the paint can. Then, fill the container with water (for latex paint) or paint thinner/cleaner (for oil-based paint). Spray the cleaner through the machine until it runs clear.
Steps to follow:
- Remove the nozzle and spray tip.
- Wash all parts in warm, soapy water.
- Dry everything fully before storing.
- Always check your sprayer manual for special care.
A clean sprayer ensures smooth performance for your next project.
Remove Tape and Drop Cloths
Once the spraying is complete, it’s time to clear the room. Carefully peel painter’s tape at an angle while the paint is still slightly wet. This prevents peeling and leaves sharp lines. Roll up drop cloths slowly to avoid spreading paint dust or drips.
Quick reminders:
- Remove tape before the paint dries fully.
- Fold and shake the drop cloths outdoors.
- Check furniture and fixtures for splatters.
- Wipe spots quickly before they dry.
Cleaning up right away keeps your space neat and saves time later. It’s one of the easiest ways to make painting stress-free.
Inspect Walls and Touch Up
Checking the work is the last step. Go round the room and examine the walls closely. See any thin spots, drips, or bald spots? Now deal with them with a little brush. An essential step in making your wall sprayer look professional is to do the same.
Important tips:
- Examine walls in optimum light and in different positions.
- Touch-ups should be done with a small roller or brush.
- Any roughness can be flattened when the paint is still fresh.
It does make a difference to have a comparative glance at the end. With cleanup and touch-ups complete, your walls will be smooth, even, and ready to enjoy.
Wrap Up
Using a paint sprayer for walls is a fast and effective way to refresh your home. It gives smooth coverage, saves time, and makes painting large areas easier than using a brush or roller. With the right preparation, setup, and spraying technique, you can avoid common mistakes and get professional-looking results. Always remember to clean your equipment and check for touch-ups after each project. If you wonder, “How to use a paint sprayer on walls?” follow these steps, and you’ll enjoy walls that look neat, even, and long-lasting.
FAQ
What is the best way not to have the paint everywhere when you use a paint sprayer?
Floors, furniture, and anything you do not want to have painted must be covered. Drop cloth advanced. painter tape. Keep other rooms closed at all times. This will allow you to regulate overspray and keep the area tidy.
Is it possible to use any paint using a sprayer?
The majority of interior paints can be used in a sprayer; however, an individual might have to thicken the paint. Always refer to the paint can and the manual of your sprayer. Certain paints require tips or settings. The question is how the paint flows, so test it first.
When spray painting inside, do you have to wear a mask?
Yes, you should wear a mask. The spray painting releases small particles of paint. Safety goggles and gloves are another way to keep you safe during work. A mask prevents your inhalation of them as well.
What do you do about the drips or runs up the wall?
Wait for the paint to dry. Sand off the drip with a little sandpaper. Wipe away dust. Coat the spot lightly with spray. Touch-ups, where necessary, can be done with a small brush.


