
Want your favourite piece of jewelry clean and rust-free? You can do it by yourself. Only, you need to know how to use an ultrasonic cleaner correctly to get the best results. Follow all safety rules and read the instructions for your device before you do anything else. Follow the instructions in the manual to get your workspace ready and set up the ultrasonic cleaner. Before running the ultrasonic cleaner, ensure you place your items correctly and select the appropriate settings. After cleaning, follow the suggested steps to keep your ultrasonic cleaner in good shape.
Preparation
Read the Manual
Begin by looking at the user manual for your ultrasonic cleaner. Every model is a little different and has its own safety rules. The manual provides instructions on using the ultrasonic cleaner and recommends the best settings for various tasks. You will also see warnings about what you should not do. Always listen to these rules to keep yourself and your things safe.
Gather Supplies
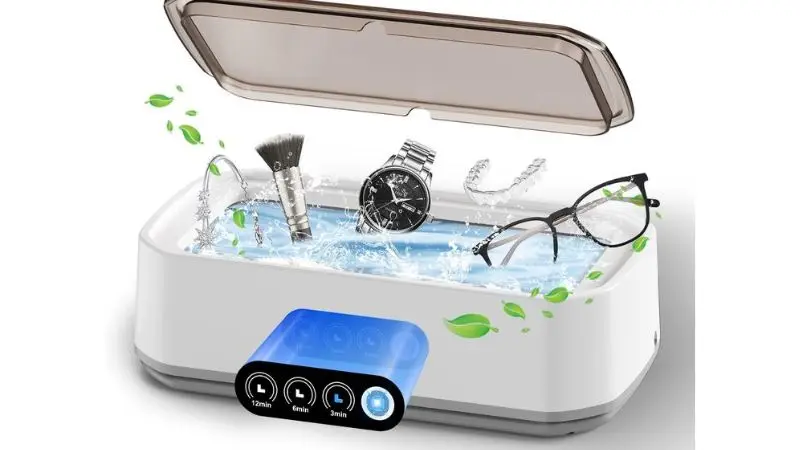
Get everything ready before you start. You need the ultrasonic cleaner, a mesh basket or tray, and the things you want to clean. People often clean jewelry or eyeglasses. But they don’t know how to use an ultrasonic cleaner for glasses. Take off any loose dirt or dust from your items first. Check your items for any damage or loose parts before cleaning. This helps you avoid trouble while cleaning.
- Put the ultrasonic cleaner on a flat, steady table.
- Plug it into a grounded outlet to stay safe.
- Make sure the area is dry and not messy.
Select Cleaning Solution
Pick the right cleaning solution for your ultrasonic cleaner. Most brands say to use a water-based cleaning solution. These work well for many things and are safe for the machine. Never use flammable or solvent-based liquids. These can start fires or break the ultrasonic cleaner.
Pour the cleaning solution into the tank up to the fill line in the manual. Some solutions work better if you warm them to 40°C-60°C. Add more cleaning solution if you need to fill the tank. Always use the right amount for the best cleaning.
Setup

Place on a Stable Surface
First, pick a safe place for your ultrasonic cleaner. Use a flat and firm table or counter. Keep it away from sunlight and heat. This helps the ultrasonic cleaner work better and keeps you safe. A steady table stops the machine from sliding or falling. If the table shakes, your things may not get cleaned well.
Fill the Tank
Once you set up the ultrasonic cleaner, look inside the tank. Make sure there is no dust or old water. Wipe it out if you see anything. Pour in the cleaning solution up to the fill line. The manual shows you where to stop. Do not put in too much or too little. Too much can spill out.
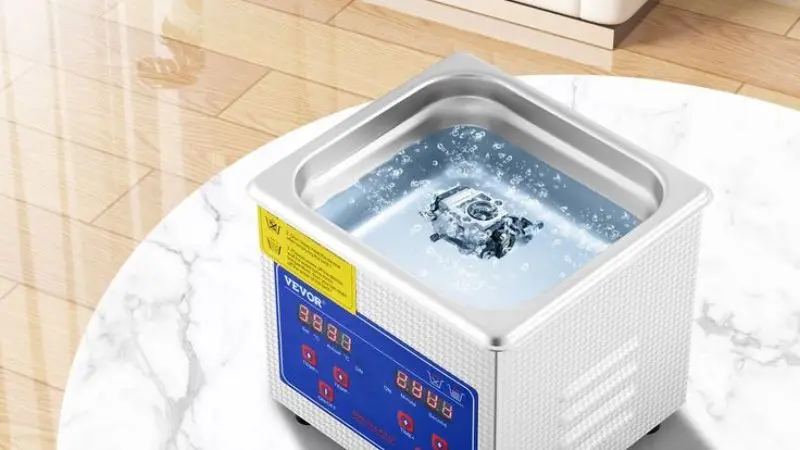
Too little can hurt the ultrasonic cleaner. Always use a water-based cleaning solution that fits your items. Some are best if you know how to use an ultrasonic cleaner for jewelry. Others work better for metal tools.
- Check the tank level before you turn on the machine.
- Make sure the cleaning solution covers your items.
Preheat Solution
Some ultrasonic cleaners can heat the cleaning solution. Warm liquid helps the waves clean dirt faster. Set the heat between 40°C and 60°C if your machine can do this. Wait a few minutes for the liquid to get warm. A warm solution helps the ultrasonic cleaner work better. Do not add your items until the solution is ready.
How to Use Ultrasonic Cleaner: Step-by-Step Guide
Learning how to use an ultrasonic cleaner starts with understanding the right way to load your items. This step-by-step guide will help you get the best results from your cleaning process. You will see how to place items in the tank, use the basket, and avoid overcrowding. Follow these steps to keep your ultrasonic cleaner working well and your items safe.
Loading Items
Begin by checking each item before you clean it. Ensure your items can withstand the ultrasonic cleaning instructions. Hard materials like metal, glass, and some plastics work well. Jewelry and eyeglasses are common items people clean with this method. Remove any loose dirt or dust first. This helps the ultrasonic waves reach every part of the item.
Place items in the tank carefully. Do not let them touch the bottom or sides of the tank. This can cause scratches or damage. Always use the mesh basket or tray that comes with your ultrasonic cleaner. The basket holds your items in the right place and keeps them safe during the cleaning process.
Using the Basket
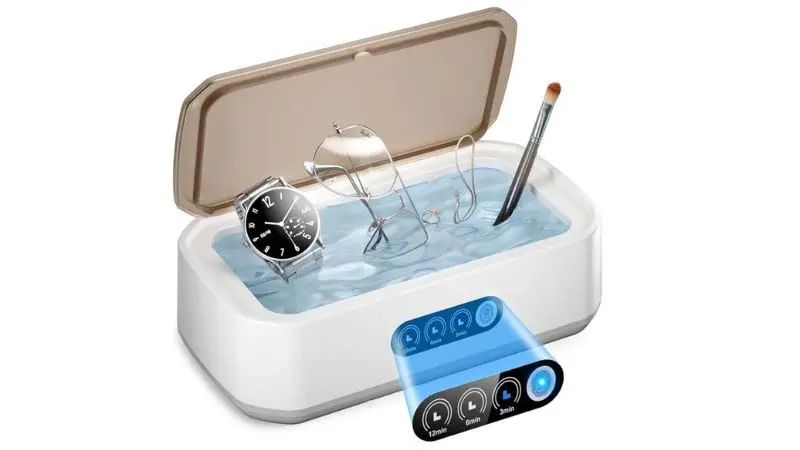
The basket is an important part of the step-by-step ultrasonic cleaner usage guide. It keeps your items from touching the tank directly. Place your jewelry, eyeglasses, or other items in the basket. Spread them out so each item has space. The ultrasonic waves move through the solution and clean every surface. If you skip the basket, your items might get scratched or damaged.
Some baskets have small holes. These holes let the ultrasonic waves reach all sides of your items. Make sure the basket sits above the bottom of the tank. This helps the cleaning process work better. Always use the basket for soft or delicate items.
Avoid Overcrowding
Do not put too many items in the basket at once. Overcrowding blocks the ultrasonic waves and makes the cleaning process less effective. Each item needs space for the waves to reach all surfaces. If you have many items, clean them in small groups. This step-by-step guide helps you get the best results every time. A simple table can help you decide how many items to clean at once:
| Item Type | Max Items per Cycle | Notes |
| Jewelry | 3-5 | Spread out in the basket |
| Eyeglasses | 1 | Lay flat, do not stack |
| Metal Tools | 2-3 | Do not let them touch |
Operating the Ultrasonic Cleaner
Set Time and Temperature
Check the time and temperature for your items first. Most ultrasonic cleaners have a timer and temperature control. Set the timer for how dirty your items are. Jewelry needs only 3 to 5 minutes. Tools or foul things may require up to 10 minutes. Set the temperature between 40°C and 60°C if your ultrasonic cleaner can heat. Warm solutions help ultrasonic waves clean dirt faster. Always read your manual for the best results.
Start and Monitor
After you set the time and temperature, close the lid. Press Start to begin cleaning. You will see bubbles in the solution. These bubbles mean the ultrasonic waves are working. Watch through the lid while it runs. Do not open the lid or touch the solution when the machine is on. If you see loud noises or leaks, stop the machine right away.
- Always watch the ultrasonic cleaner while it works.
- If you clean many items, check them after each cycle.
Safety During Operation
Always think about safety when you use the ultrasonic cleaner. Never put your hands in the solution while cleaning. Ultrasonic waves can hurt your skin. Keep the area dry and clean. Make sure the power cord does not touch water. If you need to stop, turn off and unplug the machine first. Follow all safety rules in your manual. Here is a simple table to help you remember safety steps:
| Step | What to Do |
| Before Operation | Check the manual, set the time and temp |
| During Operation | Watch the process, keep your hands out |
| After Operation | Unplug and let it cool before cleaning |
After Cleaning and Maintenance

Remove and Rinse Items
When the ultrasonic cleaning cycle finishes, turn off the machine and unplug it. Wait for the tank and solution to cool down. Use tongs or gloves to lift the basket out of the ultrasonic cleaner. You need to remove and rinse items with clean water. This step washes away any leftover cleaning solution and loosened dirt. Place the items on a soft towel. Let them sit for a few minutes.
Dry and Inspect
After rinsing, dry each item with a lint-free cloth. You can also let them air dry on a clean surface. Check every item closely. Look for any missed spots or damage. If you see dirt left behind, you can repeat the ultrasonic cleaning process. Make sure all items are completely dry before you store them. Wet items can rust or get damaged over time. Here is a simple checklist for this step:
- Dry with a soft cloth
- Inspect for cleanliness
- Check for damage
- Repeat cleaning if needed
Clean and Store Unit
You need to take care of your ultrasonic cleaner after every use. Get rid of the cleaning solution that you used. Use a soft cloth to wipe down the tank. Check to see that nothing is left inside. Also, clean the lid and basket. Let the tank breathe for a few minutes. Put the ultrasonic cleaner somewhere dry. Keep the power cord dry and wrapped up.
Safety Precautions
Wear Protective Gear
It is essential to keep yourself safe when using an ultrasonic cleaner. Always wear gloves to protect your hands from cleaning solutions. Put on goggles to keep splashes out of your eyes. Some cleaning solutions can bother your skin or eyes. Wearing gloves and goggles keeps you safe and comfortable. If you are cleaning sharp tools, gloves help stop cuts.
Ensure Ventilation
You need good airflow in your workspace. Some cleaning solutions can make strong fumes. Open a window or turn on a fan to move air around. This makes it easier to breathe and keeps the room fresh. Never use your ultrasonic cleaner in a small, closed room. If you feel dizzy or smell strong chemicals, stop and go outside for fresh air.
- Open windows before you begin.
- Use a fan if you have one nearby.
- Take breaks if you need to get fresh air.
Handle Chemicals Safely
Always follow the rules for using cleaning solutions. Read every label before you use any bottle. Never mix different chemicals. Some mixtures can make dangerous fumes. Only use water-based solutions that your manual says are safe. Never use flammable liquids in your ultrasonic cleaner. These can cause fires or break the machine. Unplug the cleaner before you pour out the old solution or clean the tank.
| Do This | Never Do This |
| Read all labels | Use flammable liquids |
| Use water-based only | Mix unknown chemicals |
| Unplug before cleaning | Ignore warning signs |
Conclusion
You have learned how to use an ultrasonic cleaner the right way. Every step, like getting ready and cleaning up, is important. Always look at your manual and follow safety tips. Taking care of your ultrasonic cleaner helps it last a long time. These ideas help you clean things like a pro at home. You will have cleaner stuff and a safer place to work each time.
FAQs
How often should you change the cleaning solution?
Change the cleaning solution after each use. A dirty solution can leave stuff on your items. Fresh solution helps the ultrasonic cleaner work better. It also keeps your items clean.
Can you clean all types of jewelry in an ultrasonic cleaner?
Most metal jewelry is safe to clean. Do not clean pearls, opals, or soft stones. These can get damaged by ultrasonic waves. Always check your manual before cleaning special jewelry.
What items should you never put in an ultrasonic cleaner?
Do not put electronics or watches with non-waterproof parts in the cleaner. Items with loose stones are not safe. Pearls and leather can also get damaged. Always check if your item is safe for ultrasonic cleaning.
Do you need to preheat the cleaning solution every time?
You do not have to preheat the solution for every item. Some things clean well in a cold solution. Look at your manual for the best temperature for your items.
Is it safe to leave the ultrasonic cleaner running unattended?
Never leave the ultrasonic cleaner running alone. Always watch the machine while it works. This helps you stop it if something goes wrong.


