
In the busy summer working days, you put your whole effort into upscaling the business. All of a sudden, you feel struck when you go up or down the chair. You drain your whole muscle energy to pull and push. However, it won’t come off due to tight rust and broken screws in the base.
Without any inspection and guidance, it’s hard to know how to remove a stuck office chair base. This can make you frustrated and unsure how to fix the chair.
Many chair bases fit very tightly to keep the chair steady. Small parts are locked in the base and hard to see or reach. This stops you from fixing or replacing the base easily. In this article, you will explore how to remove an office chair base. You will find simple, safe steps to help you take off the base quickly.
Tools and Materials Needed to Remove the Office Chair Base
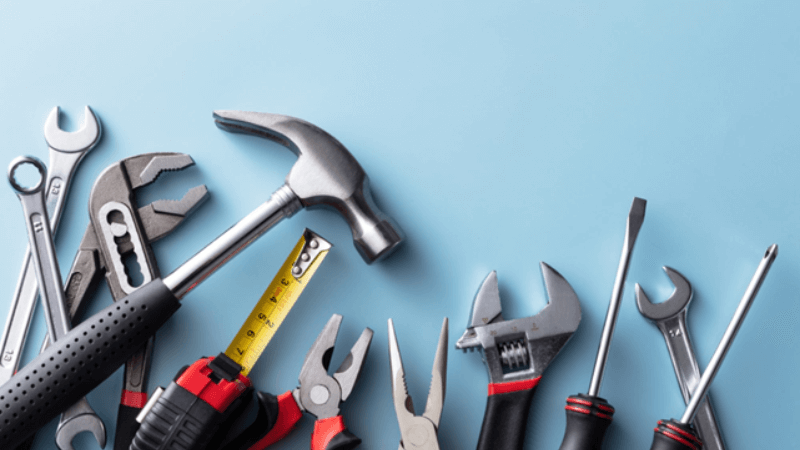
When you start to fix and remove the office chair base, it’s important to gather the materials. These will help make the job quicker and easier. Some tools are must-haves, and others just make things smoother.
Essential Tools for Removing the Base
These tools are key for loosening and removing the chair base. Make sure you have them before starting.
- Screwdriver (flathead and Phillips)
- Rubber mallet
- Adjustable wrench
- Allen key (hex key set)
- WD-40 or any rust remover
- Pipe wrench (for stuck gas lifts)
Additional Material and Safety Tools
These items aren’t always needed, but they can help a lot. If your chair is old or rusted, keep these handy.
- Cleaning cloth
- Gloves
- Safety goggles
- Old towel or mat (to protect the floor)
- Replacement parts (if the base is broken)
How to Remove An Office Chair Base? Step-by-Step Guide
Once you collect your tools and materials, it’s time to explore how to remove the stuck office chair base. However, you need to follow the legitimate steps. One wrong move further damages your chair, and then you have no option but to replace it with a new one. Here is a step-by-step guide that provides a detailed guide on how to take apart an office chair.
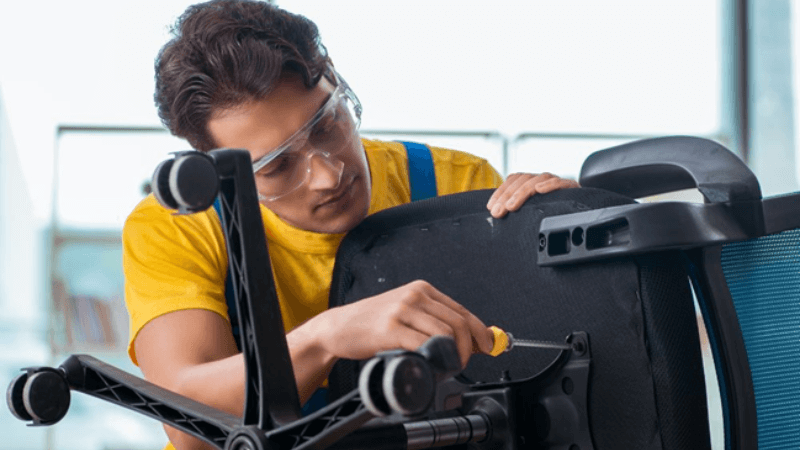
Step 1: Prepare Your Workspace or Area

Before you start, find a clean, flat area to work in. This will give you enough room to move the chair and place the tools. It’s good to put down a mat to catch small parts that might fall. Wear gloves if the chair is rusty or dirty. Keep your tools nearby so you don’t have to stop midway looking for them.
Step 2: Turn the Chair Upside Down on the Mat
The next step is to turn your chair upside down carefully. Put the chair on the mat or towel so the base faces up. This gives you clear access to the wheels and the base connection. Make sure the chair is stable and won’t tip over while you work. If the chair is heavy, ask someone to help you flip it safely.
Step 3: Remove the Casters From the Chair

Now it’s time to remove these casters. To take off the base, you usually need to remove these wheels first. How you remove them depends on the type. Many casters just pull out with a firm tug. Some may have small clips or screws holding them in place. Use a screwdriver if needed to loosen any clips or screws. Keep the casters somewhere safe.
Step 4: Locate and Loosen the Retaining Clip or Bolt

Underneath the chair, there is usually a clip or bolt holding everything tight. This part keeps the base steady. You can use a flathead screwdriver or wrench to loosen or remove it. Sometimes, these parts may be rusty or stuck. Applying a little WD-40 or rust remover helps loosen them up.
Step 5: Remove the Office Chair Cylinder
Once the clip or bolt is off, the gas cylinder can be pulled out. This step can be tricky because the cylinder might be stuck tight. If you can, pull it out by hand. If it’s stubborn, try tapping gently with a rubber mallet or using a pipe wrench.
Be careful not to damage the cylinder if you want to reuse it. It’s important to read the safety measures on how to remove the gas lift from an office chair.
Step 6: Detach the Base for Repair
Now that the cylinder is free, the base should come off easily. Hold the base firmly and pull it away from the cylinder housing. Sometimes a little wiggle helps loosen it if it feels stuck. If the base still won’t come off, check again for any clips or screws you might have missed.
After the base is free, inspect it carefully for cracks or damage if you plan to replace it. Now your chair is ready for repair or a new base.
Troubleshooting Common Issues During How to Remove a Stuck Office Chair Base
During the process of removing a chair base, you may face some challenges. Here are three common advanced challenges and how to handle them effectively.
Gas Lift is Seized Inside the Base
Sometimes the metal part of the chair gets stuck. This can happen if the chair is old or rusty. You can’t just pull it out by hand. First, spray a little oil where the parts meet. Let it sit for a while. Then hold the base still and twist the gas lift with a big tool like a pipe wrench. It might take a few tries, but it should come loose.
Internal Locking Clip Is Not Visible
Some chairs hide the clip that holds the base in place. If you can’t see anything, the clip might be inside the metal tube. You won’t be able to pull it out unless you take the gas part apart. Carefully unscrew and take off each part until you reach the clip. Be gentle so you don’t break anything.
Chair Base Welded or Press-Fit Beyond Tolerance
Big, heavy chairs with lumber support are sometimes made extra tight. The bottom part may be pushed in really hard or even partly welded. If you try to pull it and nothing moves, that could be the reason. Normal tools might not work. In this case, you may need a strong puller tool that pushes the parts apart slowly. This helps keep things safe and works better.
FAQs
How long does it take to remove an office chair base?
Removing an office chair base usually takes around 15 to 30 minutes. If the parts are in good shape, it can be done quickly. But if there’s rust, dirt, or the base is stuck, it might take longer. Older chairs often need extra time and tools.
Can I remove the base without special tools?
Yes, you can remove the base without special tools. Many parts just pull off with a firm hand. Sometimes you only need a screwdriver to loosen clips or screws. But if the base is tight or rusty, special tools like a pipe wrench or rubber mallet are needed.
What should I do if I damage a part during removal?
If you damage a part during removal, you need to inspect it. First, stop and check how bad the damage is. If it’s small, you might be able to fix it or keep using the chair safely. If the part is broken or unsafe, buy a replacement part.
Final Thoughts
To sum up, dealing with a stuck chair can slow down your whole busy day. Having proper knowledge on how to remove an office chair base saves you time and stress. The above steps give you clear tips so you don’t damage your chair or hurt yourself.
Before you start, take safety seriously. Always work on a flat surface. Make sure to wear gloves to protect your hands from rust or sharp edges. Use safety goggles if you’re working with tools or rust remover. Keep all small parts in one place so you don’t lose them.


