
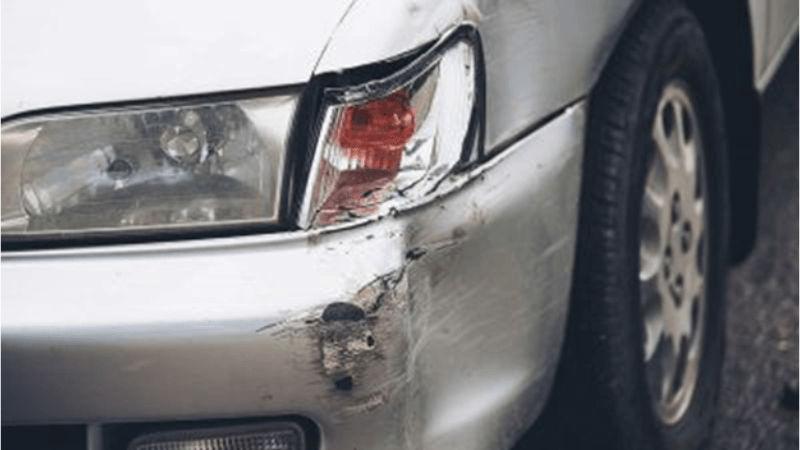
Dents, scratches, and rust on the car body are the alarming signs that need the attention of car owners. It’s very challenging for a beginner to fix these damages. Some try to fix it at home but don’t have the right tools. Others go to shops and feel unsure if they are being charged fairly.
Sometimes, the damage looks small but is hard to fix. The paint on your car body easily chips off, and rust spreads fast, which further damages the car. It’s important for you to have proper knowledge about how to fix car body damage at home.
In this article, you will explore the best car body repair techniques that enable you to fix dents, handle rust, and repaint like a pro.
Essential Tools and Materials for DIY Car Body Repair
If you want to fix your car at home, you can save time and money. It’s important for you to choose the right tools and materials. With the proper essential equipment, even tough jobs feel easier.
Must-Have Tools for Bodywork
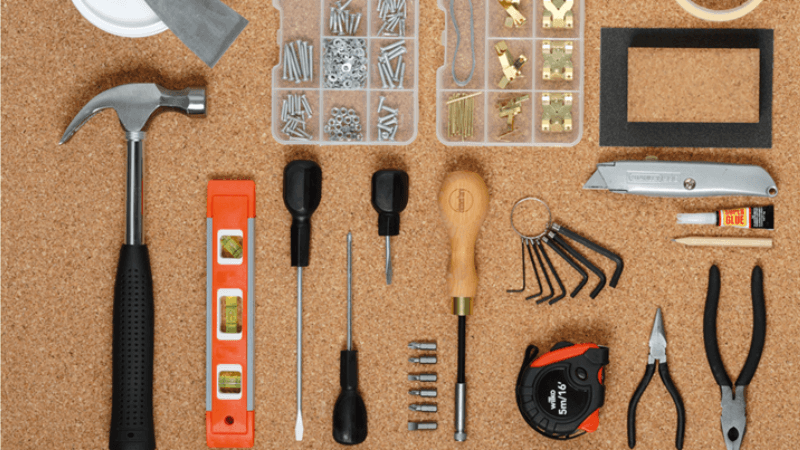
These tools help you fix dents, shape metal, and smooth the surface. Keep them ready before you start:
- Electric jack hammer and dolly set
- Sanding block and dual-action (DA) sander
- Paint spray gun and dent puller
- Angle grinder and air compressor
- Putty knife and safety glasses
- Work gloves
Recommended Materials for Repairs
Good materials make the job cleaner and stronger. They help your repair last longer and look better. Stock up on these before starting:
- Body filler (Bondo)
- Sandpaper (various grits) and primer
- Automotive paint and clear coat
- Rust remover
- Masking tape and paper
- Fiberglass repair kit and cleaning solvent
- Touch-up brushes
These tools and materials give you a solid start on easy car body repair tips for beginners. With them, you’re ready to fix small damage like a pro.
Best Car Body Repair Techniques – Step-by-Step
It’s important for you to figure out the car damage area before moving to the repair steps. If your car has small dents, then the repair steps should be different from those for repairing scratches. Each repair is different, so it helps to follow the method that fits the problem. Here is a brief description of the repair steps for each type of damage.
Step-by-Step Guide for Removing Small Dents
Tiny dents can make your car look old or worn. These dents often happen in parking lots. However, you can fix them at home if the paint is still okay. Paintless Dent Removal (PDR) is a way to pop the dent out without repainting. Follow the steps below for beginner car scratch repair methods.
Step 1: Find the Dent from All Angles
Start by looking closely at the dent. First, walk around your car and look at the dent. Get down low and look from the side, too. Use a flashlight or phone light to shine on it. This makes the shape easier to see. Try looking at it from different spots. Some dents look small from one side but big from another.
Step 2: Use a Dent Repair Kit
The next step is to use a PDR kit. You can find these kits on the VEVOR online store or at auto stores. Most kits have glue, tabs, and a tool to pull the dent. Choose a tab that fits the dent size. Then, put a small amount of glue on the tab and press it in the middle of the dent. Let the glue dry.
Step 3: Pull the Dent Out and Clean the Area
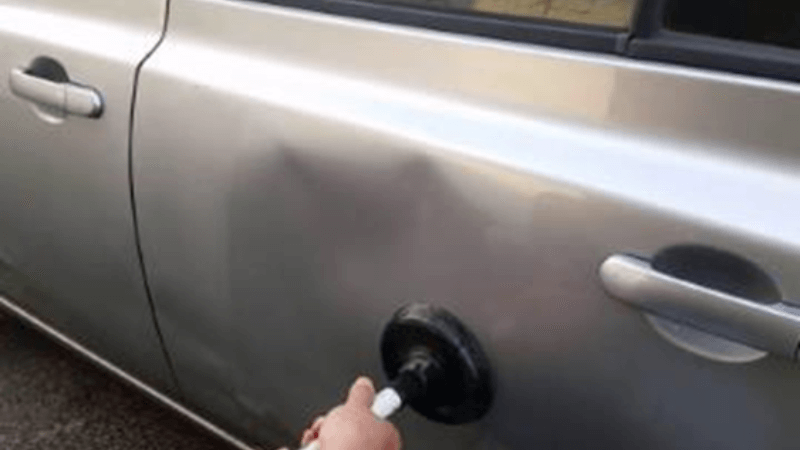
Now, hook the wire puller tool onto the tab. Pull slowly and gently. Don’t rush it or yank hard. The dent will start to pop back out. If it doesn’t move much, stop and try again. Once the dent is out, twist and pull off the tab. Use rubbing alcohol to clean the glue. Wipe the spot with a soft cloth until it’s clean and shiny.
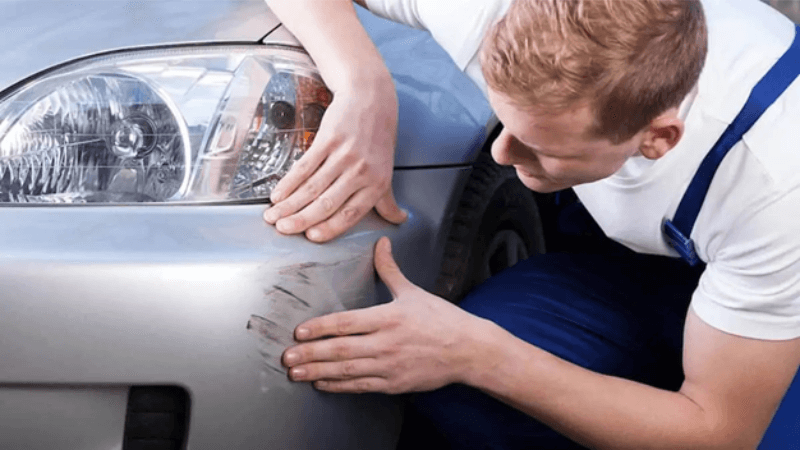
Fixing Scratches and Paint Chips – Step By Step Guide
If you want to fix scratches and small paint chips, you should definitely follow the specific method and tools. It’s important to make sure the technique you used also removes tiny scratches. Here are the small steps you can take at home to learn beginner car scratch repair methods.
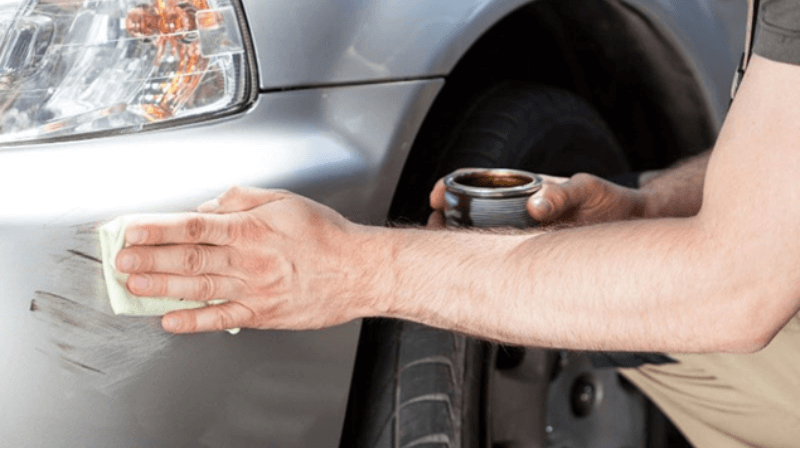
Step 1: Clean and Sand the scratch
Start by washing the scratch with soap and water. Use a soft cloth to wipe it dry. Make sure there’s no dirt or dust. Then take fine sandpaper, like 2000 grit. Rub the scratch very gently. Don’t press too hard. Just smooth the edges a little. This helps the new paint stay on better and look nice when it’s done.
Step 2: Apply Touch-Up Paint on the Car Body
Next, find the right paint color for your car. You can check inside the door or look in the car manual for the code. Get a small bottle of that paint. You can use a tiny brush or even a toothpick to dab a little paint into the scratch. Let it dry, then add a second layer if needed.
Step 3: Seal with Clear Coat on the Car
Once the paint is dry, it’s time to seal it. Use a small brush to put on a clear coat. This helps protect the paint and makes it shiny like the rest of the car. Let the clear coat dry all the way. After that, you can use a soft cloth to lightly polish the area so it blends in better.
Repairing Windshield Cracks
If you want to fix the windshield cracks, you can save a lot of money. You just need the right guidance and tools. Small chips and cracks can be repaired with a kit at home. Here is the step-by-step, easy car body repair tips for beginners guide that enables you to repair the cracks easily.
Step 1: Clean the Crack and Set up the Repair Kit
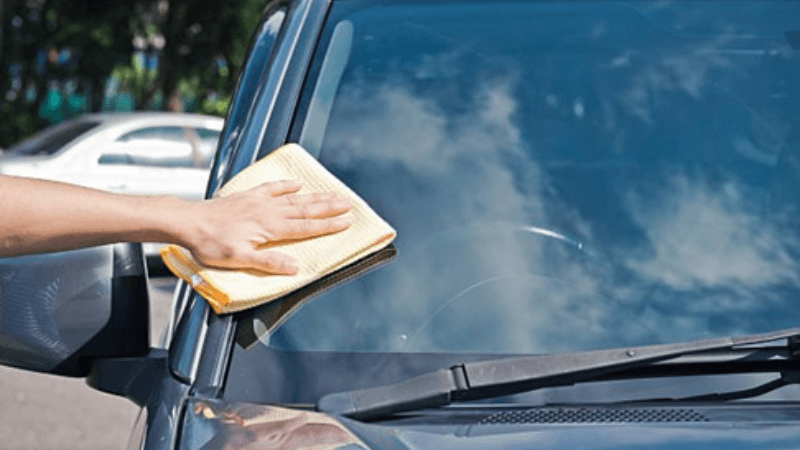
First of all, wash the windshield with glass cleaner. Make sure the crack is clean and dry. If water or dirt gets inside, the resin won’t work well. Once the cracks are cleaned, open the windshield repair kit. It usually comes with a tool that sticks to the glass using suction cups. Place this right over the crack.
Step 2: Inject the Resin and Let it Dry
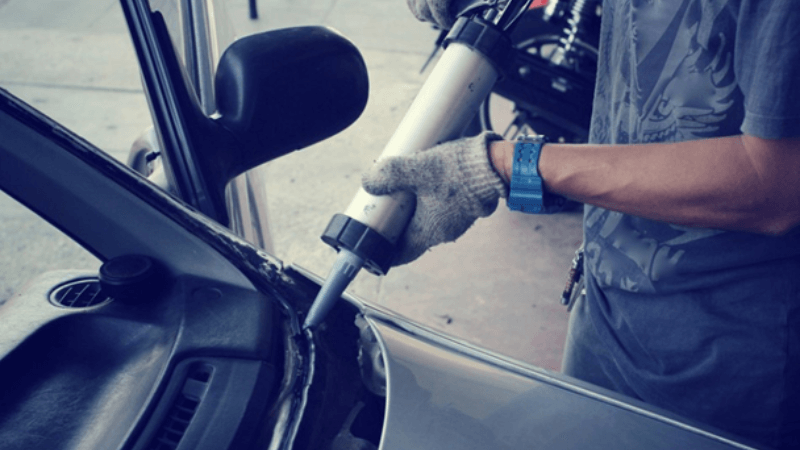
Now, take the little bottle of resin from the kit. Pour a few drops into the tool’s opening. Use the plunger to press the resin into the crack. Go slow and steady. This fills the crack and stops it from getting bigger. Let the resin sit for a few minutes.
Step 3: Let It Cure in Sunlight for 20 Minutes
Once the crack is full, remove the tool gently. Place the clear plastic strip (included in most kits) over the wet resin. Smooth it out with your finger. Then let the car sit in the sun for 10 to 20 minutes. Sunlight helps the resin get hard. After it dries, use a razor blade to scrape off the extra resin.
Sanding, Priming, and Painting for a Smooth Finish
Once you repair the big issues like denting and polishing, you may need to repaint the area. This takes more work but gives your car a clean finish. Here are the steps that help you to do it at home.
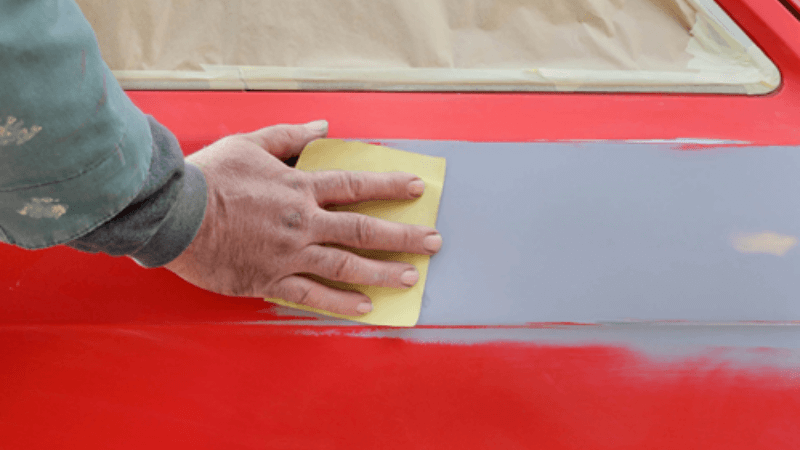
Step 1: Sand the Damaged Area and Spray Primer
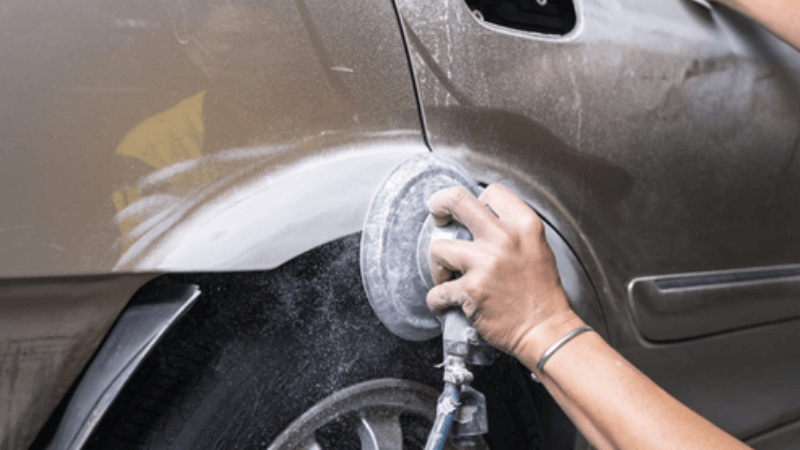
First of all, use medium sandpaper to take off old paint, rust, or rough spots. Keep sanding until the surface feels even. Wipe off dust with a clean cloth. After sanding, use a tack cloth or cleaner to wipe the spot. Spray primer in light coats over the area. Don’t spray too much at once. Let each coat dry for a few minutes before spraying again.
Step 2: Apply Paint over the Car Body
Once the primer is dry, shake your paint can for at least a minute. Spray the paint in thin, even lines across the area. Hold the can about 6 to 8 inches away. Let each coat dry before spraying the next one. Usually, two or three coats give good coverage. Check that the paint color matches your car before starting.
Step 3: Finish with Clear Coat and Let it Dry
After the paint dries fully, it’s time for the clear coat. This makes the paint shiny and keeps it safe from the weather. Spray a light coat just like before. Let it dry, then spray one or two more coats. After you’re done, let the area sit for a few hours or more to dry. Don’t touch it until it’s fully hard and smooth.
When to Seek Professional Help?
Sometimes, you don’t figure out where the car body is actually damaged. Some problems need experts to avoid wasting time or money. If your car frame bends due to a minor accident, it is best to seek professional help. They have the expertise and tools to fix it without breaking the bank. Furthermore, a big rusty car is not repaired at home.
When your car needs complex welding, you can hire a professional to avoid unsafe or poor welding. Moreover, modern cars have lots of electronics and sensors. If these are damaged, professionals can use the best car repair techniques to find and fix the problem.
FAQs
How do I find the right paint color for my car?
You can check the paint code on your car. It usually appears on the sticker inside the driver’s door or under the hood. Use this code to buy matching paint online or at an auto store. You can also seek professional help to avoid any problems.
Can I fix dents without special tools?
Yes, you can use a small plugger or a hairdryer to fix the car dent. These tools are easily available in the ordinary shop where you can buy them at an affordable price. These household items work well for minor fixes.
Is it safe to repair rust spots myself?
Yes, you can repair small rust spots at home without any professional help. First of all, sand the area, apply rust prevention spray, and cover it with primer and paint. These tips enable you to repair the rusty areas of the car.
Final Thoughts
To sum up, fixing dents, rust, and scratches needs the best car body repair techniques that help your car look nice and last longer. The best car body repair techniques start with small tasks and use the right tools. When you sand, paint, and clean the right way, your car stays strong and shiny.
These tips can help you fix small problems at home and save money. Just take your time and be careful. If it’s too hard, it’s okay to ask a pro for help. Keeping your car in good shape makes you feel proud every time you drive it.


