
Has your hose started leaking when you need it most? But if you have a hose repair kit, you will definitely have a quick solution. With this kit, you are all set to continue your yard work without professional help. This kit includes all the essentials to repair your hose leaks or any other damage.
But the question is how to buy a perfect hose repair kit and how to use it. No worries, we are here to help you out. Whether you want to learn how it works or how to choose the best, this detailed guide has covered you. Let’s have insight and get back to work:
Types of Hose Repair Kits
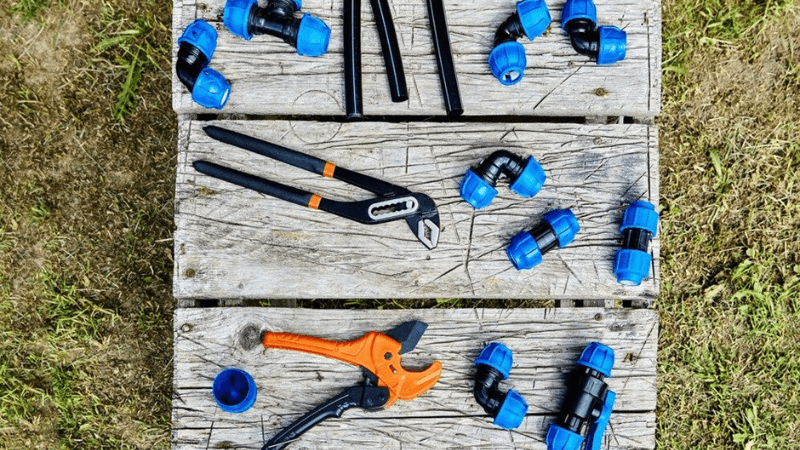
Fixing a damaged hose needs the right tools. Not all hose repair kits work for every hose. Knowing the types of kits can save time and effort. Let’s explore the most common ones.
Garden Hose Repair Kits
There are many kits available to fix a garden hose. These kits often include clamps, connectors, and replacement ends. They help repair leaks, tears, or broken parts. A good garden hose repair kit can make your hose last longer and keep your garden healthy.
Pressure Washer Hose Repair Kits
Pressure washer hoses handle strong water pressure. Fixing them needs special kits. These kits have rigid connectors and fittings for high pressure. They are great for fixing leaks or damage in pressure washer hoses.
If you like DIY repairs, follow the instructions carefully. A bad repair can cause bursts or poor performance.
Specialty Hose Repair Kits
Some hoses, like those in cars or factories, need special hose repair kits. These kits are made for specific materials, like hydraulic or air hoses. They include parts designed for the hose type, ensuring a strong repair.
Specialty kits may seem complicated to use but are simple with instructions. Whether fixing a fuel line or vacuum hose, these kits save money on replacements.
Universal vs. Hose-Specific Kits
There are two main kit types for fixing hoses: universal kits and hose-specific kits. Each has its own benefits, so picking the right one depends on your needs.
Universal Kits: Fits Many Hoses
Universal kits work with many kinds of hoses. These kits come with adjustable clamps, connectors, and fittings to fit your hose. Why choose a universal kit?
- Versatility: Use it in the garden, pressure washer, or specialty hoses.
- Cost-Effective: One kit can fix many hoses, saving you money.
- Convenience: It’s helpful to have one kit for surprise repairs.
Hose-Specific Kits: Made for Certain Hoses
Hose-specific kits are designed for certain hose types. Why pick a hose-specific kit?
- Perfect Fit: The parts match your hose, so leaks are less likely.
- Specialised Features: These kits have parts made for the hose’s job, like strong fittings for pressure washers.
Ease of Use: Repairs are faster since fewer adjustments are needed.
Which One Should You Pick?
If you want to be ready for anything, get a universal kit. But if you have a specific hose, a hose-specific kit is easier and faster. Think about your hoses and needs. This way, you’ll always have the right tools.
How to Use a Hose Repair Kit

Fixing a damaged hose might seem tricky, but it’s easier. With the proper steps, you can handle it like a pro. Let’s break it down into simple, manageable tasks.
Step 1. Assess the Damage
Before you start the repair, examine the hose closely. Is there a small puncture, a tear, or a completely broken section? Each issue might require a slightly different approach. Here’s how you can assess the damage:
- Check the length of the hose: Look for visible cracks, holes, or leaks.
- Run water through the hose: This helps you spot leaks that aren’t immediately obvious.
- Mark the damaged areas: Use a marker or tape to highlight the spots that need fixing.
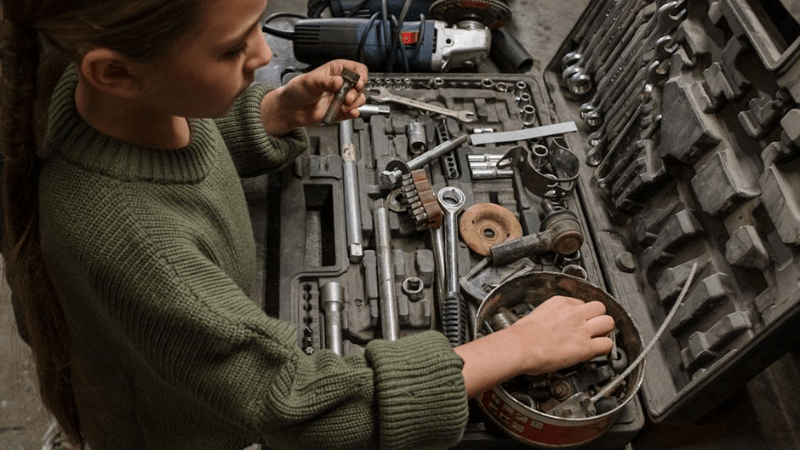
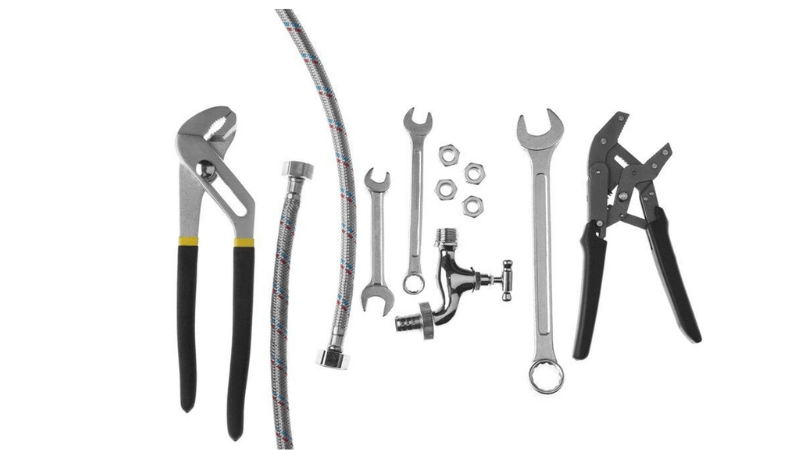
Step 2. Gather the Right Materials
Once you’ve identified the problem, it’s time to gather your tools. A good kit makes all the difference. Whether you’re trying to repair a garden or pressure washer hose, having the right materials ensures a quick and easy solution.
You will need a high-quality garden hose crimper kit or a kit designed for your specific hose type. A scissors or a utility knife to cut the damaged section. A screwdriver to tighten clamps or connectors. A clean cloth to wipe down the hose.
Step 3. Clean and Prepare the Hose
Before applying the kit, you need to prep the hose. A clean surface ensures a strong and long-lasting repair. Dirt or debris can interfere with the connectors and lead to leaks later. Follow these steps:
- Turn off the water supply: Ensure no water runs through the hose.
- Dry the hose: Use a cloth to remove moisture from the damaged area.
- Cut out the damaged section: If the damage is severe, use scissors or a knife to remove it.
- Smooth the edges: Rough edges can make it harder to attach the connectors. If needed, use sandpaper or a file.
Step 4. Apply the Kit
Now that your hose is clean and prepped, it’s time to apply the kit. Don’t worry—it’s a quick and easy solution if you follow the steps carefully. Whether you’re working on a pressure washer hose or trying to repair a garden hose, the process is pretty straightforward.
First, slide the connector from your water hose repair kit into the cut end. Make sure it fits snugly. Use the clamps provided in the kit to hold the connector in place. Tighten them with a screwdriver until they’re secure.
Step 5. Test for Leaks
Once the kit is applied, it’s time to test your work. This step is crucial to ensure the repair is solid and free of leaks. After all, you don’t want to put in all that effort only to find water spraying everywhere! Start with a low flow to avoid putting too much pressure on the repaired area right away.
Look closely at the connectors and clamps. If you see any water dripping, tighten the clamps a bit more. Gradually turn up the water pressure to ensure the repair can handle it. Run the washer with a pressure washer hose to check for any issues.
How to Choose the Right Kit — Proven Tips
Choosing the best hose repair kit to fix leaks fast can make all the difference when it comes to fixing a hose. The right kit ensures a secure and long-lasting repair, saving you time and frustration. But how do you know which one to pick? Let’s break it down step by step.
Compatibility with Hose Type
Not all hoses are the same, and neither are repair kits. Before you buy, check if the kit matches your hose type. For example, if you need to repair a garden hose, look for a kit designed specifically for that purpose. Garden hoses usually have standard sizes, so finding a compatible kit is easy.
On the other hand, pressure washer hoses or specialty hoses may require more specific fittings. Some kits work better with certain materials. Measure the diameter of your hose. Most kits list the sizes they support.
Quality & Durability
When you’re fixing a hose, you want the repair to last. That’s why the quality of the kit matters. A cheap kit might save you money upfront, but it could fail quickly, leaving you to deal with the same problem again. High-quality kits, on the other hand, use durable materials that can handle wear and tear.
So, always choose the highest-quality kits rather than a cheap one. Trusted brands often provide better quality. Make sure to read reviews to see how well the kit performs in real-life repairs.
Ease of Use
Let’s face it—nobody wants to spend hours struggling with a repair. That’s why ease of use is so important when choosing the right repair kit. A good kit should make the process simple, even if you’re new to DIY repairs.
Some kits come with step-by-step directions, which can make a big difference. Some kits require only basic tools, such as a screwdriver or scissors. Look for kits that allow you to complete the repair in minutes.
Versatility for Different Repairs
Hose repair kits are super handy because they’re so flexible. They aren’t just made for one type of hose. Instead, they can fix many kinds of hoses, which is excellent for anyone who uses them often. Let’s see how these kits work for different repairs and why they’re helpful.
Works with Many Hose Types
Hoses come in different sizes, shapes, and materials. From garden hoses to pressure washer hoses, each has its own needs. A flexible repair kit can easily handle these differences. Here’s how they help:
- Garden Hoses: Most kits have connectors and clamps that fit garden hoses.
- Pressure Washer Hoses: Some kits include strong fittings for high-pressure hoses.
- Specialty Hoses: Kits for air or hydraulic hoses have special parts for their needs.
Fixes Different Damage Types
Hose problems aren’t all the same. Sometimes it’s a tiny hole, and other times it’s a big tear. A good kit helps you fix many issues without needing extra tools. Here’s what you can fix:
- Small Leaks: Use clamps or tape to seal small holes.
- Torn Ends: Replace broken ends with new connectors.
- Broken Sections: Cut out the bad part and reconnect with couplers.
Useful in Many Places
A good repair kit isn’t just for home use. These kits work well whether you’re fixing hoses in your yard, on a job site, or in a factory.
- At Home: Great for garden, pool, or washing machine hoses.
- Outdoor Jobs: Perfect for pressure washer hoses or irrigation systems.
- Work Sites: Specialty kits fix hydraulic or air hoses used in machines.
Troubleshooting Hose Repairs
Even after using a hose repair kit, you might still face some challenges. Don’t worry—troubleshooting these issues is easier than you think. Let’s tackle some common problems and how you can fix them.
Fixing Persistent Leaks
Sometimes, a repaired hose still leaks. This can happen if the connectors aren’t tight enough or the damaged area isn’t cleaned properly. To fix this, start by double-checking the clamps. Are they secure? Use a screwdriver to tighten them further if needed.
If the leak persists, inspect the hose again. Look for any cracks or tears you might have missed earlier. For small holes, a waterproof tape can work wonders. Wrap it tightly around the leaky hose, overlapping each layer for a strong seal.
Securing Repair Components
Loose repair components can cause more problems down the line. If the connectors or clamps aren’t holding firmly, the repair won’t last. To secure them, make sure the hose ends are cut straight and smooth. Uneven edges can prevent a snug fit.
Slide the connector into the hose as far as it will go. Then, tighten the clamps until they’re firmly in place. You shouldn’t see any gaps between the hose and the connector. If the clamps feel weak, consider replacing them with stronger ones from your local hardware store.
Preventing Weak Spots Near Repairs
A repaired hose can develop weak spots over time, especially near the fixed area. To prevent this, avoid bending or twisting the hose too much. Store it properly to reduce stress on the repaired section when not in use.
You can also use a hose guard or sleeve to reinforce the area. These protective covers add an extra layer of support, making the hose more durable. Regularly inspect the repaired section for signs of wear and address any issues early.
How to Prevent Hose from Damage
Keeping your hose in good condition saves you from dealing with frustrating repairs. A little care goes a long way in preventing damage. Let’s explore some simple ways to keep your hose working like new.
Proper Storage Techniques
Storing your hose the right way is key to avoiding unnecessary wear and tear. Leaving it tangled or exposed to harsh weather can lead to cracks, leaks, or a completely unusable hose.
Here’s how you can store it properly:
- Coil it neatly: After using your hose, coil it in loops to prevent kinks.
- Use a hose reel: A reel keeps your hose organised and off the ground.
- Keep it safe & indoors: Store your hose in a shed or garage during extreme weather.
Regular Inspections
Regularly checking your hose helps you catch minor problems before they become big ones. A quick inspection can prevent a leaky hose or a sudden burst when you least expect it.
Here’s what to look for:
- Cracks or holes: Run your fingers along the hose to feel for damage.
- Loose connectors: Tighten any fittings that seem wobbly.
- Pressure washer hose wear: Inspect high-pressure hoses for weak spots or fraying.
Avoiding Excessive Pressure
Too much pressure can damage your hose, especially if it is not designed for high-pressure use. This is particularly important for pressure washer hoses, which handle intense water flow. Make sure your hose matches the pressure requirements of your equipment.
Don’t crank up the pressure unless necessary. Turn off the water and drain the hose to prevent stress on the material. These steps help extend the life of your hose and reduce the need for frequent repairs.
Using Hose Guards
Hose guards are a simple yet effective way to protect your hose from damage. They act as a shield, preventing wear and tear in areas that experience the most stress. If you want to extend the life of your hose and reduce the need for frequent repairs, hose guards are a must-have.
Installing a hose guard is quick and easy. You don’t need any special tools or skills. Slide the hose guard onto the end of your hose. Push it until it covers the area where the hose bends the most. Depending on the type of guard, secure it in place if needed.
VEVOR Hose Repair Kits
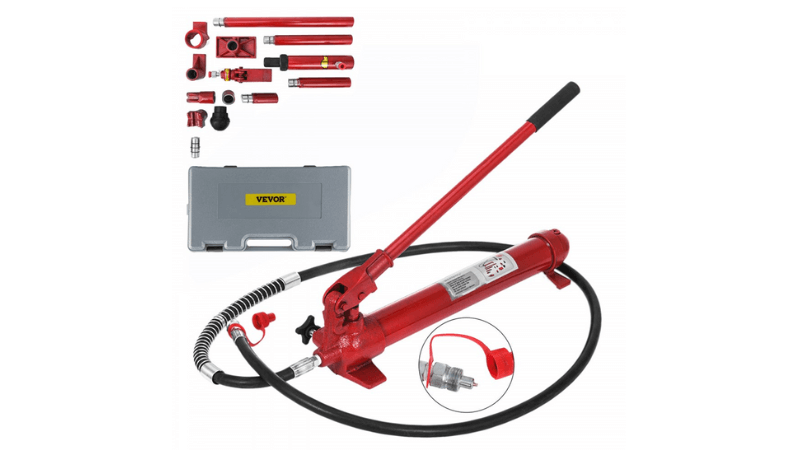
VEVOR is a well-known brand for hose repair kits. Their kits are made to fix hoses easily and quickly. Whether a garden hose or a pressure washer hose, VEVOR makes repairs simple. If you want strong and easy-to-use tools, VEVOR is a great choice.
Features That Help
VEVOR kits include helpful features to make repairs simple. Here’s what they offer:
- Strong Parts: Brass connectors and steel clamps last long and resist rust.
- Fits Many Hoses: Works with most garden and pressure washer hoses.
- Easy to Use: Repairs take just minutes and need basic tools.
Great for DIY Fans
If you like DIY projects, VEVOR kits are perfect. They can handle tough jobs, like fixing high-pressure hoses. You’ll save money by repairing instead of buying new hoses. Plus, you’ll feel proud of fixing it yourself. With VEVOR kits, you’ll spend less time worrying about broken hoses. They’re reliable, simple to use, and great for fast repairs.
Conclusion
To conclude, a hose repair kit is the best solution for saving money and time. The central part is to choose the best kit compatible with your hose, and that’s all. Now, you have learned how to use it, and I hope you will repair your hose without a sweat next time. Also, don’t forget to maintain your hose and kit tools for their proper working. So, why hire a professional when you have a cheap and time-saving option available?
FAQ
How do you fix the hose if it keeps leaking after repair?
First of all, tighten the clamps and connectors with a screwdriver. If it continues to leak, then it means you have to replace that section of the hose.
Can a garden hose repair kit be used for a pressure washer?
No, it is not recommended to use a garden hose tool for a pressure washer hose. As they are designed to handle high pressure, they need specialised kits with strong connectors or clamps.
How to check the repair kit compatibility with a hose?
Many kits are compatible with a range of sizes and types of hoses. But, make sure to check the kit specialisation before buying a repair kit. For this, you have to be well-known of the type and size of your hose.
Can we use the hose repair kit again and again?
Some parts of the kit are reusable, while some are only for one-time use. You can reuse the clamps, but the connectors can be used only once.
How to keep the hoses in good condition?
The main reason for hose damage is improper storage. To keep it in top quality, always store the hose properly, well-coiled. Frequently check it for any wear and tear; if it happens, fix it.


