You can set up a mig welder for stainless steel with a few simple steps. First, choose the right welding machine and make sure you have the correct wire and gas. Clean the metal and check all connections. Good preparation leads to quality results. Anyone can get strong, clean welds with the right approach and attention to detail. If you follow the basics, your welding projects will look great.
Whether you are a beginner learning the fundamentals or an experienced welder looking to refine your technique, you should follow the right setup steps to make a significant difference. This guide will teach you how to MIG weld stainless steel for beginners, and everything you need to know. From selecting the right consumables to adjusting machine settings and mastering welding techniques. By following these recommendations, you can achieve reliable, consistent results in your stainless steel welding projects.
What You Need Before Setting Up a MIG Welder for Stainless Steel
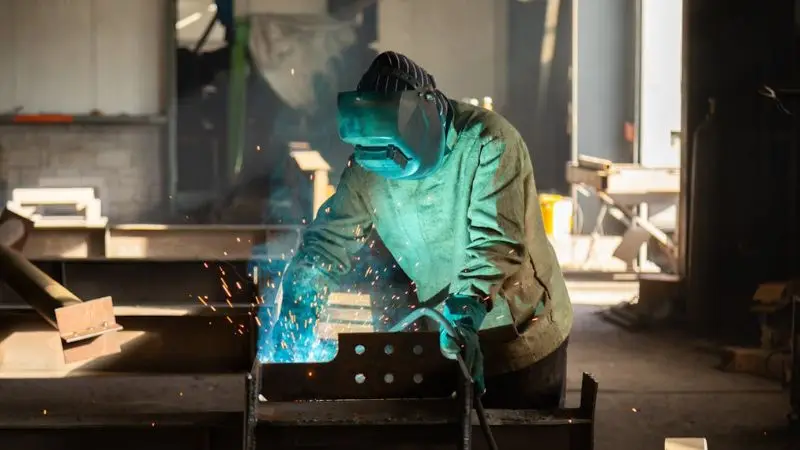
To set up a MIG welder on stainless steel, assemble the necessary equipment. Make sure all tools are kept clean to avoid contamination and to produce good welds. Safety equipment, such as a welding helmet, gloves, protective clothing, and a respirator, is also essential for safe and effective welding. Proper preparation is essential to making better, stronger, more dependable welds.
Essential MIG Welding Equipment
Essential MIG welding equipment helps improve productivity. Patience is essential, but so are the right tools to begin mig welding stainless steel. It’s important to get the best MIG welder for thin stainless steel. Be sure your machine can adjust the voltage and wire feed rate. Also, a welding cart or table for organization is required. To prevent contamination, ensure tools are clean and do not come into contact with other metals. Contamination is also greatly reduced by the use of proper equipment. Stainless steel can be affected by contamination from dust, dirt, oil, and metal particles from other metals. Cleaning and use of dedicated welding tools help maintain the corrosion resistance and surface aesthetics of stainless steel. A clean welding environment reduces the risk of defects and ensures long-term weld performance.
Best Consumables for Stainless Steel MIG Welding
You need to select the consumables to be used for the welding of stainless steel. How to MIG weld stainless steel for beginners? Use a stainless steel wire for filler metal. ER308 or ER309 wire is commonly used for MIG welding stainless steel. You will need a shielding gas mixture, typically consisting of Argon and some CO2. This will assist in clearing out and maintaining clean welds. Without pre-cleaning, there is a risk of contamination and poor welds. Pre-cleaning will remove dirt, oil, and rust from your metal.
- Stainless Steel Wire – is the filler metal used to join the stainless steel parts.
- Argon/CO₂ Shielding Gas – This is used to shield the weld area from contamination by air during welding.
- Clean Tips and Nozzles – Help maintain a stable welding arc and prevent contamination.
Safety Gear and Protective Equipment
Welding of stainless steel always requires protection. Use a proper lens and helmet when welding. Wear welding gloves. Cover the skin with a long-sleeved shirt and pants. Safety Glasses can provide eye protection from splinters. Also, use a respirator when working in a poorly ventilated area. Make sure your area is safe, as gas can build up and be purged. Protective clothing is another critical part of workplace safety. Long-sleeved shirts, welding jackets, and full-length pants protect the skin from sparks, molten metal, and heat. Welding stainless steel is particularly hazardous because of the need for respiratory protection. Welding fumes may contain small metal particulates from the welding process. These fumes can be released in areas with little air movement, leading to poor air quality. Always use protective equipment. You want to enjoy welding, not get hurt.
Choosing the Right Settings for Stainless Steel MIG Welding
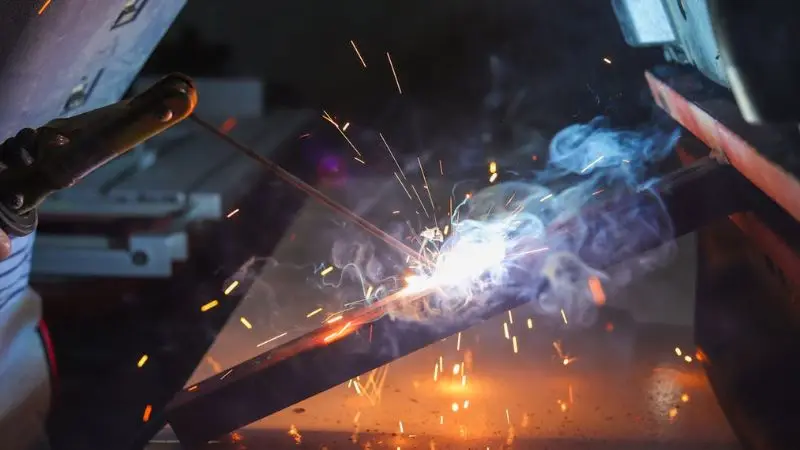
Clean, strong stainless steel welds will only be achieved if the voltage, Amps, wire feed speed, and gas flow are all correct. Try to compare your machine settings to the metal thickness and test them on a test piece before starting. Set the correct feeding rate at a higher wire speed for better arc stability and smoother feeding, while avoiding porosity or contamination with proper shielding gas flow. Changes to these parameters will improve the beauty, strength, and welding performance.
Voltage and Amperage Settings Explained
You would like smooth, strong welds. It is important to have the right voltage and amperage to obtain distortion-free stainless steel MIG welding. You will need to consult your welder’s chart or manual first. The majority of machines come with a guide corresponding to your stainless steel thickness and the correct setting. Thin metal with lower volts and amps. For thicker pieces, turn them up a bit. They can burn all the way through the metal if they are too high. Welds may appear weak or lumpier if they are welded at too low a setting. When heating stainless steel, care must be taken. Exposing the metal to a voltage or amperage that is too high can cause the metal to burn through, buckle, or discolor. If it is too low, however, the weld may not fuse the metal, resulting in a weak weld.
Wire Feed Speed Optimization
Wire feed rate is the rate at which the wire is extruded from your welder. If you wish to do that, you will need to make nice welds and maintain a steady arc. If it’s too fast, you will hear popping or excessive spatter. If it cools down too slowly, the wire will burn back up to the tip. When learning step-by-step MIG welding stainless steel at home, begin with the recommended speed provided on your welder’s chart. Then gradually make modifications over time. Pay attention to a steady and smooth sound. That’s what you’ve found – the sweet spot.
Here are some quick tips to help you remember:
- Popping Sounds: These typically occur when the wire feed speed is too rapid. Decrease the wire feed rate until the arc is steady and smooth.
- Burnback: If the wire feed speed is too low. Adjust the wire feed speed to avoid burning back into the contact tip.
Gas Flow Rate for Clean Welds
The Shielding gas maintains the cleanliness and shininess of your welds. The low carbon dioxide content of the argon-carbon dioxide gas mixture is recommended for MIG welding stainless steel. When using stainless steel MIG welding wire and a gas box, set the flow rate to 20-25 cubic feet per hour (CFH). If not enough gas is used, then it will leave too much porosity or black marks. Too much gas can burn up your gas supply, and may even pull air into the tank. Position the nozzle near the work, but not so close that it is touching the work. Pay attention to welds – they should be bright and smooth if they are flowing the correct amount of gas. When the gas flow is well controlled, the weld surface is smooth, shiny, and defect-free. This will help them appear more professional without spending additional time cleaning up or patching. Before welding, make sure there are no leaks in the gas hose.
Step-by-Step Process to Set Up a MIG Welder for Stainless Steel
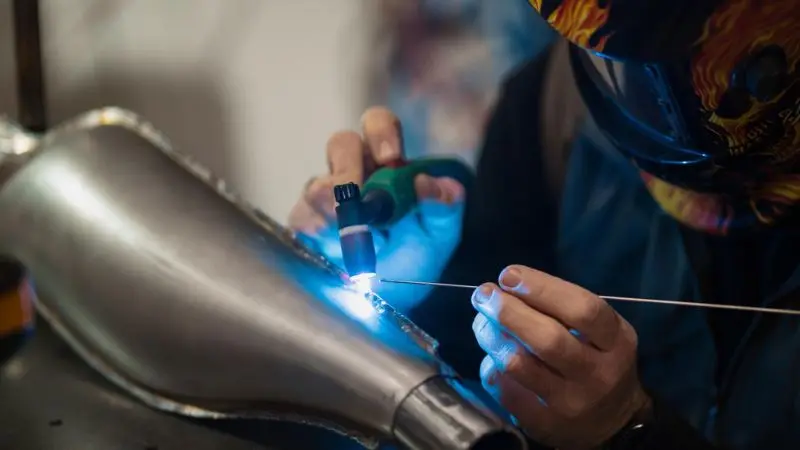
Preparing the Welding Machine
The first thing you need to do is to check your MIG welder for stainless steel. Ensure that the machine is dust and rust-free. The cables and connections should be considered. Tighten anything that feels loose. Examine outside and inside for contamination and clean. Failure to pre-clean can lead to low-quality welds. A clean machine helps you get consistent results when welding stainless steel. Machine preparation also helps to ensure smooth equipment performance. Cables, connectors, wire feeders, and contact tips should be checked before welding. Parts that are lost or broken can stall the welding process and cause frustration during a project. Inspecting these components before delivery can help prevent problems during installation and ensure higher productivity by avoiding unplanned downtime.
Installing the Correct Welding Wire
Now it’s time to load the appropriate wire. Choose a stainless steel wire as the filler. ER308 or ER309 is used by most for welding to stainless steel. Open the wire compartment on the stainless steel MIG welder. Put the wire inside the liner and gun. Ensure that the wire spool can rotate. When the wrong wire is used, weld quality decreases. How to MIG weld stainless steel for beginners? The appropriate welding wire will melt smoothly and be compatible with stainless steel, producing clean, smooth weld beads. This helps minimize problems like spatter, rough surfaces, and weld inconsistencies. A clean weld is not only more professional but also requires less grinding and finishing at the end. Before you start welding, always double-check the type of wire.
Setting Up Shielding Gas
The shielding gas that you use helps to keep your welds clean. To MIG-weld stainless steel without distortion, use a mixture of argon and a low percentage of carbon dioxide. Connect the gas cylinder to your MIG welder when working with stainless steel. Leave the regulator at 20-25 CFH. Purging ensures shiny and strong welds. See black marks or holes, inspect gas flow. A high-quality gas setup improves weld quality every time. During welding, the molten metal in S/S is highly sensitive to heat and is exposed to its environment. Oxidation, discoloration, and other surface defects can be caused by air entering the weld pool. The optimal shielding gas flow produces a protective envelope around the weld, preventing contamination and ensuring proper solidification of the metal.
Adjusting Machine Parameters
There are some settings for the voltage, amperes, and wire feed speed that should be done. Refer to your stainless steel welder’s chart for guidance on using your MIG welder with stainless steel. Adjust according to the thickness of stainless steel. If you choose them too large, you could burn out the metal. Lower settings can result in lower-quality welds. Adjust the settings until you can see a smooth arc. This will help improve the quality and ease of welding stainless steel.
- Thin Metal Settings: Low voltage and amperage settings will minimize burning and overheating; a medium wire feed speed will provide greater control and better welds.
- Thick Metal Settings: Higher voltage and amperage produce the heat required for thicker penetration, and a higher wire feed speed provides better, more consistent welds.
Testing on Scrap Metal
Take a piece of scrap stainless steel before you launch off to your actual project. Practice with stainless steel on your MIG welder. Observe the weld bead and listen for a continuous sound. Adjust settings: If spatter/holes are seen, adjust settings. Gas should keep the weld clean by purging. Testing helps you detect problems early and assures quality. When it comes to welding stainless steel, practice makes perfect. The voltage, amperage, wire-feeding speed, and gas flow rate will vary from job to job, depending on the type and thickness of the stainless steel being welded. While the welder’s chart may give recommended settings, it is often necessary to make some fine-tuning adjustments. The settings are optimized by testing on scrap metal first and adjusting accordingly to achieve the optimal combination for the project.
Best Techniques for MIG Welding Stainless Steel
Proper welding techniques are important for producing clean and durable stainless steel welds. The push technique generally provides better gas coverage and reduces the risk of contamination. Along with controlling heat input, control of warping, discoloration, and weak joints is also important. You can make some adjustments and, with practice, create better, stronger, and more professional welds.
Push vs Pull Technique – What Works Best
On your first time welding with stainless steel, you will need to select the right process. The push position is the best for MIG welding stainless steel at home. Slightly angle the welding gun and push it away from the weld pool to achieve cleaner welds and reduce contamination when step-by-step MIG welding stainless steel at home. The push method also provides you with better gas coverage. You want to shield the weld from the air with shielding gas. Pulling the gun could get trapped in dirt or air. This may impact the weld quality. Angling the welding gun toward the direction of travel and pushing the weld pool in the same direction make up the push technique. Simply, the gun is aimed at the direction of travel, not the direction of the weld. This is to ensure a better coverage of the weld pool with the shielding gas.
Maintaining Proper Travel Speed
When it comes to the best MIG welder for thin stainless steel sheets, travel speed is the rate at which you move the welding gun. You will get a thin, weak weld if you move too quickly. You may burn through the metal or create a large, messy bead if you take too slow. To weld stainless steel, maintain a consistent hand and observe the weld pool. The bead should be smooth and even. Having a good travel speed will help to clean out and keep welds shiny. Practice on ‘scrap’ pieces until speed is correct.
This is a handy checklist for travel speed:
- Observe the welding pool.
- Do not move the hand.
- Look for an even bead shape.
Controlling Heat Input
Heat input is a significant factor in MIG welding stainless steel. Excessive heat may cause warping of the metal or discoloration. Burning at too low a temperature can weaken the weld. Change the thickness of your metal setting to your machine. Operate at the proper voltage, amperes, and wire feed rate. Maintaining good heat control yields strong welds and minimizes contamination. The goal with the filler is to achieve a smooth fusion of the material into the joint. This will produce the highest quality welds. Now you have learned the critical procedure for setting up the stainless steel MIG welding wire and gas. Prepare properly; use the correct wire and gas, and test your settings. Work on the scrap pieces, making changes as you go.
- Don’t rush and pay attention to all the details.
- Experiment and find out what works best for you.
With these methods, you will improve your ability to weld stainless steel. More vigorous and sound welds will be produced every time.
Wrap Up
Properly preparing a MIG welder for work with stainless steel is the basis for high-quality welds. Using the right equipment, the right stainless steel wire, and the right shielding gas. Then, carefully adjusting your machine settings, you can avoid many common welding problems. Set up and test the welding machine on scrap, and adjust the setup as needed. With the proper techniques (using the push method, maintaining a constant travel speed, and controlling heat input), you further improve your results. These are some of the best practices to follow for consistent and reliable welds, whether you are a novice or an expert welder. Confidence, practice, and a little attention to detail will help you to complete a variety of stainless steel welding projects successfully.
FAQs
Which gas is best to use for MIG welding stainless steel?
A combination of Argon and Carbon Dioxide should be used. The typical usage is 98% argon and 2% CO₂. This blend will provide you with clean, solid welds.
Is it possible to use a normal MIG wire on stainless steel?
No, you will need to use stainless steel wire. Regular MIG wire will not work well. Best results are achieved with ER308 or ER309 wire.
What causes a dirty or black weld?
If welds are dirty or black, there is inadequate gas coverage or dirty metal. Test the gas flow. Wash the metal before welding.
What are the ways to prevent stainless steel from warping?
You can use less heat and faster gun speed. Weld for short periods of time. Allow metal to cool between passes.