
You’re in the right place if you’re a beginner who wants to know how to use a paint sprayer. Don’t worry; this tool makes painting projects faster and easier. Read your manual first and always keep safety in mind. First, practice on a piece of wood that isn’t needed. You’ll get better every time you spray. If you follow these steps, you’ll feel confident using your paint sprayer in no time.
Why Use a Paint Sprayer
Benefits for Beginners
If you’re just starting, you might be wondering why you should use a paint sprayer instead of a brush or roller. The answer is easy. You can complete your project more quickly and efficiently by using a paint sprayer. You don’t need to be an expert to get smooth, even coverage. The tool does most of the hard work for you. As a beginner, you’ll love using a paint sprayer for these reasons:
- You can quickly cover a lot of ground. This is great for fences, walls, and ceilings.
- The finish is smooth. There are no more lines from the brush or roller.
- You don’t use as much energy. The sprayer does the hard work.
- You can get to hard-to-reach places. It’s easy to get to corners and edges.
When to Use One
You do not need to use a paint sprayer for every project. Some jobs work better with a brush or roller. But there are times when a paint sprayer is the best choice.
- You want to paint a big room or several rooms.
- You need to finish a diy project quickly.
- You want a professional look for your interior painting.
- You have furniture, cabinets, or doors that need a smooth finish.
If you are a beginner, start with simple projects. Try spraying a piece of scrap wood or an old chair. Practice helps you learn how to control the paint sprayer. Soon, you will feel ready to tackle bigger jobs.
What You Need to Start Painting

Types of Paint Sprayers
You need to choose the right paint sprayer for your project before you begin. In stores, you’ll find a few different kinds of paint sprayers. Let’s look at how each one works:
- This kind of airless paint sprayer pushes paint out with a lot of pressure. You can cover a lot of ground quickly. It works well on ceilings, walls, and fences.
- HVLP stands for High Volume Low Pressure, which is what an HVLP paint spray gun is. You have more control with this paint spray gun. It’s great for furniture, cabinets, or doors because it doesn’t spray as much.
- This paint spray gun uses an air compressor. You get a smooth finish, but you may have to do more work before and after.
Safety Gear and Tools
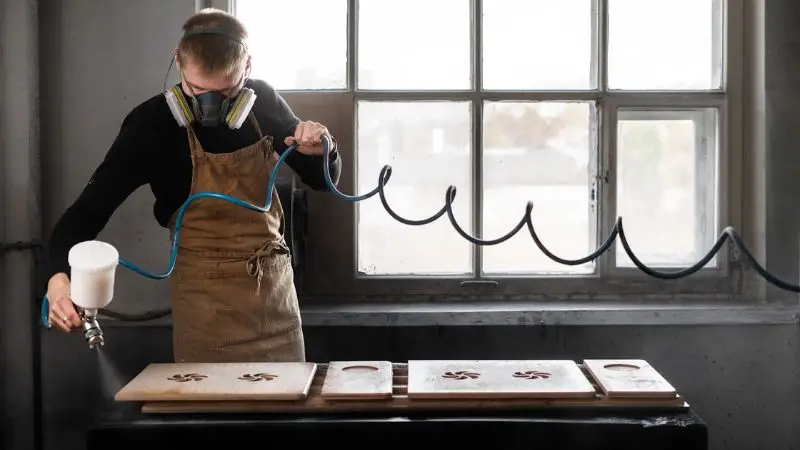
To do the job right, you need more than just a paint spray gun. Every time you use a paint sprayer, safety is important. You should always wear safety gear. This protects you from paint mist and fumes. You might need a dust mask or a respirator mask, safety goggles, gloves, and old clothes or a painting suit.
Before you start prepping or spraying, always put on your safety gear. For fresh air, open windows or turn on a fan. How to use a paint sprayer indoors is very different with good prep. Here’s a quick list:
- Paint sprayer or paint spray gun
- Plastic sheets or drop cloths for the floor
- Tape for painters to use on edges and trim
- Stir sticks and strainers to use with your paint
- Mixing and thinning paint buckets
- For spills, use rags or paper towels.
Preparation Steps

Getting ready is the most essential part of prepping for your spraying project. Good prep work helps you get a smooth, lasting finish. Let’s break down how to use a paint sprayer on cabinets and how to prep your tools so you feel confident before you start.
Cleaning and sanding the surface
First, clean the surface. Paint won’t stick well if there is dust, dirt, or grease on the surface. Use a cloth that is wet or mild soap and water. Make sure the area is arid. After that, sand the surface. Sanding helps the paint stick better. If you see paint that is old and peeling, scrape it off. When working with wood, use fine-grit sandpaper. A wire brush is a good tool for cleaning metal. After sanding, wipe off the dust. For the best results, use a primer. This step makes the paint last longer.
Covering and shielding
Now you need to protect yourself from overspray. Cover up floors, furniture, and anything else you don’t want to get paint on. Use plastic sheets or drop cloths. Cover the edges, trim, and outlets with painter’s tape. This protection keeps your lines straight and your space neat. Always look for a good spot to spray.
Pick a spot where there isn’t any wind and the air flows well. Open windows or use a fan to let in fresh air. The best temperature for spray painting is between 50°F and 85°F. First, safety! Wear your mask and goggles for all the steps of getting ready.
Getting Ready to Paint and Thinning
Before you put paint in your sprayer, mix it up well. Some kinds of paint need to be thinned. Look at the label on your paint can for directions. If you need to thin, add a little water for latex paint or the right thinner for oil-based paint. Mix until there are no lumps. To get rid of lumps, strain the paint. This step stops your sprayer from getting stuck. You’re all set to spray paint now. Keep in mind that careful preparation makes spraying easier and gives you better results.
How to Use a Paint Sprayer
Step-by-Step Tutorial
Are you ready to start painting? This is a step-by-step guide on how to use a paint sprayer like a pro. You can use these steps with any paint spray gun. Every step helps you avoid common mistakes and get a smooth finish.
- Prepare Your Space: Place the piece of furniture or project in the center of your workspace. Put down drop cloths to keep the floor safe. Make sure you have enough light to see how far you’ve come.
- Get your paint spray gun ready: Put the strained and thinned paint into the container of the paint spray gun. Put the container on the weapon. Depending on the type, plug in or connect your sprayer.
- Change the Settings: Try out the spray pattern on a piece of scrap wood or cardboard. For a wide or narrow spray, change the nozzle. At first, keep the pressure low.
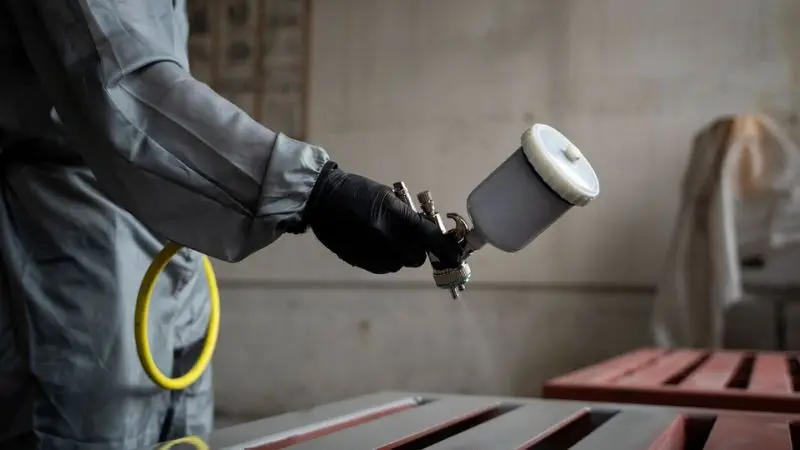
- Work on your technique: Keep the paint spray gun 6 to 12 inches away from the surface. Move your arm in a straight, steady line. Before you pull the trigger, start moving, and keep moving after you let go.
- Always use thin coats when spraying. About 30–50% of each pass should overlap. This gives you a smooth finish with no streaks. Before you put on another coat, let the first one dry.
- Check Your Work: Check for missed spots or drips. You should dab a drip with a brush or rag right away. Before you touch up or add more coats, let the paint dry completely.
Learn How to Use Your Paint Sprayer
You might feel nervous the first time you pick up a paint spray gun. That’s normal! The best way to learn how to use your paint sprayer is to practice. Try spraying on a scrap board or an old piece of cardboard. Watch how the paint lands. Adjust your speed and distance until you see a smooth, even finish.
- Move your whole arm, not just your wrist.
- Keep the paint spray gun parallel to the surface.
- Don’t tilt the gun up or down. This keeps the finish even.
Priming & Testing
Before you start the primary job, you need to prime and test your paint spray gun. Fill the gun with primer and spray a light coat on your test surface. This step helps you check the spray pattern and make sure the gun works well. Let the primer dry. Look at the finish. If it feels rough, sand it lightly and wipe away dust.
- Test the sprayer with your chosen paint before you start on your project.
- Adjust the nozzle and pressure if you see splatters or uneven coverage.
- Always clean the nozzle between coats for the best finish.
Spraying Technique
How to Paint Spray Walls and Surfaces
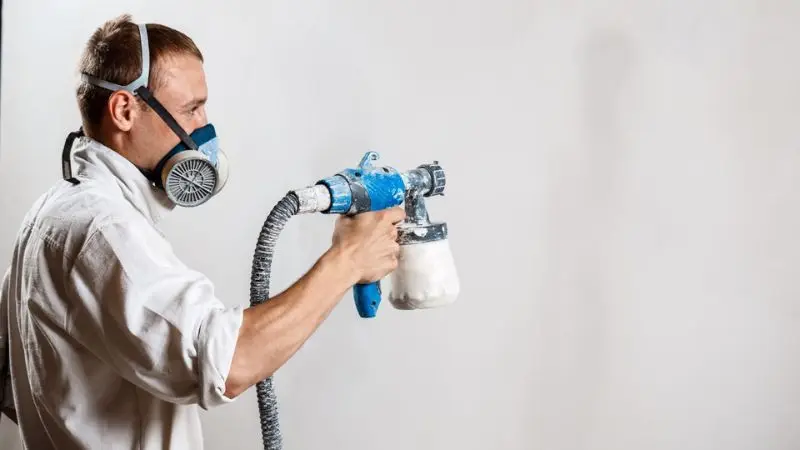
You want to learn how to use a paint sprayer for interior walls and other surfaces inside to get a smooth and even paint job. First, hold your sprayer about 8 inches away from the wall. Keep your arm steady and move in a straight line. Begin spraying off the edge of the wall, then sweep across and stop after you pass the other edge. This keeps you from getting stuck in heavy spots at the start and end of each pass. Keep the sprayer moving all the time. You might get drips if you stop.
Even Coverage and Overlap
For a good finish, you need even coverage. About 30% of each pass should overlap with the one before it. This means that you spray over some of the last line you painted. Overlapping keeps you from getting stripes and missing spots. Keep moving at a steady pace. You might get runs if you go too slow. The paint will look thin if you go too fast. As you spray, keep an eye on the surface. You should see a smooth, wet layer. Here’s a quick list to make sure everything is covered:
- Keep the sprayer at the same distance from the wall.
- Make sure each pass overlaps.
- Keep moving at a steady pace.
How to Avoid Drips and Runs
Drips and runs can mess up your finish. Using thin coats will stop them. Don’t try to cover everything in one go. Wait until each coat is dry before spraying again. Wipe up any drips right away with a clean brush or rag. You get better with practice. First, try spraying on some scrap material. Following these steps will help you get a good finish. The right technique, practice, and patience are all important.
Cleanup & Maintenance
Cleaning the Paint Sprayer
Once you’ve done with your painting project. You should clean your paint sprayer now. Your sprayer could break or get clogged if you don’t do this step. Cleaning is quick and keeps your tool in good shape. This is a simple way to clean:
- Unplug and turn off the sprayer. First and foremost, safety.
- Take the paint out of the container. Put the leftover paint back in the can.
- Wash the container. For latex paint, use water; for oil-based paint, use the right solvent.
- Use the sprayer to spray clean water or solvent. This gets rid of any paint that is stuck in the hose and nozzle.
- Remove the tip and nozzle. Put them in water or a solvent. Scrub off the paint with a brush.
- Wipe down the outside. Use a wet cloth to clean the outside of the sprayer.
Storage Tips
You want your paint sprayer to last. Good storage helps prevent damage and keeps parts from sticking together.
- Dry all parts before you put them away.
- Store the sprayer in a cool, dry place.
- Keep the nozzle and tips in a small container or bag.
- Coil the hose loosely to avoid kinks.
- Cover the sprayer with a cloth to keep dust away.
Troubleshooting
Sometimes, your paint sprayer might not work right. Don’t worry. You can fix most problems with a few quick checks.
| Problem | What to Do |
| Sprayer won’t spray | Check for clogs in the nozzle. Clean it. |
| Uneven spray | Make sure the paint is thin enough. Clean the filter. |
| Sputtering | Tighten all parts. Refill the paint container. |
| Leaks | Check seals and gaskets. Replace if needed. |
If you get stuck, look at your sprayer’s manual or search for help online. Practice and care make you a paint sprayer pro!
Conclusion
You made it! Here’s a quick recap to help you remember:
- Prep your space and materials.
- Set up your paint sprayer.
- Spray with steady, even passes.
- Clean your sprayer when you finish.
Don’t worry if you make mistakes at first. Practice helps you get better. Always wear your safety gear and take care of your tools. Got questions or want to share your experience? Drop a comment below—I’d love to help!
FAQ
How can I prevent my paint sprayer from clogging?
You can filter your paint before putting it in the sprayer. After each use, clean the nozzle. If you see a clog, turn off the sprayer and clean the tip with water or a solvent.
Can I use any kind of paint in a paint sprayer?
Most sprayers can handle paints that are either latex or oil-based. Check the manual for your sprayer first. Some paints need to be thinned out. Add some water or thinner if the paint is too thick.
Should I wear a mask when I spray paint?
Yes, you should always wear a mask. Mist from paint can get into your lungs. A mask protects you from fumes and small drops of paint.
How can I make my paint sprayer give me a smooth finish?
Keep the sprayer at the same distance from the surface. Make sure to move your arm in a straight line. Make sure that each pass overlaps by about 30%. Always apply thin coats and wait for each one to dry.
What should I do if my paint doesn’t look even?
Let the paint dry if you see spots that aren’t even. Sand the area lightly, then spray on another thin coat. If you practice on scrap material, you won’t have this problem again.


