
| Difficulty | Cost | Duration |
| Moderate | Moderate | 4-6 months (Fermentation & aging) |
Do you have some surplus peaches and no idea what to do with them? How about bottling them up?
Bottling peaches? Not the whole peaches—we are talking about fermenting and distilling your peaches into peach brandy moonshine and then bottling that up.
Do not know how to go about it?
Fret not! In this comprehensive guide, we are going to teach you how to make peach brandy. Besides sharing the peach brandy recipe, we will also list the essential equipment and ingredients and walk you through the process step-by-step. Before concluding, we will also address the most common queries about making peach brandy.
So, let’s get fermenting and stilling!
Table of contents
The Peachy Basics: What You Need to Know
Before we start working the fermenting and stilling magic on the peaches, it is pertinent that we first take a trip down the rich history of peach brandy.
While it might be a bit hard for many of you to believe, peach brandy was one of the most sought-after domestic drinks, especially in the South. It is funny how peach brandy became a popular drink in the South. There were many orchards of peaches across the Southern states. Farmers had no way to preserve the surplus peaches before marketing it. So, they started fermenting and distilling it. Amid the julep craze of the 1800s, a drink named “Georgia julep,” which was half grape brandy and half peach brandy, gained popularity across the Southern states.
However, with time, peach brandy became a rarity with technological advancements like canning, refrigerated trains, and trucks, which allowed farmers to ship their surplus peaches to distant markets.
Many intrepid modern distillers like you are still interested in the traditional peach brandy recipe—made from organic peaches without using any artificial flavors.
Essential Equipment and Ingredients for Peach Brandy Making
Now that you are acquainted with the history of peach brandy, it is time to gather the necessary tools and supplies for making peach brandy moonshine.
Equipment
Here is a list of equipment that you will need for converting your peaches into peach brandy.
- Fermentation Bucket – You will be fermenting your peaches in this bucket. Make sure that you get a large bucket that contains all your peaches while leaving ample headspace for all the bubbling. Also, double-check if the bucket is made with food-grade plastic and features an air-tight lid.
- Airlock – This will work wonders in supporting the fermenting process by allowing the carbon dioxide to escape and preventing but denying oxygen access to the fermenting mash.
- Hydrometer – You will use this handy tool to measure the sugar content of the peach mash before putting it away for fermentation. By measuring sugar content, you can get an idea about your potential yield.
- Cheesecloth and Strainer – These will come in handy when you need to separate the juice from the chunky stuff at the end of the fermentation process.
- Siphoning Tube – This simple yet highly functional tool allows you to effortlessly transfer your precious peach brew without disturbing the sediments sitting at the bottom of the container.
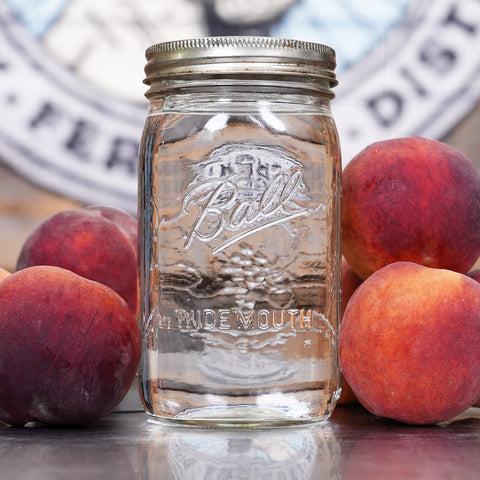
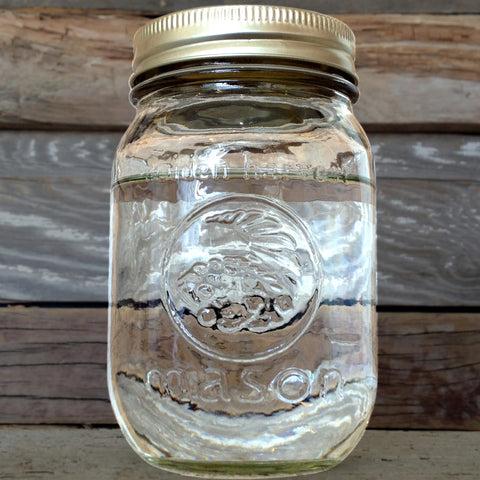
- Bottles and Lids – For storing your homemade peach brandy, you will need a few air-tight glass bottles.
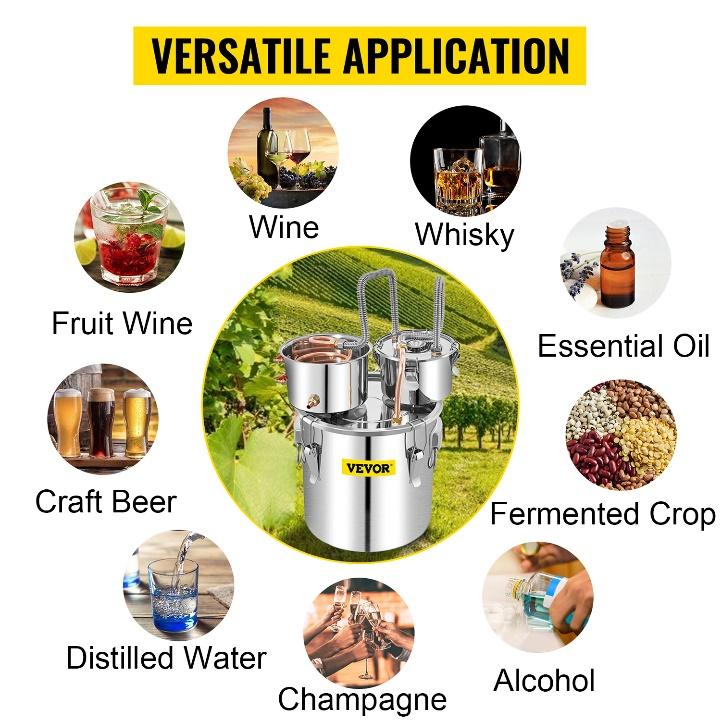
- Still – Consider investing in a small but high-quality distiller like this VEVOR Alcohol Still. Featuring a fermentation barrel, thumper keg, water pump, thermometer, one-way air evacuation valve, and other accessories, this makes for a complete home brewing kit.
Ingredients
Here’s the list of ingredients that you will need for making peach brandy at home.
- Peaches – The fundamental ingredient—the star of the show! Remember to pick only fresh and ripe peaches, free of blemishes.
- Sugar (optional) – You do not need to add sugar to your peach mash, but if the hydrometer is telling you that the sugar content is low, you can add some sugar (white sugar for neutrality and brown sugar or honey for subtle flavors) to the mash to bring up its sugar level, ensuring decent yield.
- Water – You will need water for not only diluting the end product but also for adding some to the peachy mash in the fermentation bucket. Remember, clean water is imperative for clean-tasting brandy.
- Yeast – Yeast is necessary for the fermentation process. Consider opting for a yeast specifically made for fruit fermentation. This will ensure a more rich flavor and better yield.
- Campden Tablets (optional) – You can use these tablets to sterilize the peach brew at various stages. This helps make sure that you get rid of any potential bacteria or wild yeast lurking on your peaches.
Step-by-Step Guide to Making Peach Brandy
Now that you have gathered all the supplies, it is time to bring out your inner stiller and transform your peaches into a magical potion. Here’s the step-by-step guide to walk you through the brewing process:
1. Prepping
When prepping, keep in mind that cleanliness is key to making clear brandy. Start with handpicking your peaches—get rid of spoiled peaches and those with blemishes. Only pick fresh and ripe peaches. If you include unripe peaches in the mash, it will have a low sugar content, making you add sugar to the mash. After hand-picking your peaches, rinse them thoroughly, ensuring no dirt and residue remain. Once cleaned, pit the peaches and chop them into small pieces for faster fermentation.
Besides cleaning peaches, also make sure that you squeaky clean all the tools and equipment.
2. Preparing the fermentation Mash
- In your fermentation bucket, combine the peaches, sugar, and water. Fill it to about 3/4 capacity to allow for headspace during fermentation.
- Stir well to dissolve the sugar and ensure the peaches are submerged.
- Add the yeast and give the mixture a gentle stir to activate it.
3. Fermentation
Once you have prepared the peaches, add them to the fermentation bucket and pour some water into it. The water should just barely cover the peaches. Next, use a paint mixer to thoroughly mix the mash. You can also consider adding pectin enzyme to the mix to accelerate the breakdown process and thin up the mash. When adding pectin enzymes, make sure that you follow the instructions on the package. Now, let the mash sit for about a day.
The next day, give the mash a thorough stir using the paint mixer. Now, check the sugar level of the mash using a hydrometer. If it is below 1.065 specific gravity, consider adding sugar (brown or white) or honey to the water until it reaches the desired specific gravity.
Now, before you go ahead and add yeast to the mash for fermentation to begin, it is crucial that you first kill any wild yield—you can either use Campden tablets or boil the mash for about 10 minutes.
Next, prepare—aerate or hydrate—the yeast according to the instructions given on the package. Once the yeast is activated, add it to the fermenting mash and give it a good stir to make sure that the yeast is evenly distributed.
Put an air-tight lid and an airlock on the bucket and put it away in a dark place. The fermentation process will take around 2 to 4 weeks. So, sit tight.
After 2 to 3 weeks, consider measuring the sugar content of the fermenting mash, and if it is close to 1.000, most of the sugar is converted into alcohol, meaning the fermentation process has been completed.
Next, separate the liquid from the chunky stuff, either using a cheesecloth or a strainer.
4. Distillation
Now, it’s time to convert the peachy fermented brew into peach brandy moonshine—the magical potion. If you do not have an alcohol distiller, consider checking out the VEVOR alcohol distillers’ collection.
Distillation is simple. You just have to pour the liquid separated from the fermentation brew into the barrel of the distiller, put it on heat, and let the distiller work its magic. Consider taking multiple stripping runs for desired results.
Once you are done with the stripping runs, clean the distillation barrel and pour the liquid collected from the stripping runs into the barrel for the spirit run. This will not only remove all the methanol from the liquid but also remove other impurities and improve the overall taste of your peach brandy moonshine.
When collecting brandy from the stiller, make sure that you separate the heads and tails and discard them safely. It is the middle part—the heart—that’s the magical potion.
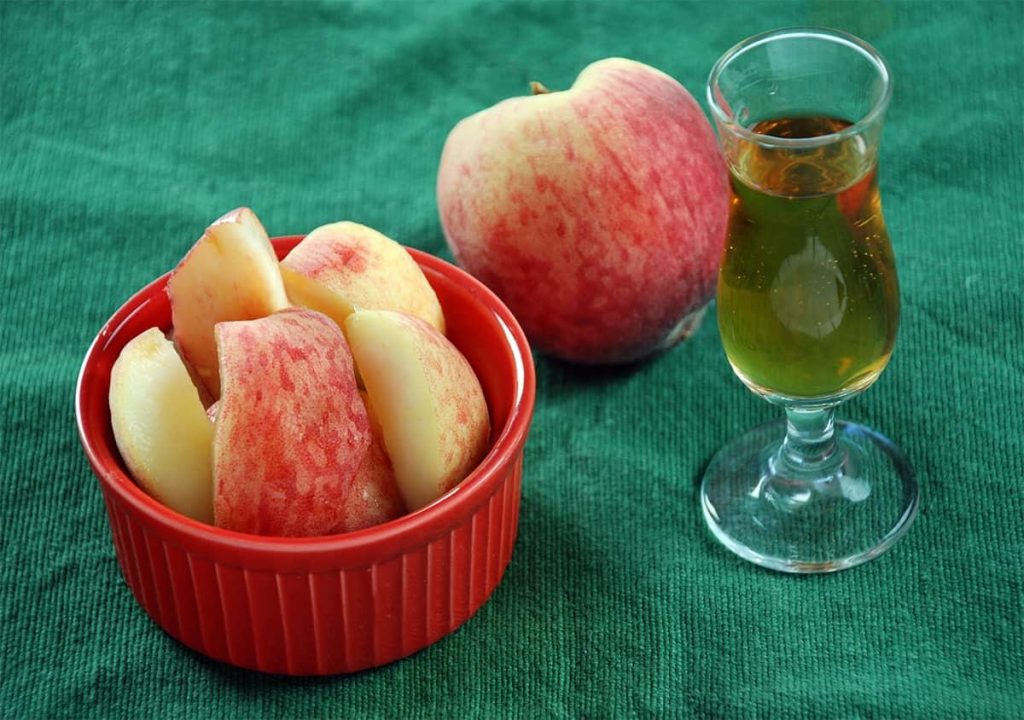
5. Aging
Freshly distilled peach brandy will be young and harsh. So, consider putting it in oak barrels and let it age for about 3 to 6 months. Aging allows the brandy to develop its mellow and complex flavor. You can consider checking the flavor of the brandy during the aging period and adjust the aging time accordingly.
Once you are happy with the flavor, bring out the peach brandy from the aging and bottle it up. You might want to filter before bottling to make sure there are no solid particles.
FAQs about How to Make Peach Brandy
1. Do you drink peach brandy straight?
Yes, you can drink your homemade peach brandy straight, but you can also mix it up into cocktails or add it to desserts. Feel free to experiment.
2. How long does peach brandy last?
Unopened peach brandy can last indefinitely.
3. How much alcohol does peach brandy have?
Peach brandy usually has around 40% to 45% alcohol. If your distilled peach brandy has a higher alcohol content, add water to bring it to the desired ABV level.
Conclusion
That’s it! Making homemade peach brandy is that easy. You just have to follow some easy steps and a bit of patience—‘when it comes to spirits, good things come to those who wait.’
When embarking on your peach brandy-making adventure, remember that cleanliness is paramount and patience is key. Also, do not forget to check the local legalities of brandy-making.
Cheers!


