
The stability and safety of a ceiling fan depend on the bracket holding it in place. It doesn’t matter how stylish or powerful your fan may be, if it’s not properly mounted, it fails to work efficiently. This is why understanding how to install a ceiling fan mounting is essential for homemakers and DIYers.
In this guide, we will explore understanding what the bracket does and installing your fan on different ceiling types with the right tools so you can guarantee the safety, performance, and longevity of your fan. Whether you are upgrading your room or replacing an old fixture during a ceiling fan installation, this guide will help you out. Let’s begin!
What does a ceiling fan mounting bracket do?
A ceiling fan mounting bracket is a structural component that supports the fan safely to the ceiling. It connects the building’s framing or a fan-rated electrical box to the fan motor. Without proper installation of the fan’s bracket, chances are that the fan’s weight can stress the ceiling.
The ceiling stress can lead to loose screws, wobbling of fan, or even collapse. Primarily, the bracket role is to support the weight of the fan for stability during operation. The ceiling fan generates both static and dynamic motion, so the bracket can adjust to both loads.
Learning how to install a ceiling fan mounting bracket can help you prevent improper functioning of the fan and make it efficient for everyday use.
Types of ceiling fan mounting brackets
There is a variety of brackets for different ceilings and fan types. One of the important factors is choosing the correct bracket for your ceiling fan.
- Standard mounting brackets are the most common types. They are designed for a flat ceiling with a fan-rated electrical box.
- Adjustable brackets are perfect for ceilings where joists are placed irregularly.
- When you are installing flush-mount fans in rooms with low ceilings, use low-profile brackets for that.
- For angled surfaces, sloped-ceiling brackets are used.
Understanding how to install a ceiling fan mounting bracket is important and helps to prevent compatibility problems.
Tools and materials you need before beginning

Starting electrical or mechanical work needs preparation before starting. Having the right tools and materials in hand saves time and improves safety. These are the tools you will need:
- Screwdriver set
- Drill with appropriate bits
- Voltage tester
- Stud finder
- Level
- Sturdy ladder
The materials include:
- Fan-rated electrical box
- Mounting screws
- Anchors
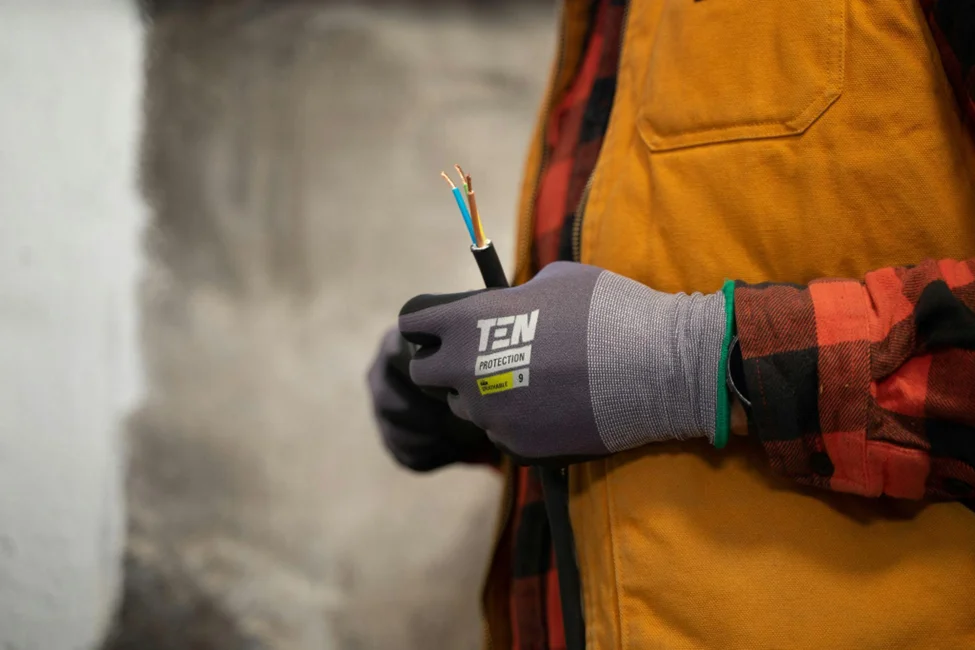
- Safety gloves
Before beginning to install a ceiling fan mounting bracket, make sure the power is switched off. Check it with the help of a tester to ensure that no voltage is flowing.
How to Install Ceiling Fan Mounting Bracket
Installing a bracket appropriately depends on your ceiling structure. We are explaining three different scenarios, each requiring a slightly different approach with a different ceiling type.
1. On an existing electrical box
If your ceiling has an electrical box, make sure it is fan-rated. Standard light fixture boxes are not suitable for fan mounting. They do not support the ceiling fan’s weight or motion.
Remove the existing fixture and check the label for fan-rated. Align the bracket if it is fan-rated and secure it with the given screws. Make sure the bracket is firm and does not move.
It is the simplest way of how to install a ceiling fan mounting bracket. Many homeowners assume that this step is similar to how to install a ceiling fan, but the bracket must be secured firmly.
2. Without existing support
When there is no structural support, additional reinforcement is needed. With the help of a stud finder, locate the ceiling joists. If the fan is placed between the joists, install a fan-rated brace that expands between them. For the installation, you’ll need a strong magnetic drill by your side.
After the brace is tightly secured, attach the fan-rated electrical box to it. After that, mount the bracket to the box. Make sure it is mounted level and fastened tightly.
This method of how to install a ceiling fan mounting bracket is necessary for long-term safety. When you install ceiling fan assemblies with heavy motors, skipping this support causes vibrations and damage over time.
3. On a concrete ceiling
For concrete ceilings, you need anchors and special tools. First, start by marking the mounting points through the bracket. Use a magnetic drill bit to make pilot holes. İnsert concrete anchors and, with the help of heavy-duty screws, secure the brackets.
Make sure the bracket is stable before proceeding. Precision is required for installation on a concrete ceiling, and understanding how to install ceiling fan mounted brackets is crucial for preventing cracks or loose fittings.
Many homeowners choose ceiling fan installation service for the installation of fans on a concrete ceiling due to the tools and skills required.
How to test your bracket’s stability
After installation, testing is not negotiable, and to avoid shifting, apply gentle pressure downward to the bracket. Move it side to side so there is no looseness.
After installing the fan, start with a slow speed first to check that it doesn’t vibrate. Gradually increase the speed and keep an eye on stability. Proper testing confirms that while learning how to install ceiling fan mounting bracket, the fan is properly installed.
When to call a professional electrician
Many homeowners prefer to install a ceiling fan themselves, but few conditions that require proper installation and need a professional electrician. These are:
- İf the ceiling structure is unclear
- Wiring is outdated
- Fan is oversized
- When you are unsure about load ratings or electrical codes
These conditions require professionalism and ensure safety and compliance. Knowing when to delegate is important, as it is important to learn how to install a ceiling fan mounted bracket.
Common installation mistakes to avoid
Even when you are using proper tools and techniques, some minor mistakes can cost a lot. Try to avoid these:
- Installing a non-rated ceiling bracket: It increases the chances of loosening or failure over time
- Assuming all electrical boxes are suitable for ceiling fans
- Undertightening of screws, which can cause wobbling
- Overtightening of screws as it causes cracks on the mounting surfaces
- Ignoring ceiling alignment
- An uneven mounting bracket can cause persistent vibrations and create noise
- Skipping stability testing after installation
- Overlooking the manufacturer’s instructions
Many DIYers make these mistakes and assume all brackets install in the same way. In fact, designs are different and following the instructions is necessary for a safe and efficient installation for years to come.
FAQs
Can I install a ceiling fan mounting bracket on a regular electrical box?
No, regular electrical boxes do not support the weight and motion of a ceiling fan. You always need a fan-rated electrical box for installing a ceiling fan for safety.
How long does it take to install a ceiling fan mounting bracket?
Usually, it takes 20-30 minutes to install a ceiling fan, but for complex setups, like that of a concrete ceiling, it may take longer.
Do all ceiling fans come with a mounting bracket?
Most ceiling fans have a compatible mounting bracket. However, if you are replacing an old fan, you need to purchase a bracket rated for the fan’s weight.
How do I know if my ceiling can support a ceiling fan mounting bracket?
Check for solid structural support, such as concrete or ceiling joists. İf the support is uncertain, install a fan-rated brace. You can also consult a professional before proceeding with how to install ceiling fan components.
Conclusion
İn order to ensure safety, stability, and performance, it is essential to understand how to install a ceiling fan mounting bracket. From choosing the correct bracket type to securing it on different ceiling types, each step is crucial for proper installation and preventing problems in the future.
Whether you are upgrading your space with a new ceiling fan or replacing the old one, careful preparation and proper tips and techniques will give you professional results. Understanding the steps and tips before proceeding with the process protects your investments and also saves your time with satisfaction.


