Growing tomatoes or flower plants on your property is no longer time-consuming. The invention of a DIY irrigation system streamlines the process efficiently with savings on a bill. Furthermore, it protects you from the trouble of tending to sprinkles and hauling hoses near the yard.
However, a DIY watering system saves you from breaking the bank, which an ineffective manual watering system does. Usually, a DIY garden irrigation system can’t allow you to finish the installation within a week. But modern technology has made the procedure more accessible than ever.
This project will guide you on making an irrigation system for your garden to let you relish your garden time by not having to hand water it.
Table of contents
Essential Tools and Materials for This Project
Tools:
- Garden Hose
- Drill Machine
- VEVOR Retractable Hosepipe
Materials:
- Hazel Lock
- Four-Way Tap Connector
- Hosepipe Fitments
Planning Your DIY Pipe Shelves
Before starting the DIY irrigation system for your garden, draw your garden layout for trees, shrubs, slopes, and plating beds and determine what soil type you have. You can adjust the hose according to your needs due to its flexibility. The other benefit is that you can smoothly move the hose when new plants are grown, or you change the layout. But before buying the hose, take the measurements of your garden to ensure you’ve enough feet of hose.
Initiating the DIY irrigation system installation with automatic timers ensures you have the right watering schedule even when you’re not present. You may find the irrigation map invaluable, but still, there’s a need to lay down mason’s lines to plan your excavation. For this, your irrigation map will guide you from where to begin and stop and at what intervals you need to install the heads.
You’ll notice there are different heads for different watering needs. So, it’ll be easy to target the watering areas without watering sidewalks, driveways, and the house.
Step-by-Step Construction of Your DIY Pipe Shelves
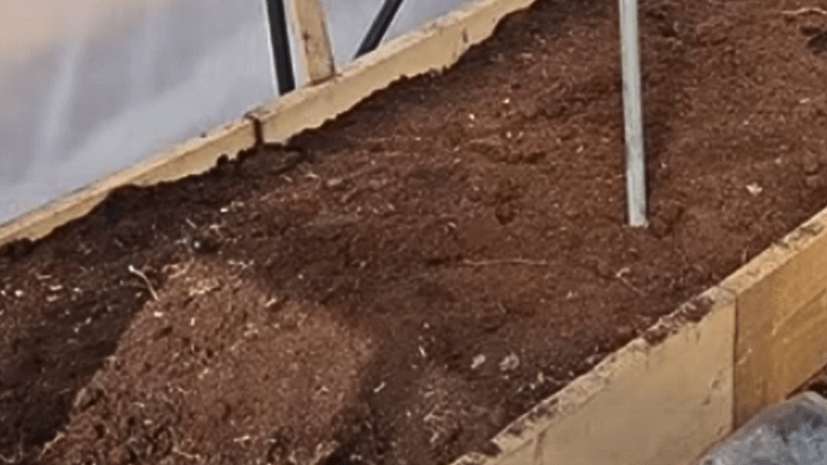
1. Excavate Site
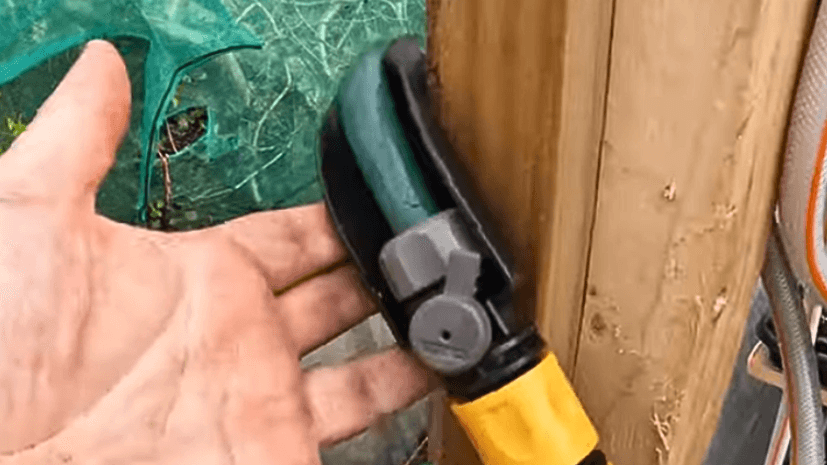
To build your raised plant bed, set up your whole system with mason lines and stakes. Then, inspect all hoses for restrictors and washers. These hose washers are small pieces of donut-shaped rubber or polymer rings that fit inside a hose connection.
By providing a watertight seal, these rings prevent leaks, so it’s necessary to have one for hose connections. Soaker hose restrictors are tiny disks with a pinhole in the middle. The purchase soaker hose is installed and located at the end of the hose for easy gardening irrigation and connected to the manifold. They regulate flow and prevent pressure leaks from forming in the hose line.
Ensure restrictors and washers are in place whenever you hook up a disconnecting hose.
Tips: As the washer and restrictors are small parts, the chances of being lost are high upon disconnecting a house. So, it’s important to use a washer in its place as replacement parts are hard to find. However, hose washers are good to keep on hand as several are available in the package.
2. Connection of the Garden Hose
Now, starting with the garden hose, connect the pipes to the main water spigot. With the retractable hose reel, you get access to multiple pipes.
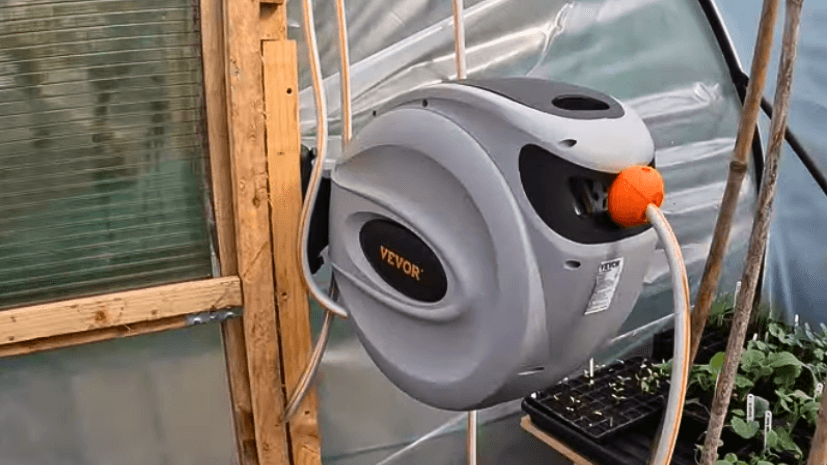
One pipe will be used for the top raised bed DIY watering system, and the other one can be used for the DIY irrigation garden and filling watering cans. Furthermore, you can add the timer once the DIY garden irrigation system is in place.
Now connect the retractable hose pipe to the IBC tank, where you must add the DIY garden irrigation pump. Due to this, you can easily do gardening irrigation on your raised garden bed. However, you can hang the battery with the drilling machine for easy access.
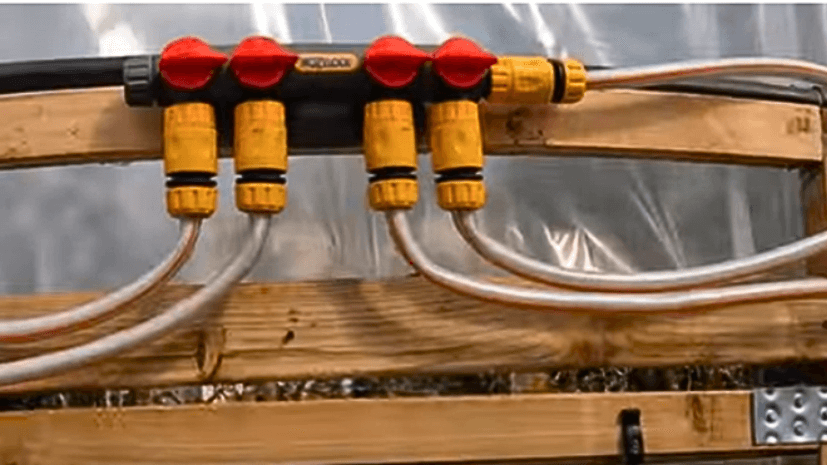
3. Irrigation System DIY Lines
Now connect the retractable hose pipe to the IBC tank, where you must add the DIY garden irrigation pump. Due to this, you can easily do gardening irrigation on your raised garden bed. However, you can hang the battery with the drilling machine for easy access.
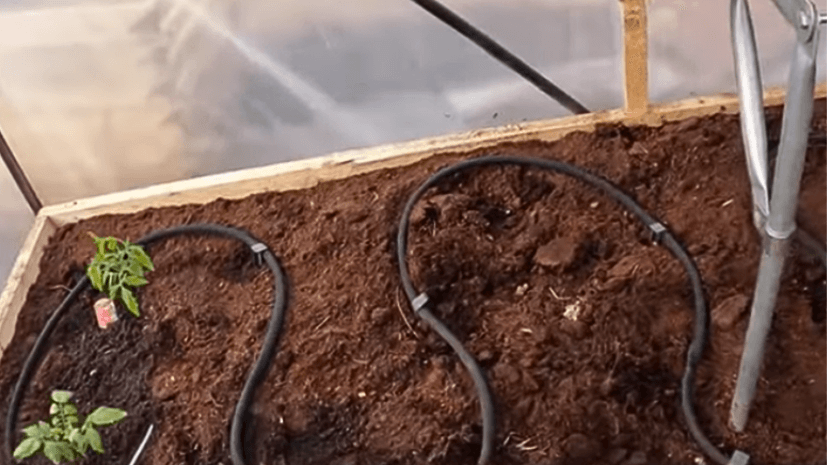
4. Layout Soaker Hoses
Follow the pattern you’ve designed for your DIY watering system garden. Complete the excavation process by fitting the pump pipe to a hose and lining it up in your raised garden bed.
Tips:Leave a soaker hose peg in the raised bed not only to keep a soak hose but also to provide good hydration for your vegetable plants like tomatoes.
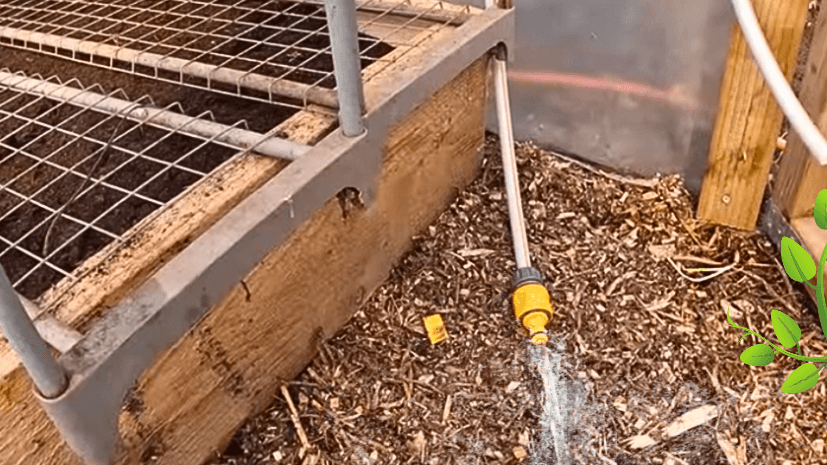
5. Testing the System
After the setup, turn on the hose garden; return to your hose line and inspect it to check whether it works efficiently and properly. Make any adjustments if needed and reset. You can increase the pressure by using the valve button. Turn off the main water spigot when the home garden irrigation system is done.
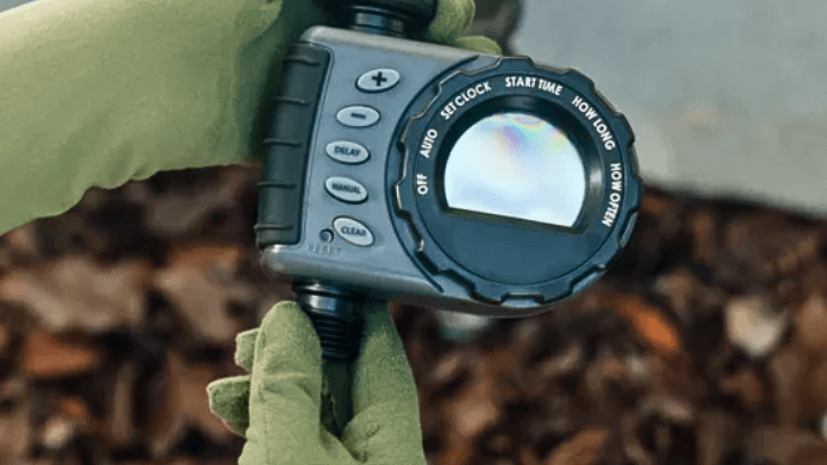
6. Install the Timer
There are different kinds of hose timers, from simple alarm clocks to complex digital units. Before using it:
- Read the manual guidelines to learn how to use it for your DIY home irrigation system.
- Set the timer and disconnect the hose from the main water spigot.
- Install a timer and reconnect the garden hose to the timer system.
Common Mistakes and Tips
Ensure to irrigate your plants during the morning; water on stems and leaves dries out before night when the temperature goes down.
Tips For Garden Irrigation Ideas
DIY irrigation system transports water to the roots, so photosynthesis fuels and uptakes nutrients. Ground-level watering prevents the soil from spreading soil-borne diseases promoted by overhead watering. With an overhead sprinkle system, water more economically covers large areas efficiently, such as lawns. In this process, wastage and evaporation are minimized, and water gets directly into the ground.
Don’t dig the area without examining it, as gas and electric lines run through your yard. You may damage these lines if you sprinkle installation systems that are too close or deep to these lines. It’s tempting to save money, but low-quality components don’t run long. Of course, you’ll get what you pay for.
DIY Water Irrigation System Maintenance
It’s important to receive regular maintenance for your DIY irrigation system twice a year. A well-maintained DIY watering system saves time and money while protecting your landscape’s health. To maintain your DIY irrigation garden system:
- Use soaker hoses. Once you place it, it’ll still be there throughout the season.
- So, ensure the hose is disconnected from its main source before the ground freezes.
- Catch minor issues before they become major, and you spend thousands on replacement and repairs.
- Ensure your system is working properly from time to time.
- Protect your plants from overwatering, uneven and under-watering
- Remove and drain the hoses if you’re using a vegetable garden irrigation system where you change the layer more frequently.
- Carefully store them after securing and coiling them in a garage or the garden shed.
FAQs about DIY Pipe Shelves
1. What’s the expected lifespan of a DIY home irrigation system?
Residential lawns can last up to 20-25 years, depending on their maintenance and well-installed system.
2. How much time does it take to install a DIY watering system?
It takes only a few hours to use modern technology by following the retractable garden hose. But the old method the contractors perform can take up to one day until and unless no problem arises.
3. Is it possible for a DIY irrigation system to run without water?
For the extended period when the pump has not been in use, air gets back into the pump and lowers the amount of pressure created by the pump. It can cause burnout if you run the irrigation pump without water and a lower amount of air.
4. How does a DIY drip irrigation system work?
It’s an upscale soaker hose; the water seeps out every foot instead of spraying out two inches drip by drip. With the plant’s root zones, these drip line up.
5. How often do you need to maintain your DIY irrigation system?
You should at least maintain your DIY irrigation system twice a year. A properly maintained DIY watering system for your garden saves you time and money while protecting your landscape appearance and health.
Conclusion
Hoses can last for several years when cared for properly. Throughout the growing season, check your DIY garden irrigation system from time to time for any leaks. Save hundreds of dollars monthly with the home irrigation system installation and protect yourself from different landscaping problems. Always choose a reliable source upon purchasing the DIY watering system. For this, the VEVOR retractable hose reel should be at the top of the list. Browse, buy, and get the product at your doorstep.


