
Wire strippers are a great tool to use for making safe connections, especially when working with Wire Strippers for Splicing Wires. Before you begin, always turn off the electricity. Select the correct gauge setting for your tool. You will not hurt the wire. Squeeze the handles gently while holding the wire tightly. The insulation will be removed. You can work faster and keep things safe. You can easily splice the wires if you follow these steps. This is something you can do even if electrical work is new to you.
Tools for Wire Strippers and Splicing Wires
Before you begin splicing, gather your materials and tools needed for splicing wires. Preparing everything beforehand will help you to work more quickly and safely.
Essential Wire Strippers
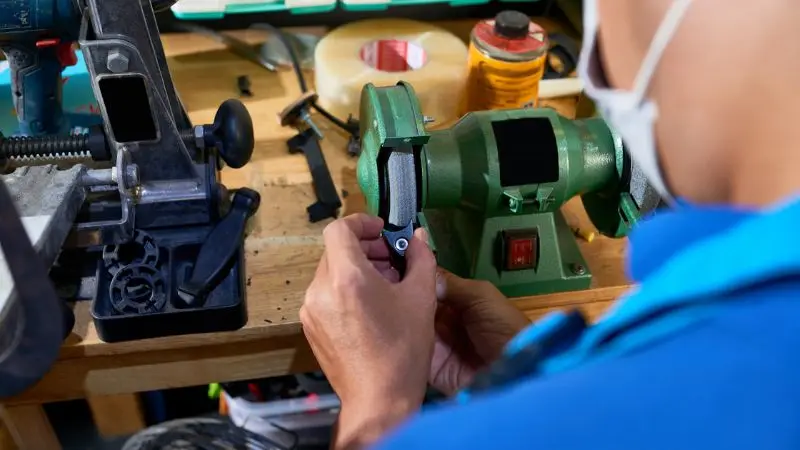
Wire strippers are required for this task. Wire strippers remove the plastic covering from wires, but they do not cut through the metal. Wire strippers usually have different holes to accommodate wires of various sizes. The gauge must be set correctly. The wrong gauge can damage the wire. The connection can become weak or unreliable. Look at the wire diameter on the insulation. It should match the hole in your tool. For simple home or electronics wiring, top-rated wire stripping tools for beginners can significantly reduce frustration and make work much easier.
Tip: Use your wire strippers first on scrap wire. You can learn more about the tool by using a scrap wire. This will help you avoid making mistakes in your main project.
Safety Equipment
When working with electricity, always follow safety guidelines. Check the voltage with a tester, even if you believe that the power is off. Wear safety eyewear to protect your eyes from flying debris. If you want to protect your hands, wear gloves. Keep your work area clean and dry.
Checklist of basic safety equipment
- Safety glasses
- Insulated gloves
- Voltage tester
- Dry Work Surface
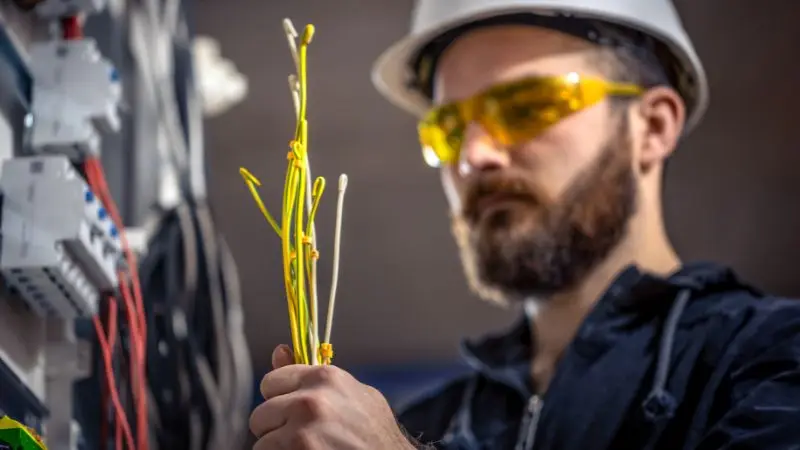
Wire Nuts and Connectors
You need to protect the splice after you have stripped and twisted the wires. The wires are held together by connectors and wire nuts. These wire nuts and connectors prevent the wires from contacting other metal components. Choose the correct size wire nut to fit your wires. Wrap electrical tape tightly to increase safety. Certain jobs require special connectors, like lever or push-in connectors, especially in situations similar to using a wire stripper for automotive wiring repairs.
| Tool/Material | Purpose |
| Wire strippers | Remove insulation |
| Wire nuts | Hold wire connections |
| Electrical tape | Cover and protect splices |
| Safety glasses | Protect your eyes |
| Gloves | Protect your hands |
| Voltage tester | Check for live wires |
Having the right tools and following safety steps makes splicing wires easier and safer.
Step-by-Step Guide on Using Wire Strippers for Splicing Wires
Learn the techniques how to use wire strippers for wire splicing, so you can strip insulation and join wires with accuracy. Follow each step to achieve neat and reliable wire splices.
Step 1 – Measure and Mark the Wire
Turn off the power supply to the circuit. Check the wire with a voltage meter to ensure it is safe to handle. Find the place where you will splice your wires. Mark the insulation length you will need to remove using a tape measure or ruler. For most splices, you will need approximately 3/4 inch of bare wiring. Mark the spot using a pencil or a small piece of tape. You can avoid removing excessive or insufficient insulation. The removal of insulation correctly keeps your wires secure and ready to make a solid connection.
Tip: Before you start stripping the wire, double-check all your measurements. You can avoid making mistakes by double-checking your measurements.
Step 2 – Adjust the Wire Stripper
Look for different gauge marks on your wire strippers. The gauge number of your wire should match the hole on the tool. It is crucial to follow this step for efficient wire stripping. You could cut or nick the wire if you choose the wrong size. The jaws of the wire strippers should fit snugly over the insulation, but not touch the metal inside. This adjustment allows you to strip electrical wires without damaging them.
Step 3 – Strip the Wire Insulation Safely
The wire should be held firmly with one hand. Put the mark into the hole of your wire strippers. Gently squeeze the handles until you can feel the insulation breaking free. Use only a gentle squeeze. Pull the insulation in one motion by twisting the tool. The copper strands are protected by gently stripping the wire. Cut the wire off if you notice any nicks. Use good wire strippers to splice wires. This step is easy and clean.
Note: After stripping wires, always inspect the bare wire. The metal should be smooth and shiny.
Step 4 – Twist and Prepare the Wires for Splicing
The wires that you wish to join should be lined up with their bare ends. Hold them together. You can use pliers or your fingers to tighten the spiral. This method of twisting and connecting wires creates a solid bond. Be sure that no copper strands are visible. It is important to follow this step for electrical wire splicing. You will be amazed at how much easier it is for you to achieve a clean twist when you use wire strips.
Step 5 – Secure the Splice
Cover the splice after twisting with a wire connector or nut. The nut should be pushed on and turned until it feels snug. To check the connection, gently tug the wires. Remove the nut if the wires are moving. Tighten the wires by twisting them. Wrap electrical tape around both the wires and the nut for extra safety. Insulating the splice will keep it safe from moisture and shorts. To get the best results, always use strippers when splicing. This method will help you to avoid loose connections and keep your work safe.
Reminder: Never expose bare wire. Cover the splice after you finish.
| Step | What to Do | Why It Matters |
| Measure & Mark | Mark the insulation to remove | Ensures correct stripping length |
| Adjust Stripper | Set the tool to correct the gauge | Prevents wire damage |
| Strip Insulation | Remove insulation gently | Keeps copper strands safe |
| Twist Wires | Twist wires tightly together | Makes a strong connection |
| Secure Splice | Use a wire nut and tape for safety | Stops shorts and loose wires |
Wire strippers make it easier to work and are safer. Clean cuts, insulation removal and strong splices are guaranteed every time.
Common Mistakes and Troubleshooting for Stripping Wire
Here are the common errors that can weaken wires or damage insulation. These simple solutions help you correct issues and work more efficiently.
Avoiding Damage with Wire Strippers
Wire strippers can be used in a way that will prevent many problems. A common mistake is choosing the wrong gauge. You could cut the copper wire if you use a too-small hole. You will not be able to remove the entire insulation if you use a too-large hole. Match the gauge on the wire with the tool. Too much insulation is removed, leaving too much bare copper. It can lead to shorts or weak connectors. It is difficult to twist the wires together if you have removed too little insulation.
Tip: Work on scrap wire first before you start your main project. You will get used to the tool, and you’ll avoid making mistakes.
Fixing Poor Splices
You may notice that the splice is weak or loose. The connection will fail if the wires are not tightly twisted. Untwisting the wires will allow you to start over. Before you twist, make sure that the ends are bare. If you cannot twist the wire tightly with your fingers, use pliers. If you notice broken copper strands in the wire, remove the damaged section and strip it again. Check that the wire nuts fit snugly. Try a smaller size if it feels loose.
Here’s a quick table for troubleshooting:
| Problem | Solution |
| Wire strands break | Cut and strip the wire again |
| Loose wire nut | Use a smaller nut or retwist wires |
| Too much bare wire | Trim wire and re-strip |
| Insulation left on the wire | Use the correct gauge on the stripper |
Safety Reminders
When working with wires, you must always take safety precautions. Turn off the electricity and use a voltage tester to check. Wear safety eyewear to protect your vision. Keep your hands clean and dry, as well as your work area. Avoid shocks and injuries by following good safety practices. Never hurry through your work. Check each step carefully. Ask for help or research more information if you are unsure.
Remember: Keep in mind that safe habits will keep you and your project secure.
Conclusion
You can splice wires safely and efficiently when you follow these steps: use wire strippers for splicing wires with the correct gauge, measure and mark your wire, strip the insulation gently, twist the wires tightly, and secure the splice with a wire nut or tape. Always turn off the power, wear safety gear, and double-check your work. Remember, careful work and good habits help you make strong, safe connections every time
FAQ
How do you choose the right wire stripper for your project?
You should match the wire stripper to the wire gauge you plan to use. Look for a tool with clear gauge markings. Test on a scrap wire first to check the fit.
What should you do if you accidentally nick the wire?
Cut off the damaged section and strip the insulation again. Nicks can weaken the wire and cause poor connections. Always inspect the wire before splicing.
Can you use electrical tape instead of wire nuts?
You can use electrical tape for extra protection, but you should not use it alone. Wire nuts or connectors give a stronger and safer connection.
Why is it important to turn off the power before splicing wires?
Turning off the power keeps you safe from electric shock. Always use a voltage tester to confirm the wire is not live before you start working.


