
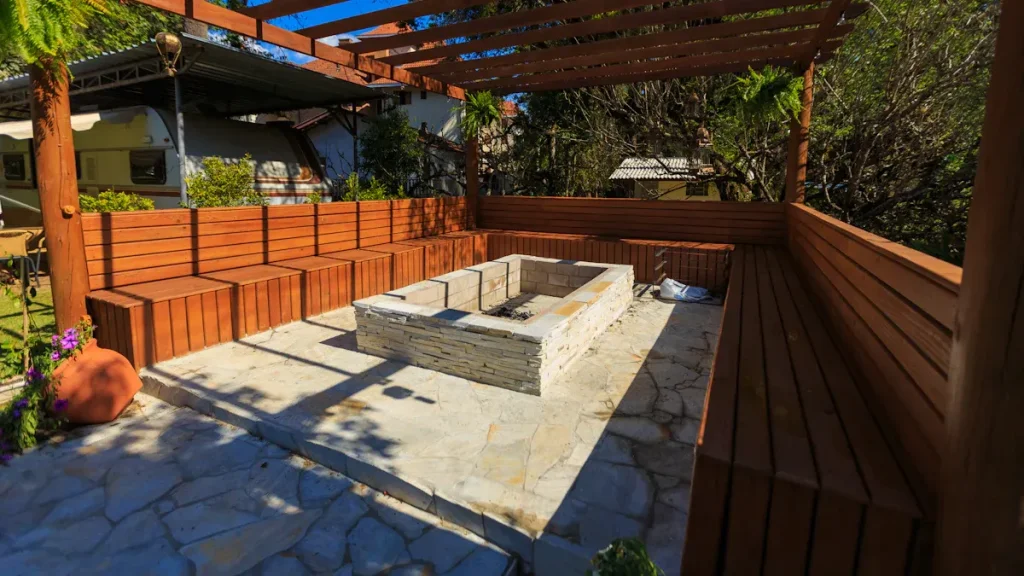
Imagine walking into your backyard and seeing a great place to relax. That’s what a pergola gives you! You can invite friends over or have a relaxing time by yourself, watching the sky change colors a you rest in shade.
Building a DIY pergola may seem hard or costly. But the good news is that it’s not! A pergola makes your home look better and work better. So in this guide, we’ll teach you how to build a DIY pergola by yourself. But first…
What are the benefits of a DIY Pergola?
It transforms your backyard
Imagine stepping outside and seeing your backyard completely changed. A pergola can turn a plain yard into a cozy spot for relaxing or entertaining. Many people say they use their decks more after adding a pergola, especially on hot or sunny days.
You can enjoy shade, comfort, and a stylish look all at once. Some homeowners share that their pergolas have lasted over 18 years, showing how durable and lasting these upgrades can be. Studies also show that adding a pergola can boost your home’s value by up to 80% of the project cost. That means you get a beautiful space and a smart investment.
Tip: Choose features like motorized louvers or weather sensors to enjoy your pergola all year long.
Saves cost
Building a wooden DIY pergola helps you save money. You skip the high labor costs that come with hiring professionals. In places like Houston, a custom pergola can cost between $9,500 and $30,000 or more.
When you build it yourself, you control the budget and pick the materials. Many people find that working on a pergola is a fun weekend project. You get the satisfaction of building something with your own hands.
Louvered pergola kits make things even easier, with pre-cut parts and clear instructions. Just remember, a DIY project may not last as long as a professionally built, but it can still offer great value if you plan carefully.
- Save on labor costs
- Enjoy a rewarding project
- Use kits for easier assembly
Allows customization
A DIY pergola lets you design a space that fits your style. You can pick the size, shape, and color. Want more shade? Add a canopy or climbing plants. Need privacy? Install screens or curtains. You can match your pergola to your home or create a bold new look.
Many people love how easy it is to blend a pergola with their outdoor furniture and garden. Just make sure to check your local building codes and prepare the ground well. This helps your pergola stay safe and strong for years.
How to plan your pergola project
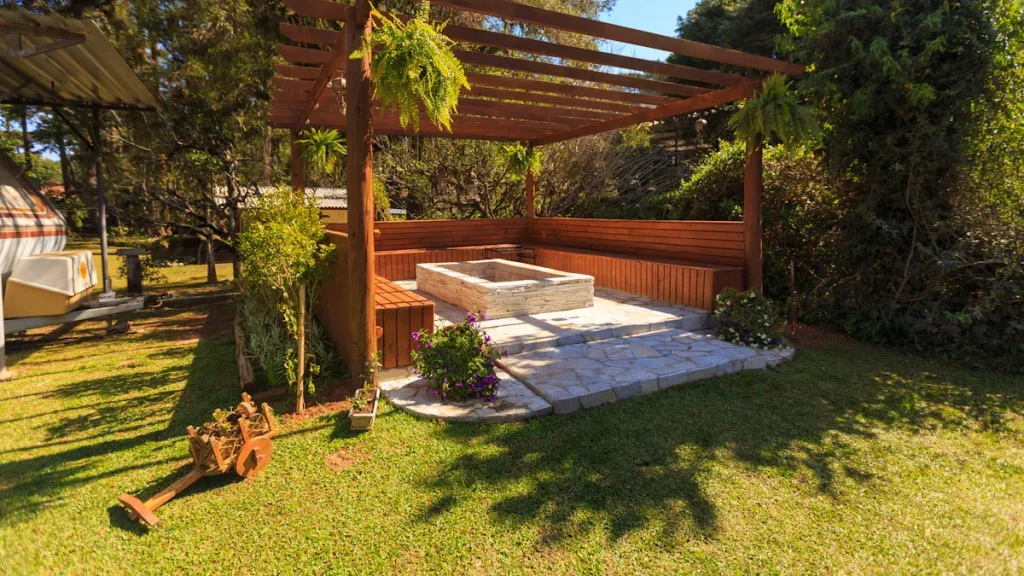
Figure Out Your DIY Pergola Plans
You have many options when picking a plan for your DIY pergola. Some people like free-standing pergolas that sit anywhere in the yard. Others prefer attached pergolas that connect to the house for easy shade over a patio.
You can choose classic looks with wood beams or go for a modern style with clean lines and metal accents. Many plans now include privacy screens, climbing vines, or even built-in lighting.
Choose Materials
Choosing the right materials makes your pergola last longer and look better. Wood is warm and classic, with cedar and redwood resisting bugs and rot. Aluminum gives a modern look and needs little care. Vinyl is easy to clean and won’t rot, but it comes in fewer colors. Fiberglass stands up to tough weather and can be painted. Eco-friendly options like bamboo and recycled composites are trendy and good for the planet.
For posts, most people use 4×4 or 6×6 sizes. You need strong hardware, too. Look for stainless steel screws, post bases, and special connectors. These keep your pergola safe and sturdy, even in bad weather.
| Material Type | Pros | Cons |
| Wood | Natural, classic, strong | Needs maintenance |
| Aluminum | Light, rust-proof, modern | Can feel cold |
| Vinyl | Low care, rot-proof | Limited colors |
| Fiberglass | Durable, paintable | Higher cost |
| Bamboo/Composites | Eco-friendly, trendy | Varies by brand |
Pick From Roof and Canopy Options
You can pick from many roof styles for your pergola. Open slats give partial shade and let air flow. Louvered roofs let you control sun and rain with a remote.
Canopies and retractable covers add more shade and keep you dry. Green roofs with plants help cool your space and save energy. Studies show green roofs can cut summer cooling by up to 35%. Adding insulation under your roof also helps keep things comfortable.
Tip: Combine a louvered roof with a waterproof canopy for year-round use.
Permit Check
Check local regulations prior to commencing construction. Pergola regulations may differ by city or county, and some places have height restrictions or require specific post sizes.
Your homeowner’s association may also require plans to be submitted or permission to be granted. Failing to do this could result in fines or the removal of your pergola. Always check first before you dig!
VEVOR Accessories
VEVOR offers numerous accessories to ensure a smooth DIY pergola with roof project. Heavy-duty steel brackets, adjustable post bases, and weatherproof covers are just a few of the products available to help you create a beautiful and sturdy pergola.
VEVOR’s hardware can support heavy loads while withstanding rain, snow, and sun. Their accessories generally fit most kits and provide reasonable alterations for custom builds. Their product line even includes some tools (drills and saws) which are always helpful.
How To Build a DIY Pergola
Building your own DIY pergola can feel like a big project, but you can break it down into simple steps. Let’s walk through each stage so you know exactly what to do.
1. Site Selection
Begin with a solid estimation on where the location in your yard will be the most optimal for the structure. After picking a flat spot that does not have excess large roots, rocks, or underground utilities, check how much sun or winds it will be exposed to throughout the day.
Find a site which gives you a comfortable experience, some people like it sunny in the morning while others like it in the afternoon. Now that you have a site in mind, examine the types of plants you have around. Consideration must be taken in regard to which plants may need more moisture or shade, and the pergola must be made to accommodate these plants. You may also wish to take a small shovel and dig a test hole to assess the soil. If your test hole fills with soil that is grainy, or if it is classified on the drainage tier of soil, your location may need to be altered.
The last points you want to assess before picking the final site, is the site, does it exhibit erosion or stress on neighboring plants, like stunted growth, wilting, or discoloration. These points may not solve the stress issues completely, but they should reduce the chances of future problems much more.
Tip: Use a soil test kit to check pH and moisture. Healthy soil helps your pergola stand strong.
2. Layout and Measuring
Once you have chosen a spot, measure the pergola precisely. Use stakes and string to mark the corners. Measure each side with a tape measure to ensure that the corners form right angles. The 3-4-5 triangle rule is a simple way to accomplish this.
For example, measure three feet on one side, four feet on the other, and five feet on the diagonal. This keeps your layout square.
- Before you dig, make sure all measurements are correct.
- Use chalk or spray paint to mark the locations of the posts.
If you use a DIY pergola kit, follow the included diagrams and color codes. Many kits come with 2D and 3D plans, making it easier to see where everything goes.
3. Setting Posts
It’s now time to set the posts in position. For each of the determined spots, dig a hole. For most posts, the flat part needs to be around 18 inches from the soil surface, unless you are in a windy area where the pole must, instead, be 6 feet underground. Place several inches of rocks for drainage at the lowest part of the hole.
Once the post has been inserted, pour concrete into the hole. Use a level to make sure each post stands straight. Allow at least 24 hours for the concrete to cure. When constructing on a deck or concrete slab, use metal post anchors. To secure them in place, use sturdy screws. This method works well if you can’t dig.
4. Attaching Beams
After the posts are in place, attach the beams. These horizontal boards connect the tops of the posts and support the rafters. Use metal brackets or Simpson Strong-Tie connectors for extra strength.
Drill holes first to prevent the wood from splitting. After lifting each beam into place, fasten it with bolts or screws. To ensure that everything is level, use a level.
5. Adding Rafters
Rafters give your pergola its shape and shade. Start by measuring the distance between the outer posts. Pick the straightest boards for your rafters. Cut one rafter as a template, then trace and cut the rest to match. Many people like to add a decorative angle or curve to the ends for a custom look.
- Install the two outermost rafters first. These set your lines.
- Stretch a string between them to guide the rest.
- Mark rafter spacing on the beams—about 20 inches apart works well.
- Attach each rafter with joist ties or rafter clips. Use a speed square to keep them straight.
- Double-check alignment before tightening all screws.
Note: Cut rafters on sawhorses instead of a ladder. This keeps you safer and speeds up the job.
6. Finishing Touches
It is time to finish off your pergola with the extras that will make it unique. For additional shade you can install climbing plants, lattice panels, or a canopy. If you are going with aluminum, consider a powder-coated finish. It is available in many colors or even with woodgrain texture, plus it resists rust and fading.
When you need to use fasteners, stainless steel fasteners are stronger and more resistant to corrosion. To protect wood pergolas from rot, apply a sealant and sand any rough areas. To keep it looking new, repaint or reseal every few years.
FAQ
What is the price of building a pergola yourself?
A simple wood pergola can be constructed for between $800 and $2,500. Kits may be more expensive, but they save time. Size, materials, and additional features all affect your price.
How much time does it take to construct a pergola?
A basic do-it-yourself pergola is typically completed in one or two weekends. Using a kit could help you finish sooner. Make a plan and seek assistance from a friend.
Does my pergola require a permit?
Permits are needed for outdoor structures in many cities. Before you begin, always check with the building office in your area. Location-specific rules may vary.
Conclusion
Building a DIY pergola takes planning and patience, but you can do it step by step. Use clear plans, double-check your work, and always put safety first. Soon, you’ll have a beautiful new space to enjoy in your backyard.
You now know how to plan and build a DIY pergola. You also learned how to finish it. This project gives you a nice place to relax. It also makes your home worth more. Many people pick aluminum pergolas because they last long and need little care.
Want to begin? Look at VEVOR for kits, tools, and accessories. You can decorate your new spot or keep it nice with easy care.


