
Finding an underground water leak may feel tricky, but it’s easier when you know the right methods. If you’re asking how to find a leaking water pipe underground, start by looking for warning signs like wet spots in the yard, high water bills, or the sound of running water. One of the best ways to confirm a leak is by using a plumbing inspection camera. It lets you see inside pipes and locate cracks or blockages without digging. By spotting leaks early, you save money, avoid major repairs, and keep your home safe from hidden water damage.
What Is a Plumbing Inspection Camera?
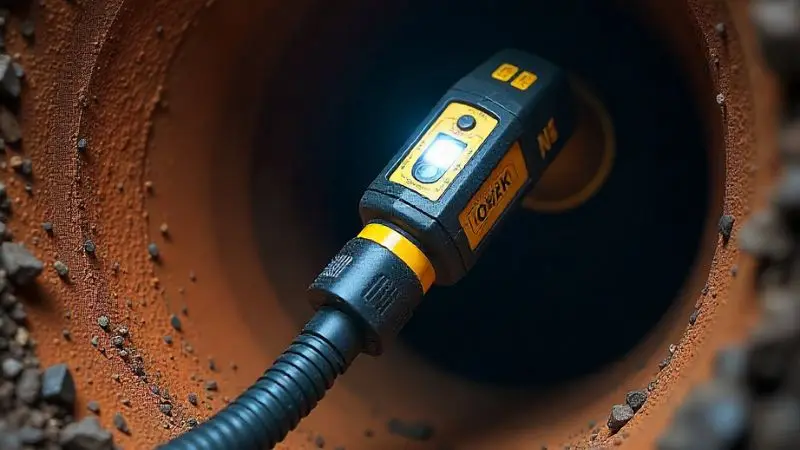
A plumbing inspection camera is a tool that lets you see inside your pipes and drains. It helps you check for problems that are hard to notice from the outside. Many people also call it a pipe inspection camera or sewer inspection camera. With this device, you can look inside your plumbing system without digging or breaking walls.
This tool is very helpful when learning how to find a leaking water pipe underground or when you need underground water pipe leak detection. It saves time, effort, and repair costs.
Key Features of a Pipe Inspection Camera
Before buying one, it is good to know the main features. These features make it easier to spot problems like leaks, clogs, or cracks.
- A long and flexible cable that moves easily through pipes and bends.
- A small waterproof camera is attached to the end of the cable.
- LED lights around the lens to brighten dark pipes.
- A clear video screen that shows live footage from inside the pipe.
- Some models let you take pictures or record video for later review.
Pick a sewer inspection camera with strong lights and a sharp display. It will help you notice even small issues during underground pipe leak repair.
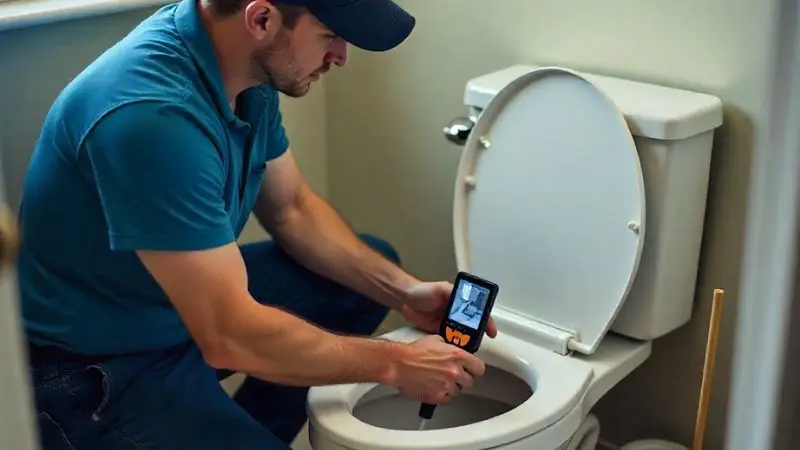
Common Uses of a Plumbing Inspection Camera
A pipe inspection camera can be used in many situations. Whether at home or for professional work, it makes leak detection simple.
- Find clogs or blockages in drains.
- Check for cracks, leaks, or broken pipes.
- Detect tree roots inside sewer lines.
- Inspect pipes before buying a house.
- Confirm that repairs were successful.
By using this tool, you do not have to guess. You can see the exact issue on the screen. This is one of the best ways to detect an underground water leak without extra digging.
Types of Pipe Inspection Cameras
There are different types of cameras available. Each one works better for specific plumbing jobs.
- Handheld sewer inspection camera – Best for short pipes and small drains (like bathroom sinks or showers).
- Push rod pipe inspection camera – Works well in long, straight pipes such as the main sewer line.
- Self-leveling sewer inspection camera – Perfect for pipes with bends and turns, often found under houses or driveways.
Some cameras connect directly to your phone or tablet, while others come with their own screens. Choose the type that matches your needs and budget.
Using the right tool makes detecting water leaks underground much easier and saves both time and money.
Preparation Steps for Pipe Inspection
Getting ready is the first step before using your plumbing inspection camera. You need the right tools and proper safety steps. Preparation helps you work smoothly and reduces the chance of accidents. It also makes underground water pipe leak detection more accurate.
Tools and Safety You Need
Having the right tools will make your job easier. Safety gear keeps you protected when working with drains, water, and chemicals. Always prepare these items before starting your inspection:
- Plumbing inspection camera
- Waterproof gloves
- Safety goggles
- Flashlight
- Towels or a bucket for spills
- Pipe wrench for opening covers
- Cleaning cloths
Safety is just as important as tools. Gloves protect your hands from germs. Goggles keep your eyes safe from splashes. Clearing the area prevents slips and falls. Always check for leaks before you start, as it helps avoid water damage. If possible, work with a buddy who can help in emergencies. Checking your tools is also important. Make sure your camera works, the cable is safe, and the lights are strong. This way, detecting water leaks underground becomes easier and safer.
Sealing and Pressurizing the Pipes
Sealing pipes is another step you should not skip. A good seal keeps water and debris inside the pipe, making your inspection cleaner. You can use a rubber plug or a test ball to close the pipe opening. Always make sure the seal is tight and secure.
Sometimes you may need to pressurize the pipes. To do this, first close all drain openings. Then, use a test pump to add air or water. Keep your eyes on the pressure gauge and never cross the safe limit. Finally, check around the seals for leaks.
Using a Plumbing Inspection Camera
After you are ready with your tools and pipes, the next thing that needs to be done is the plumbing inspection camera. This step is crucial, as it displays to you what actually wears out in your drains. When taking the right steps, it is possible to transform the process of underground water pipe leak detection into a smooth and effective one.
Inserting the Camera
Clean the area in front of the entry point by removing any drain covers or objects before the camera is inserted. Wash the space so that nothing gets forced in. Grab the handle and very gently push the flexible cable into the pipe. Never force the camera. In case the resistance occurs, you should pause and change your position. Fool the cable around gradually so that it gets through twists and turns.
- Move slowly and steadily.
- Do not twist or kink the cable.
- Keep self-leveling cameras straight to provide better footage.
Light movements keep your pipe and camera safe. This is one of the most important steps in learning how to locate a leaking water pipe under the ground without damaging the surface.
Operating the Camera
Once the camera is inside, switch on the power. Adjust the LED lights if the pipe looks too dark. Slowly feed the cable forward while watching the live footage on the screen. Rotate the cable when passing corners or bends. Always guide the camera smoothly without pulling or forcing it.
Follow these steps to operate correctly:
- Turn on the plumbing camera.
- Adjust LED brightness.
- Feed the cable gently forward.
- Rotate the cable to handle turns.
- Watch the screen closely for issues.
If the sewer inspection camera gets stuck, stop and pull back carefully. Forcing it can cause damage. Steady operation is the best way to detect an underground water leak without breaking pipes further.
Observing the Footage
The live video feed shows you what is inside the pipe. Watch for clear signs of damage. Blockages may look like dark clumps, while cracks appear as thin lines or openings in the wall. Tree roots show up as tangled strands, and buildup often looks like corrosion around the edges.
Common issues you should look for include:
- Blockages or clogs
- Cracks and leaks
- Tree root growth
- Pipe corrosion or buildup
If your camera has distance markers, note the spot where problems appear. Take pictures or record video if the feature is available. This makes detecting water leaks underground more accurate and helps with planning underground pipe leak repair later.
Retrieving the Camera
When the inspection is complete, remove the pipe camera carefully. First, turn off the screen and LED lights. Pull the cable out slowly, without twisting or jerking it. Wipe the camera head and cable with a clean cloth. Coil the cable neatly and store the tool in a dry place.
- Clean the lens after each use.
- Store the camera in a safe, dry area.
- Remove any plugs or seals and replace drain covers.
Checking your equipment after every use is important. It keeps your camera ready for future inspections and ensures accurate results the next time you need underground water pipe leak detection.
Interpreting Results and Troubleshooting
Once you have used your plumbing inspection camera, the next step is to understand the footage. Knowing what you see on the screen helps you identify problems correctly. With the right approach, you can spot leaks, clogs, or cracks early. This is an important part of underground water pipe leak detection and repair.
Common Issues to Look For
When using a sewer inspection camera, you will often notice common pipe problems. Blockages appear as dark clumps of hair, grease, or debris. Leaks may show as wet spots, dripping water, or stains on the pipe wall. Cracks look like thin lines or gaps that allow water to escape. Roots appear as tangled strands pushing into the pipe and blocking water flow.
- Blockages: Hair, grease, or debris is stopping water.
- Leaks: Water stains, dripping, or pooling inside.
- Cracks: Gaps or thin lines in the pipe wall.
- Root Infiltration: Roots breaking through small cracks.
If you spot one of these issues, write down the location. Many cameras have distance markers to help you find the trouble spot later. This is very useful when planning underground pipe leak repair.
Tips for Clear Image Quality
Clear images make it easier to detect problems inside your pipes. Before starting, wipe the lens to remove dirt or grease. Use the LED light controls to brighten dark spots but reduce glare when the pipe is too shiny. Move the camera slowly, because quick movements can make the video shaky. Also, check your display screen to ensure it is clean and not scratched.
Helpful reminders for better footage:
- Clean the lens before and after use.
- Adjust LED lights for brightness and glare.
- Feed the cable slowly and steadily.
- Check the screen for scratches or dust.
These small steps improve visibility, making detecting water leaks underground much more accurate.
Solving Camera Problems
Sometimes the camera itself may not work properly. If the camera will not turn on, check the battery or power source. For no video signal, inspect the cable for damage or reconnect it to the screen. If the camera gets stuck, pull back gently and rotate the cable instead of forcing it. Poor image quality often comes from a dirty lens or weak LED lights, which you can clean or replace.
- Camera not turning on → Check the battery or power connection.
- No video signal → Inspect the cable and reconnect.
- Camera stuck → Pull back gently, and rotate the cable around bends.
- Poor image → Clean lens and adjust or replace lights.
Always test your camera before every use. This simple step prevents problems during underground water pipe leak detection and saves time on repairs.
Wrap Up
A plumbing inspection camera is one of the best ways to detect an underground water leak without digging or guessing. It helps you see clogs, cracks, leaks, and root problems clearly on the screen. By preparing your tools, using the camera carefully, and checking the footage, you can handle detecting water leaks underground with confidence. If you find damage, you can plan underground pipe leak repair at the right spot. Regular inspections save time, money, and stress. With the right camera, you always know how to tell if you have a water leak underground quickly.
FAQ
How frequently would you need to check your drains using a camera?
Drains should be checked on an annual basis. In case you observe slow drains, malodorous odors, and often clogged pipes, check earlier. Checks are useful, as they allow you to detect troubles at an early stage.
Does that mean you can utilize a plumbing inspection camera in every kind of pipe?
Most cameras can be used in PVC, metal, or clay pipes. You should always consider the camera size and its dexterity. There are cameras that are better in small or curvy pipes.
So what happens when the camera jams?
Stop pushing right away. Gently pull the cable back. Attempt to bend the cable to release it. When the camera cannot move, then hire a professional plumber.
Does it require special training to use a pipe inspection camera?
There is no special training required. With most cameras, the instructions are easy. You have to read the manual and practice, and then you will need to inspect it before the first time. Feel free to consult with a plumber should the need arise.


