
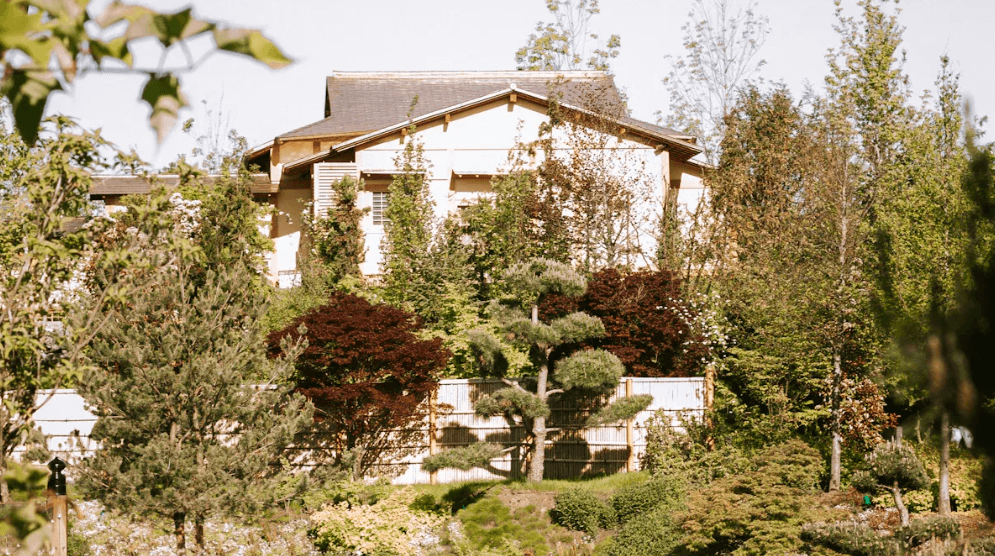
Nothing is as sweet as walking out into your yard and seeing a lush garden, a calming pond with lily pads floating on top, and a nice patio chair to relax in. Sounds heavenly right? Well, that’s exactly why you might need a pond in your open space.
Ponds can make your outdoor area a calm getaway. It looks nice and can even help raise your home’s value by 7-10%. Hot places, like California, might see even bigger gains. Not sure how to start building a pond? This blog is for you!
Step 1: Planning Your Pond
Planning is a fun part and also the first part towards building a pond in your backyard. This is when your ideas start coming to life. Whether you want a garden pond or a farm pond, good planning makes the process flow smoother. Let’s look at the main steps:
1. Picking the Right Spot
Where you place your pond is very important. Firstly, start by checking your yard, look for a spot with some sunlight but not too much, as too much sunlight causes algae, and too much shade limits plant choices. Stay away from spots under trees to avoid leaves falling in.
2. Choosing Size and Shape
Your pond’s size and shape depend on your space and goals. A small round pond fits a backyard, while a big, uneven pond works for a farm. Think about how it will look with your yard.
Avoid mistakes like skipping landscaping plans or underestimating costs. For a farm pond design, leave room for upgrades like pumps or filters later.
3. Knowing Your Pond’s Purpose
Why do you want a pond? This question guides your choices. Ponds can make your yard pretty, help wildlife, or store water for farming; knowing your purpose helps you design the right pond.
For a garden pond, focus on beauty and nature. Add plants and rocks for a natural feel, whereas if you’re making a farm pond, think about storing water and filtering dirt. No matter your goal, a well-planned pond brings great rewards.
4. Checking Local Regulations
Before you start building a pond, check your local rules first. Skipping this step can lead to fines or removal. But don’t worry, it’s easier than it seems. Let’s break it into simple steps.
Here’s how to make sure your pond follows the law:
- Talk to Local Offices: Call your city or county office. They’ll explain zoning laws, permits, and limits.
- Check State and Federal Rules: Some states have special pond rules, especially near protected areas.
- Look at Environmental Effects: If your pond changes wetlands, wildlife, or water flow, you may need approval.
- Know Your Property Lines: Make sure your pond stays on your land and not on others’.
By checking local rules, you’ll avoid legal issues. Plus, your pond will be safe, legal, and good for the environment. With that, you’re ready for the next steps to building a pond!
Step 2: Gathering Materials and Tools
Before starting pond construction, collect all the things you’ll need. Having everything ready will save time and avoid stress. Let’s go step by step.
1. Tools You’ll Need for Construction
You don’t need fancy tools to start building a pond on your property, but some basics help a lot. You will need tools such as:
- Shovels and spades,
- A wheelbarrow,
- A utility knife,
- A rake,
- A measuring tape.
Tip: For bigger ponds, renting a mini excavator can save time and effort.
2. Extras to Make Your Pond Beautiful
After gathering the basics, think about making your pond look amazing. Some extra tweaks can turn it into a beautiful spot, for example, rocks and stones, aquatic plants, good lighting, or some water features.
These extras not only make your pond pretty but also attract wildlife. By preparing the right tools and materials, you’ll make pond construction easier and more fun. Now, you’re ready to dig!
Step 3: Excavating and Preparing the Site
Now comes the exciting part: getting your hands dirty! Preparing the site is where your pond starts to take shape. With the right steps, you’ll avoid common mistakes and set a solid foundation for your pond construction.
1. Marking the Pond Outline
Start by marking the area where your pond will go. This step ensures you stick to your planned size and shape. Use a garden hose or spray paint to outline the pond, and for irregular shapes, a hose works best since it’s flexible. For straight edges, spray paint gives clean lines.
Once marked, step back and visualize the pond. Does it fit your space? Make adjustments now to avoid regrets later.
2. Digging and Leveling the Pond
Here’s where the real work begins, digging the hole! Grab your shovel or rent a mini excavator for larger ponds. Start digging from the center and work outwards. Keep the edges sloped to prevent collapsing, and aim for a depth that suits your pond’s purpose. For example, a garden pond might need 2-3 feet, while a farm pond could go deeper.
Use a level to check the base as you dig. Uneven surfaces can cause water to pool in unwanted areas. A flat base ensures your pond liner sits properly and lasts longer.
3. Removing Debris and Preparing the Base
Before moving on, clear out any rocks, roots, or sharp objects from the pond bed. These can puncture the liner and cause leaks. If your soil is sandy or loose, consider adding a layer of clay or sand to stabilize the base.
For extra protection, lay down an underlayment before installing the liner. This step adds a cushion and prevents damage from sharp objects you might have missed.
By carefully preparing the site, you’ll make the rest of the pond construction process much smoother. Plus, you’ll avoid costly repairs down the road.
Step 4: Installing the Pond Liner and Adding Water
This step is all about ensuring your pond stays watertight and lasts for years. Let’s dive into laying the underlayment, securing the liner, and finally, filling your pond with water.
1. Laying the Underlayment
Think of the underlayment as your pond liner’s bodyguard. It protects the liner from sharp rocks, roots, and uneven surfaces that could cause damage over time. Skipping this step could lead to leaks, so don’t overlook it.
Here’s how to do it:
- Clear the pond bed of any remaining debris. Even small pebbles can cause trouble.
- Lay down a layer of soft sand or soil to create a smooth base.
- Spread the underlayment evenly across the pond bed and up the sides.
Tip: If you’re on a budget, old carpet or thick fabric can work as a DIY underlayment. Just make sure it’s clean and free of sharp objects.
2. Securing the Pond Liner
Now comes the star of the show, the pond liner. This is what keeps your pond watertight. Whether you choose EPDM rubber, PVC, or reinforced polyethylene, the installation process is similar. Follow these steps to ensure a snug fit:
- Position the Liner: Unroll the liner carefully over the underlayment. Make sure it covers the entire pond.
- Smooth It Out: Gently press the liner into the contours of the pond. Use your hands or a soft broom to remove wrinkles.
- Secure the Edges: Dig a shallow trench around the pond’s perimeter. Tuck the liner into the trench and weigh it down with stones or pavers.
- Trim Excess Material: Once the liner is secure, trim any extra material. Leave a little extra just in case you need to make adjustments later.
3. Filling the Pond with Water
It’s finally time to put in some water and watch your pond take shape! This step is more than just turning on the hose, it’s about ensuring the liner stays in place and the water level is just right.
Start filling the pond slowly. The weight of the water will help the liner settle into place. Keep an eye on the edges as you slowly let it fill.
If you’re using tap water, let it sit for 24 hours before adding plants or fish. This allows chlorine to dissipate, creating a healthier environment for your pond life.
4. Trimming and Securing the Edges
Now that your pond is filled with water, it’s time to give it a polished, finished look. Trimming and securing the edges of your pond liner not only keeps it in place but also makes your pond look neat and natural. Let’s break it down
Start by carefully trimming the extra liner around the edges of your pond. Use a sharp utility knife for a clean cut. Once trimmed, it’s time to anchor the liner. Dig a shallow trench around the pond. Tuck the overlapping liner into the trench and cover it with soil, rocks, or pavers.
For a more natural look, use flat stones or decorative rocks to weigh down the edges. To make your pond look like it’s always been part of your yard, add some finishing touches. Plant low growing ground cover or aquatic plants around the edges to hide the liner and soften the transition between the pond and the surrounding area.
Step 5: Adding Finishing Touches
Your pond is ready with water, but it needs more! Adding final touches makes it look amazing. Let’s complete your pond step by step.
1. Setting Up Pumps and Filters
Pumps and filters are super important for your pond. They keep the water clean and healthy. Without them, the water can get dirty and smelly. Here’s why they matter:
- Waste Removal: Filters clean out fish waste and dirt.
- Water Movement: Pumps keep water moving and stop it from sitting still.
- Oxygenation: Moving water adds oxygen, which fish and plants need.
- Healthy Ecosystem: Filters help good bacteria grow to clean the water.
Choose a pump that fits your pond’s size. Small ponds can use energy-saving pumps. Bigger ponds might need stronger ones. Follow the instructions to install them, and your pond will stay fresh!
2. Adding Rocks and Plants
Rocks and plants make your pond look natural and pretty. Place flat stones around the edges to hide the liner. Use smaller rocks to build a waterfall or stream for extra beauty. Next, add aquatic plants. Floating plants like water lilies give shade and stop algae from growing.
3. Bringing in Fish or Wildlife
Fish and wildlife make your pond lively. Fish like koi or goldfish look great and eat bugs. Before adding fish, make sure your pond has enough oxygen and a good filter.
Wildlife, like frogs, dragonflies, and birds, will come on their own. To invite them, add plants, rocks, and shallow areas. These give them safe places to rest and live.
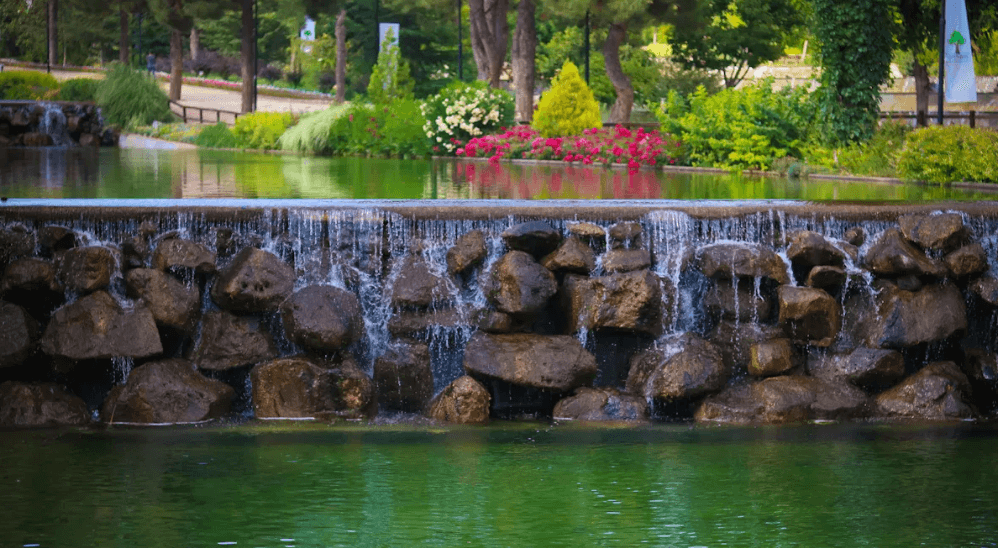
4. Adding Water Features
Water features like fountains, waterfalls, or streams can turn your pond into a lively centerpiece. But they need testing and tweaking to work perfectly, so make sure your water features run smoothly. Run your water features for a few hours, watch for issues like uneven flow or clogged filters, and clean the pump and tubing if needed. Regular checks keep your pond looking great and prevent costly repairs.
By testing and adjusting your water features, you’ll create a pond that’s both functional and stunning. It’s the final touch to your building a pond journey!
Step 6: Maintaining Your Pond
Congratulations! You’ve built a beautiful pond, but the work doesn’t stop there. Regular maintenance keeps it clean, healthy, and enjoyable for years to come. Let’s dive into the essentials of maintaining your pond.
1. Cleaning and Removing Debris
Leaves, twigs, and other debris can quickly pile up in your pond, making it look messy and harming water quality. Cleaning it regularly is key. Use a pond net or skimmer to remove floating debris. For the bottom, a pond vacuum works wonders to suck up sludge and dirt.
If you have fish, avoid stirring up too much sediment while cleaning, use a pond cover dome for extra protection. This keeps their environment safe. Adding aquatic plants can also help by naturally filtering out debris and reducing algae growth.
2. Monitoring Water Quality
Keeping an eye on water quality ensures your pond stays healthy for fish, plants, and wildlife. Some key things to monitor are the dissolved oxygen and the temperature.
Test kits are affordable and easy to use. Check your water monthly or more often if you notice issues like cloudy water or fish acting strangely.
3. Seasonal Tips on Building a Pond
Each season brings unique challenges for your pond. Here’s how to handle them:
- Spring: Remove winter debris and check pumps and filters. Add new plants to refresh your pond.
- Summer: Watch for algae blooms. Shade your pond with floating plants like water lilies.
- Fall: Scoop out fallen leaves and trim back plants. Consider adding a pond cover dome over the pond to catch debris.
- Winter: If your pond freezes, use a de-icer to keep a small hole open for oxygen exchange.
By following these seasonal tips, you’ll keep your pond thriving all year long. Whether you’ve built a backyard oasis or decided to build a farm pond, regular maintenance ensures it stays beautiful and functional.
FAQ
What is the best size for a backyard pond?
The best size depends on your space and goals. A small pond (3-6 feet wide) works well for decoration. Larger ponds (10+ feet) are better for fish or wildlife. Choose a size that fits your yard and purpose.
How deep should my pond be?
For a garden pond, aim for 2-3 feet deep. If you’re adding fish like koi, go for 3-4 feet to keep them safe from predators and temperature changes. Deeper ponds also help maintain water quality.
Can I build a pond without a liner?
Yes, but only if your soil holds water well, like clay. Without a liner, water may seep away. Using a pond liner ensures your pond stays full and prevents leaks, making it a reliable choice for most projects.
How do I prevent algae in my pond?
Add aquatic plants to block sunlight and reduce algae growth. Use a filter to keep the water clean. Avoid overfeeding fish, as leftover food can fuel algae. Regular maintenance, like removing debris, also helps.
Do I need a permit to build a pond?
It depends on your location and pond size. Small garden ponds usually don’t need permits. Larger ponds or those near wetlands may require approval. Always check local regulations before starting your project.
Conclusion
Building a pond is more than just a project. It’s a way to create a peaceful retreat in your yard. By following these steps, you can design a garden pond that’s both stunning and practical. Whether you’re adding beauty or supporting wildlife, this guide makes the process simple. Start building a pond today and enjoy the calm it brings to your outdoor space.
Need the best tools and resources to get your pond up and running? VEVOR offers you the best of the best with its high-quality pond pumps, pond liners, sand filters and everything else!


