
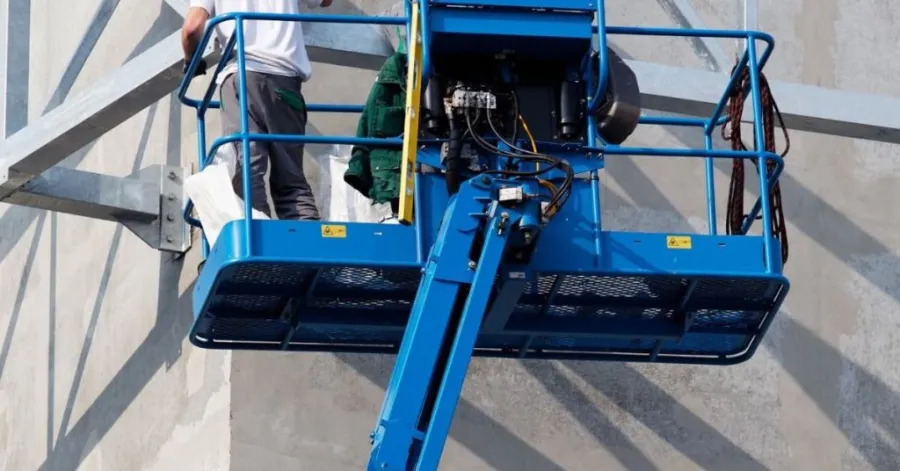
A small hydraulic lift can be easily made at home with just a few items. Thus, you will be able to understand the working mechanism of a small hydraulic lift and have some fun while making one. Moreover, you will be shown all the process of construction and see how your small hydraulic lift works. Lastly, once your work is done, you will feel proud and want to showcase your new skill to your family.
Table of Contents
Materials Required for Building a Small Hydraulic Lift at Home
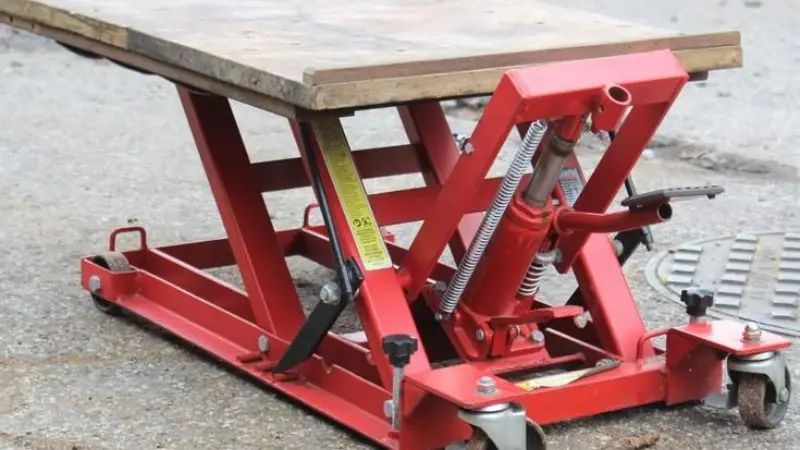
Basic Materials and Tools
You do not need anything special to build a small hydraulic lift at home. Most of the things can be found at home or in any nearby store. Below is the list of the basic materials that will be required:
Recommended For Your Project
-
- Two large plastic syringes without needles
-
- Flexible plastic tubing that will fit tightly on the tips of the syringes
-
- Strong cardboard or wooden elements (for the construction)
-
- Screws or glue
-
- Hydraulic liquid (water or mineral oil)
-
- Scissors or a craft knife
- Ruler and marker
Optional Items for Increasing Project Efficiency
If you want to improve your project’s performance, you can use additional items to make a small hydraulic lift:
-
- Zip ties or rubber bands (for additional reinforcement)
-
- Paint or stickers (for customization purposes)
-
- Wheels (optional, if you wish to have your lifter mobile)
-
- Silicone sealant (in order to prevent leaks)
-
- Small tray or platform (for carrying objects)
Where You Can Purchase Materials
The majority of materials can be found in pharmacies, hardware stores, or craft shops. Some materials, such as syringes and tubes, can be easily purchased online. Cardboard and glue can already be available in the house. If you need to build a reliable hydraulic lifter, there are plenty of online stores.
How to Build a Small Hydraulic Lift at Home in a Few Steps

Step 1: Creating the Base Frame
First, you should create a stable base for your small hydraulic lift. It should be made of durable cardboard or wood. Cut the pieces to the required size using a ruler and a marker. Glue or nail the parts together. Make sure that the frame is perfectly steady. It will support your warehouse hydraulic lifter.
Step 2: Install the Hydraulic Syringes or Cylinder
Select two large syringes and mount one on the base. Mount another one to the movable side of the lift you are constructing. For building the hydraulic scissor lift, you can use two arms that intersect at the middle point and fix the syringes on these arms. This step is important for those who need to learn how to construct hydraulic lift models as a school science project.
Step 3: Connect the Tubing
Put one end of the tube on the tip of each syringe. Ensure that there are no leaks or gaps. Otherwise, apply some silicone sealant. This way, your hydraulic system will not leak. The tubing will enable fluid transfer between the syringes and will operate the hydraulic lifter.
Step 4: Fill the System with Fluid
Pour water or mineral oil into one of the syringes and force the plunger to pump the fluid through the tubing into the second syringe. Eliminate air bubbles by pumping the plungers up and down.
Step 5: Test of a Hydraulic Lift
Press one syringe. Watch the second syringe move as the platform lifts up. Put something light on the platform and see how your hydraulic lift model can lift it. In case you are going to construct a better version of a hydraulic lift to carry heavy things, watch for possible leaks and structural stability.
Step 6: Finishing Touches
Check the hydraulic lift for any possible flaws. Tighten everything up. Put some extra fluid into it if needed. Decorate your hydraulic lift model with stickers and paint. Congratulations! You now know how to design a hydraulic lift and a mini hydraulic lift. Your task in hydraulic lift construction is fulfilled!
Safety Precautions while Building a Hydraulic Lift at Home
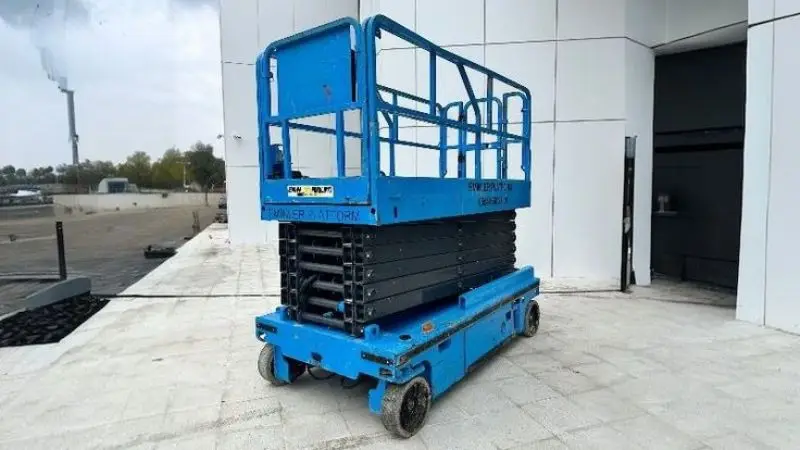
It is exciting to make a lift at home. However, you have to be careful since you do not want your science project – a hydraulic lift – to harm you. Let’s look at some safety measures you should pay attention to prior to testing your hydraulic lift model.
Put on Protective Equipment
It is important to wear protective equipment when building a lift. Safety goggles help protect your eyes from getting hurt by splinters of wood or cardboard. Wear gloves to protect your hands from sharp scissors and other materials you might be using. If any glue or sealant is used in the construction of a portable hydraulic lift, wear a mask to avoid inhaling dangerous fumes. Do not get yourself injured during this fun engineering challenge.
Look for Leaks Prior to Testing
Leaks will prevent your hydraulic scissor lift from working properly. Make sure to look for leaks prior to testing the lift. Drips at the connections of tubing and syringes mean that there is a leak. Fix any leaks you find with silicone sealant or tighten up connections. Water or oil leaks damage your hydraulic lift. You want your science project hydraulic lift to operate flawlessly and lift the object without problems. Do a test run with no weights attached.
Never Lift Weights Beyond the Limit
Each lift has a maximum weight that it can lift. Never try to lift weights beyond this limit. An overloaded hydraulic scissor lift may damage the body or make the tubing pop off. Begin by using lightweight first. Then gradually add more weight and observe the operation of the hydraulic scissor lift. Stop when the lifting action becomes difficult. The DIY directions for a hydraulic scissor lift will guide you through building a safe mini hydraulic scissor lift that will last for many years.
Conclusion
This was your lesson on how to make your own small hydraulic lift at home. In short, you should:
-
- Collect all the necessary materials.
-
- Construct the base and mount the syringes.
-
- Connect the tubing and fill it with the liquid.
-
- Test, adjust, and be safe.
Making this lift is an interesting process because you will understand how hydraulics operate, and you will use both your hands and mind.
FAQ
How heavy a load can I lift with my hydraulic lift?
Firstly, it is better to try lifting a light load, such as a toy or a book. Usually, the homemade hydraulic lift may lift up to 1 lb. If you need a higher weight capacity, you will need to use a stronger material and verify the frame’s strength.
Can I use a liquid other than water in my hydraulic system?
Sure thing! The alternative liquid for the hydraulic system is mineral oil. It does not evaporate as quickly as water, and it also prevents rusting of the metal components.
Why does my lift move unevenly?
There might be air bubbles in the tubes. You should pull the plungers to make them go away. Verify that all the joints are tightly closed.




