Have you ever worked in the metal, concrete, or DIY building industry? If yes, you already know how vital the screws, nuts, and bolts are. They help build tight and flawless connections between the different objects and ensure high efficiency at work.
But have you wondered if you can make the screws at home? How to make a screw? You need a few tools to dress the scenario in an ideal cloak. Do you want to know the steps? In this article, we have walked through the various steps of how to make a screw and added expert tips about the screw-making job!
Table of contents
Part 1: Why Do You Need to Make Screws?
Definition
A screw is like a nail containing the ridge and unique heads used for tightening the objects. For example, if you want to join the two metal parts or pull the connection between the two objects.
Use cases
Screws can be crucial in various simple tasks at home. These are:
- Screws have self-locking features and allow the connection between the two objects. They are used in thread fasteners to hold metals, wood, or other types of objects based on the requirements.
- Screws stand out in the different tasks like the corkscrew, screw top container lid, threaded pipe joint, vise, C-clamp, and screw jack.
- The use of screws in the different machines has made it familiar with the other jobs. It helps create links between the various parts and transfer the power from one to another.
- Micrometers deploy the screws to calibrated screws. It helps evaluate the length of their objects and optimizes work efficiency.
Part 2: Different Kinds of Screws in Different Ways
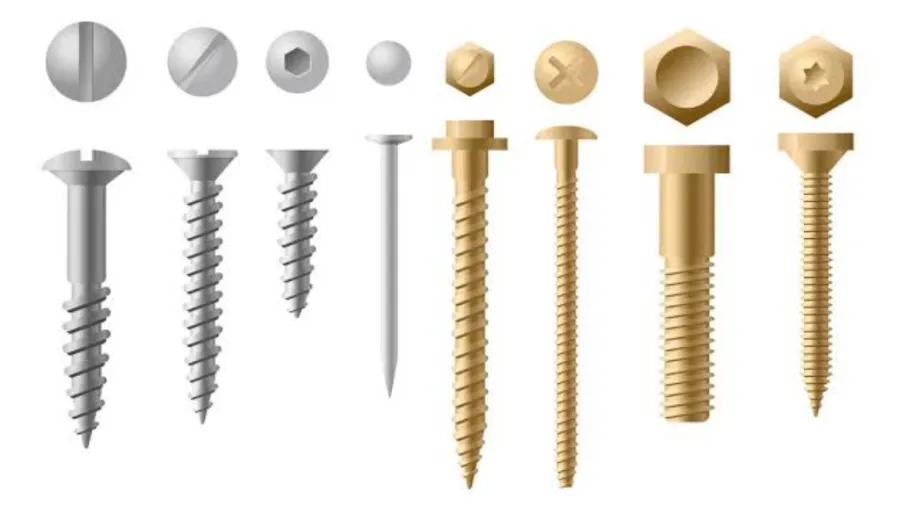
There are multiple types of the screws given as:
- Wood screws offer a perfect connection between the wood parts and two wood pieces. They have coarse thread and smooth shanks.
- Deck screws are somewhat similar in features to the wood screws but link the deck to the frame.
- Drywall screws have a sharp edge and help install the drywall without any trouble.
- Mason screws have the flat tips and round heads. They are suitable for masonry and concrete work.
- Sheet metal screws have a sharp top and a flat top. Their whole stem contains the ridges. Connect your metal sheets with such screws.
- Lag screws have a wider body and penetrate the wood and many materials. They build an excellent connection between the different surfaces.
- Hex bolts have a hexagonal shape with a smooth shank and tiny threads. Deploy them for your interior projects.
Making all these screws can be hassle-free with the VEVOR tap and die set. Follow the steps to know how to make a screw.
Part 3: How to Make Screws Using VEVOR 86-Piece Tap and Die Set?
Making the screw can be an easy peasy job. Even VEVOR has supplied the DIY guides for selecting the best tap-and-die set.
Put up with your first screw-making adventure in the following steps.
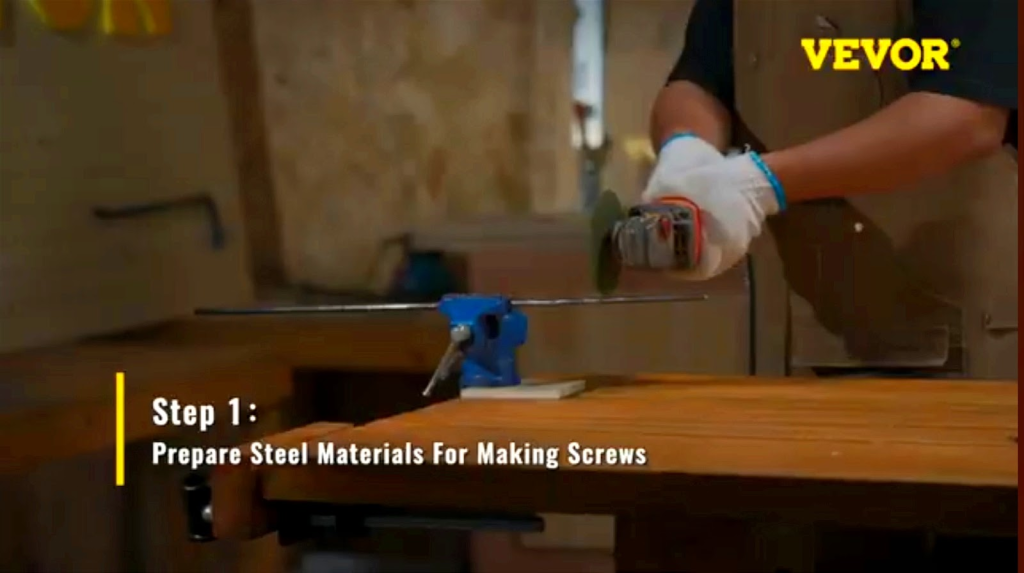
Step 1: Prepare steel material for making screws
How will you make the screw? A screw is often made up of steel or wood materials. We will consider the example of steel for your first DIY adventure.
First, decide:
- What material do you want?
- What length of the screw do you need?
Grab the measuring tape and start the magic with the measuring job. Now, use the sharpening machines to remove the outer layer of steel and sharpen its ends.
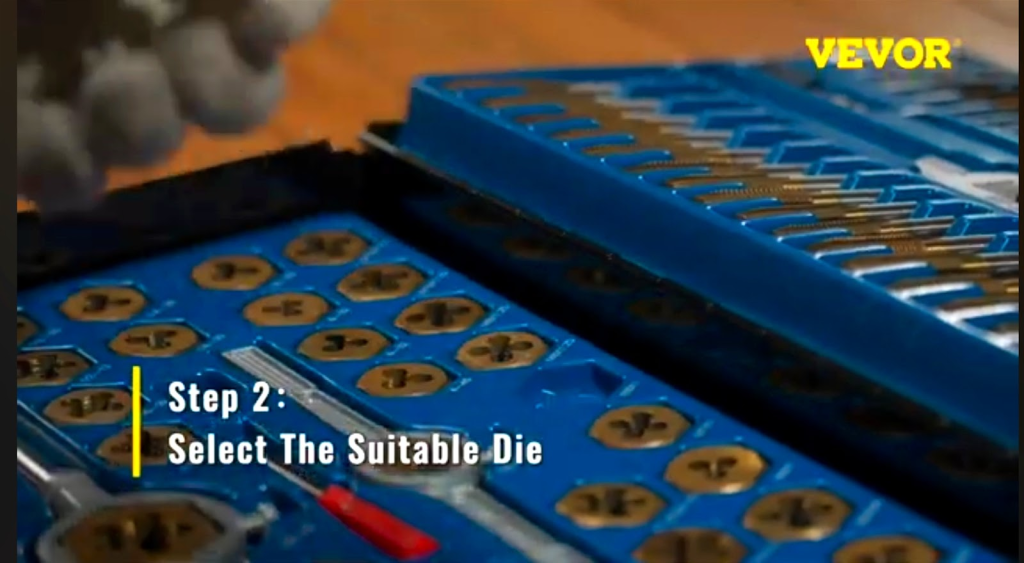
Step 2: Select the suitable die and lock hole design double stability
Get an 86-piece tap-and-die set from the VEVOR to proceed to your final design of the screw.
- Take out one of the die pieces from the VEVOR kit.
- Lock it inside the die holder.
- Fix the die in the die holder system with a clamp as well. It provides stability for the final screw design.
Tips:
- VEVOR 86-piece kit has 39 pieces of die. Die come in different shapes and sizes.
- Consider the right die that must be compatible with your chosen steel piece.
- Whenever you fix the die in the holder, check the compatibility of the ends. Plus, ensure double stability by fixing the die into the holder with proper mechanisms.
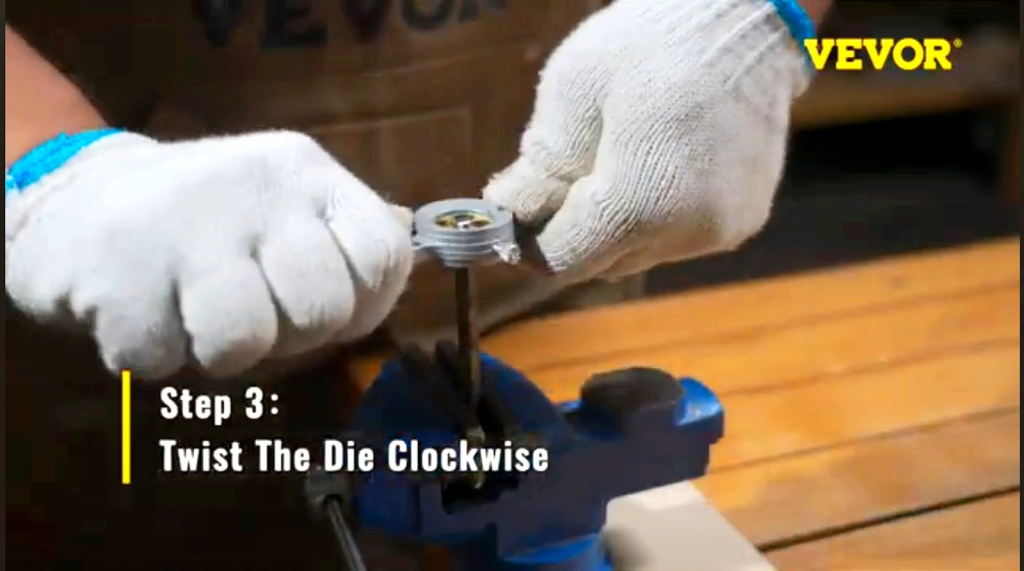
Step 3: Twist the die clockwise
Now, your job starts! Take your die holder around the steel screw you’ve commenced making.
- Pass the steel screw inside the hole of the die.
- Start moving the die holder components in the clockwise direction.
- Do so until the part of the screw comprises the circular ridges or threads for better fixing of the nuts in the screws.
Inspect the functioning and final output of your work. Here are a few tips regarding the screw making in this step.
- Always move in the clockwise direction so that the proper twisting and ridge formation occurs on the screw.
- Inspect through to detect if any of the parts are still left out.
- Usually, 50-60% of the screw area has threads(depending on the type). You can twist and go on, putting a little pressure downward until the required area ridges are completed.
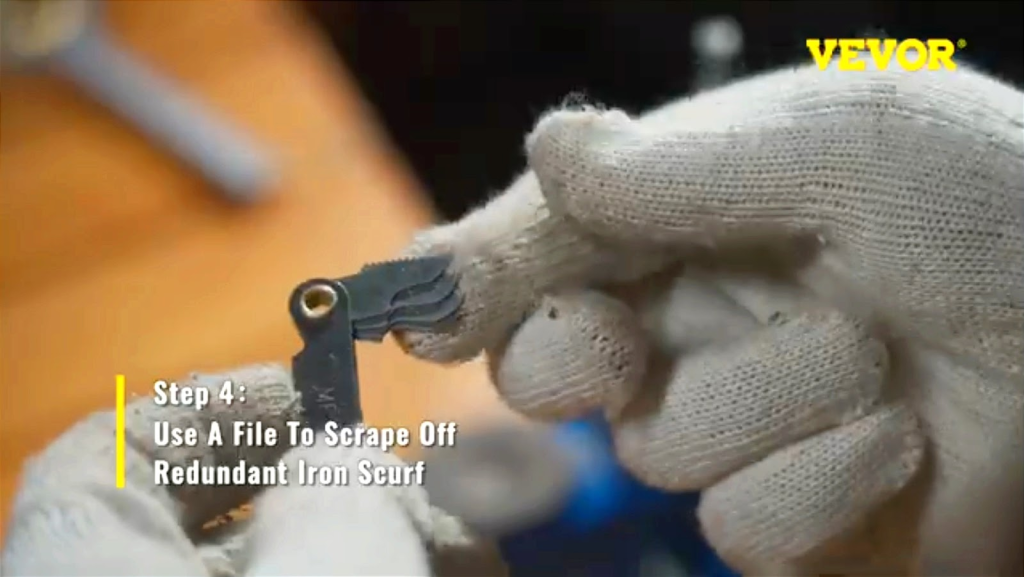
Step 4: Use a file to scrape off redundant iron scurf
Whenever you are twisting the die around the steel screw, iron scurfs pop up on the surface. Here are multiple options to scrape it off.
- Thoroughly clean the screw surface.
- Eliminate the part of the already scrapped iron with a slight pressure on your hand. Use the cloth to remove the iron waste.
- If the iron is located in hidden corners between the ridges, the file is a good choice. The file has multiple sharp edges that can move around the ridges and scrape off the small pieces of redundant iron scurf.
- Remove all the iron scurf from the surface until your screw appears clean and shining.
Have you done that? Congrats! You have completed your first DIY screw-making process. Was it difficult?
Part 4: The Advantages of VEVOR 86-Piece Tap and Die Set for Making Screws
VEVOR 86-piece Tap and Die has impressive results for the screw-making tasks. Invite the luxurious making and create the quality screws by the above methods.
Here are various reasons for voting for the VEVOR tap-and-die set.
Durability
VEVOR tap and die set has a heat-treated tungsten steel construction that comes with the following features:
- High wear and tear resistance
- High hardness
- More impact resistance
- Easy to handle and do the work
High-quality construction guarantees 5-10 times more life compared to non-tungsten build.
Easy to carry
The compact design of the storage kit allows you to carry it along. Whether going out on an adventure or trying the DIY work at home, it suits everyone. You don’t have to worry about the portability anymore. Weight is also less, leading to hassle-free carrying.
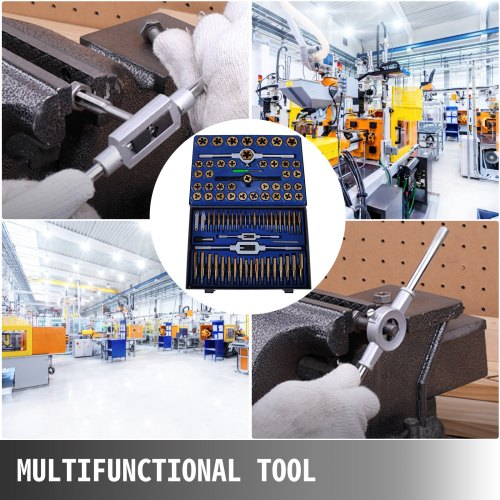
Widely applicable
Don’t restrict its activity to one or two applications in the plumbing industry. With superior craftsmanship, deploy it in almost all the fixing jobs. Be on the top with your DIY screw building.
Full set of tools
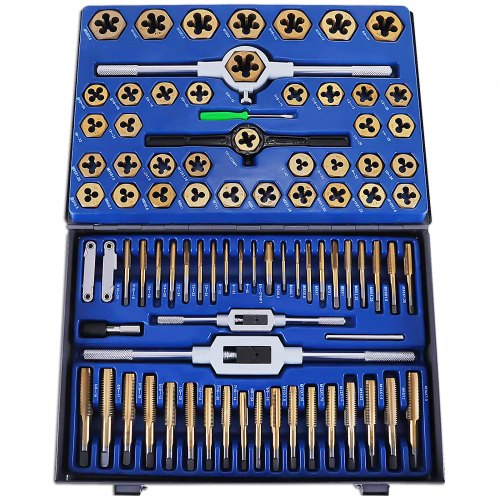
Guess what? VEVOR has added 86 tool pieces in the single kit. Get:
- 39 pcs taps
- 39 pcs dies
- 2 tap holders (M6 to M20 – 1/4″ to 3/4″& M3 to M12 – 1/16″ to 1/2″)
- 2 die holders (M25 – 1″) & (M38 – 1-1/2″
- 1 T-bar tap wrench
Master the art of tightening the nuts and bolts in your plumbing systems.
Part 5: What We Need to Notice When Making Screws?
Making a screw can be hassle-free, but you should always keep an eye on various factors for the best output of your work.
Here are things to notice in your DIY screw-making activity.
Choose the suitable tap-and-die set
There are a variety of tap-and-die sets available to you! VEVOR has made a big name in the industry. Choosing the right VEVOR DIY is necessary. Plus, read the guide about the DIY set for its best usage and applications. For example, VEVOR has added 110-piece tap-and-die set instructions.
Decide on the material and measure the size
The screw comes in various materials. Some might be iron-made. Some others might comprise the steel. Stainless steel is more durable and offers a corrosion resistance. Decide on your favorite material. Consider the compatible length of your screw. You can use the standard measuring tapes for the screw length measurement.
Check the ridges and movement of the die around the screw
You need to move the die clockwise. When doing so, check the ridges made on the screw and its accuracy. In case of any errors, you can clean up the screws and restart the job until the ridges are fine and good for the nuts fastening.
Test the screw after you’ve done the job!
Once you have made your first screw, invest moments in testing. Does it work perfectly? Is there any need for revision? Sort out all the problems instantly.
Conclusion
Before you leave the article, we want to summarize the key points with some added tips.
- Always grab the best quality tap-and-die set for the screw manufacturing.
- Follow the standard steps of the screw making. If you can’t get any steps or fail, try your screw-making again.
- Consider the manufacturer’s manual to grasp the knowledge of using and deploying the tap-and-die set in making the screw.
- Find out all the compatible solutions. From a single steel screw to the CNC sharpening machines and excellent quality die holders, consider the best quality of the materials.
- Pursue the proper measurements, goals, and shapes of the screw.
- Remove the iron pieces left during the job with the file thoroughly.
- Test to screws to make the hole and fix it in between the metal or wood pieces. Check the functionality and joint strength.
Consider the best brands for the top-tier 86-piece tap and die sets, for example, VEVOR! It has set an example of supreme and tough DIT tools with various sizes and shapes. Uncover the best deals for your DIY tools and explore the top matching solution. Do you want to give it a try? Choose the top tap-and-die sets right away!


