| Difficulty | Cost | Duration |
| Low to moderate | $10 | 4 to 6 hours |
Love tortillas but are tired of pallid, pre-packaged tortillas? We all know fresh tortillas are hard to get by.
What then? How about taking matters into your own hands?
If you are a DIY enthusiast and craving fresh tortillas, we have got just the project for you—DIY Tortilla Press. In this article, we will walk you through the process of making a homemade tortilla press. Other than sharing the list of essential tools and materials needed for this DIY wooden tortilla press project, we will also be sharing step-by-step instructions on how to make a tortilla press at home.
So, let’s get started!
Table of contents
Required Tools and Materials for DIY Tortilla Press
Before creating your DIY tortilla press, it’s important to gather all the essential tools and materials. That would make the whole crafting experience nice and seamless.
Tools Required
- Circular Saw–for cutting the wood, choose a blade suitable for hardwood.
- Electric Drill–essential for creating holes and assembling various components. Pick one with variable drill speeds and drill bits. Something like the VEVOR Cordless Drill Combo Kit would be just perfect. It’ll cover all the drilling and screw-driving tasks.
- Clamps–to keep the wood pieces securely in place for perfect assembly.
- Sanding Block or Sandpaper–for smoothing out rough edges and ensuring a polished finish.
Additional Tools
While you will make do with the above-mentioned tools, the following will help make your DIY tortilla press machine project easier and more refined.
- Miter Saw–it is ideal for precise crosscuts. I personally get one close–always.
- Bandsaw–you will need this for intricate cuts.
- Oscillating Spindle Sander–it is perfect for smoothing curves and contours.
- Strip Sander–it is efficient for refining the intricate cuts and edges.
- Belt and Disc Sander–it helps speed up the sanding process for larger surfaces.
- Router–t is used for carving fine details with ease.
- Hand Sander–it helps you be dexterous, as it provides manual control for fine-tuning surfaces.
Materials
Tools are done. Let’s talk about the supporting materials.
You will need:
- Old Table Top: While you can have a new table, we recommend utilizing recycled wood, as it will help ensure the eco-friendliness and character-richness of your homemade tortilla press.
- Wood Thickness Planer: It helps ensure uniform thickness across the wood for consistent results.
- Pencil and Compass: Needed for marking precise measurements and curves.
- Crazy Glue: Required for bonding different parts of the tortilla press.
- Self-Centering Drill Bit: It simplifies the drilling process for accurate alignment.
- Bolt and Lock Nut: Used for facilitating movement in the tortilla press mechanism.
- Mineral Oil: For food-safe finish.
Step-by-Step Guide to Making a DIY Wooden Tortilla Press
Now that you have all the necessary tools and supplies in your hand, you can go ahead and follow these detailed steps to making your homemade tortilla press:
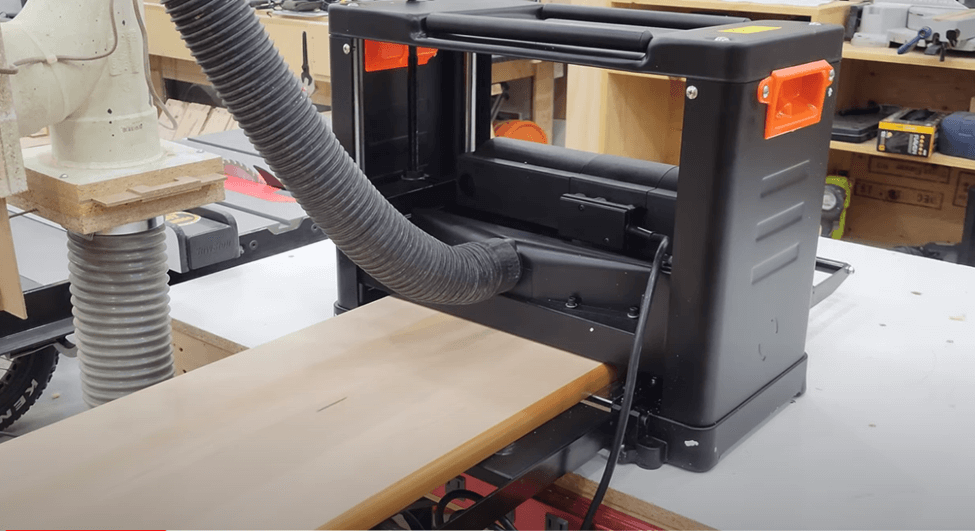
Step 1: Planing the Wood
Begin by repurposing an old tabletop and cutting it into manageable pieces. Use a thickness planer to achieve a smooth and even finish. Make sure that the wood does not get too thin.
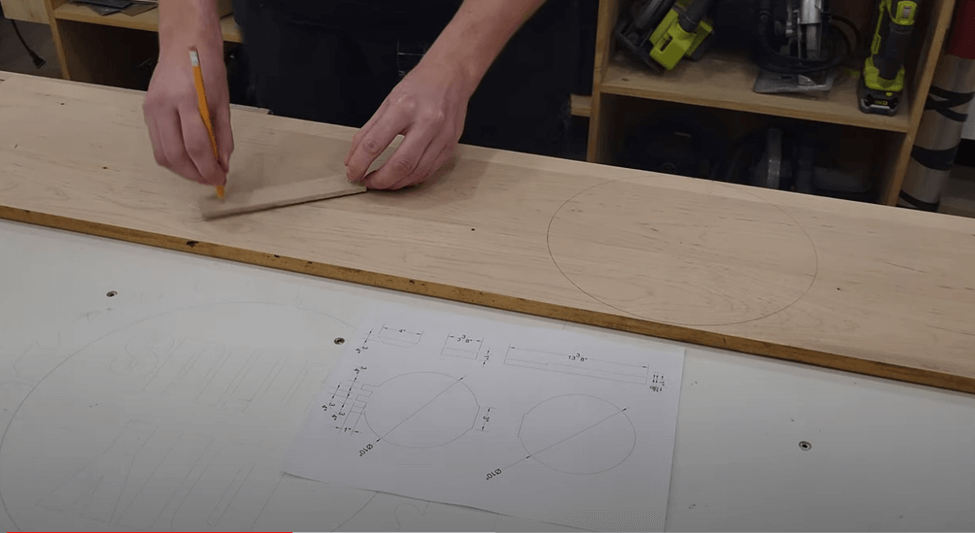
Step 2: Drawing the Circles
Draw two 10-inch diameter circles on the wood. Use a compass and strategically avoid any nail holes or imperfections in the wood. Next, mark a 3-inch tangential offshoot on either side of each circle for the hinge.
If the tortilla press you are planning is in a rectangular or square shape, skip the circle drawings and draw accordingly.
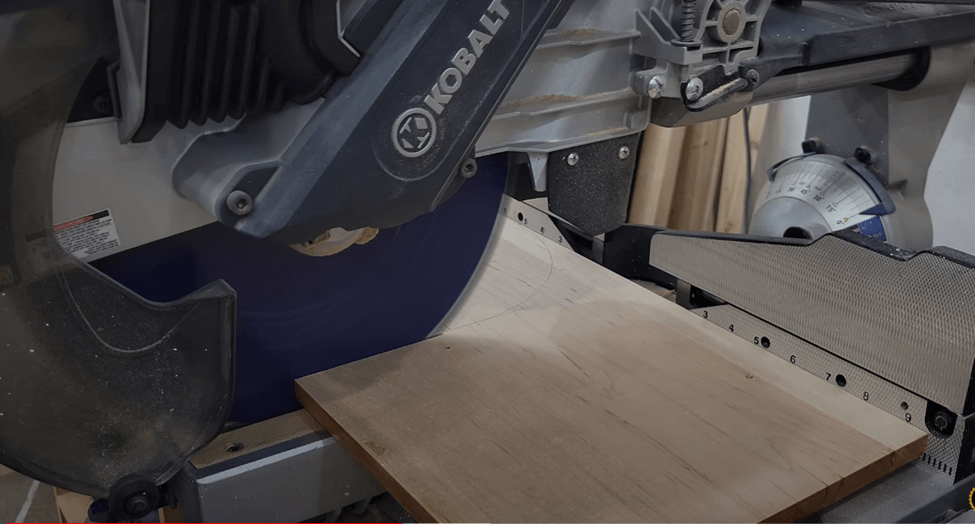
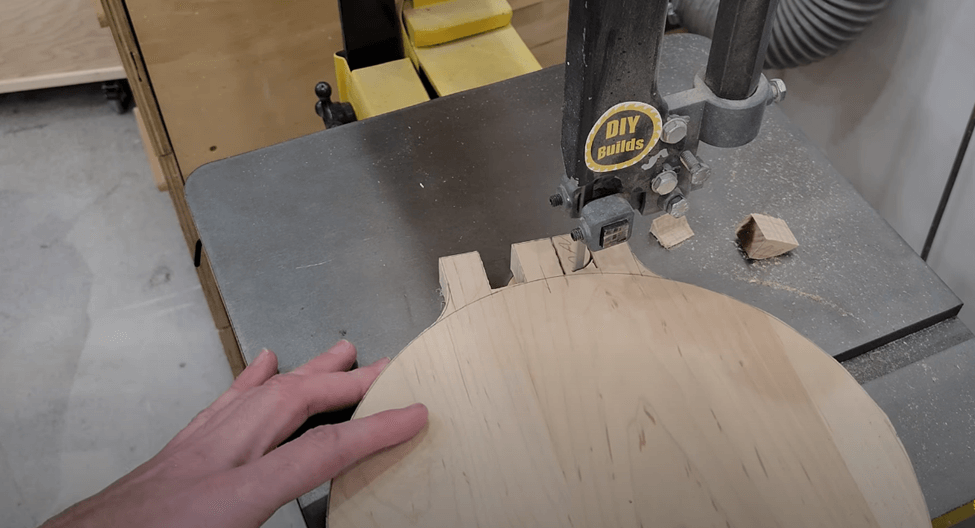
Step 3: Rough Cutting
Make rough cuts using a miter saw. This is for providing manageable pieces for subsequent steps. The initial rough cutting would make handling during the shaping process easier.
Step 4: Shaping the Pieces
Now, utilize specialized tools to shape all the roughly cut pieces. It’s better to use an oscillating spindle sander to smoothen the curves on circular edges.
Next, with the help of a strip sander, refine the inside edges of the finger joints. And if you have got the belt and disc sander, use that to achieve a flawless finish on the outer edges and faces.

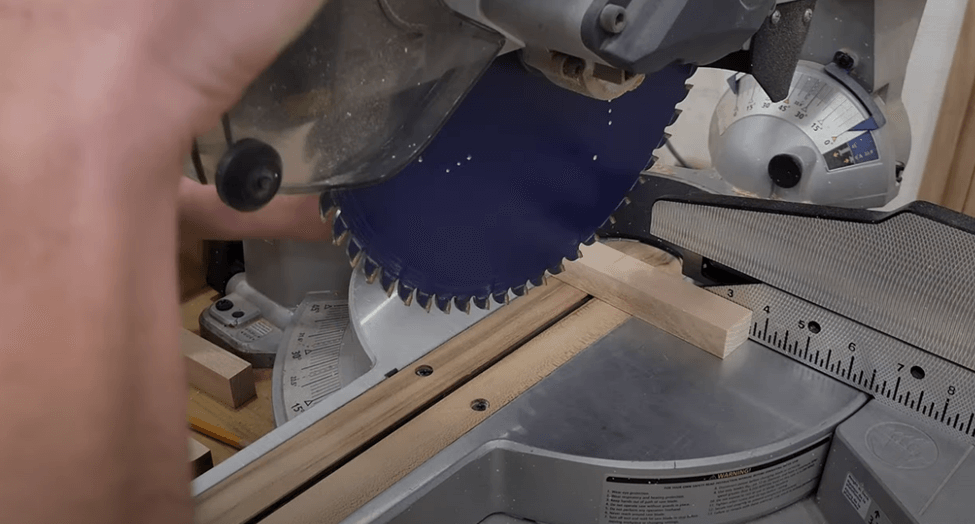
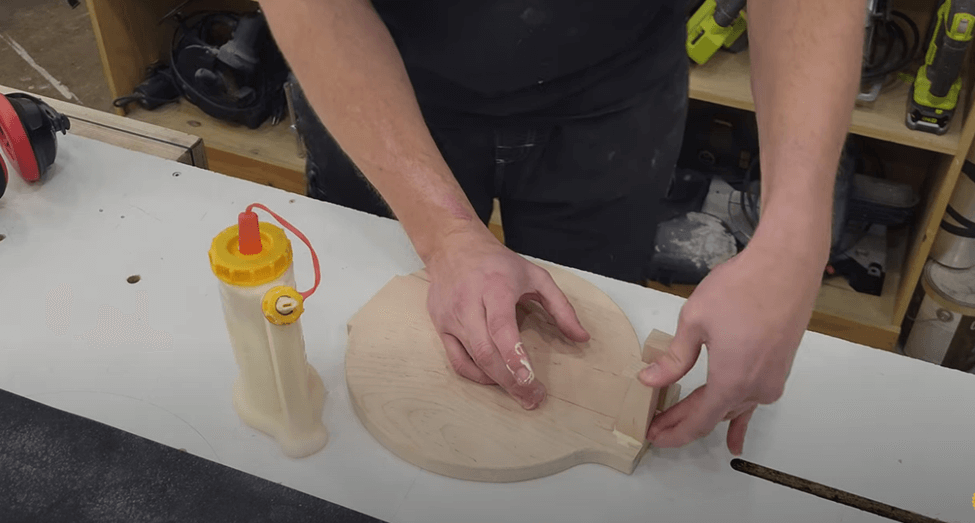
Step 5: Cutting the Remaining Pieces
From the remaining wood, precisely cut a long handle, two upright pieces, and the small crossbar using a miter saw.
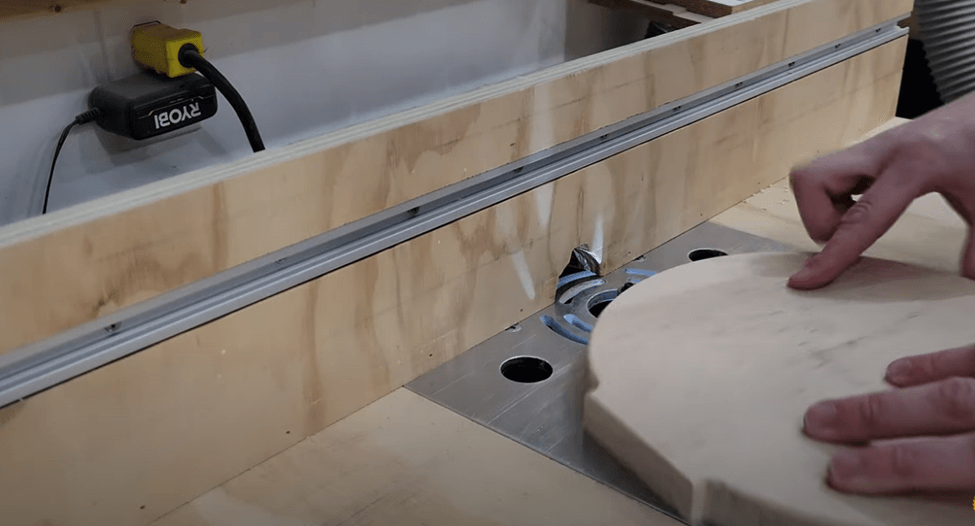
Step 6: Rounding Over the Edges
Use the router and round-over bit to create rounded edges on the handle, circular pieces, and a small crossbar. This would not only make your homemade tortilla press look elegant but also help prevent annoying and painful wood splinter injuries.
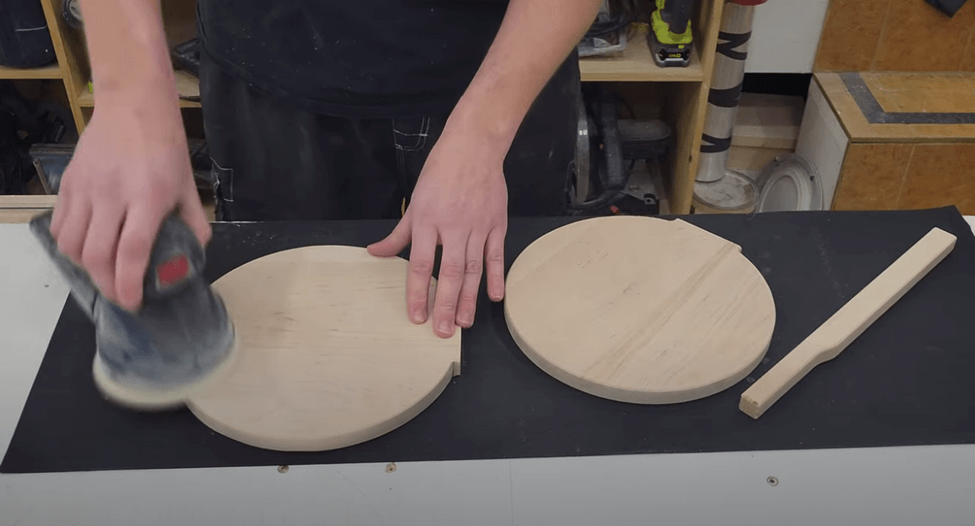
Step 7: Sanding
Thoroughly sand all components with 240 grit sandpaper, meticulously refining surfaces. For an even smoother finish, consider following up with hand sanding.
Step 8: Gluing the Upright Pieces
Thoroughly apply the glue inside the finger joints and then put the upright pieces in. Next, use a clamp to ensure that the upright pieces are securely bonded in place.
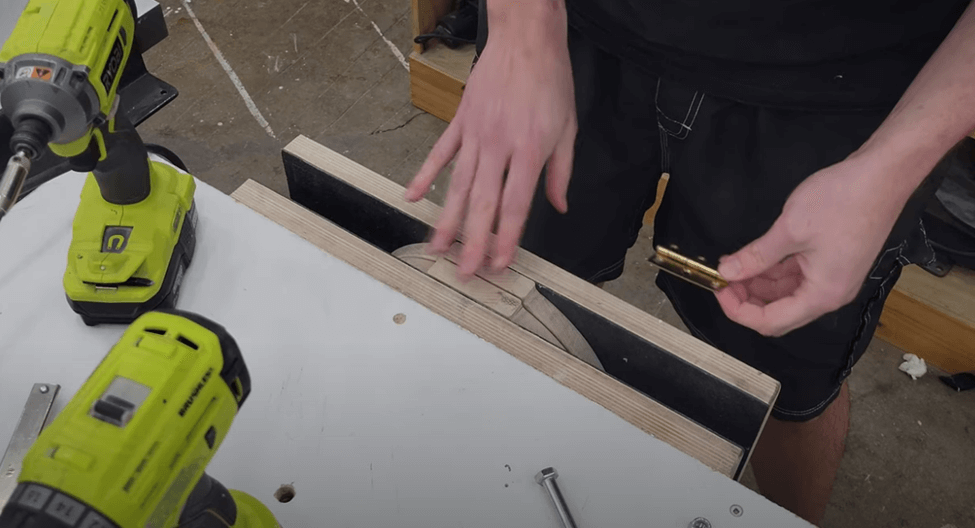
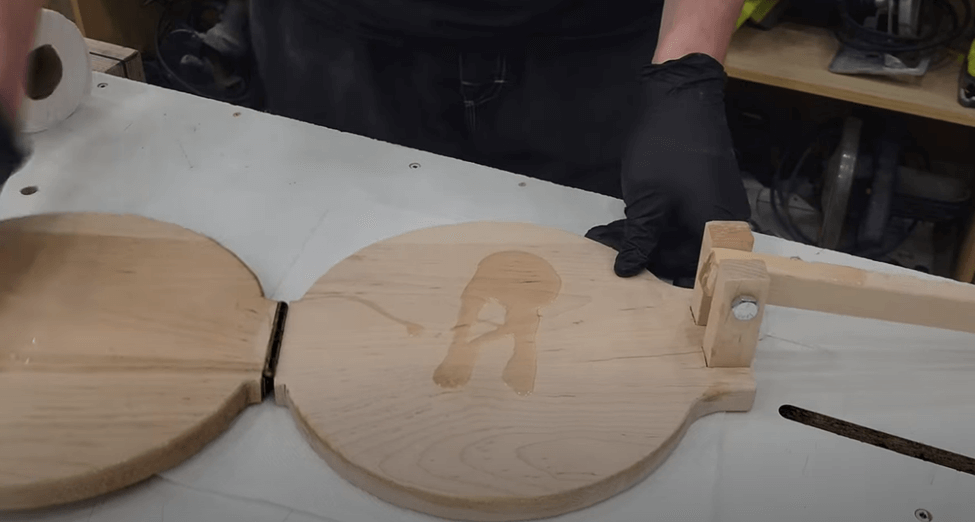
Step 9: Hinging Two Pieces Together
Position the thin plywood spacer atop the bottom piece. Place the top piece onto it and clamp it using a linear actuator vise. Next, after ensuring that everything is held in place, attach the hinge with self-centering drill bits.
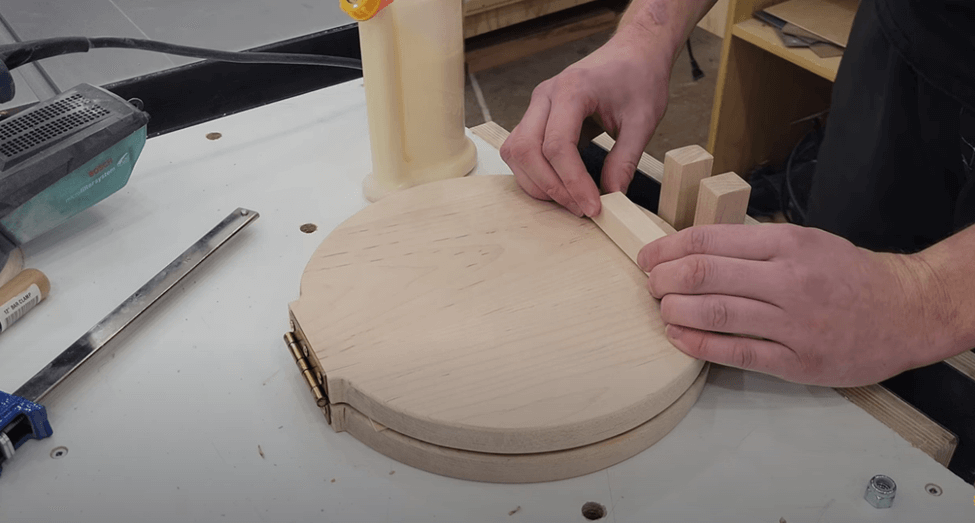
Step 10: Attaching the Riser Piece
Apply glue to affix the riser piece to the top upright piece. By the way, you are almost done–we are getting close to the completion phase.
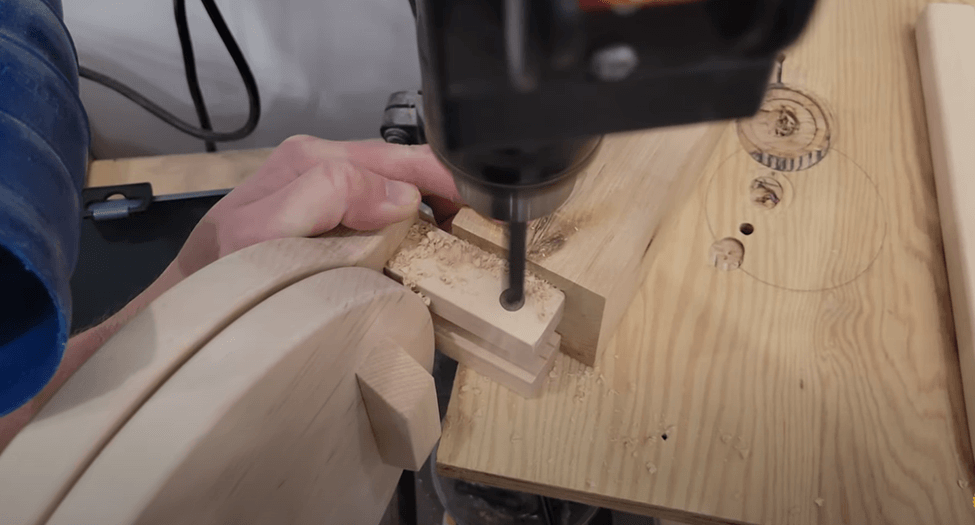
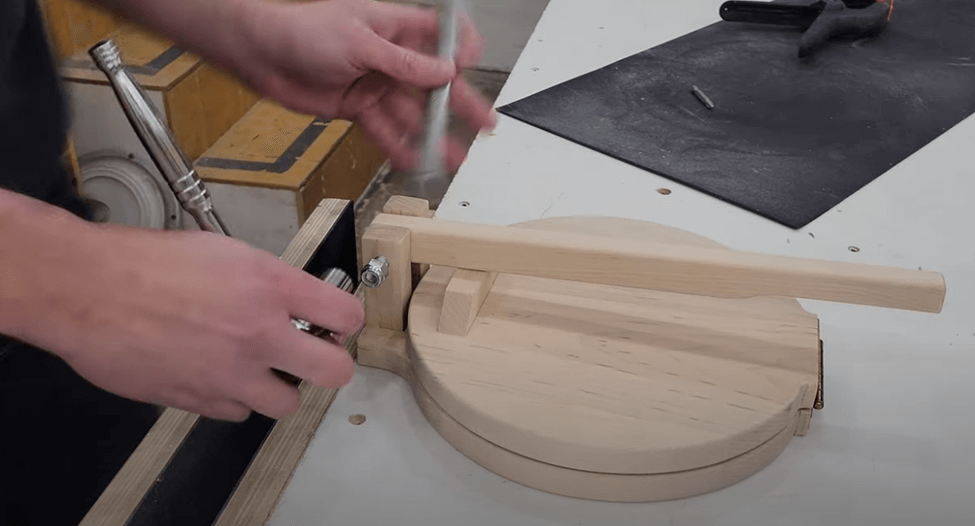
Step 11: Drilling Hole Through the Upright pieces and the Handle
Drill a hole through both upright components for the bolt. Use a block of wood to maintain alignment during the drilling process. Next, drill a hole through the handle, ensuring alignment with the hole in the upright piece for better assembly.
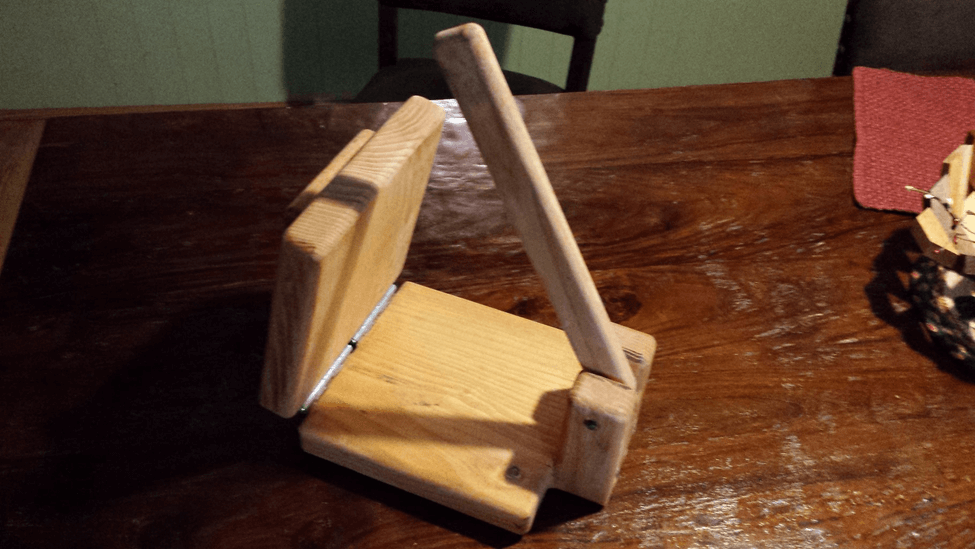
Step 12: Assembling the Press
Insert the bolt through the drilled holes in the handle and upright pieces and secure it with a lock nut. It is done. It’s time to give some final touches to the press.
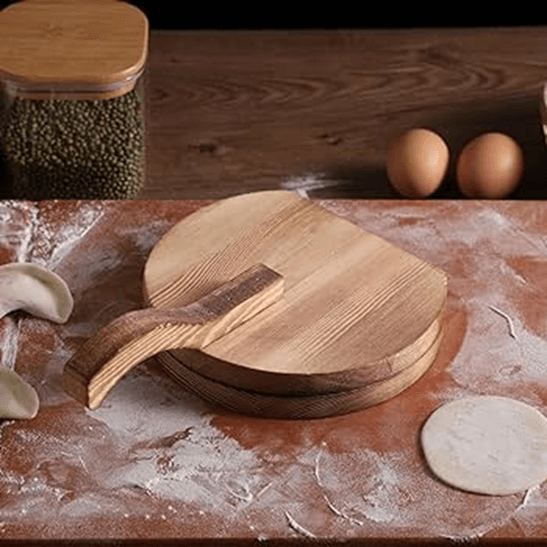
Step 13: Finishing
To elevate the aesthetics and durability of your DIY tortilla press, consider applying a coat of mineral oil to the entire press. It would not only ensure a food-safe finish but would also enhance the natural beauty of the wood.
While we have described the whole project in steps, you may construe it as a difficult project. But in reality, this won’t take more than a few hours, especially if you have gathered all the tools and materials.
Using Your DIY Tortilla Press
Now that you have made your DIY wood tortilla press, it’s time to whip up some tortillas.
- Dough Prep for Perfect Pressing
Use your favorite recipe, or consider experimenting with flour, corn masa, or a blend. Aim for a soft, pliable texture that can be flattened easily without tearing. Once the dough is prepared, divide it into evenly sized-balls.
- Press with Precision
Place a ball of dough in the center of the bottom pressing board, covered by a sheet of parchment paper or plastic wrap, to prevent sticking. Then gently lower the top board, pressing down evenly on the handle until the dough forms a flat disc. Don’t apply too much pressure at first. Adjust based on your dough’s consistency.
For extra-thin tortillas, consider pressing twice—flipping the dough and paper between each press.
- Shaping and Cooking Perfection
Carefully remove the tortilla from the press and peel away the paper or wrap. Using your hands or a tortilla warmer, gently shape the tortilla into a perfect circle. Heat the griddle to medium-high heat. Place the tortilla on the hot surface and cook for about 30-45 seconds per side or until golden brown and lightly puffed.
- Satiate Your Cravings
Stack your freshly cooked tortillas in a warm tortilla warmer to keep them soft and pliable. Fill them with your favorite fillings, or simply enjoy them warm with a sprinkle of salt and a drizzle of olive oil.
FAQs about DIY Tortilla Press
1. Does a tortilla press work for chapati?
Tortilla presses are not designed for chapati; however, they can be adopted. Chapati dough is usually thicker and requires less fattening than tortilla dough. So, press the dough once for a thicker chapati or twice for a thinner version.
2. Should you oil a tortilla press?
While you do not need to oil your tortilla press when pressing tortillas, it is a good idea to apply a coat of vegetable oil to your tortilla press before storing it to prevent rust.
3. Can you use a tortilla press without plastic?
Absolutely! Instead of plastic, you could use parchment paper, silicone baking sheets, or wax paper in your tortilla press.
Conclusion
Making a DIY tortilla press is not hard, but you will need a plan to follow. Using the insights gained from this article, you can go ahead and repurpose any old tabletop decaying in your garage into a reliable DIY tortilla press.
Begin by gathering all the necessary tools and materials discussed in the article. Next, plane the wood, draw and cut the shape of your desired tortilla press (circle/square), and cut the remaining wood into manageable pieces for the remaining components—two upright pieces, one riser piece, and a handle. Use the tools at your disposal to smoothen the cuts, edges, and surfaces before proceeding.
Glue up the upright pieces, hinge the upper and bottom pieces of the press together, and attach the riser. Drill holes through the handle and uprights for assembly. Now, secure the press with a bolt and lock nut.
Finally, add a coating of vegetable oil, and your tortilla press is ready.


