You’ve got a slow leak under your kitchen sink. A loose junction in the copper pipe causes that pesky leak. You could call a plumber, but you’d rather do it yourself. Copper pipe press tools are a safe, flame-free alternative. You drop the torch. No soldering needed. Pipe prep, place fittings, squeeze the handle. Copper pipe press tool. Seals that are watertight and lasting. Using a copper pipe press tool takes some practice. This is a step-by-step process that involves measuring, cutting, deburring, pressing, and inspecting your work. The copper pipe press tool grips the fitting tightly. Every squeeze makes you feel secure. This copper pipe press makes plumbing DIY easy. To make your first press connection work smoothly, patience and safety are your best friends.
This article shows you how to establish tight, watertight connections with a copper pipe press tool without soldering or an open flame. You’ll learn the step-by-step method, from measuring and cutting to pressing and carefully verifying each connection.
Table of Contents
What You Need to Use a Manual Copper Pipe Press Tool
Before you begin your first pressing endeavor, be sure you have the appropriate supplies. You need more than simply the tool. A complete setup has a measuring tape, a pipe cutter, a deburring tool, and emery cloth. You will also need the appropriate copper press fittings for your pipe size. If you prepare everything before you start, you’ll have a smoother, safer job.
Recommended For Your Project
Essential Tools and Materials
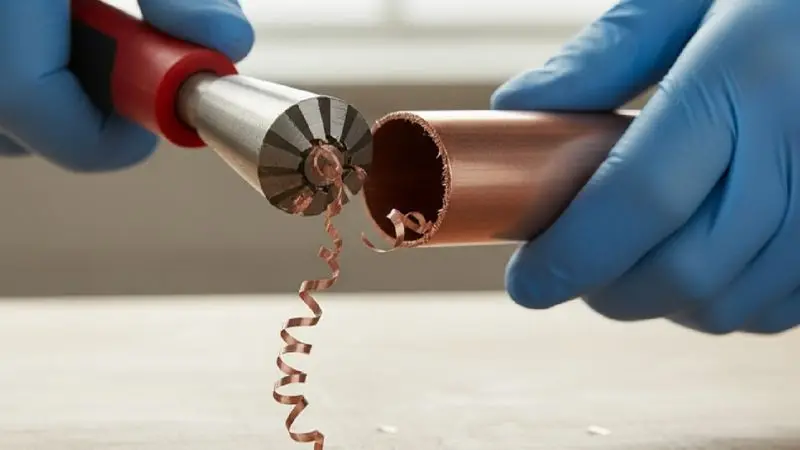
How to use a copper pipe press tool? Your tape measure tells you where to cut the copper tube. A pipe cutter leaves a crisp square edge. You can’t use a hacksaw for this job. A hacksaw leaves jagged edges that can’t be sealed properly. The sharp inner and outer burrs are removed using a deburring tool. Emery cloth cleans the pipe surface so the fitting goes on easily.
You’ll also need a way to designate the insertion depth on the pipe. The majority of press fittings incorporate a depth gauge within the fitting itself. You mark the pipe at that depth to ensure it is fully inserted, then press. A small level can help you ensure that the pipe sits straight in the fitting. This makes sure that the pressure is evenly distributed during the pressing operation.
Choose the Right Press Tool and Fittings
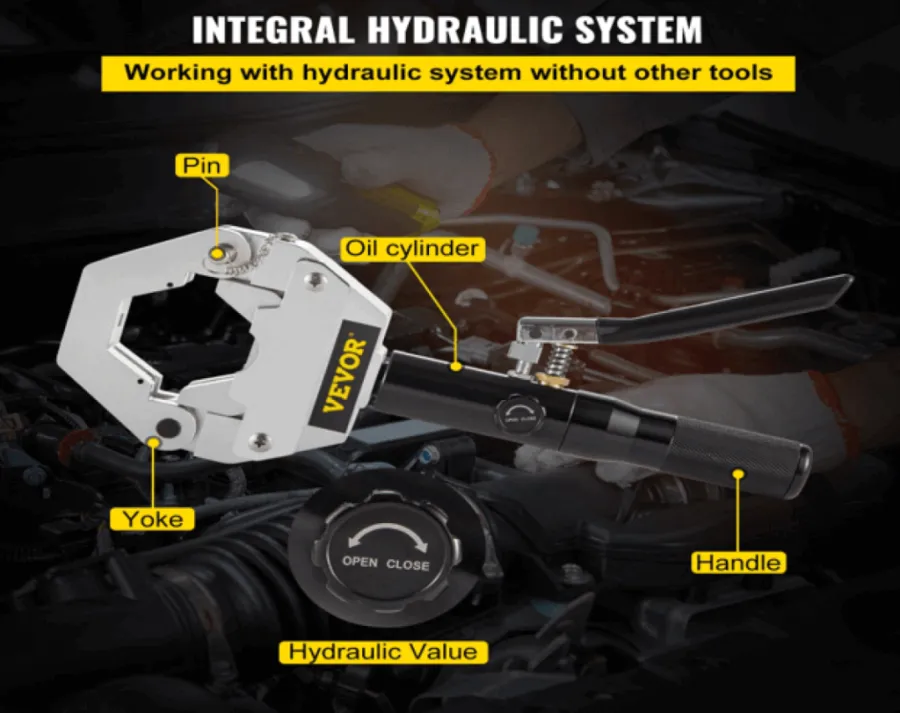
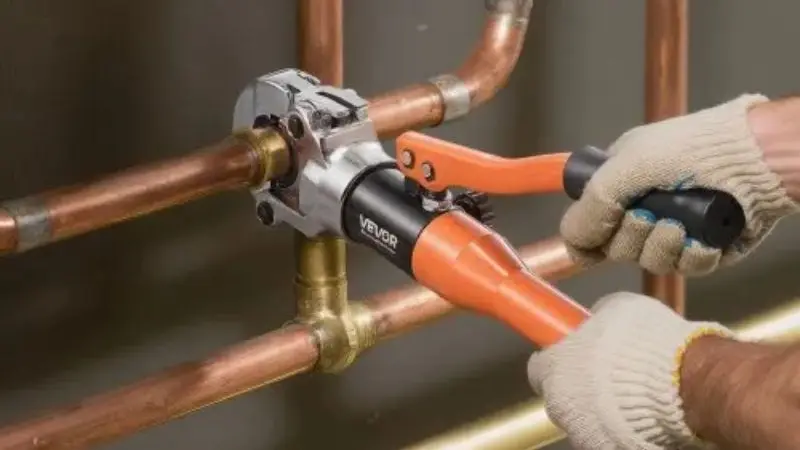
How to press copper pipe fittings? The most important thing is to choose the right copper press tool. You will require a manual copper pipe press tool, suitable for your pipe diameter. Most manual tools take replaceable jaws for different sizes. They come in common sizes, including 1/2-inch, 3/4-inch, and 1-inch. Check your pipe diameter before you buy jaws. The copper crimping tool has a ratchet mechanism. Continue squeezing the handles back and forth until the pressing is finished. Each press moves the jaw a little further. The tool only comes out at max compression. This design eliminates unfinished crimps.
How Does a Manual Copper Pipe Press Tool Work?
How does a copper pipe press tool work? The manual copper pipe press tool operates on a basic idea. You squeeze the handles together. The twisting tool pushes in to squeeze around the pipe. It serves as a strong clamp. It evenly spreads the fitting on the pipe.
Understanding the Pressing Mechanism
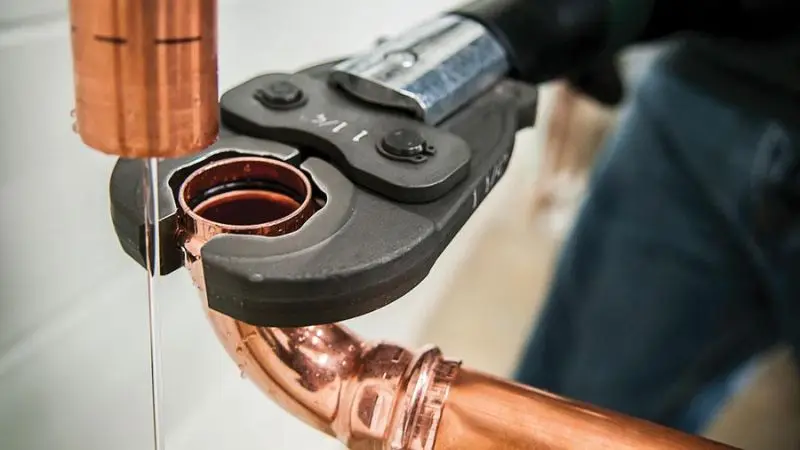
The jaws open and close, and the ratchet mechanism holds the fitting and gently squeezes it. How to use a press tool on copper pipe? It locks the handles when you press down, so the tool doesn’t stop mid-crimp. The jaws of the copper pipe press tool hold the fitting snugly and exert even force on all sides. Crimping forms a uniform press-fit groove, compressing the fitting’s O-ring against the copper pipe to produce a seal. The multi-angle jaw allows for simpler positioning in different work locations. Long handles make it easier to crimp copper pipe, but you’ll still need some muscle. You push, then release after the cycle. The ratchet clicks to ensure the connections are secure.
The jaw does not open until the press is finished. The ratchet mechanism is locked. This safety stop prevents incorrect crimping. The fitting must be fully engaged. The press tool seals well. The press tool design allows for reliability. You depend on the press tool for consistency. The crimp accommodates different pipe sizes. Jaws are set to conform to the fitting diameter. One tool body fits many jaw sizes. Copper press tools are worth the investment due to their versatility. One tool body for many tasks.
How to Use a Manual Copper Pipe Press Tool Step by Step
This manual will walk you through the proper use of a copper press tool step by step. First, you prepare the pipe. This preparation determines the quality of your final seal. Be deliberate with each step.
Step 1: Measure and Cut the Copper Pipe
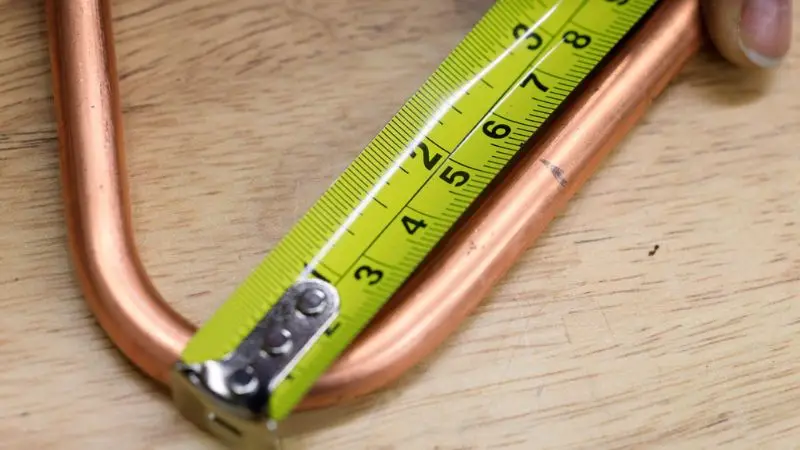
How to use a copper pipe press tool? Leave plenty of space. Need to measure fitting centres. Use copper tubing to measure this. Cut cleanly and mark. Need a pipe cutter. Square the tube. Rough hacksaw cuts. Clean pipe ends improve copper press performance. Copper pipe crimping tools require square ends. Pipe cutter, on mark—next, the pipe wheel. Spin the cutter round and round. Tighten the wheel 1/4 turn. Repeat rotation. Repeat till pipe bursts. Cut smoothly. I need square pipe ends. Hold pipe to the flame. Press device requires straight pipe. Square cutouts are good for pipes and fittings. O-ring seal is affected. Crimping tools uniformly crush fittings onto straight copper pipe.
Step 2: Deburr and Clean the Pipe
What size copper pipe can a press tool handle? Pipe pretreatment is needed for safe, leak-free connections. Deburr the inner and outer edges of the cut copper pipe. Sealing will be prevented if sharp burrs damage the fitting’s O-ring. Turn the deburring tool around the pipe end to smooth the edges. Clean pipe thoroughly. Clean out pipe corrosion, oxidation and filth with emery cloth or fine abrasive paper. Insert clean, smooth copper into the fitting. Lastly, mark the depth of pipe installation. Depth gauges or marking guides are common on many press fittings. Insert the pipe fully to the correct depth and check the fitting edge mark. Align the fitting with the copper pipe press tool before crimping.
Step 3: Mark the Insertion Depth
How to choose a copper pipe press tool? Mark the correct insertion depth on the pipe before installing the fitting, when the pipe is clean and smooth. Use the depth gauge or the measurement you set for your press fit. Push the copper tubing into the fitting until it reaches the bottom. There should be a mark on the pipe outside of the fitting. The general inspection ensures that the pipe is aligned properly and provides the press tool with the correct region to achieve a secure connection.
Step 4: Position the Press Tool
How does a copper pipe press tool work? Choose the suitable press jaw to match the size of your copper pipe and fitting. Open the jaws and place them evenly around the fitting at the specified pressing point. Make sure the tool is square and fully seated in the fitting. The right position will spread the pressure equally across the junction. Keep your hands away from the moving jaws and follow the manufacturer’s directions for using the manual press tool.
Step 5: Press the Fitting
How to press copper pipe fittings? Place the pipe and fitting in the precise location, then firmly squeeze the handles of the manual copper pipe press tool. Press firmly and consistently until the fitting is fully seated, per the tool manufacturer’s instructions. Do not interrupt the pressing cycle midway. If the push is incomplete, it can impact the connection. Push the tool around the copper pipe to ensure an even connection, while keeping it aligned with the fitting.
Step 6: Inspect the Pressed Connection
How to use a press tool on copper pipe? When you have finished pressing, release the tool and inspect the fitting carefully. Check that the fitting is pressed evenly and that the pipe has not shifted from its original position. Look for apparent damage, gaps, or traces of improper fitting press. If the manufacturer has any specific inspection marks or gauges, use these to verify the connection. A detailed inspection helps uncover problems before the plumbing system is put under pressure.
Step 7: Test for Leaks
The last step is to test the connection before you call it a day. What is a copper pipe press tool? Slowly turn the water supply back on and examine the new press fitting for leaks. Look at the entire line, not just one location. If you see any water leaking, switch off the supply and inspect the connection again. Don’t overlook a small leak; it can become a major plumbing issue. A joint that has been properly pressed and checked should be snug and waterproof.
Common Mistakes When Using a Manual Copper Pipe Press Tool
What is a copper pipe press tool? A manual press tool takes practice to use. In the process, you will make a mess. Knowing the common mistakes to avoid will save you from leaks and wasted fittings. Two blunders cause most unfavorable press contacts. First on the list is incorrect jaw or fitment. A close second is the copper pipe not being deburred.
Choosing the Wrong Jaw or Fitting
What size copper pipe can a press tool handle? Before connecting, select the appropriate jaw size for your copper pipe press tool. A 3/4-inch jaw won’t work with a 1/2-inch fitting. The jaws may not close tightly enough to complete the pressing, resulting in a seal failure. Do not mix press tools, jaws, and fittings from different brands unless you have tested their compatibility. Application Specific: Not all press fits are created equal. Water and gas lines require different O-ring materials and different squeeze specs. Always check the fitting’s ratings and the manufacturer’s requirements before installation to ensure a tight, dependable connection.
Failure to Properly Deburr the Pipe
One common mistake novices make is forgetting to deburr and clean the copper pipe. How to choose a copper pipe press tool? If the pipe is left with sharp burrs, then the fitting can scratch or damage the O-Ring, creating leakage after pressing. First, remove the inner burr, then the outer burr, and deburr any sharp edges before connecting. Also, clean the pipe surface of any copper dust, dirt, and rubbish. It takes a little extra time to prep, but it will preserve the O-ring and allow the press fit to seal watertight.
Conclusion
FAQ
Can You Reuse Copper Press Fittings?
No. During pressing, an O-ring inside the fitting deforms permanently. Once the fitting is compressed, it cannot make a second seal. You need a new fitting for each joint. This guideline applies to all brands and sizes.
How Do You Know the Press Is Complete?
The ratchet mechanism tells you. You squeeze the handles until you hear a distinct click. That click signals full compression. The tool will not release until the cycle is complete. You cannot stop halfway through a press.
What Happens If You Press the Wrong Spot?
The fitting has a designated crimp zone. Pressing outside this zone leaves the O-ring uncompressed. Water will leak around the joint. You must cut out the fitting and start fresh. The copper pipe crimping tool works only when the jaw is positioned correctly.
Do You Need a License to Use a Press Tool?
No license required for residential DIY work. You need practice and patience. Local plumbing codes may require inspections for certain projects. Check your municipality’s rules before starting. The copper pipe crimping tool remains a homeowner-friendly option for basic repairs.