
Vi è mai capitato di scendere in cantina o nel vespaio e di sentire quel familiare odore di muffa? Ebbene, quell'odore indica che la vostra casa sta invadendo l'umidità, e questa è una battaglia che non potete permettervi di perdere. In questo articolo, imparerete tutto ciò che c'è da sapere su come combattere le infiltrazioni di umidità con una barriera al vapore. Scoprirete qual è lo spessore più adatto al vostro progetto, come installare la barriera al vapore come un professionista e dove esattamente posizionare le vostre difese contro marciume, muffa e deterioramento strutturale.
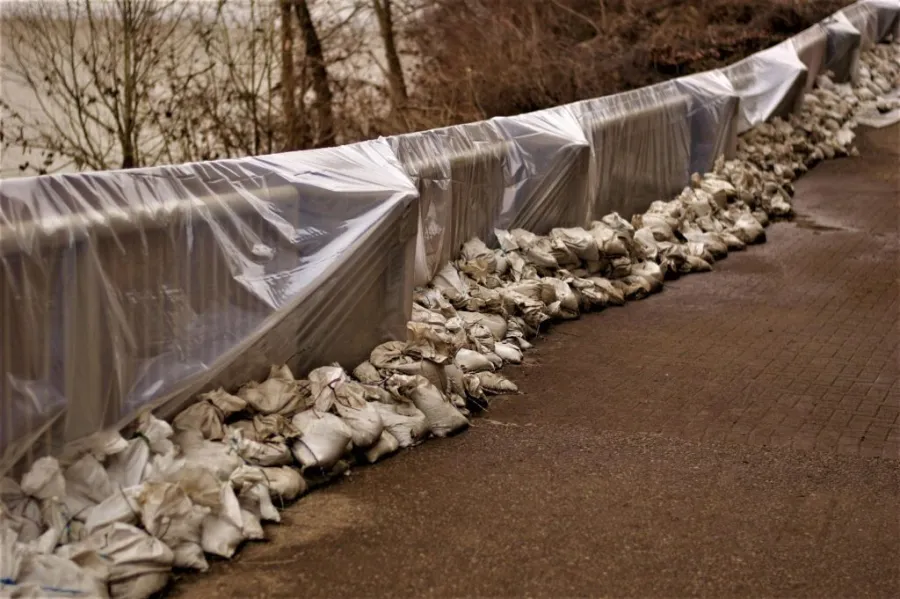
Per prevenire danni da umidità alla tua casa, avrai bisogno di qualcosa di resistente come questo 6mil plastic sheeting roll. Let’s take a closer look at why this thin plastic sheeting is actually your home’s first line of defense against moisture invasion.
What is a vapor barrier (and why should you care?)
In parole semplici, si tratta di un materiale specializzato utilizzato per impedire all'umidità di penetrare attraverso pareti, pavimenti e soffitti. Immaginatelo come un impermeabile ad alta tecnologia per la struttura portante della vostra casa. Impedisce all'acqua allo stato gassoso (vapore) di attraversare i materiali da costruzione porosi.
Without this protection, water vapor moves freely through materials like wood, brick, and concrete. Over time, this moisture accumulates, leading to peeling paint, ruined insulation, and a weakened structure. A vapor barrier is the barrier that keeps your home’s “bones” dry and healthy.
How vapor barriers save you thousands in mold remediation.
Molds flourish in dark, damp conditions, such as crawl spaces and wall voids. Once the molds start growing, they spread quickly by producing spores, and remediation of such damage could cost you a pretty penny, typically exceeding $5,000 and even up to $10,000.
Preventing mold growth becomes simple when the source of moisture is cut off, since a vapor barrier ensures that the mold doesn’t get enough moisture for survival.
Choosing the right thickness: the “mil” guide
Selecting the correct thickness is the most important decision you will make in this project. The term “mil” refers to one-thousandth of an inch. Here is a comprehensive look at how to match the thickness to your specific project:
- Spessore 4 Mil: This is a light-duty option. Use this 4mil polyethylene film for covering furniture during a remodel or as a temporary dust screen. It is too thin for floors, but great for vertical wall applications where no one will touch it.
- Spessore 6 Mil: Questo è lo standard del settore residenziale. 6mil heavy-duty film is the perfect balance of durability and flexibility. It is the go-to choice for crawl space encapsulation and protecting wall insulation.
- Spessore 10 Mil: Quando hai bisogno di una protezione pesante, passa a questo livello. Questo 10mil plastic sheeting is recommended for under-slab concrete work. It is thick enough to withstand being stepped on and dragged over rough dirt during construction.
- Spessore 14 Mil: This is the ultimate “bomb-proof” option. Use this 14mil heavy-duty roll for crawl spaces that will be used for storage. It resists punctures from boxes and heavy foot traffic, ensuring a permanent seal.
Where do you need a vapor barrier?
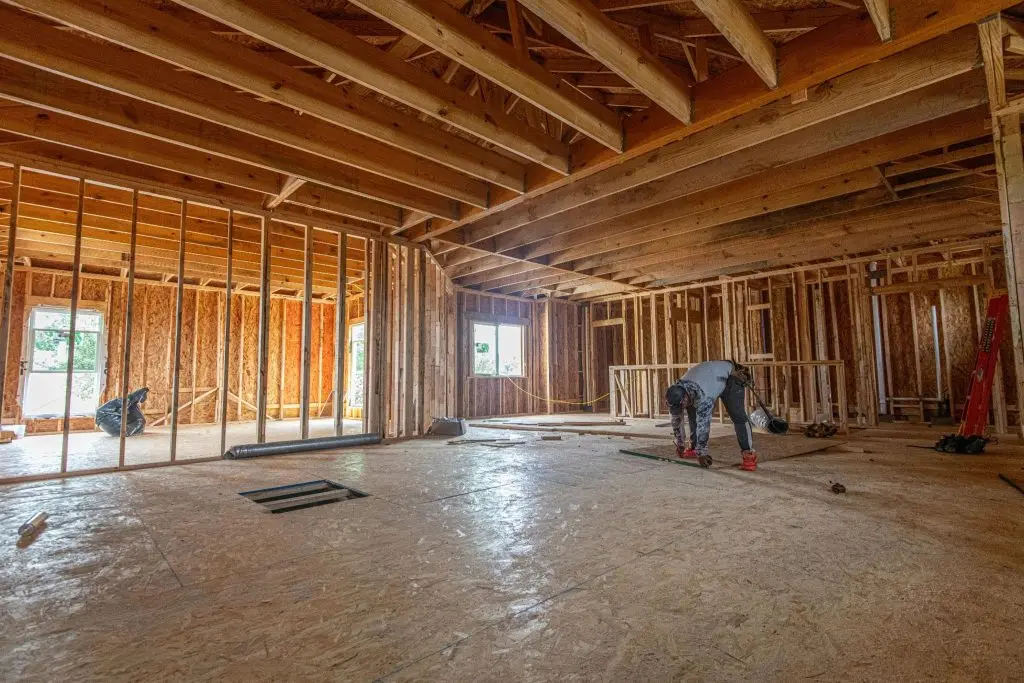
L'umidità è un'insidia subdola che può infiltrarsi in casa vostra da quasi ogni direzione. Per proteggere il vostro investimento, è fondamentale comprendere i quattro principali fronti di battaglia.
Vapor Barrier for Concrete
While concrete appears to be solid, it is in fact a hard sponge-like material. It draws in moisture from the saturated ground by way of capillary action. In the absence of a vapor barrier for concrete, the moisture will eventually make its way to your floor.
This explains why many garages have sweaty floors, and basements smell damp. Using a strong plastic barrier under the concrete prevents water from making its way to the surface.
Barriera al vapore per pavimenti
If you are laying hardwood, laminate, or luxury vinyl plank, you must protect the wood. Concrete subfloors naturally release moisture over time, which causes floorboards to warp, cup, or buckle.
Installing a vapor barrier for floors creates a dry “buffer zone.” This ensures your expensive flooring stays flat and beautiful for decades, preventing the need for a full tear-out and replacement due to water damage.
Vapor barrier for walls
As we all know, there is always moisture in the warm air that you generate indoors in colder conditions. Once this warm air comes in contact with a cold external wall, it changes to liquid form, that is right, in your insulation.
A vapor barrier for walls keeps this warm air from coming into contact with the cold surface. This keeps your insulation (be it fiberglass or rockwool) dry, thus ensuring efficiency in your house.
Vapor barrier for the roof
This makes attics a likely place for condensation problems. With moisture escaping from the house into an unventilated attic space, there is a tendency for the moisture to build up between the roof and the deck, causing failure of the shingles.
L'impiego di barriere al vapore Il tetto, se isolato, contribuirà a mantenere al minimo i livelli di umidità nella soffitta. Questo aiuta a prevenire l'indebolimento delle travi del soffitto e garantisce che il tetto duri il più a lungo possibile.
Step-by-step: How to install a vapor barrier like a pro
Installing a moisture shield is a labor-intensive but straightforward DIY task. Following these detailed steps ensures that your barrier remains airtight and effective for the life of your home.
1. Preparazione e sgombero del sito
Any operation with plastic must begin with the preparation of the canvas. In case of installation in the attic or cellar, there must be no sharp items on the floor – stones, rusty nails, or splinters of wood. That is why punctures often happen during installation.
In case of an uneven surface, you need a rake to even it out. Water mustn’t gather in some depressions under plastic.
2. Gettare le fondamenta
Roll out your polyethylene sheeting across the entire floor. If you are doing yard prep or landscaping nearby, you might consider a PE weed barrier fabric for the exterior, but inside the home, the plastic must be solid to block gas and vapor.
Make sure the plastic lies flat without too many tight wrinkles. Pull it taut but leave just enough “slack” so that if you step on it later, it doesn’t pull away from the walls.
3. Mastering the overlap
A common amateur mistake is simply “butting” two sheets together. Professionals always use the 12-inch overlap rule. When one sheet ends, the next one should overlap it by at least a foot.
This overlap creates a difficult path for moisture to navigate. Even if a small amount of vapor escapes the first edge, it gets trapped under the second layer before it can enter your home’s air.
4. Sealing the seams
After overlap, each seam must be taped. This is done using a special 4-inch wide seam tape that is waterproof. Tape from one side to another to eliminate any air bubbles in between.
Do not use regular tape, such as duct tape and masking tape, because of the moisture in a crawlspace, which causes the adhesives to disintegrate after several weeks. The best tape is polyethylene tape.
5. Running the perimeter skirting
You must run the barriera di vapore up the foundation walls at least 6 to 12 inches above the ground level. This prevents moisture from “wicking” up the concrete and into your wooden floor joists.
Secure the plastic to the wall using a bead of heavy-duty polyurethane sealant and masonry fasteners. This ensures the “skirting” stays in place and doesn’t sag over time, which would expose the dirt again.
6. Sealing around obstacles
Pipes, support piers, and vents are the hardest parts to seal. As far as the pipe is concerned, simply put an “X” into the plastic bag, place it over the pipe, and use additional tape to form a “collar,” or “boot.” In the case of concrete support columns, treat the plastic like gift paper, wrap it around the column, and secure it to the column with tape for a perfectly air-tight seal.
Gli errori più comuni da evitare
- Wrong Side Placement: Always install the barrier on the warm-in-winter side of the wall to avoid trapping liquid water.
- Using Poor Quality Tape: Cheap tape will peel off. Only use moisture-rated seam tape for a permanent bond.
- Lasciare spazi vuoti: Any unsealed hole acts like a chimney for moisture. Total coverage is the only way to succeed.
- Inadequate Overlap: Skipping the 12-inch overlap rule leads to “wicking” where moisture crawls between sheets.
Manutenzione
- Ispezioni visive annuali: Check for standing water on top of the plastic, which signals a hidden plumbing leak.
- Patching and Repair: If a pest or tool causes a tear, clean the area and apply a plastic patch with seam tape.
- Checking Humidity Levels: Use a hygrometer to ensure the space stays below 55% humidity year-round.
- Tightening Seals: Re-press any tape edges that look like they are lifting to maintain that airtight shield.
FAQ:
Ne ho davvero bisogno in un clima secco?
Assolutamente! La terra stessa contiene acqua che risale attraverso il terreno anche in un ambiente desertico. Un'altra funzione della barriera al vapore è quella di proteggere dai gas che possono provenire dal suolo, come il radon.
Can I use two layers of 4 mil instead of one 8 mil?
Though possible to use, it is not advisable. Two sheets can also trap water in between them, and they are difficult to seal along the seams. Only one continuous sheet should be used since it is stronger.
Is black or clear plastic better for my home?
Black plastic is the best choice for crawl spaces because it blocks light, which prevents the growth of algae and certain molds. Clear plastic is often used for walls so you can inspect the insulation behind it.
How long will a high-quality barrier last?
When installed correctly and kept away from direct UV sunlight, a polyethylene barrier can last for over 50 years. It is designed to be a “set it and forget it” solution for the life of the home.
Does a vapor barrier stop water from a flood?
No. These are designed to stop water vapori (gas). If you have a flood, the barrier can actually trap liquid water against your wood. Always fix active leaks before installing the plastic.
Conclusione
L'uso di a barriera di vapore È una delle decisioni più intelligenti che possiate prendere per liberarvi di quel cattivo odore di "vecchia borsa da palestra" e per garantire un futuro migliore alla vostra casa. Con la giusta scelta dello spessore del materiale e seguendo scrupolosamente la nostra procedura di installazione dettagliata, avrete la tranquillità di sapere che la vostra famiglia respirerà aria fresca. Tutto dipende dalla strategia e dagli strumenti giusti.
As mentioned in the introduction, the use of top-quality plastic sheets is essential to guarantee professional results and eliminate any moisture concerns. With everything covered, you can now move on to your next project without worries.




