
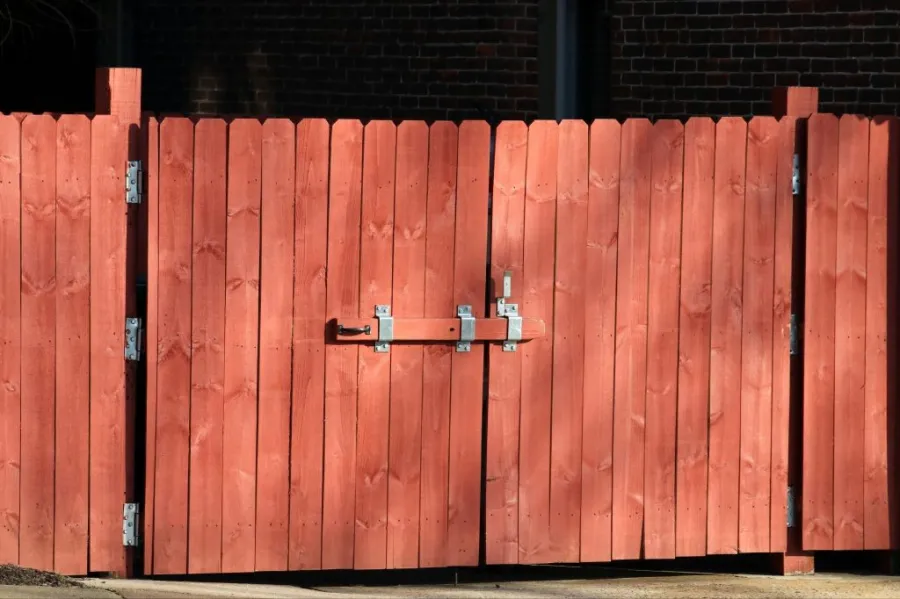
Un cancello che si apre e si chiude sempre correttamente, senza intoppi, non è frutto della fortuna. È il risultato di un lavoro ben fatto: cerniere del palo allineate correttamente e ferramenta adatta al peso e all'utilizzo del cancello. Se anche solo uno di questi elementi non è a posto, entro un anno dovrete ricorrere a regolazioni come l'aggiunta di spessori e il rimontaggio del cancello.
Questo articolo spiega come costruire un cancello, dal palo al chiavistello. Tratta dell'installazione di un cancello su una casa, di un cancello con cerniere, di una molla per cancello e di un chiavistello per cancello. Ogni parte parla di hardware necessario e come tutte le parti funzionano insieme.
Nozioni di base sull'installazione di un cancello: cosa considerare prima di iniziare
Peso del cancello e dimensioni del palo
Ogni altra decisione relativa alla ferramenta dipende dal peso del cancello. Un cancello leggero in alluminio o vinile ha esigenze diverse rispetto a un cancello in cedro massello per garantire la privacy. I cancelli più pesanti necessitano di:
- Perni delle cerniere di diametro maggiore (minimo 4×4 per la maggior parte dei cancelli in legno, 6×6 per cancelli pesanti a pannello pieno)
- Cerniere per carichi pesanti con portata superiore al peso del cancello
- Se il palo è interrato, la sua profondità deve essere maggiore (almeno un terzo della lunghezza totale del palo, più 6 cm).
I pali di dimensioni insufficienti sono la causa più comune dell'abbassamento dei cancelli. La cerniera, col tempo, tira il palo verso il cancello, soprattutto nei cancelli a pannello pieno esposti al vento.
Direzione di oscillazione e spazio libero
È necessario capire in quale direzione si apre il cancello. Il cancello deve avere spazio sufficiente per aprirsi completamente. Misurate la pendenza del terreno nel punto in cui il cancello si apre. Se il cancello si apre su una pendenza, deve essere appeso abbastanza in alto. Questo per evitare che il cancello tocchi terra nella parte inferiore dell'apertura. Se il cancello non è appeso a sufficienza, trascinerà il terreno e causerà molti problemi, bloccandosi ripetutamente.
Gap e rivelazione
Lo spazio standard tra il cancello e i pali è di 1/4 - 3/8 di pollice sia sul lato delle cerniere che su quello della serratura. Questo impedisce lo sfregamento, mantenendo al contempo una tenuta sufficiente per un aspetto pulito.
Come installare un cancello con cerniere
Le cerniere sostengono l'intero peso del cancello ogni volta che questo si apre e si chiude. Sono fondamentali per imparare a installare correttamente un cancello.
Scegli le cerniere giuste
- Cerniere a fascia: bracci orizzontali lunghi. Ideali per cancelli più leggeri su pali di legno. Dall'aspetto tradizionale.
- Cerniere a battente: compatte, a incasso o a montaggio superficiale. Ideali per un allineamento preciso su cancelli pesanti.
- Cerniere regolabili per cancelli: consentono la regolazione dell'altezza e dell'angolazione anche dopo l'installazione. Un investimento che vale la pena fare, soprattutto per cancelli in legno pesante.
- Cerniere da saldare: per cancelli in metallo, saldate a un tubo strutturale o a un palo a sezione cava.
La maggior parte dei cancelli residenziali in legno utilizza cerniere a fascia o cerniere a battente rinforzate. Utilizzare almeno due cerniere per cancello; tre per cancelli più alti di 5 metri o più pesanti di 50 kg.
Fasi di installazione delle cerniere
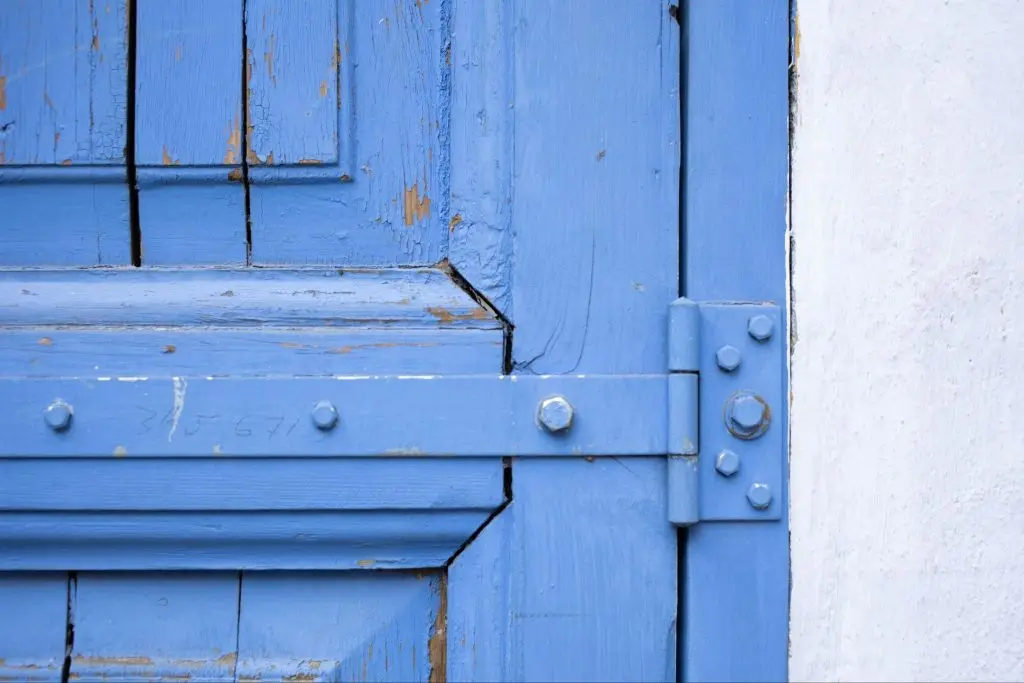
Posiziona il cancello tra i pali all'altezza corretta, utilizzando spessori temporanei al di sotto per mantenerlo in posizione. Verifica che il cancello sia in piano o a piombo (a seconda delle tue preferenze) prima di fissare il tutto con gli elementi di fissaggio.
Segnare le posizioni delle cerniere sia sul cancello che sul palo. Per i collegamenti legno-legno:
- Praticare un foro pilota in tutti i fori delle viti delle cerniere per evitare spaccature.
- Avvitare le viti o i bulloni a testa esagonale completamente in sede con una coppia di serraggio costante su ogni elemento di fissaggio.
- Prima di serrare la seconda cerniera, verificare che entrambe le cerniere siano allineate sullo stesso piano verticale.
Per i cancelli che utilizzano bulloni a testa tonda attraverso il telaio del cancello e il palo, il Set di bussole a impatto VEVOR da 1/2″, 33 pezzi Copre sia le misure SAE che quelle metriche della ferramenta, così non dovrai cambiare attrezzo tra i bulloni del telaio del cancello e la ferramenta dei pali.
Rimuovere gli spessori, aprire e chiudere il cancello e verificare che si muova liberamente senza inceppamenti prima di installare il chiavistello.
Come installare un chiavistello per cancello
Il chiavistello deve allinearsi perfettamente con il perno di bloccaggio per agganciarsi correttamente. Questa è la fase che richiede pazienza se si vuole imparare a installare un cancello.
Tipi di chiusura
- Chiusura ad anello o a pollice: tradizionale, a singola azione, funziona da entrambi i lati. Ideale per cancelli da giardino.
- Serratura a scorrimento: semplice, sicura, ma funziona solo da un lato. Ideale per cancelli che garantiscono la privacy o per cancelli di servizio.
- Chiusura magnetica: si chiude automaticamente quando il cancello si avvicina al palo. Ideale per recinzioni di piscine dove le normative edilizie potrebbero richiedere dispositivi di chiusura automatica.
- Serratura a chiave per cancello: necessaria dove la sicurezza è fondamentale. Richiede un fermo di riscontro allineato al palo.
Procedura di installazione
Per prima cosa, è necessario fissare il corpo del chiavistello al cancello. Assicuratevi che sia ad un'altezza comoda da usare. Quindi, chiudete il cancello. Verificate dove il fermo o il perno di chiusura andrà a urtare il perno del chiavistello. Posizionate il fermo in quel punto.
Ora provate più volte il meccanismo di chiusura aprendo e chiudendo il cancello velocemente e molto lentamente. I meccanismi magnetici e autobloccanti richiedono che il fermo e il perno di chiusura siano entro tolleranze ristrette per un aggancio affidabile. Regolate gradualmente fino a quando non si aggancia sempre.
Come installare una molla per cancello
Una molla per cancelli riporta il cancello in posizione chiusa dopo ogni utilizzo. Si tratta di un componente standard per cancelli di piscine, cancelli da giardino e ovunque sia richiesto, per legge o per preferenza, un cancello a chiusura automatica.
Scegliere la Primavera Giusta
La tensione della molla è determinata dal peso e dalla larghezza del cancello. Una molla progettata per un cancello da 13,6 kg (30 libbre) non riuscirà a chiudere un pannello in cedro massello da 27,2 kg (60 libbre). Prima dell'acquisto, verificare la portata massima indicata dal produttore.
Procedura di installazione
La maggior parte delle molle a spirale per cancelli si monta sul lato delle cerniere, ancorandosi sia al telaio del cancello che al montante delle cerniere.
- Montare l'estremità fissa sul perno della cerniera all'altezza della staffa specificata dalla ferramenta a molla.
- Fissare l'estremità mobile al cancello, posizionandola in modo che la molla sia leggermente in tensione quando il cancello è completamente chiuso.
- Aprire completamente il cancello e verificare che la tensione della molla sia sufficiente a farlo tornare in posizione senza sbattere
Per far funzionare correttamente il cancello, è necessario regolare la tensione della molla. Questa regolazione si effettua tramite i fori lungo il corpo della molla. Maggiore è la tensione, più velocemente il cancello si chiuderà. Una tensione eccessiva, tuttavia, farà sbattere il cancello, il che non è positivo perché sollecita eccessivamente le cerniere. L'obiettivo è trovare una regolazione che permetta al cancello di chiudersi in modo sicuro e di bloccarsi correttamente, senza sbattere. Il cancello deve chiudersi e bloccarsi senza sbattere. In questo modo, la tensione della molla sarà quella giusta.
Come installare un cancello sul lato della casa
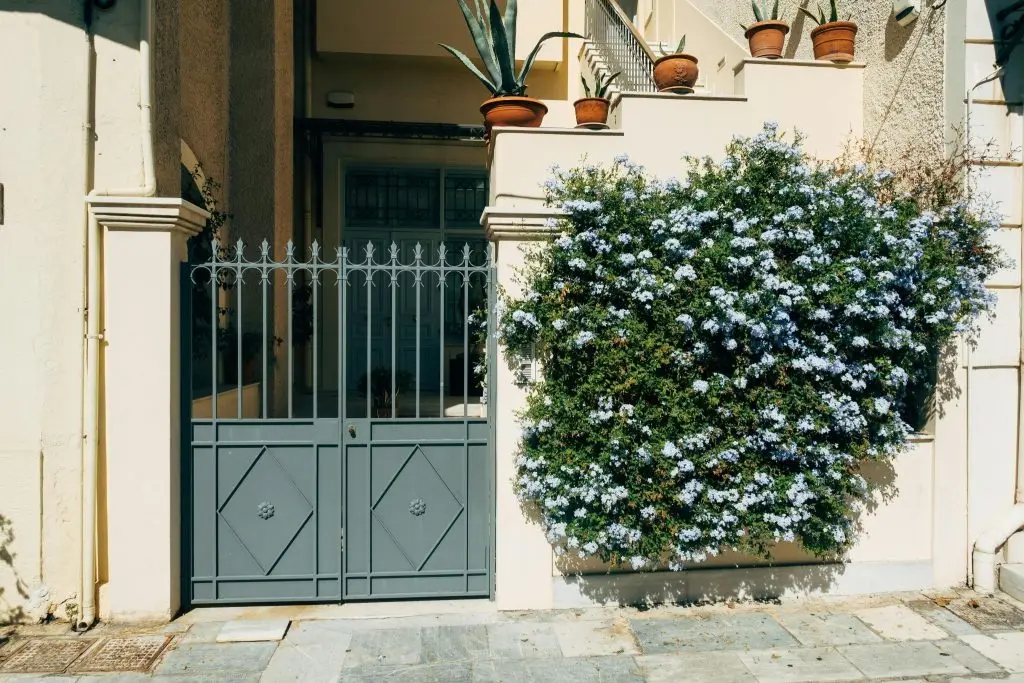
L'installazione di un cancello laterale presenta delle considerazioni specifiche, poiché un palo viene in genere montato a ridosso o in prossimità della struttura della casa, mentre l'altro rimane indipendente.
Opzioni per il palo a lato casa
- Piastra di fissaggio a parete per cerniera: la ferramenta della cerniera viene imbullonata direttamente alla struttura portante della casa attraverso il rivestimento esterno. Deve essere fissata a un montante o a un elemento strutturale, non solo al rivestimento.
- Palo autoportante posizionato vicino alla casa: un palo fissato nel cemento e collocato il più vicino possibile alla casa, compatibilmente con l'apertura del cancello. Più indipendente, non richiede il fissaggio alla struttura.
I collegamenti a parete devono essere strutturali. Fissare con viti a testa esagonale al montante dietro il rivestimento, non solo con viti per rivestimento. Per i lavori di fissaggio contro la struttura esistente della casa, le bussole a portata profonda rendono molto più facile serrare in posizioni incassate o scomode. Set di bussole a impatto profonde VEVOR da 1/2″, 19 pezzi Gestisce posizioni di bulloni a testa esagonale incassati e connessioni strette a parete che una bussola di lunghezza standard non riesce a raggiungere correttamente.
Contabilizzazione del muro della casa
Misurate con attenzione. Il cancello deve chiudersi a filo con il palo di chiusura sul lato opposto, mentre il lato delle cerniere deve superare completamente il muro della casa durante l'intera apertura. Segnate l'arco di apertura sul terreno prima di posizionare i pali e verificate che non ci siano ostacoli lungo il percorso, come rubinetti dell'acqua, pluviali o scatole di derivazione, che il cancello potrebbe urtare in qualsiasi punto della sua apertura.
Domande frequenti
Perché il mio cancello si è afflosciato dopo l'installazione?
L'abbassamento del cancello è quasi sempre dovuto a un perno della cerniera sottodimensionato che tira verso il cancello sotto carico, oppure a cerniere installate con una profondità di fissaggio insufficiente. Verificate che il perno della cerniera sia a piombo, controllate che le viti o i bulloni siano completamente avvitati e valutate la possibilità di installare cerniere regolabili se il perno stesso è integro.
Di quante cerniere ha bisogno un cancello?
Per la maggior parte dei cancelli residenziali standard sono sufficienti due cerniere. Tre per i cancelli più alti di 5 metri o con un peso superiore a 50 kg. I cancelli pesanti a pannello pieno beneficiano di una terza cerniera centrale che impedisce al pannello del cancello di deformarsi nel tempo.
La molla di un cancello si usura?
Sì. Le molle a spirale per cancelli durano in genere dai 5 ai 10 anni con un utilizzo regolare. Quando la molla perde tensione e smette di riportare il cancello in posizione in modo affidabile, la sostituzione è semplice utilizzando gli stessi punti di ancoraggio.
Posso installare un chiavistello per cancello che funzioni da entrambi i lati?
Sì. Le serrature a doppio lato hanno una maniglia o un meccanismo di sblocco su entrambi i lati del cancello. Le serrature ad anello e la maggior parte delle serrature a chiave sono progettate per essere azionate da entrambi i lati.
Qual è il modo migliore per installare un cancello tra due pali di recinzione esistenti?
Misurate con precisione la distanza libera tra i pali sia in alto che in basso, poiché i pali più vecchi spesso non sono perfettamente paralleli. Costruite o dimensionate il cancello in modo che si adatti alla misura minore tra le due, quindi utilizzate cerniere e chiavistelli con un'ampia possibilità di regolazione per compensare eventuali differenze.
Conclusione
Saper installare un cancello è importante. Il collegamento del palo è fondamentale. Tutto il resto dipende da esso. Se il palo è dritto e fissato saldamente con le cerniere, il cancello funzionerà bene per anni, senza bisogno di alcuna regolazione. Per assicurarsi che funzioni senza intoppi, è necessario allineare le cerniere. Anche il chiavistello deve essere posizionato in modo da agganciarsi correttamente. Se necessario, aggiungere una molla per aiutarlo a chiudersi correttamente. In questo modo il cancello funzionerà come dovrebbe fin dall'inizio. Per tutti i fissaggi della ferramenta in questo progetto, Set di bussole a impatto VEVOR da 1/2″, 33 pezzi Si tratta di un pratico kit di attrezzi per l'installazione di bulloni per cerniere, ferramenta per pali e chiavistelli su cancelli in legno, metallo e materiali compositi.




